How to issue a certificate of conformity
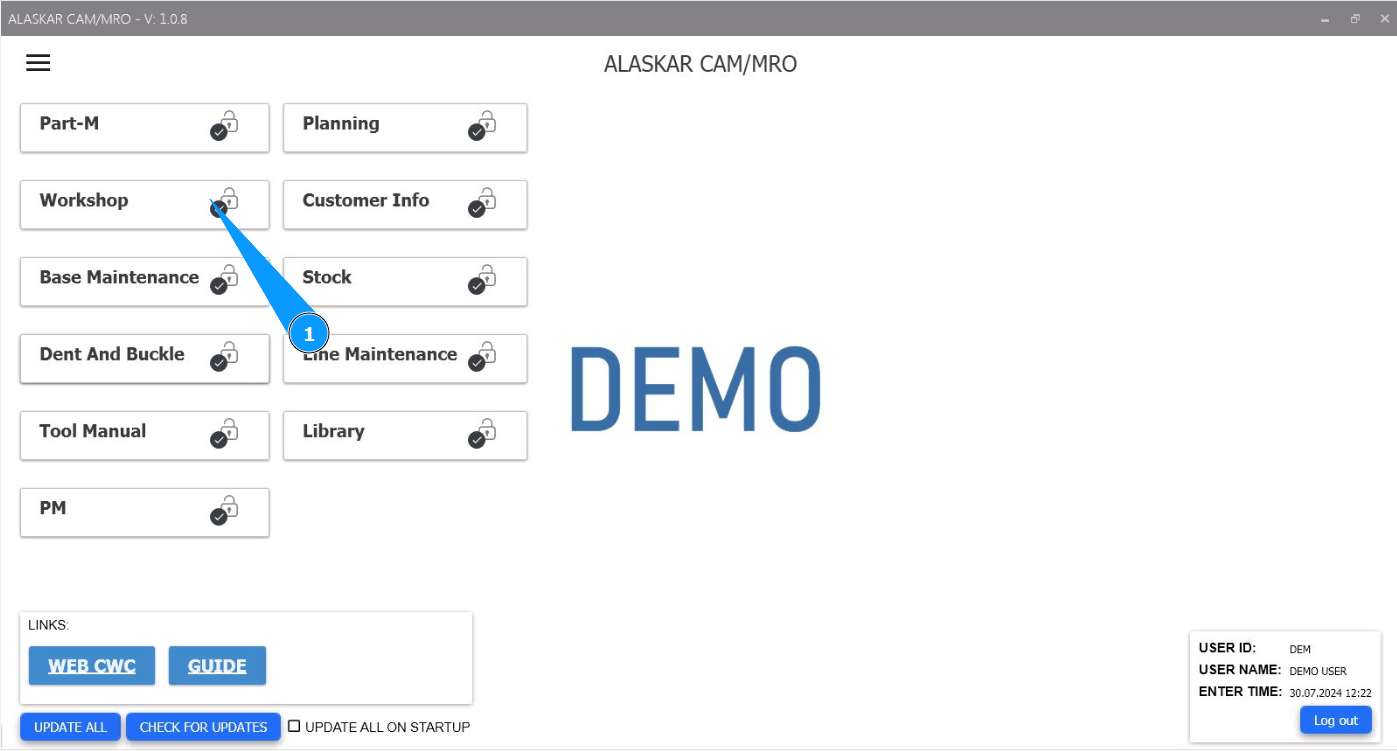
1. In order to issue a certificate of conformity, go to the module "Workshop".
2. Next, go to the tab "CoC Certificate".
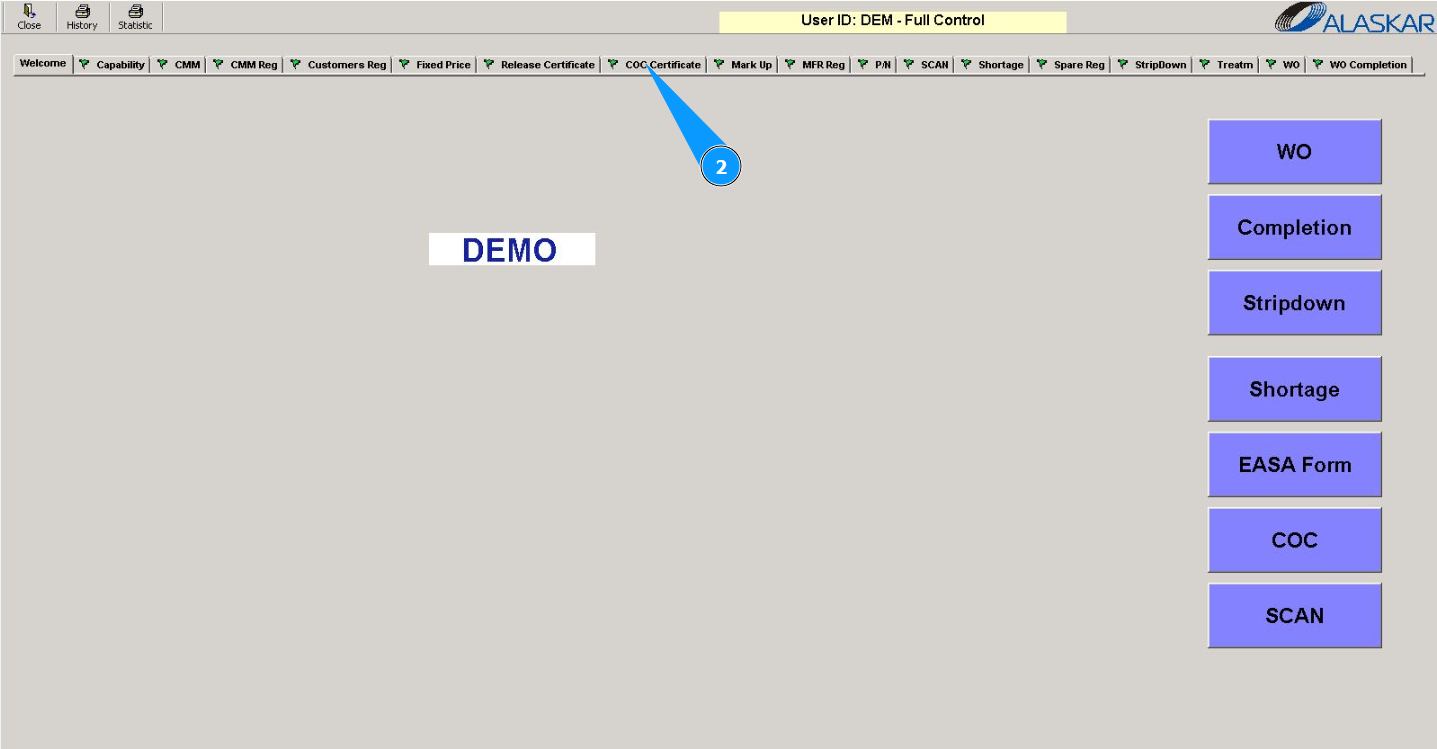
Note: You can issue a certificate of conformity from the tab "CoC Certificate" or open the submodule "CoC".
3. Next, go to the tab "CoC Editor".
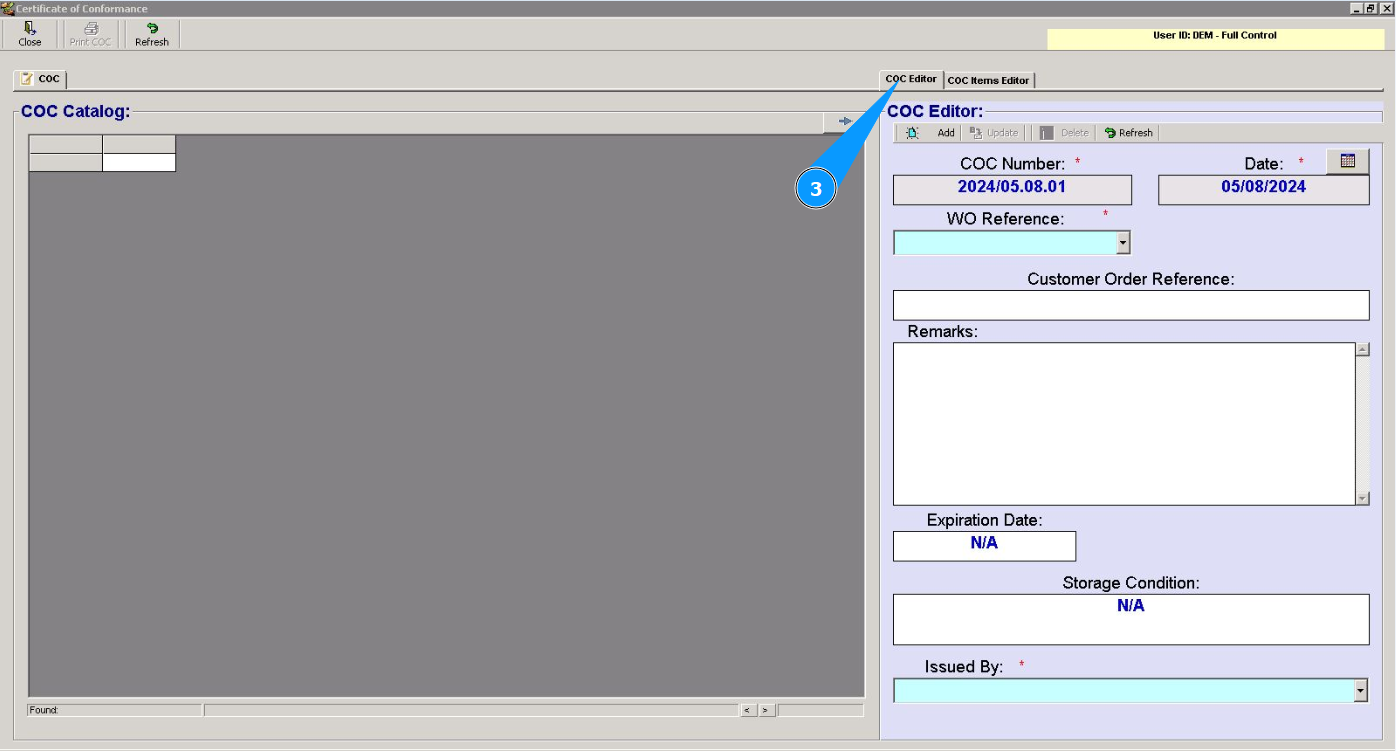
4. Select the work order number from the dropdown list in the field "WO Reference". Note: The certificate number will be entered automatically in the field "CoC Number".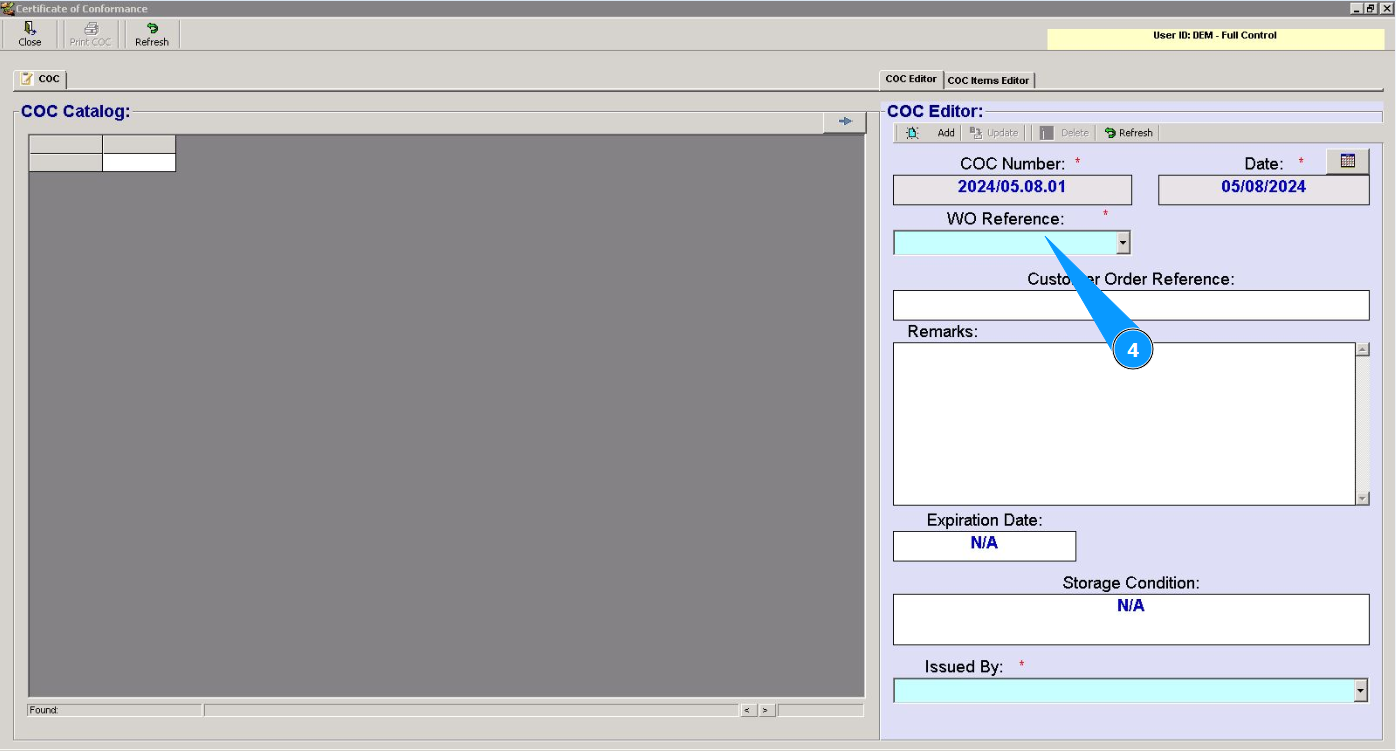
5. Enter the certificate issue date in the field "Date" or select from the calendar. Note: By default, the current certificate completion date is set in the field "Date".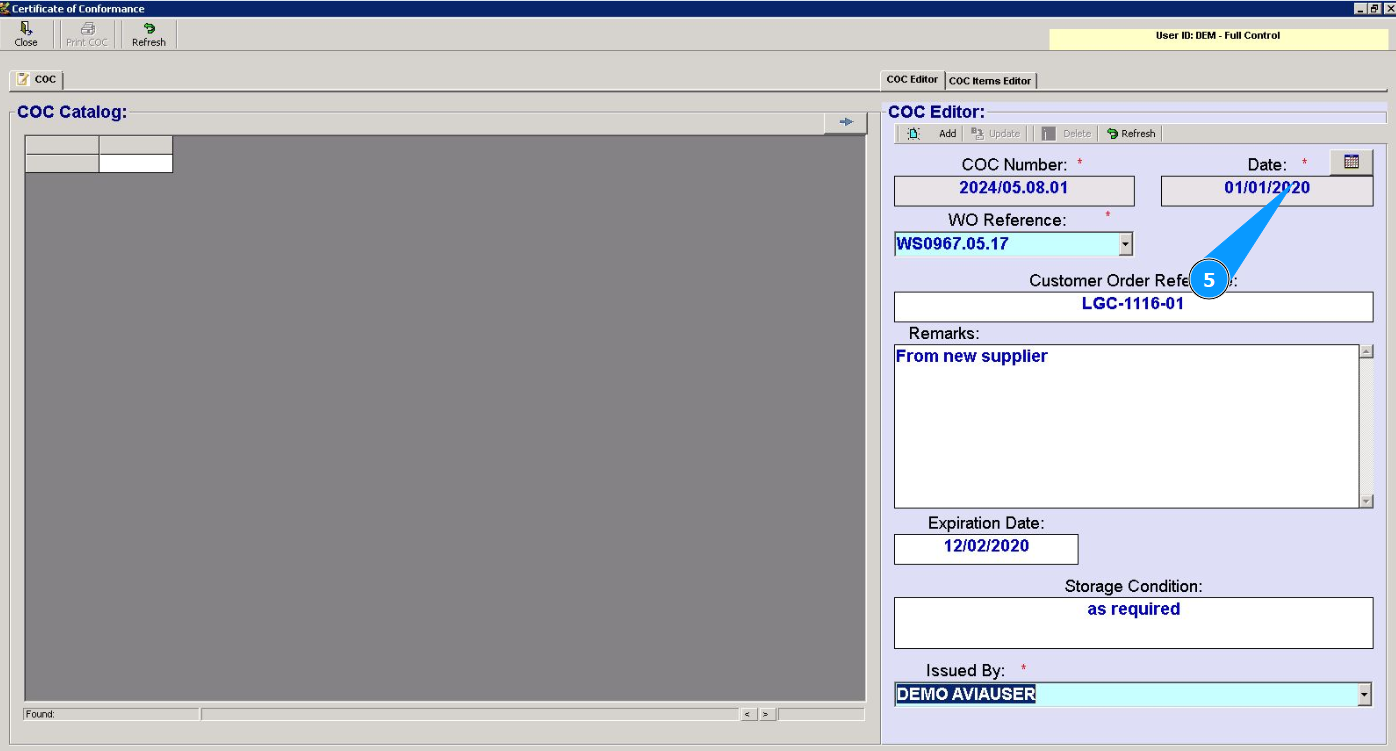
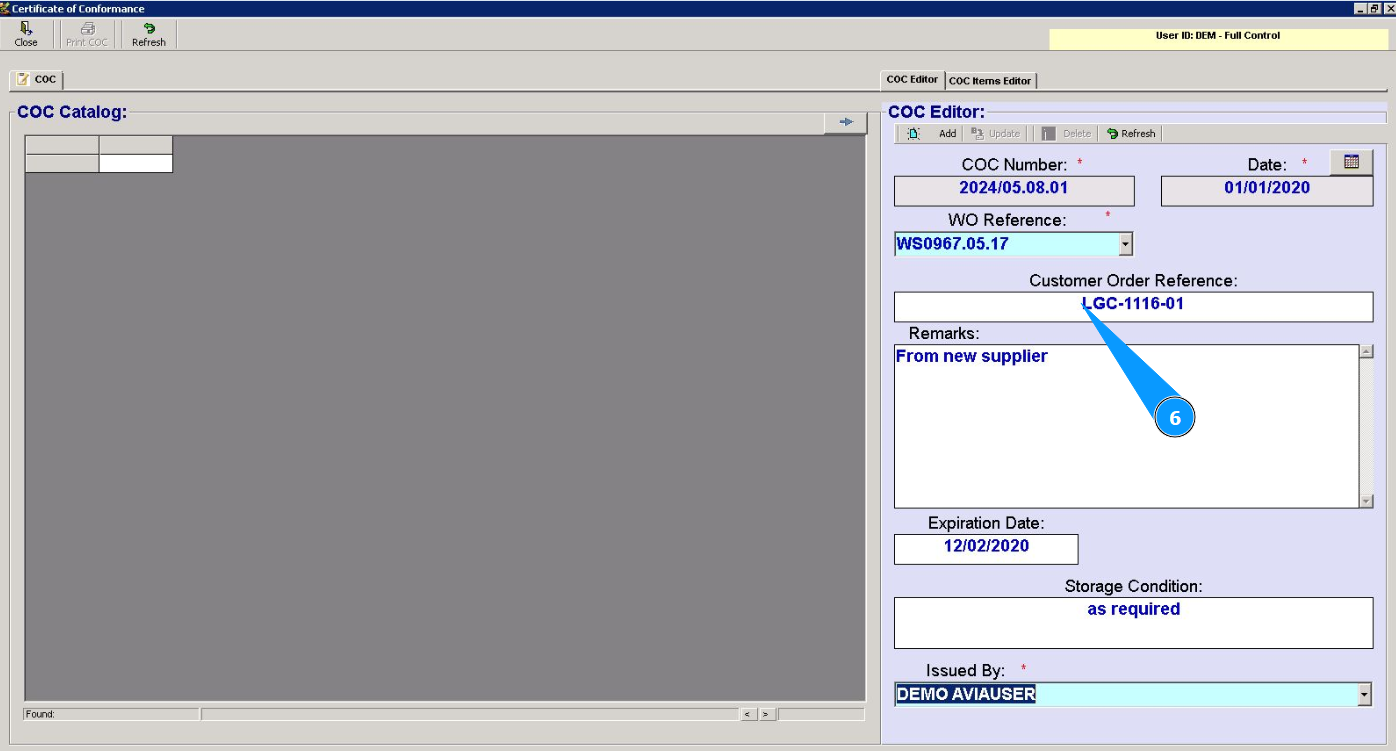
6. If necessary, enter a reference to the customer's order number in the field "Customer Order Reference".
7. Enter completed work or other comments in the field "Remarks".

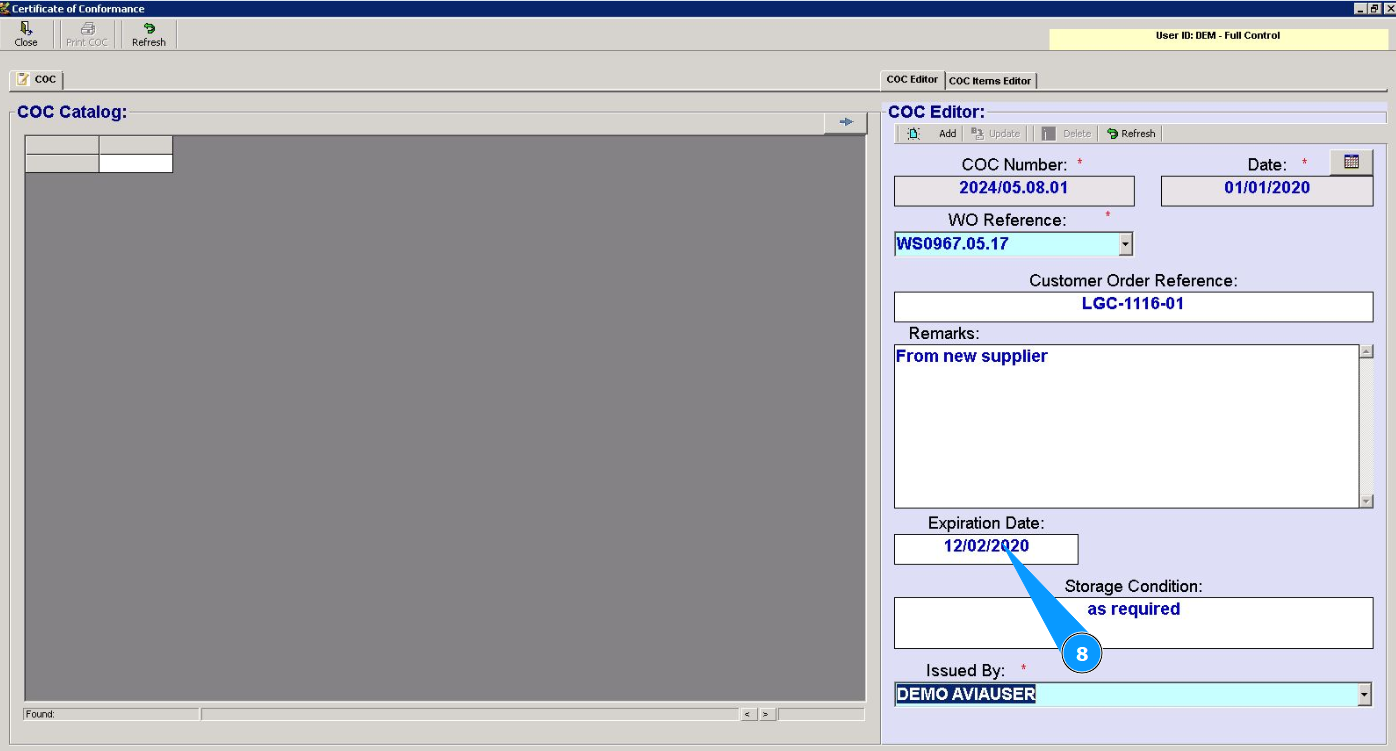
8. Enter the deadline of the component restriction for storage or use in the field "Expiration Date".
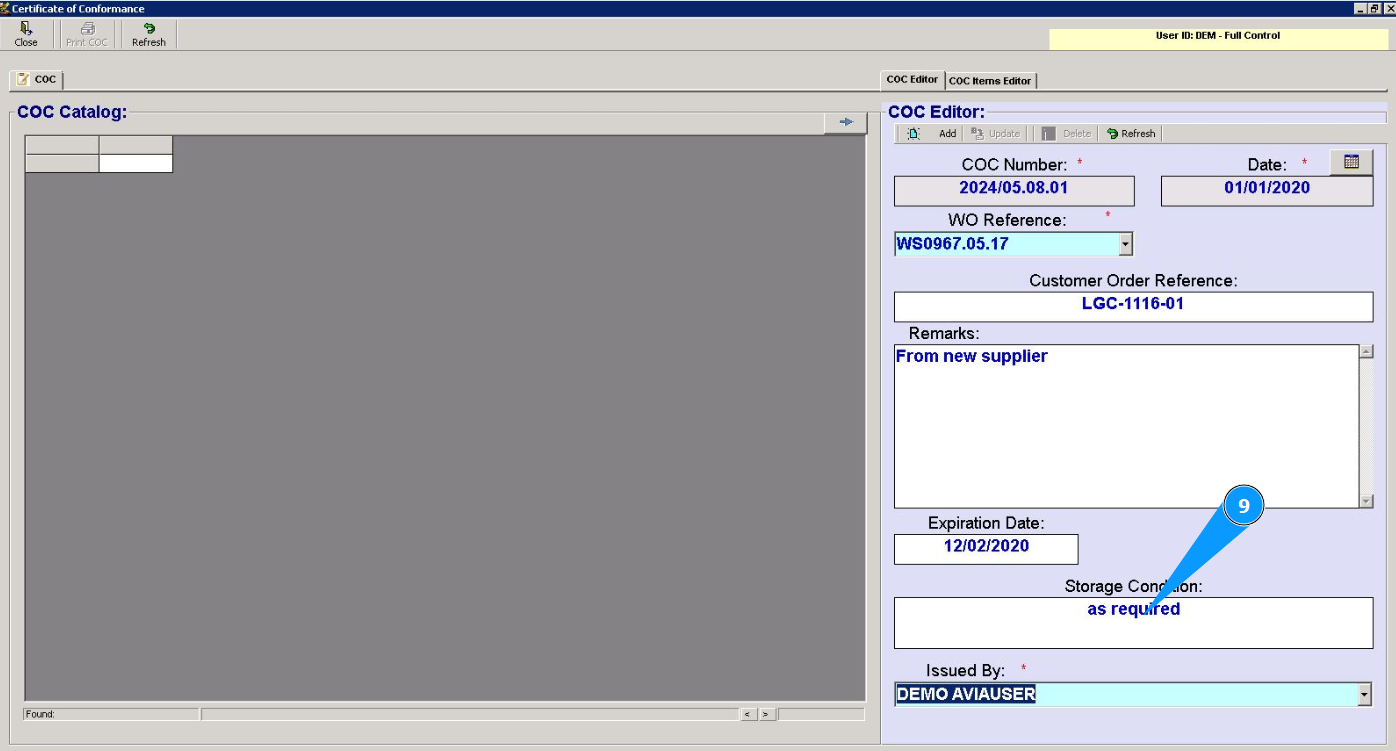
9. If necessary, enter the storage condition of the component in the field "Storage Condition".
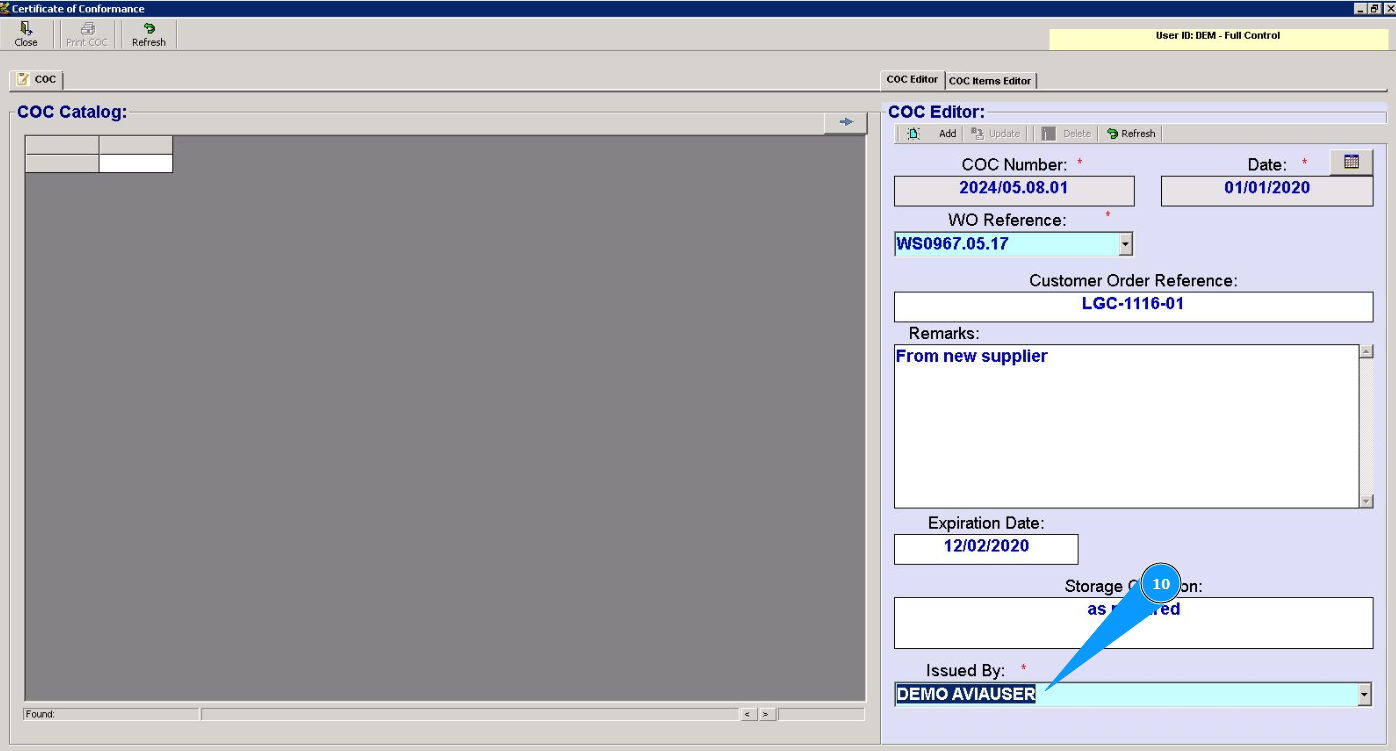
10. Select from the dropdown list the personnel who issued the certificate for the component in the field "Issued By".
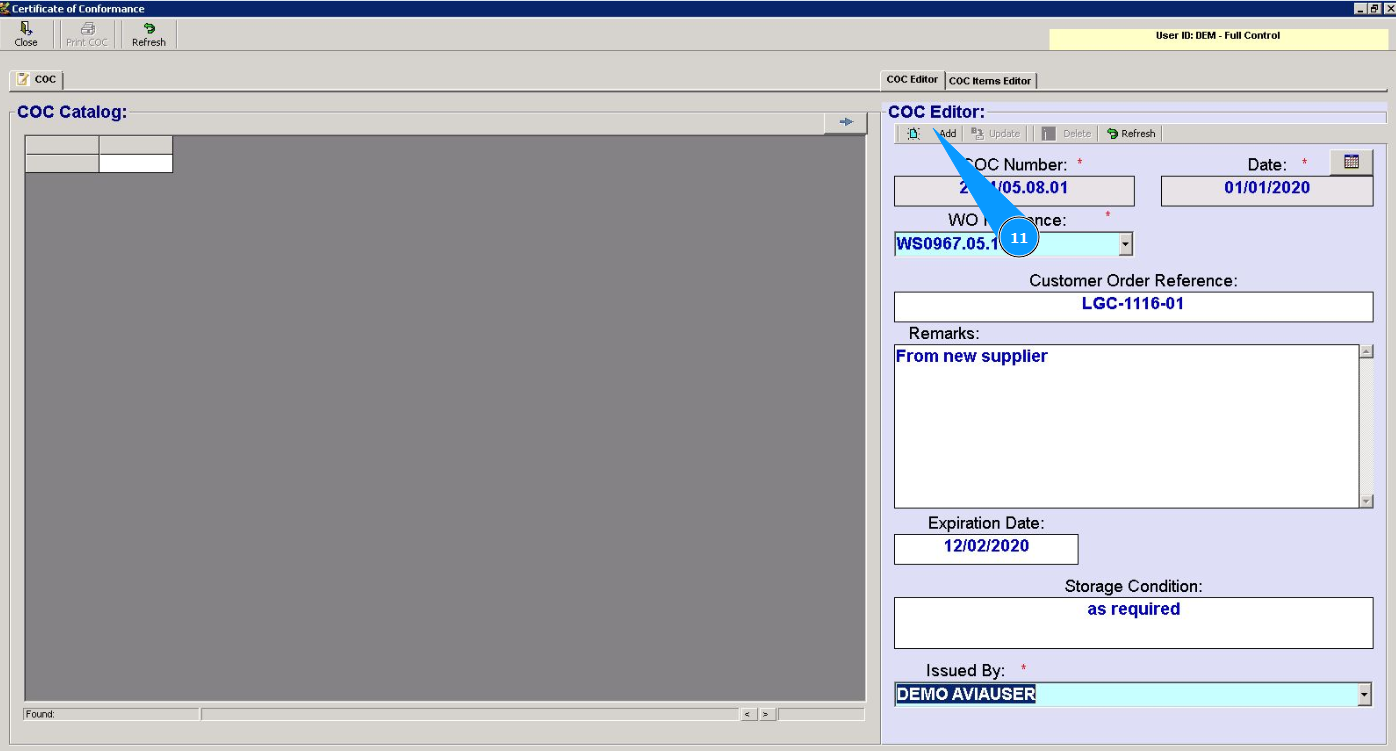
11. Click on the button "Add" to add the component certificate data to the program.
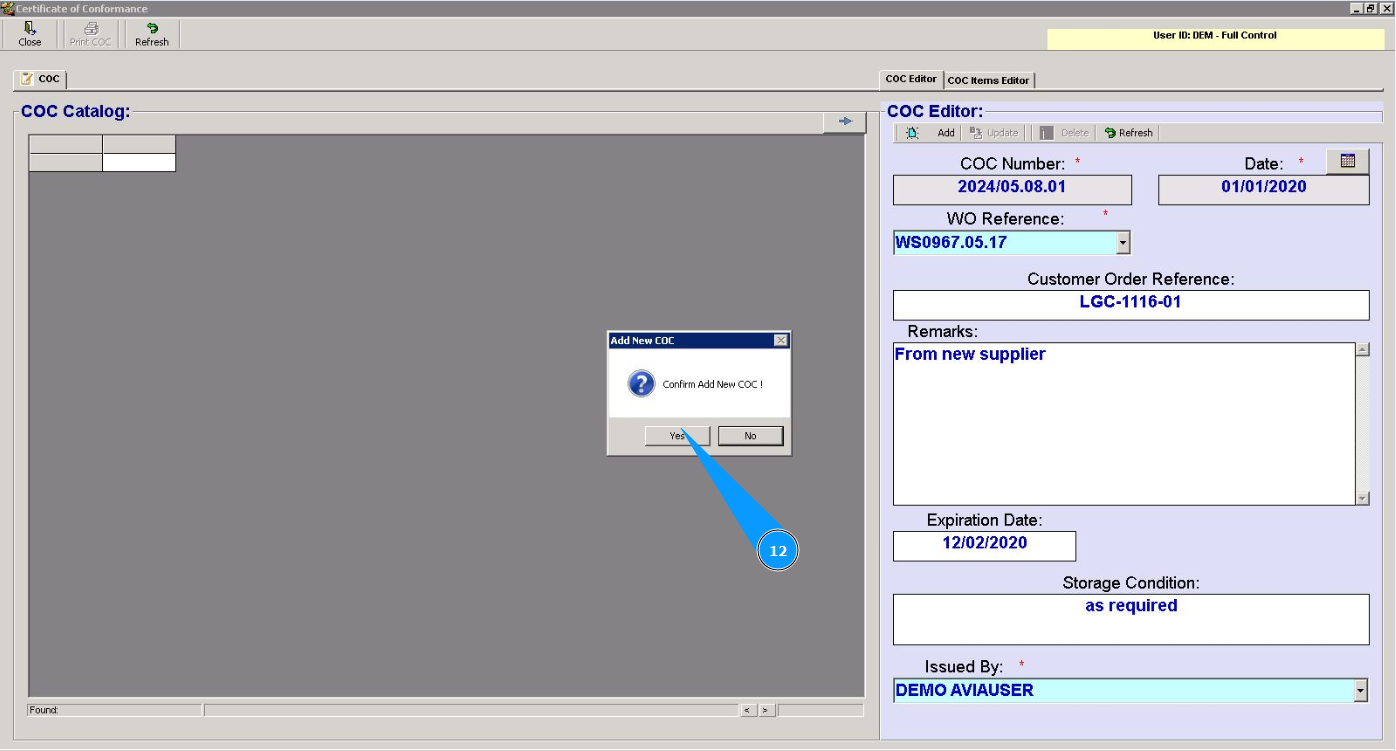
12. Click on the button Yes to confirm adding the component certificate information to the program.
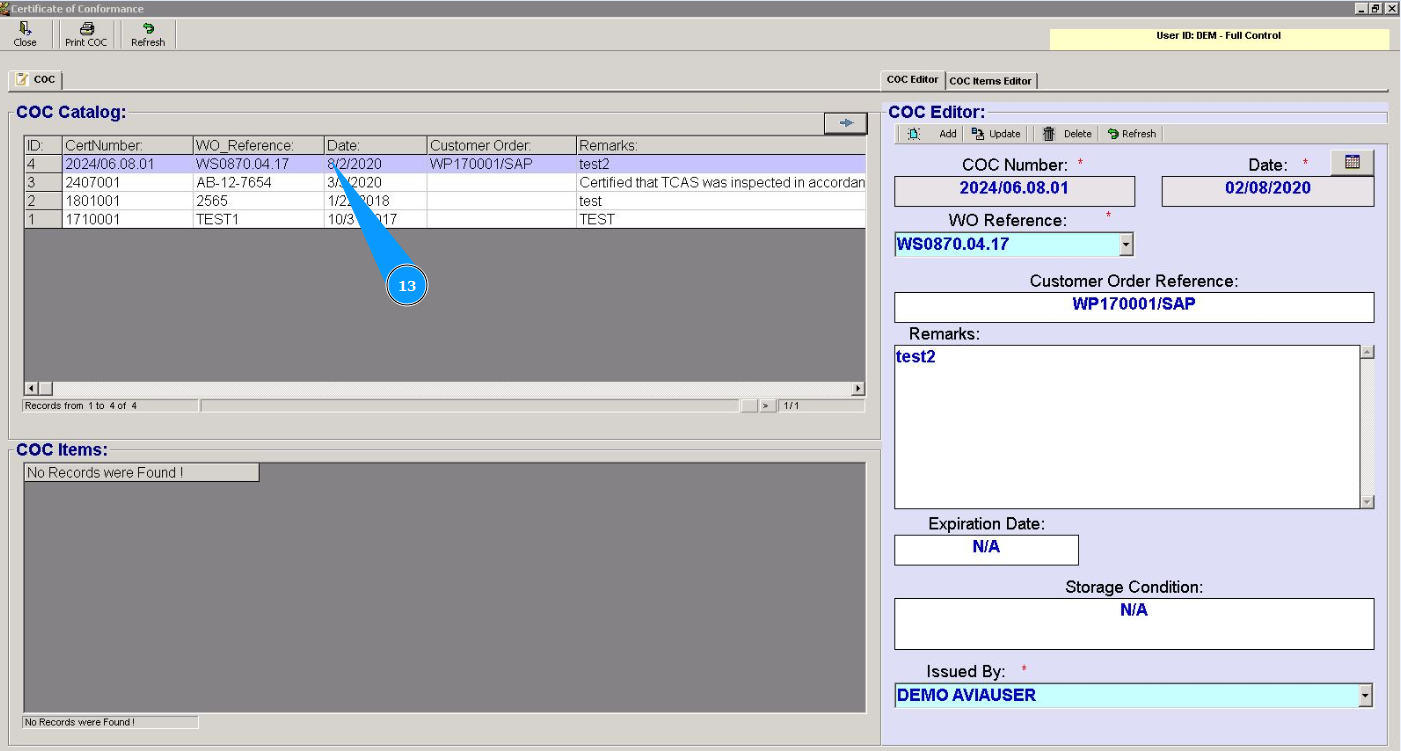
13. Check that the certificate is displayed in the list in the window "CoC Catalog".
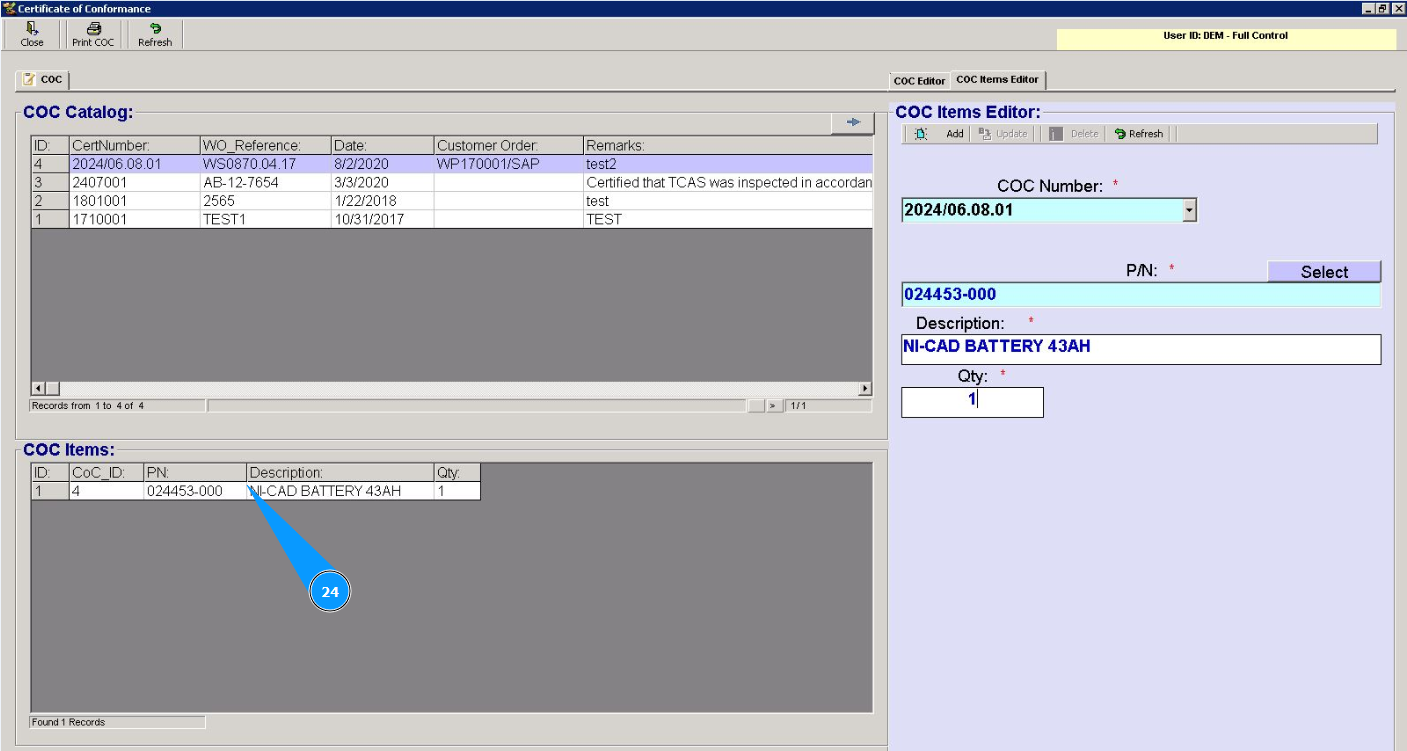
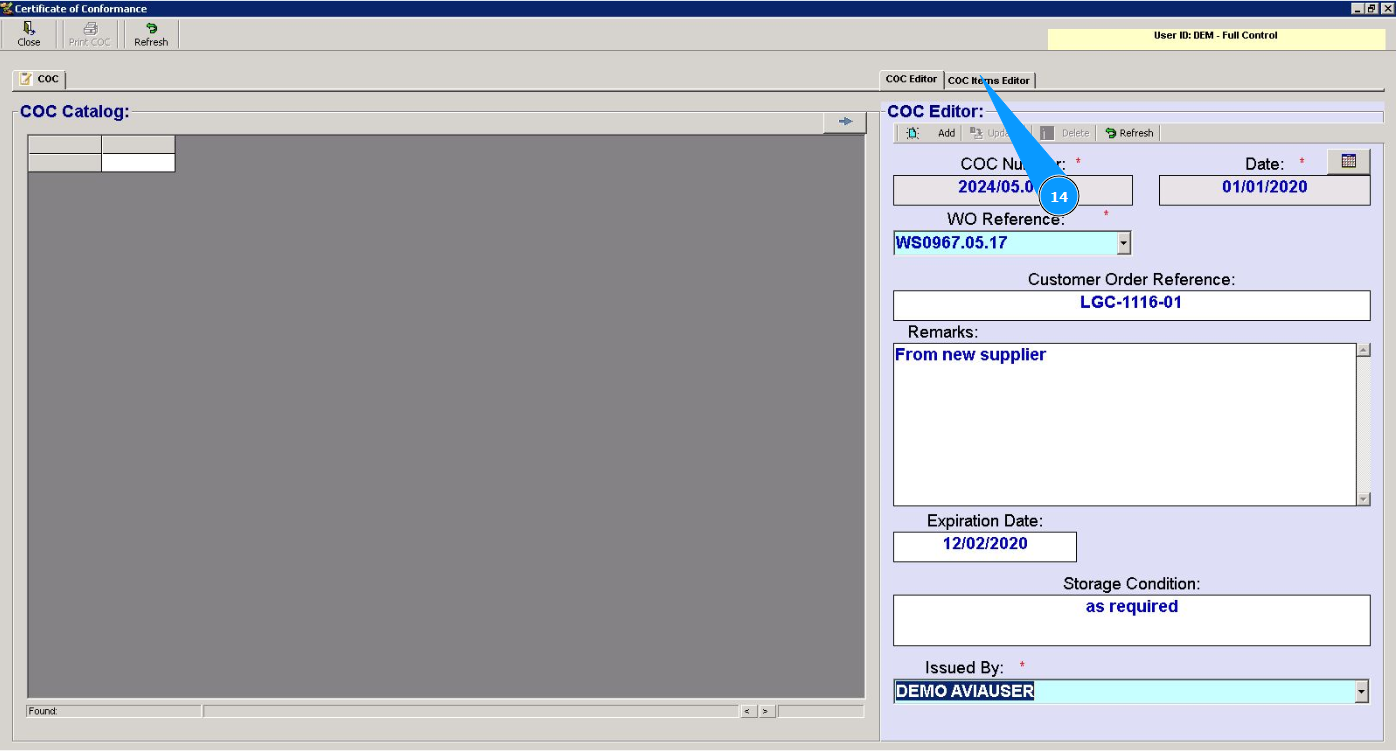
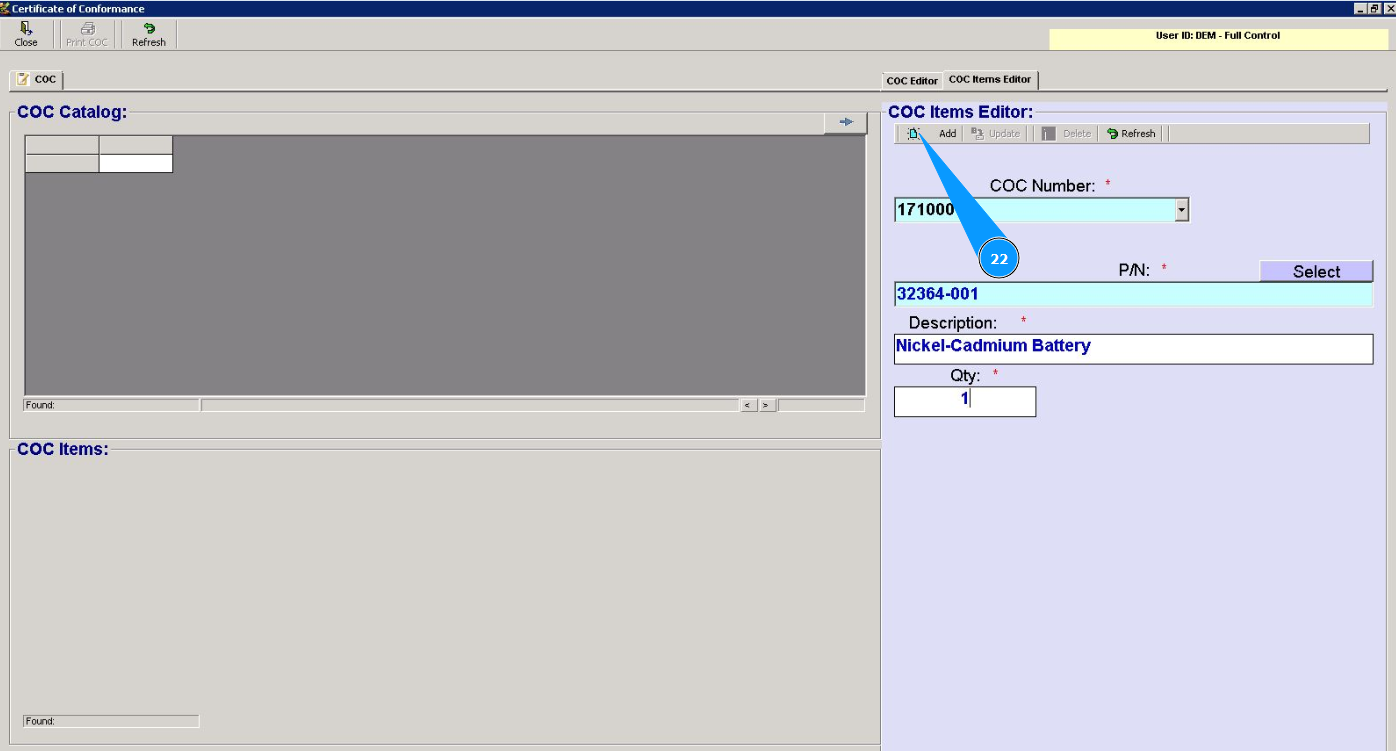
14. Next, go to the tab "CoC Items Editor".
15. Select the certificate number from the dropdown list in the field "CoC Number".
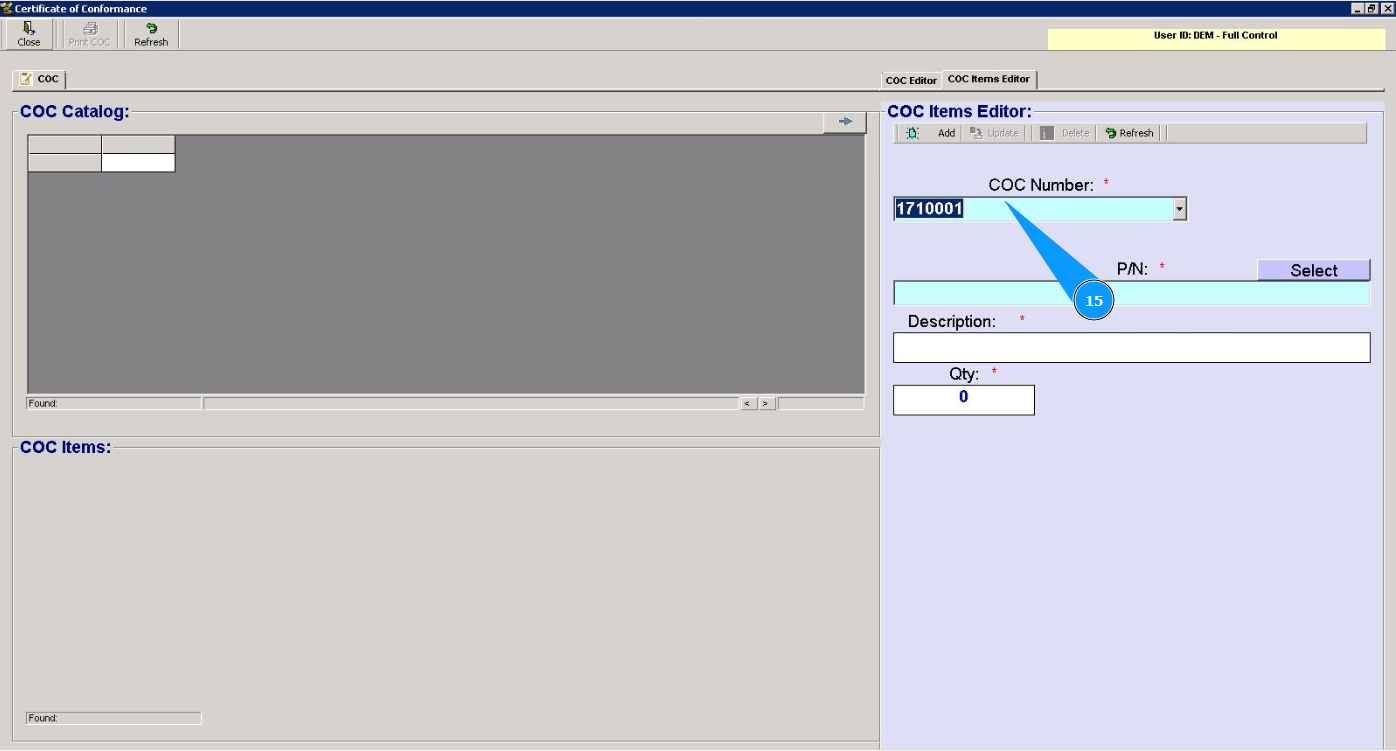
16. Click on the button "Select" to select p/n.

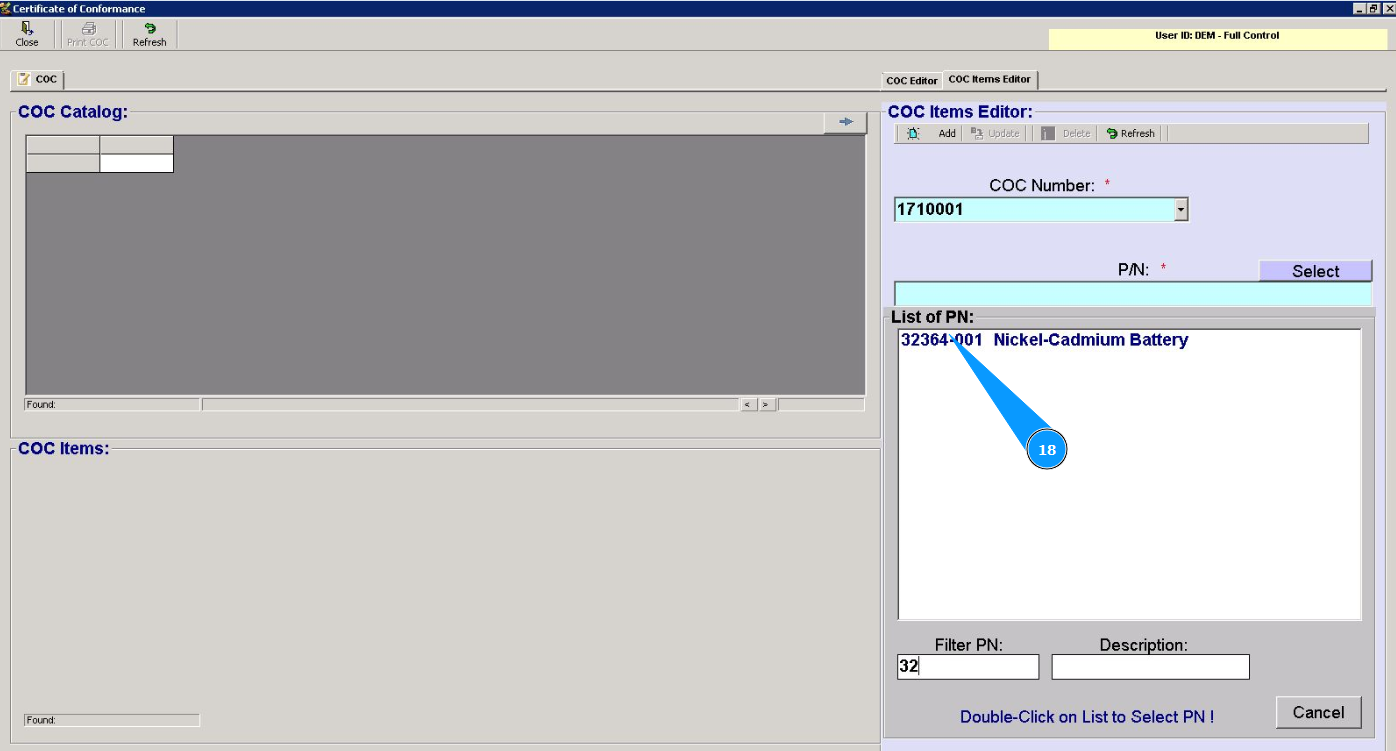
17. Enter the part number of the component in the field "Filter PN".
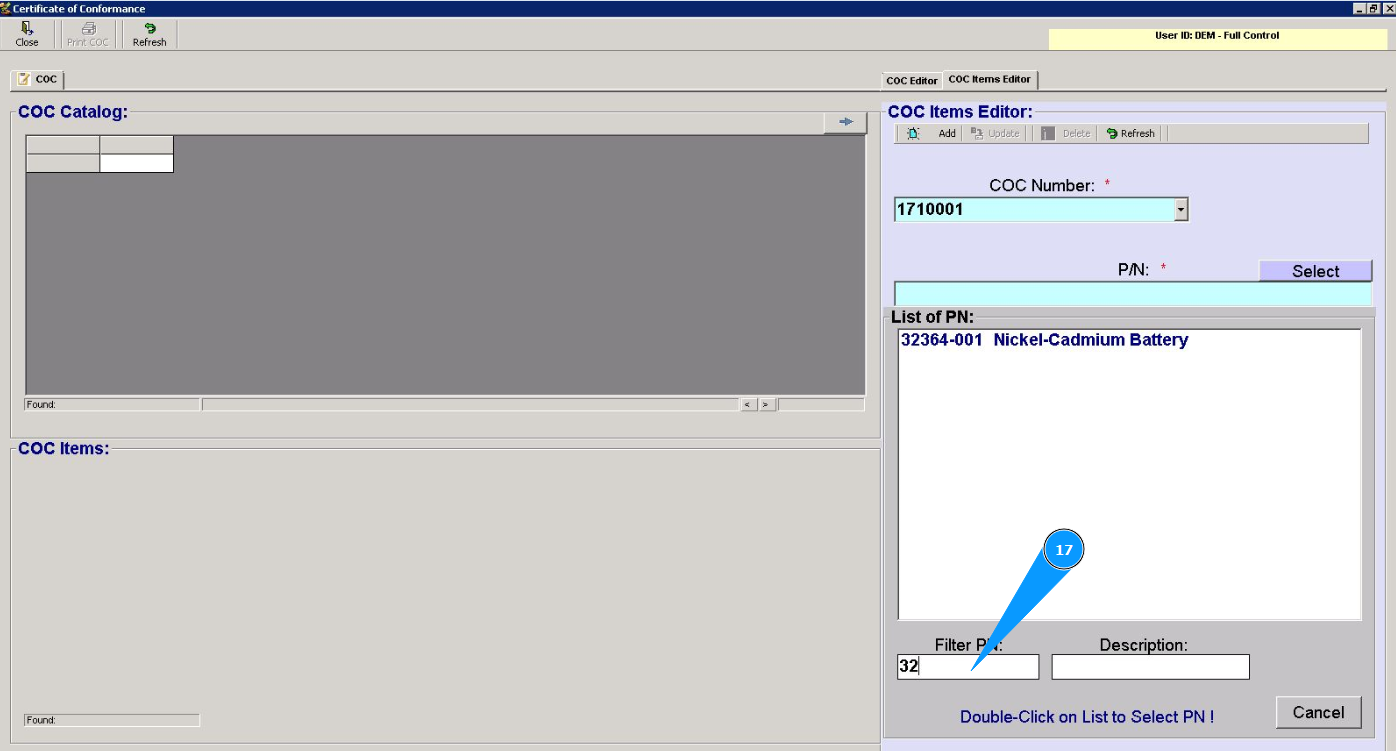
18. Select the required part number and double click on the line.
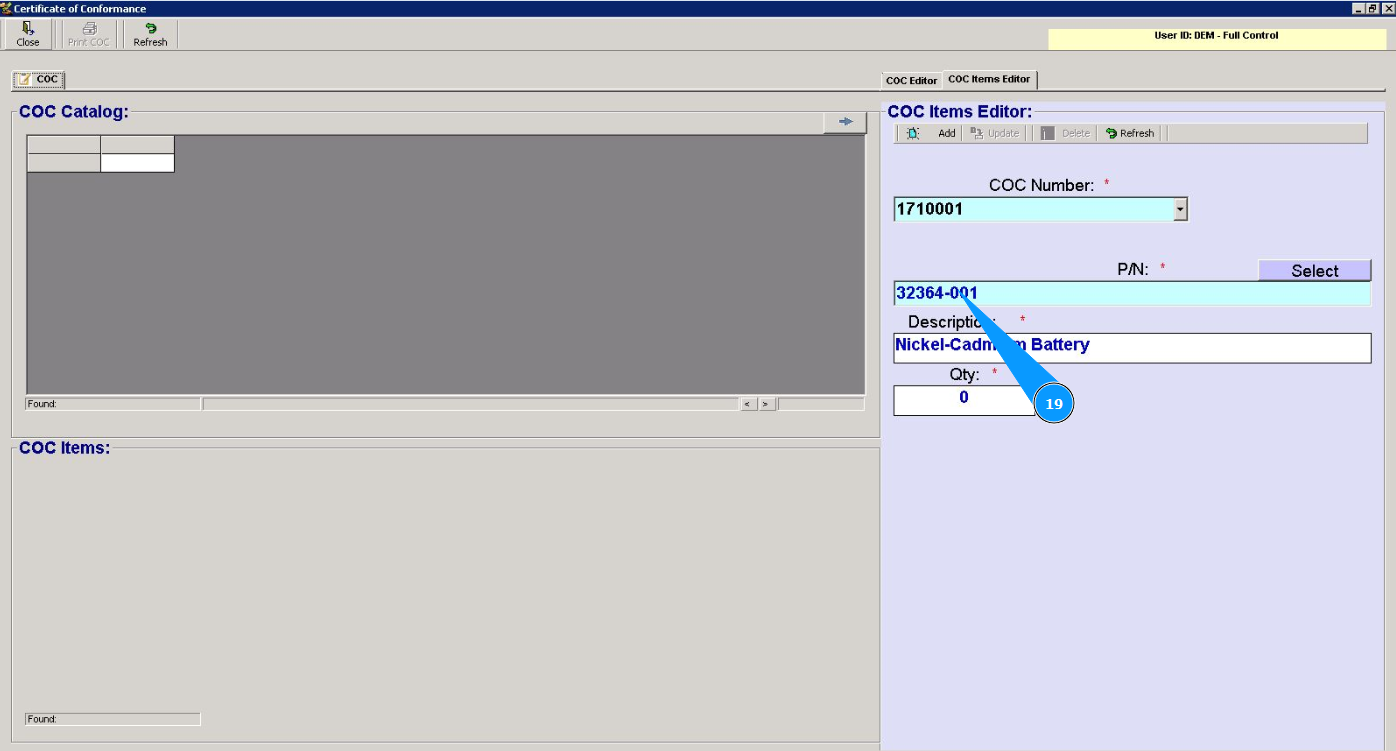
19. Make sure that the required part number is selected in the field "PN".
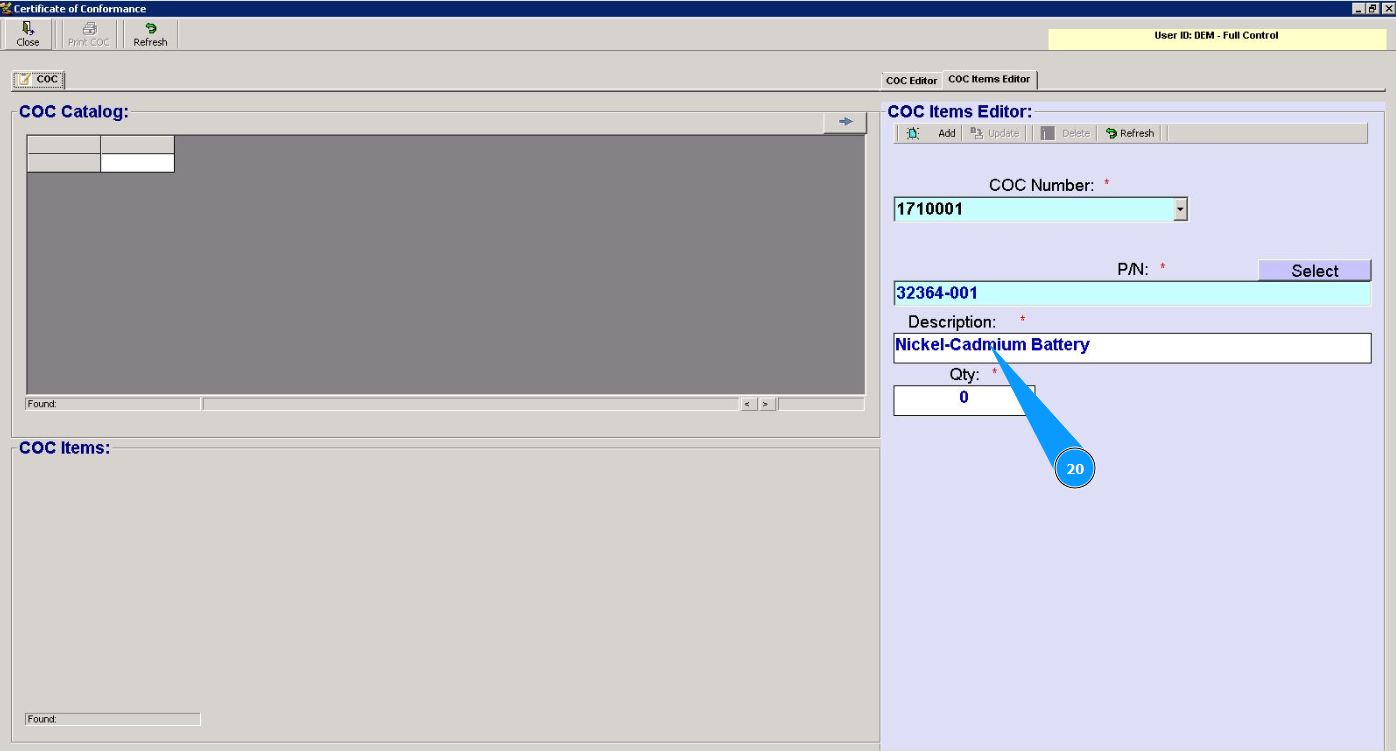
20. Enter a description of the component in the field "Description".
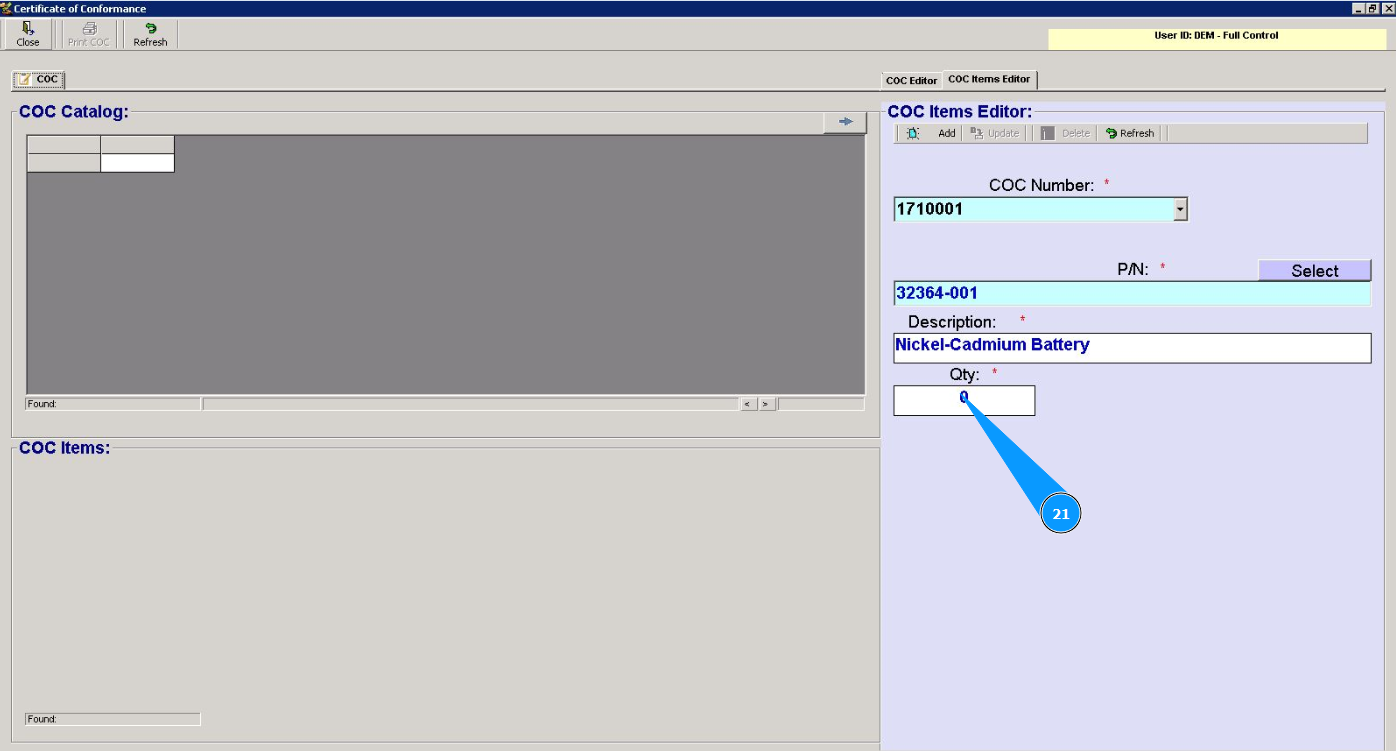
21. Enter the quantity of components in the field "Qty".
22. Click on the button "Add" to add the component data to the certificate.
23. Click on the button Yes to confirm adding the component data to the certificate.

24. Check that the component is displayed in the list of the window "CoC Items".