How to create a work order for interior equipment (Interior WO)
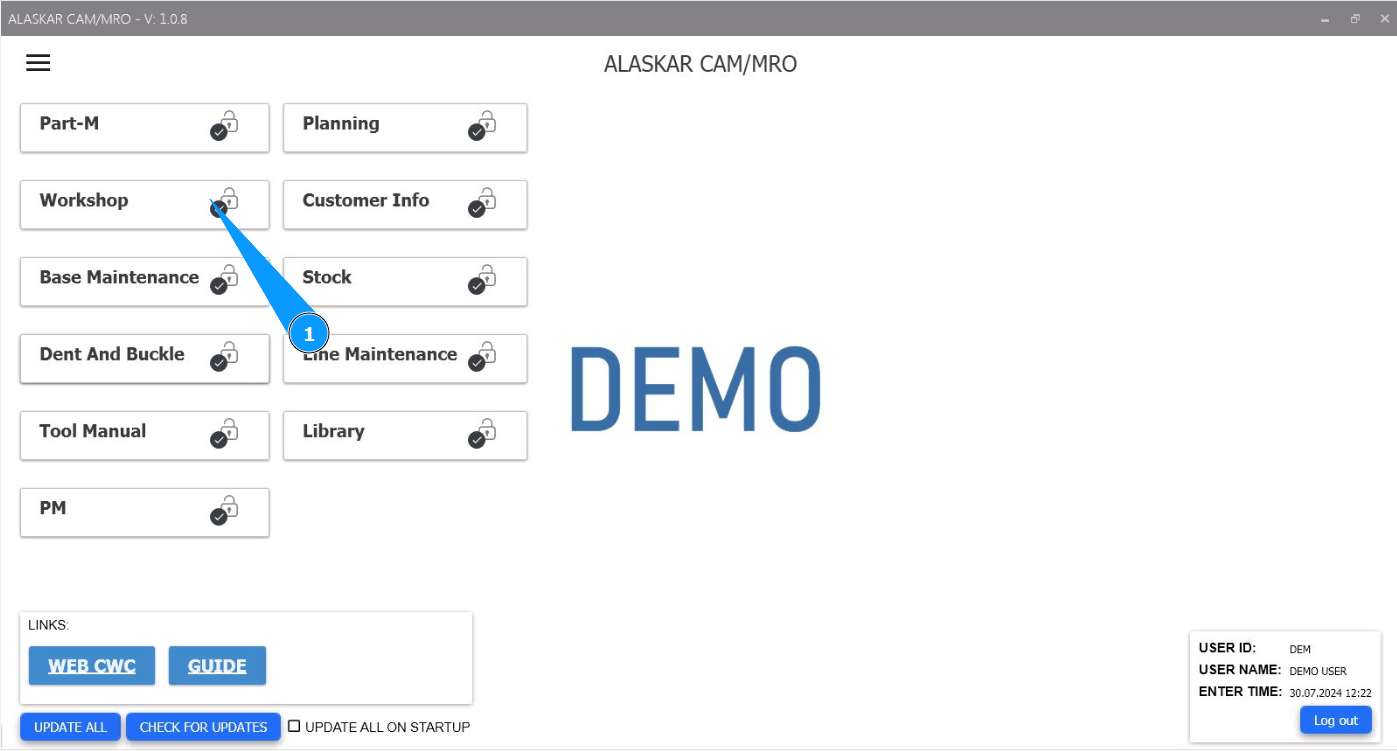
1. In order to create a working order for interior equipment (Interior WO), go to the module "Workshop".
2. Then go to the tab "WO".
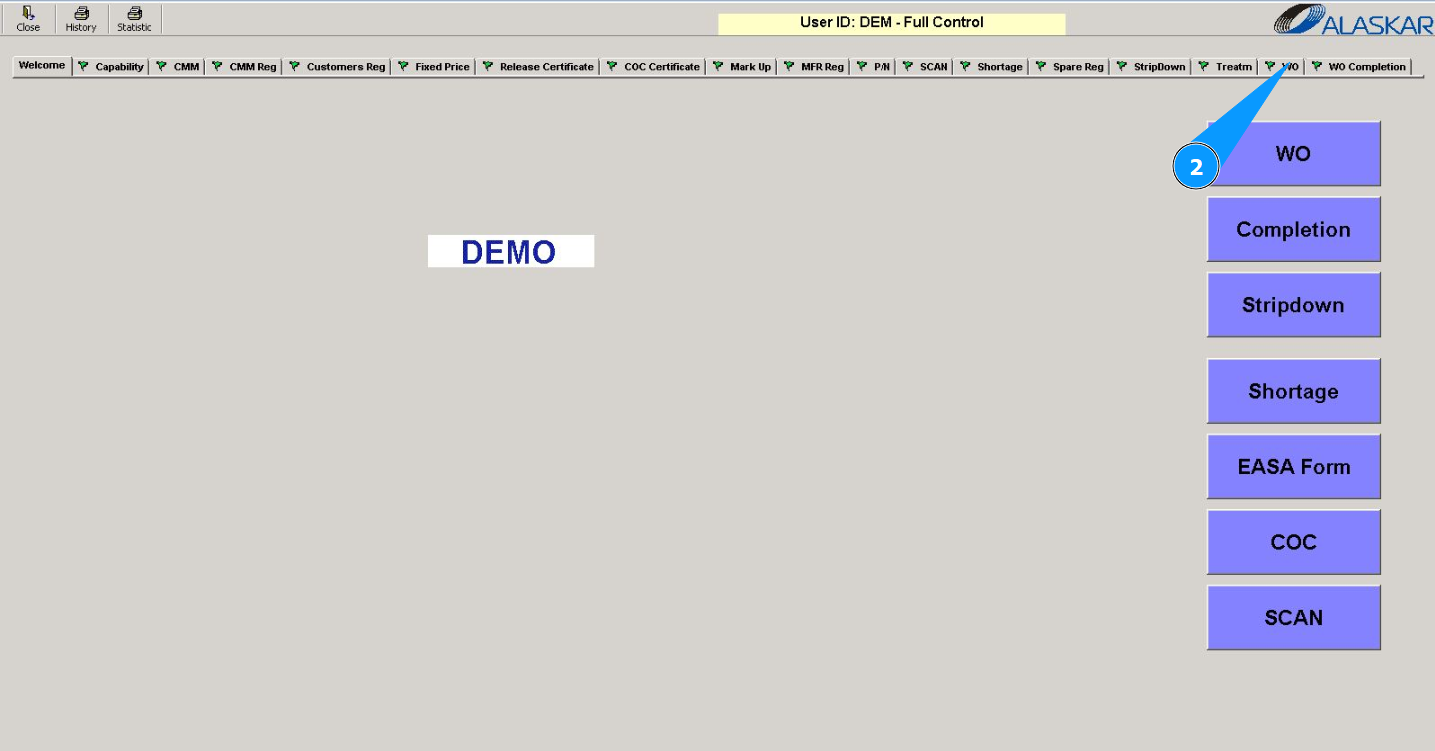
Note: Creating an interior work order is possible from the tab "WO" or from the submodule "WO".
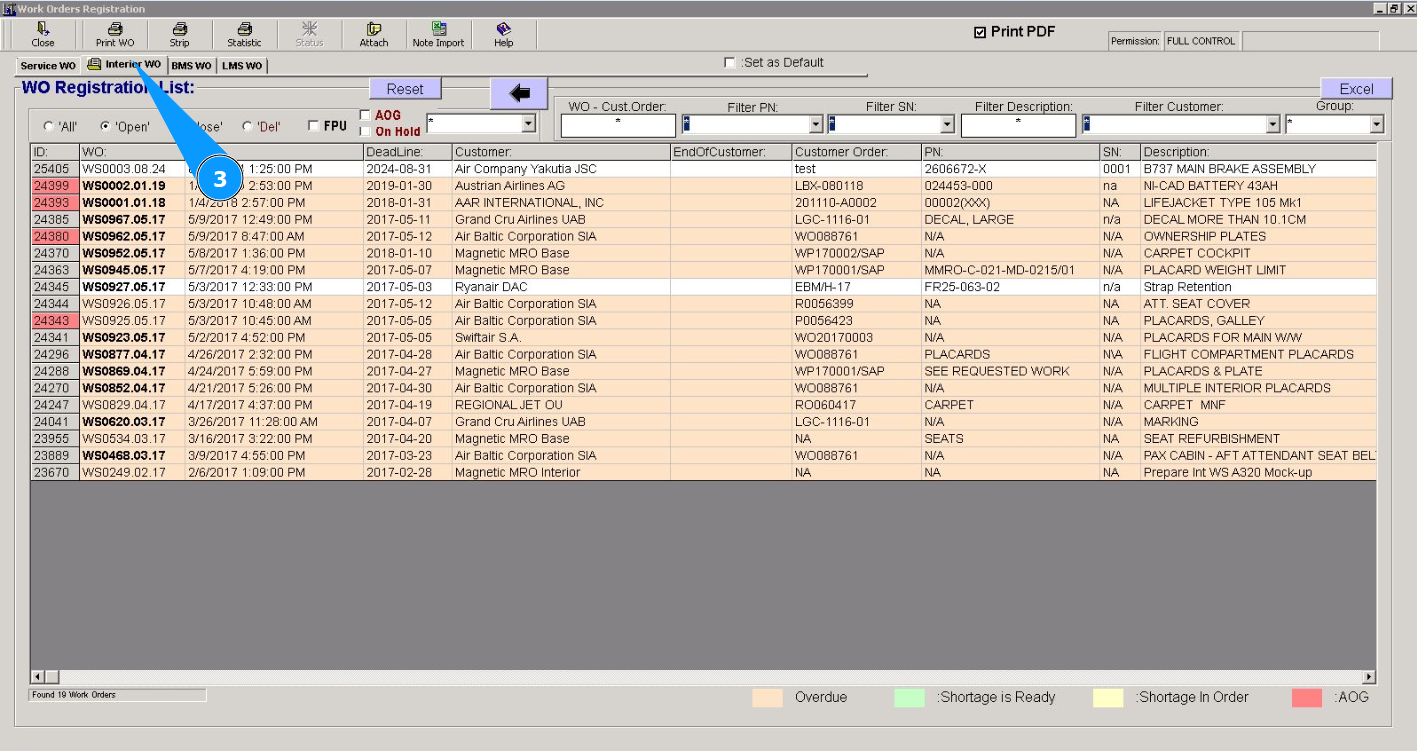
3. Then go to the tab "Interior WO".
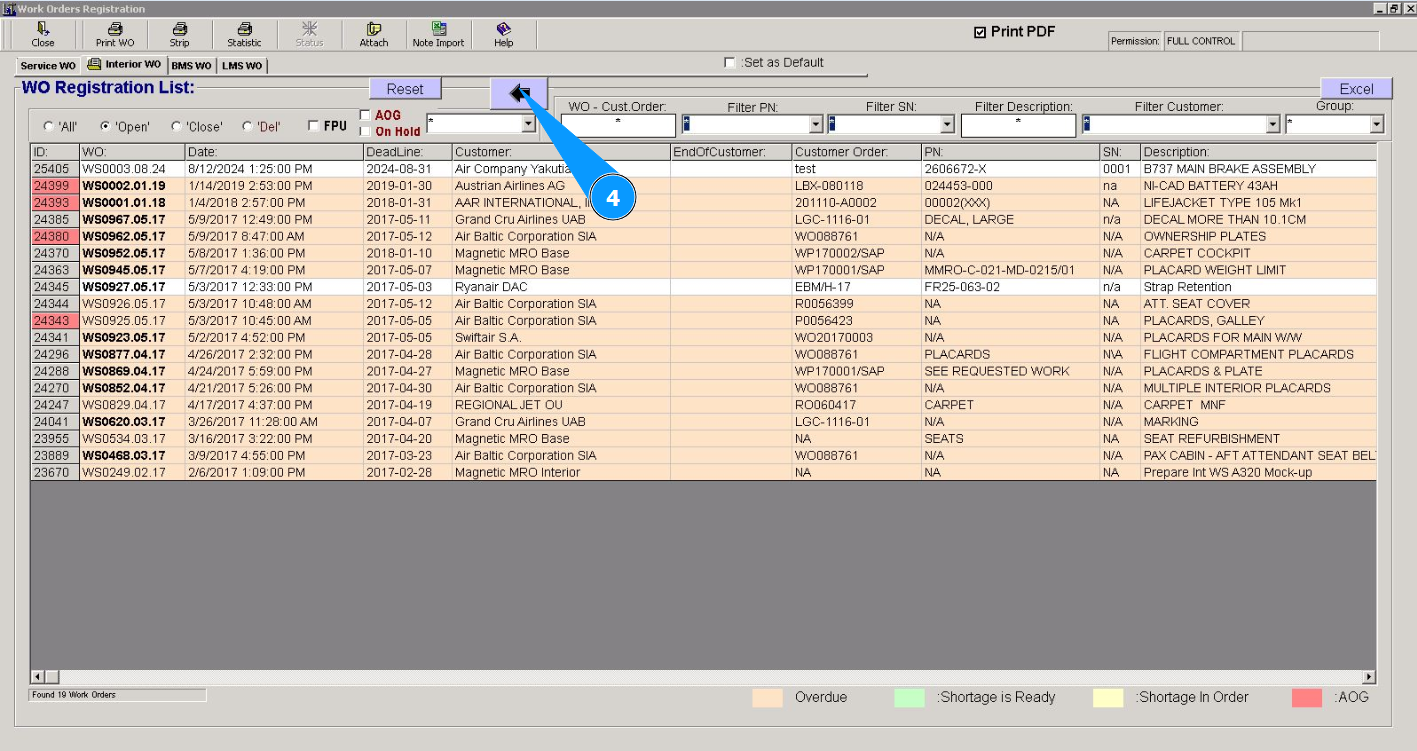
4. Click the arrow button to open the interior WO creation editor.
5. The creation date of the work order for interior equipment is set to today's date by default. If necessary, change it in the calendar. Note: The work order number will be created automatically by the program in the field "WO Number".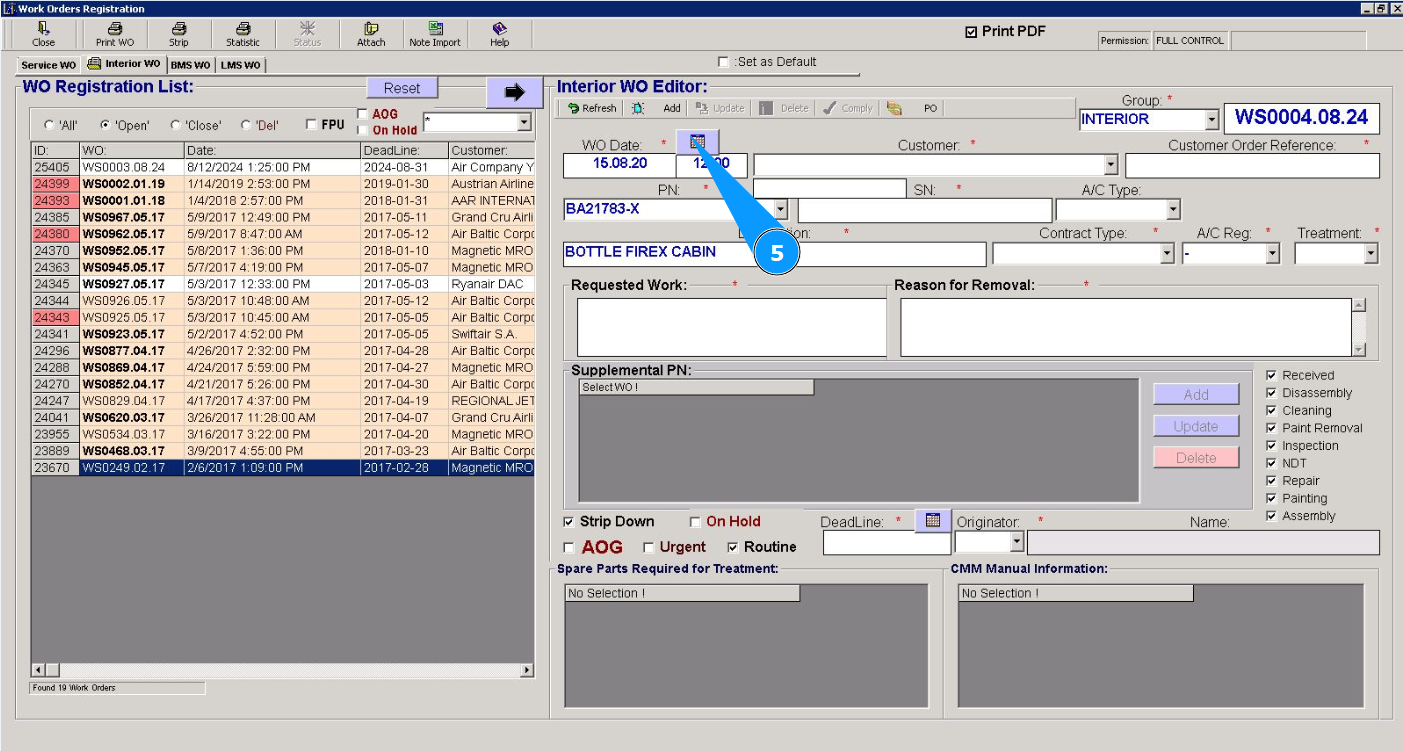
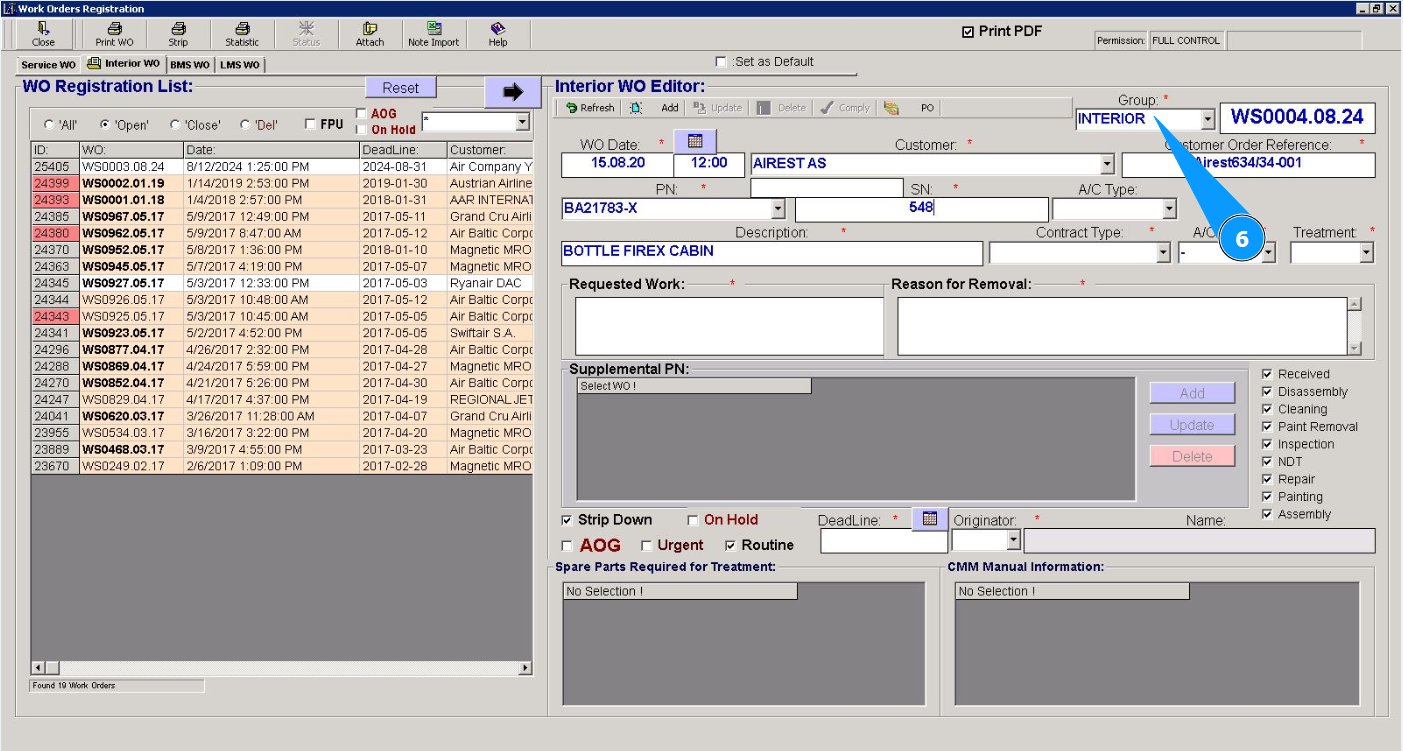
6. Select the work order group from the dropdown list in the field "Group".
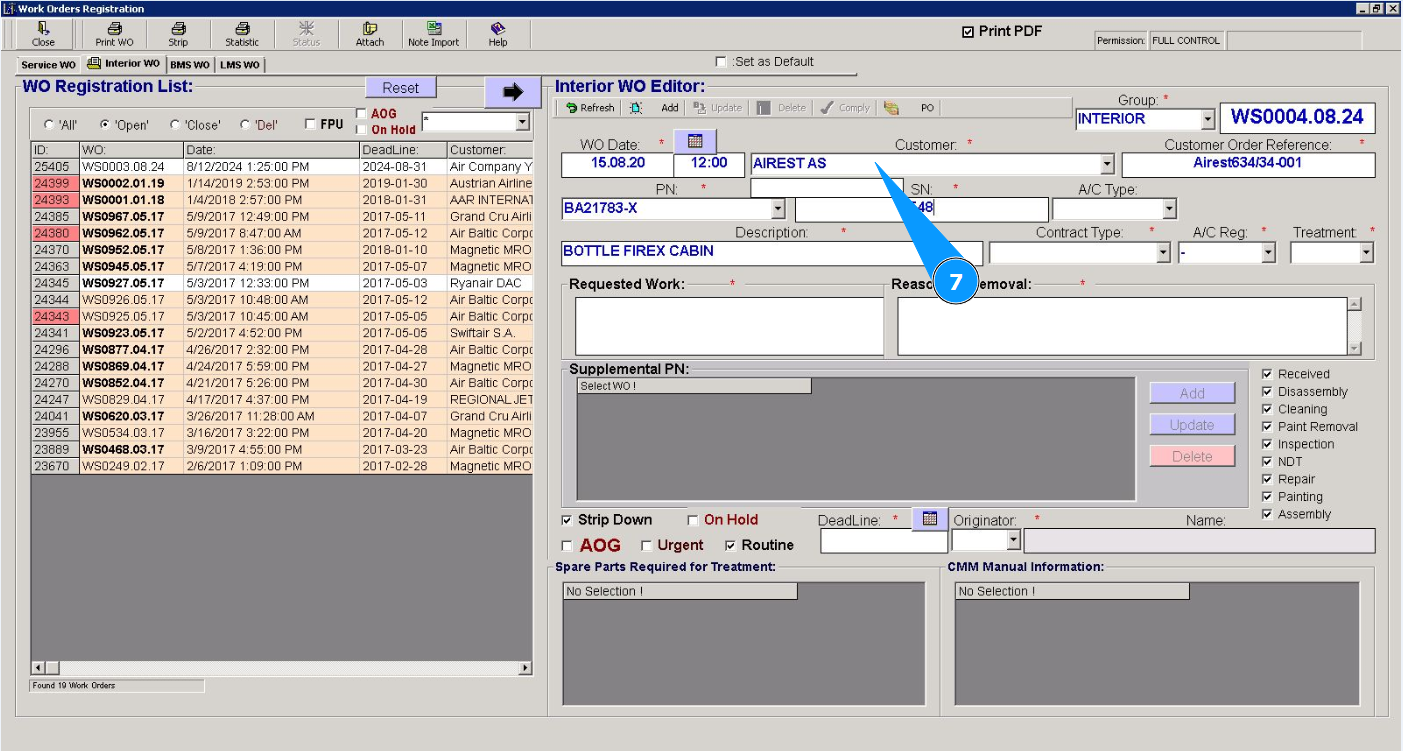
7. Select the company name from the dropdown list in the field "Customer".
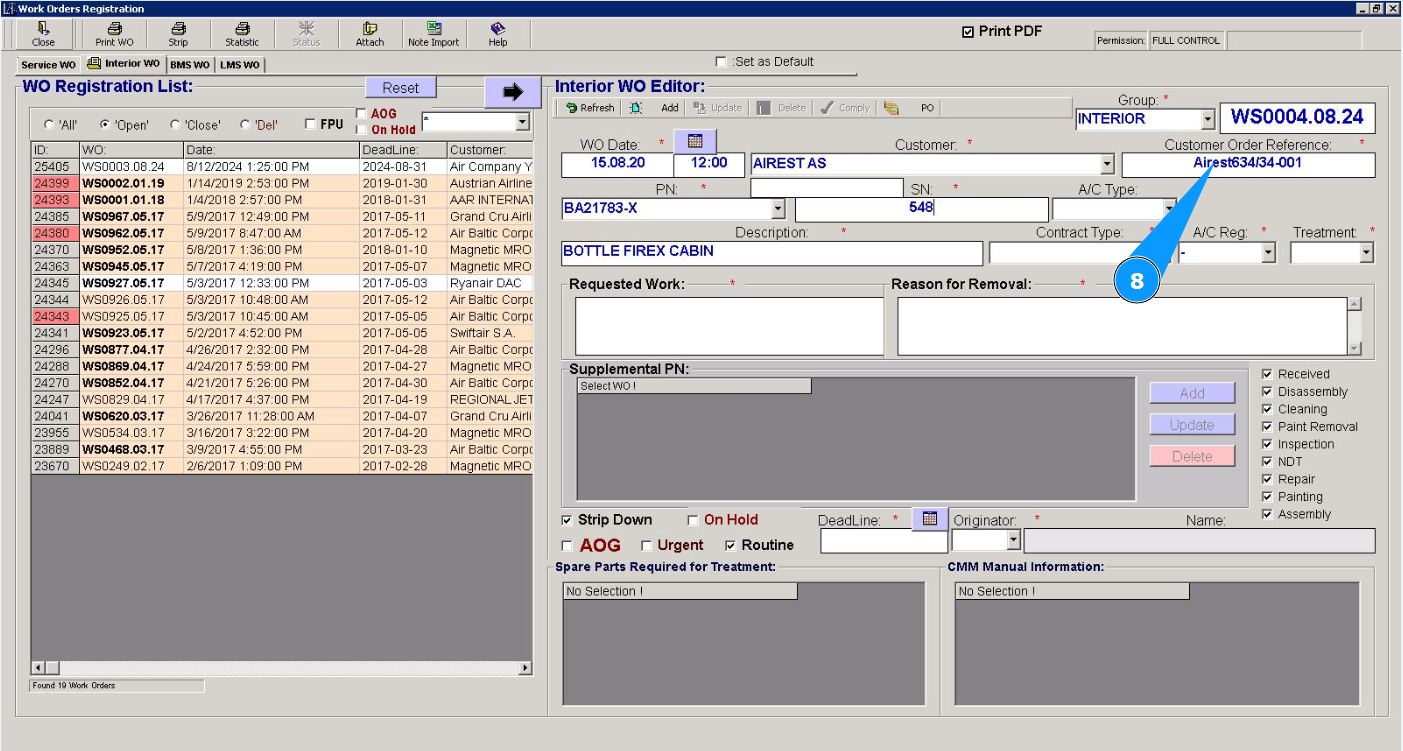
8. Enter a reference to the customer’s order or customer’s request in the field "Customer Order Reference".
9. Select from the dropdown list the part number of the component to perform the work in the field "PN". Note: The description of the selected component will be entered by the program automatically in the field "Description".
10. Enter the serial number of the component to perform the work in the field "SN".

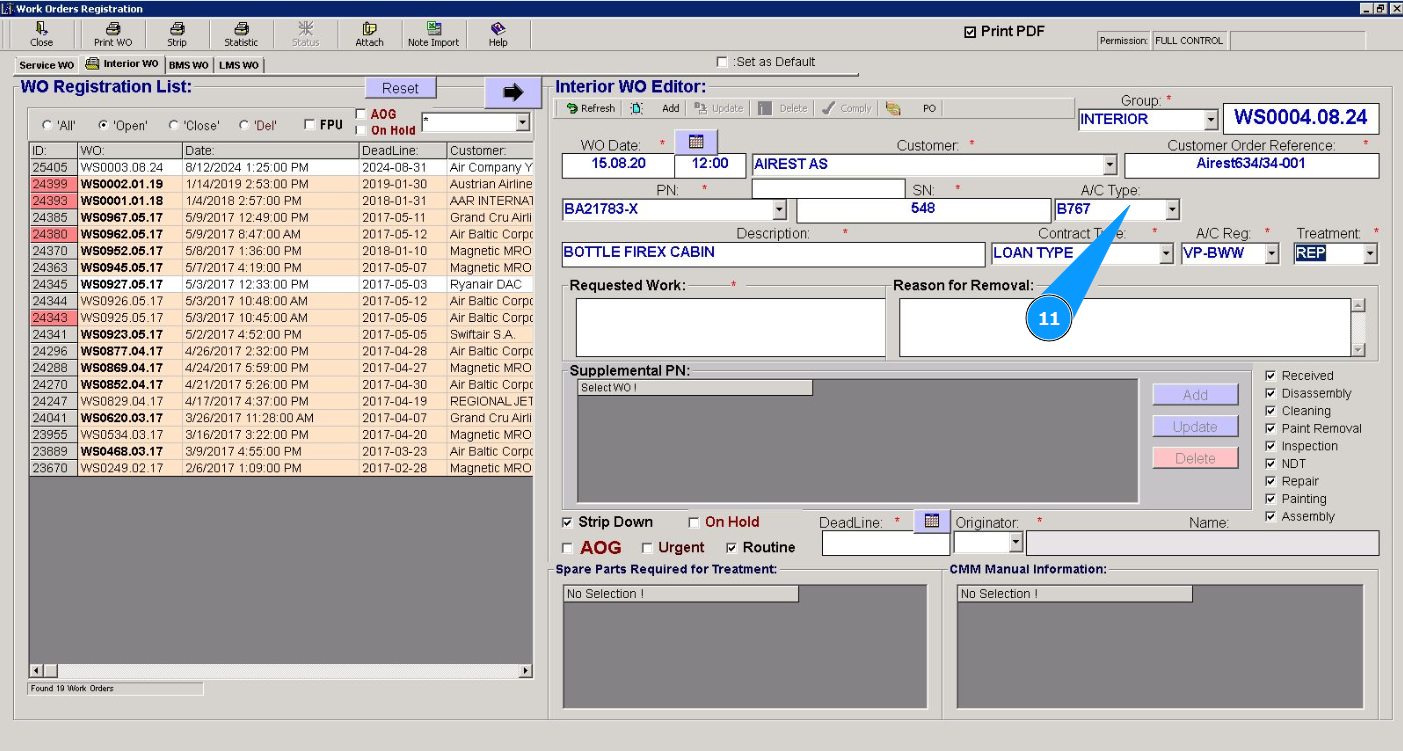
11. Select the aircraft type from the dropdown list in the field "A/C Type.
12. Select the contract type from the dropdown list in the field "Contract Type.

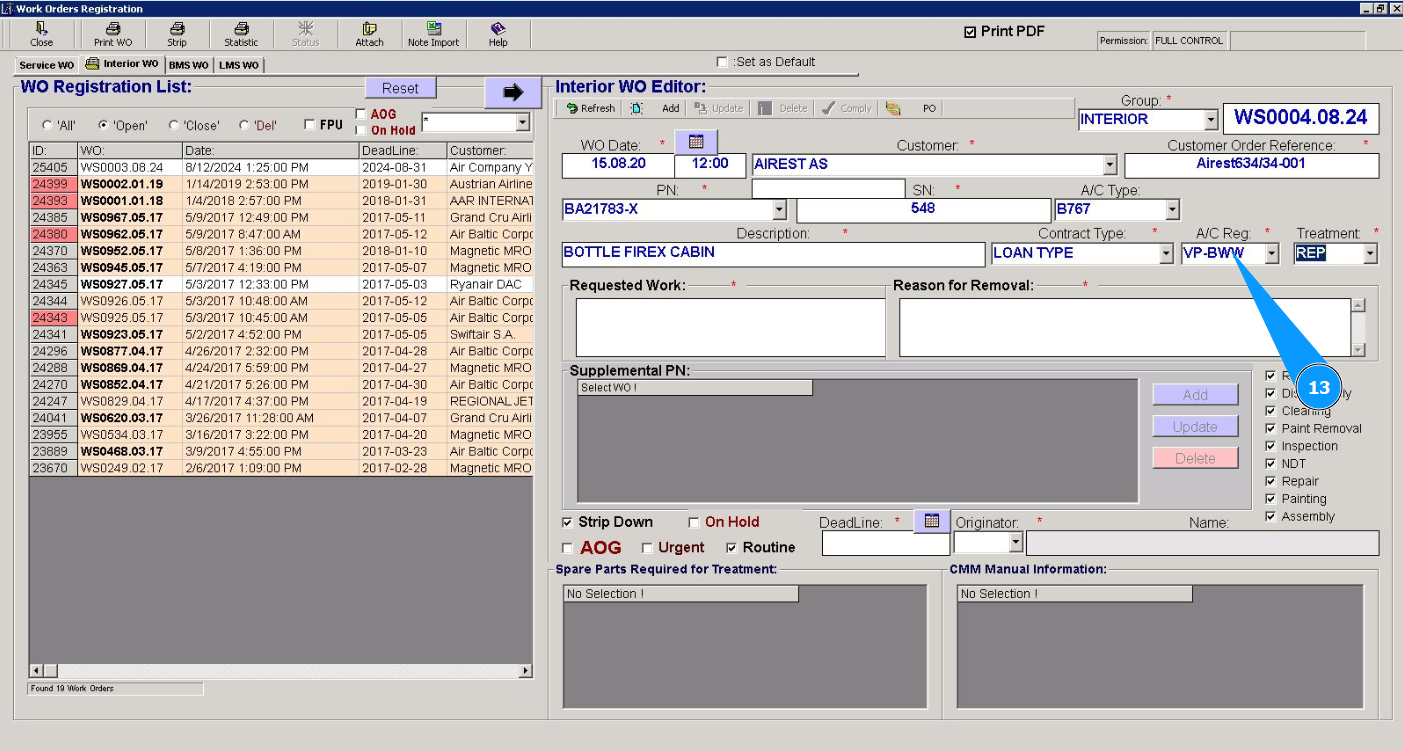
13. Select the aircraft registration number from the dropdown list in the field "A/C Reg..
14. Select the required type of work from the dropdown list in the field "Treatment.

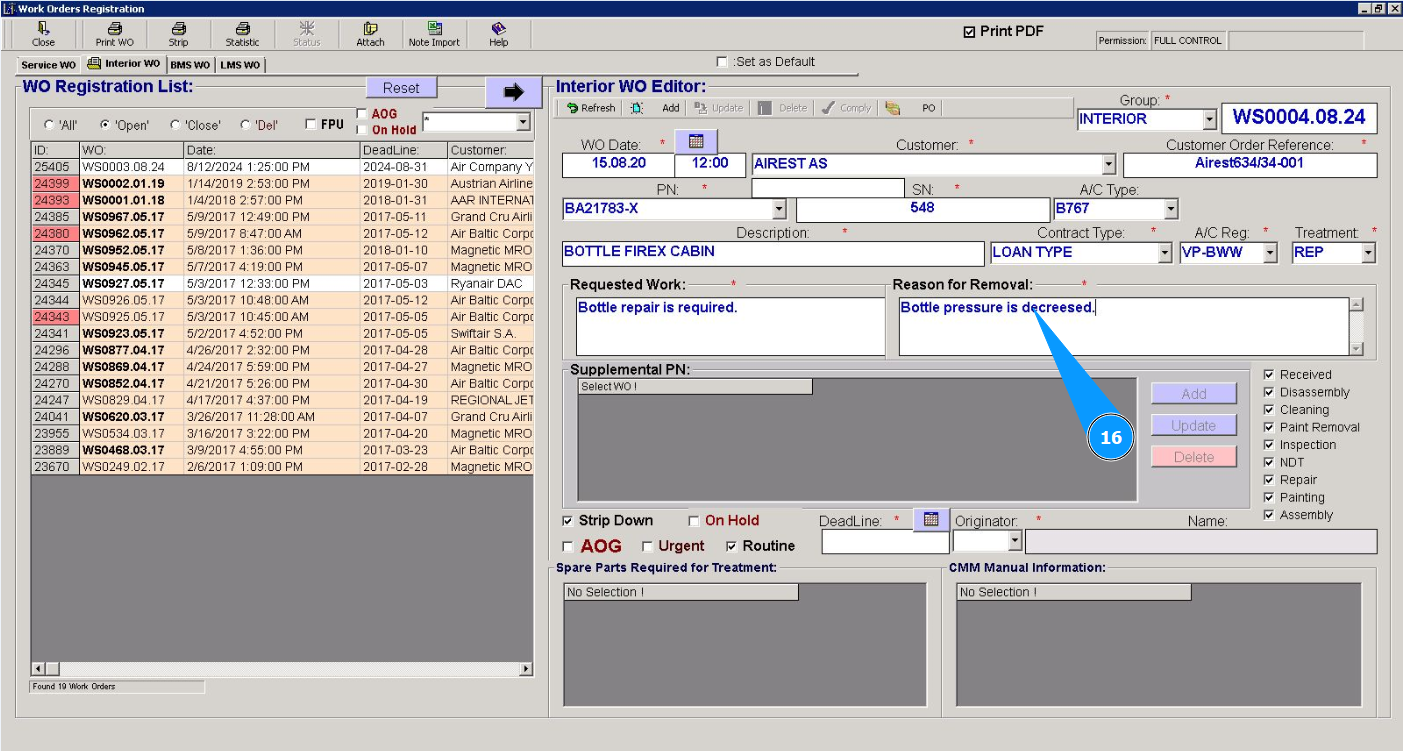
15. Enter the required work in the field "Requested Work".

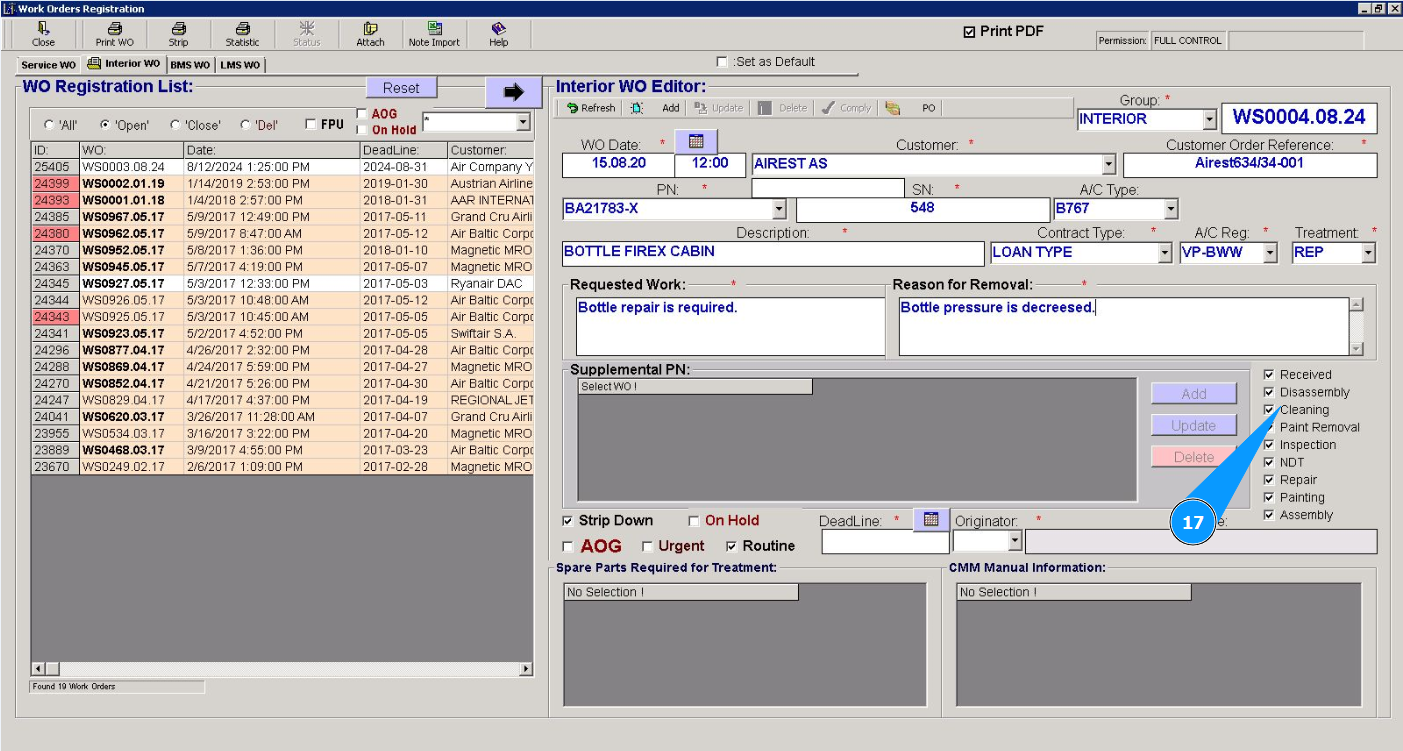
16. Enter the reason for removing the component in the field "Reason of Removal".
17. Select the required types of work and tick in the appropriate window.
18. If necessary, select the required work criteria and tick in the appropriate window.

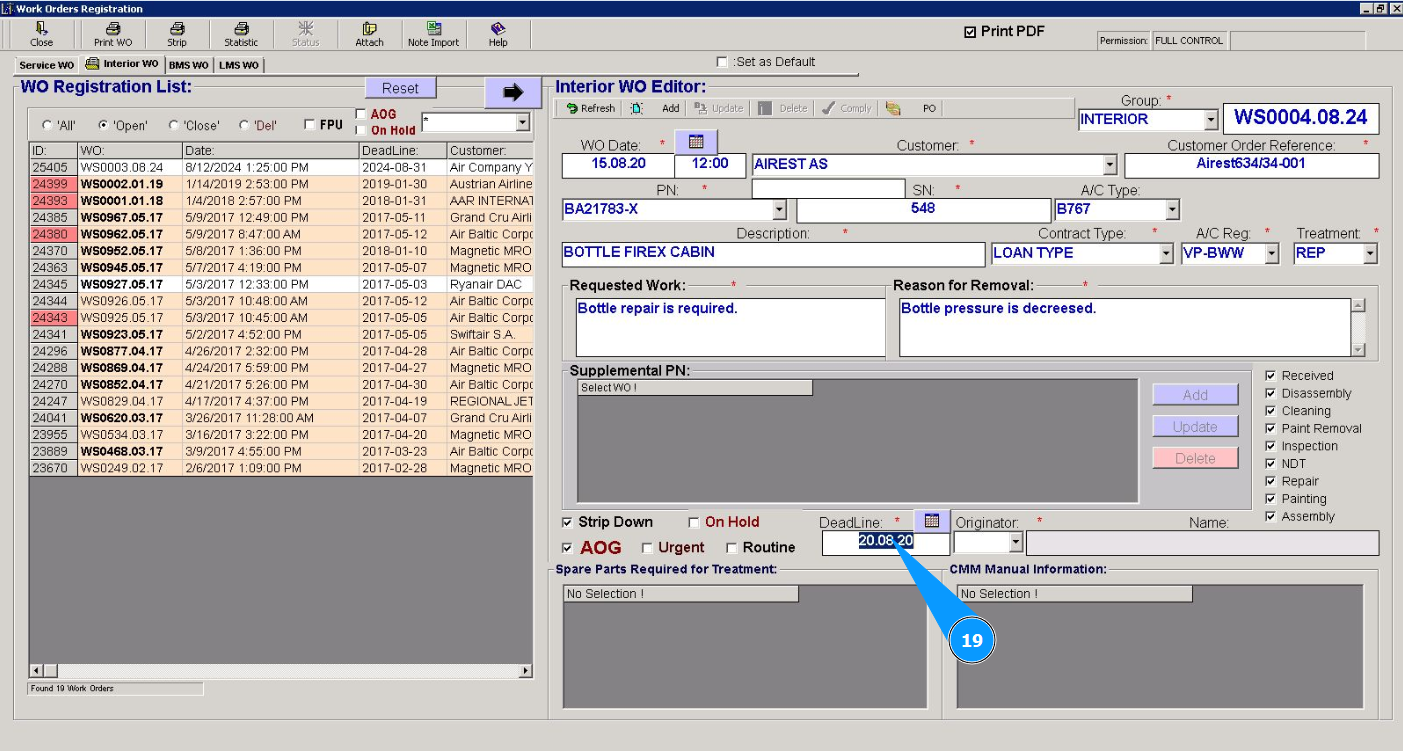
19. Select the work deadline date from the calendar in the field "Deadline".
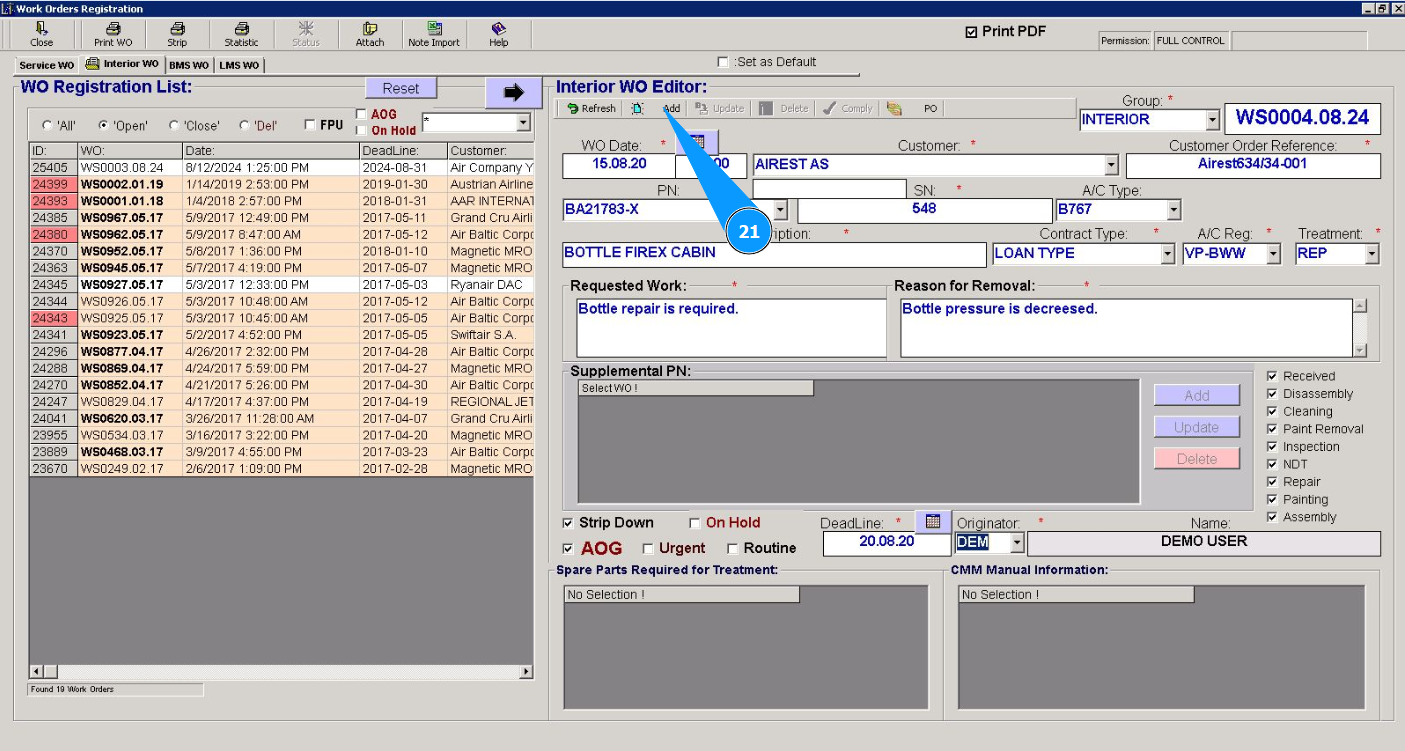
20. Select the specialist or creator of WO (in accordance with your company policy) from the dropdown list in the field "Originator".

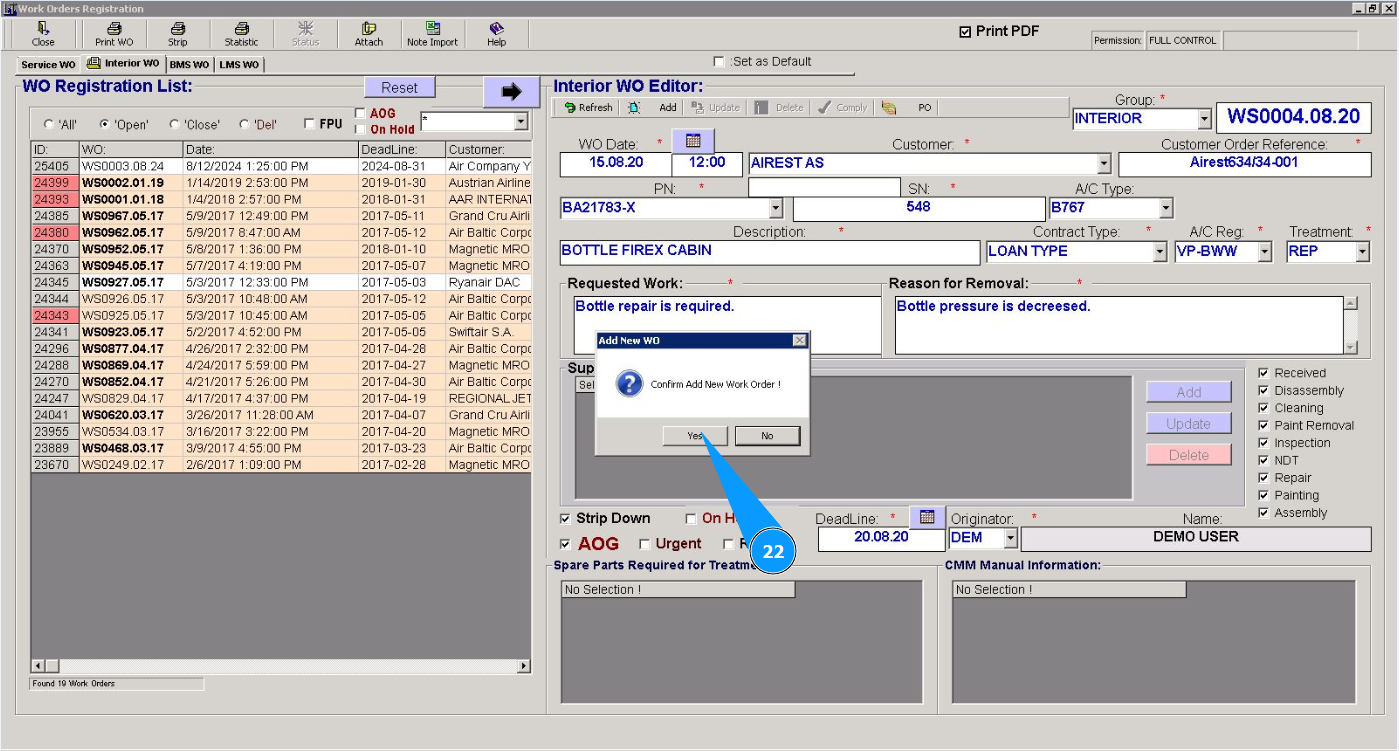
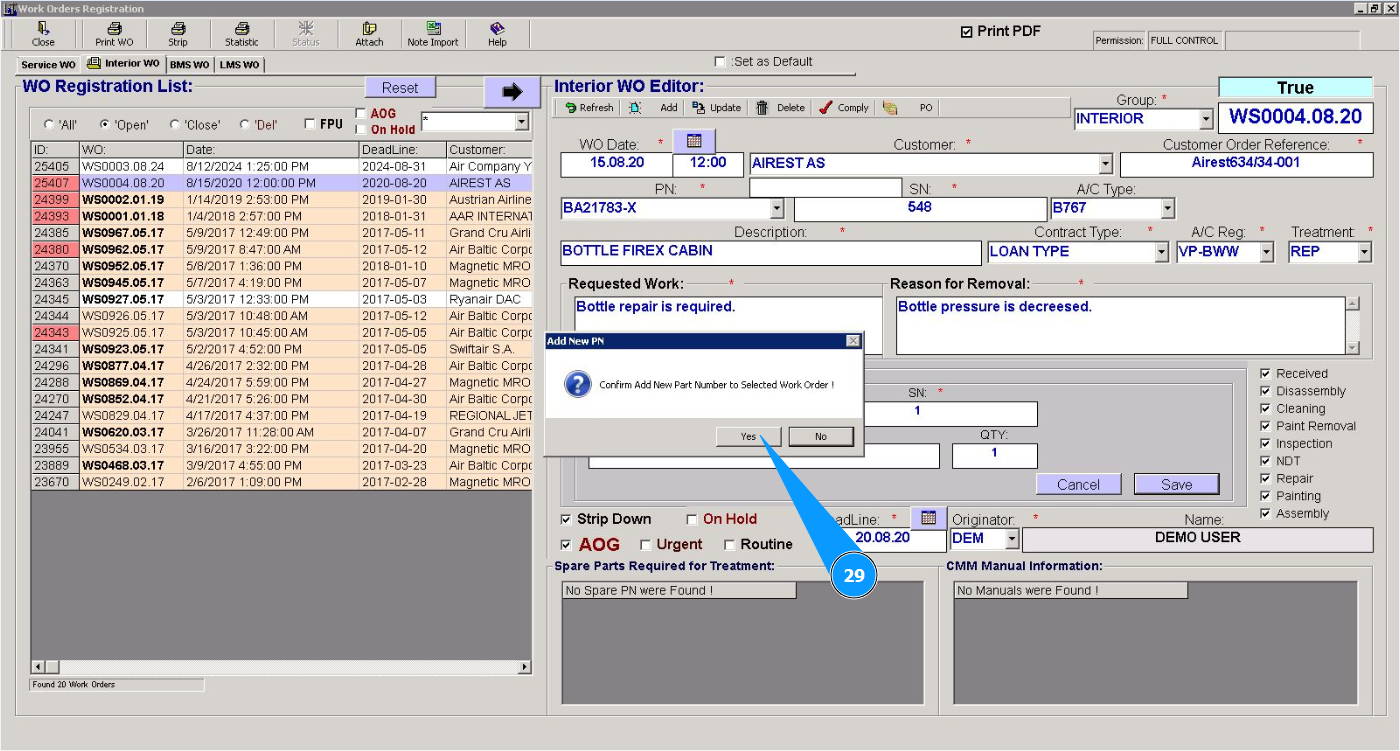
21. Click on the button "Add" to add the order data for interior equipment to the program.
22. Click on the button "Yes" to confirm adding data to the program.
23. Check that the newly created WO is displayed in the window "WO Registration List".

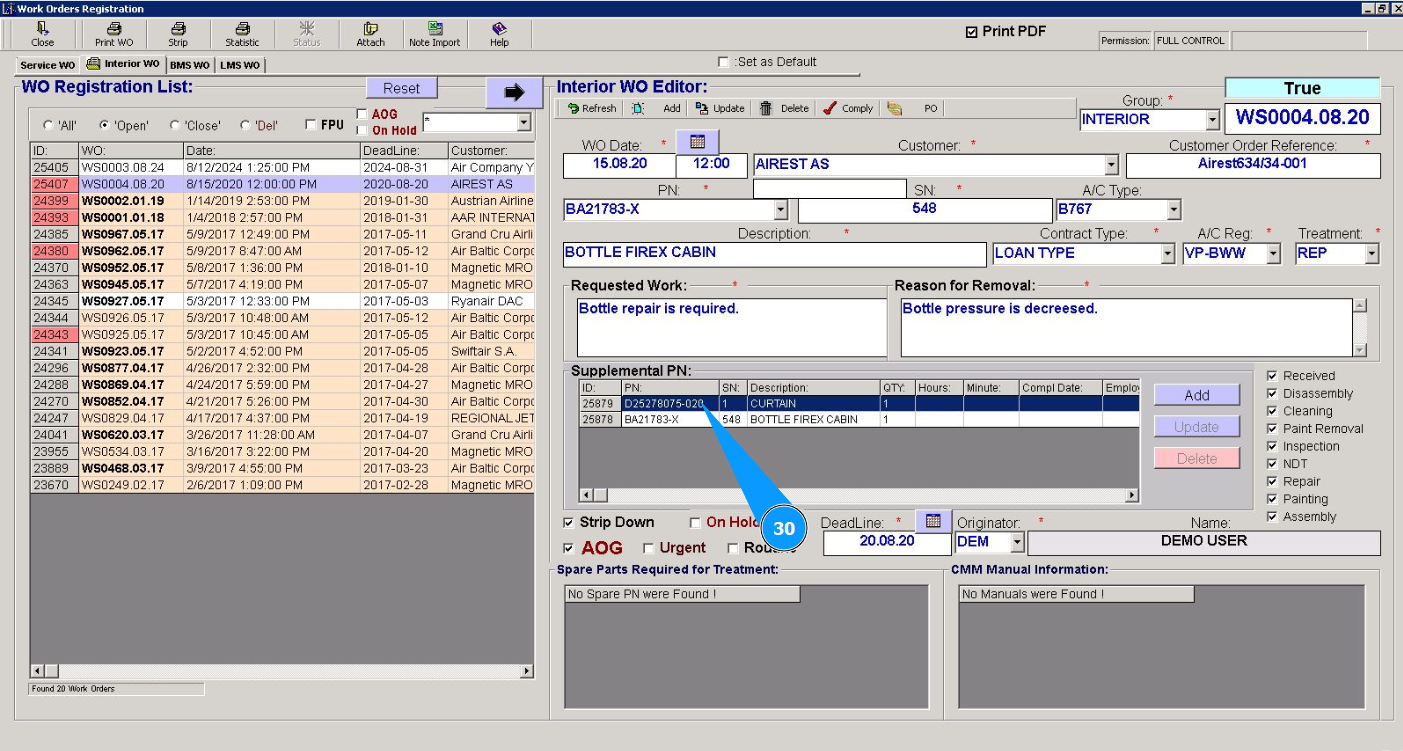
24. If necessary, add an additional part number. Click on the button "Add".

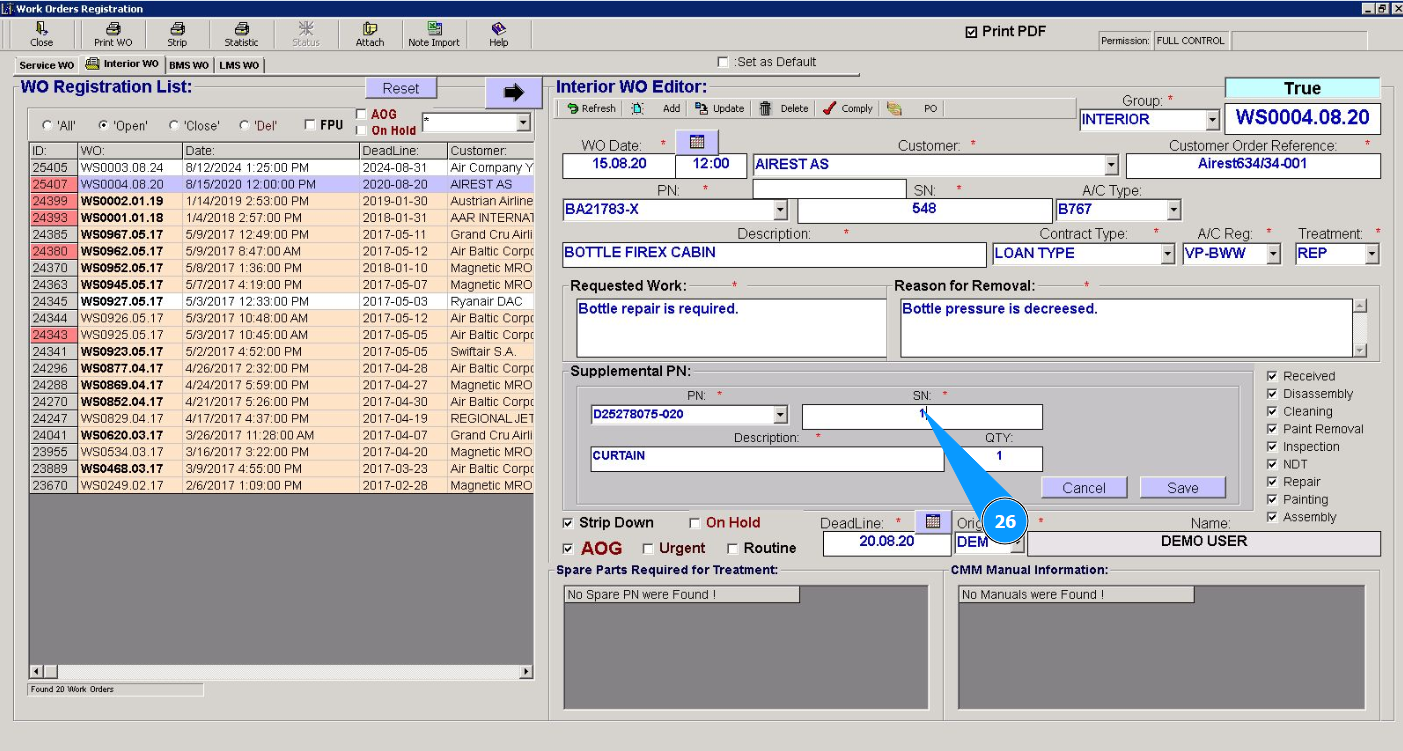
25. Select from the dropdown list the additional part number of the component to perform the work in the field "PN". Note: The description of the selected component will be entered by the program automatically in the field "Description".
26. Enter the serial number of the component to perform the work in the field "SN".
27. Enter the quantity of components with an additional part number in the field "Qty".

28. Click on the button "Save" to add an additional part number for order of the interior equipment to the program.

29. Click on the button "Yes" button to confirm adding data to the program
30. Check that the additional part number is displayed in the window "Supplemental PN".
Attention: If you need to immediately close this work order for interior equipment, go to the corresponding instruction:
"How to close a work order for interior equipment (Interior Work Order)"