How to close a work order for interior equipment (Interior WO)
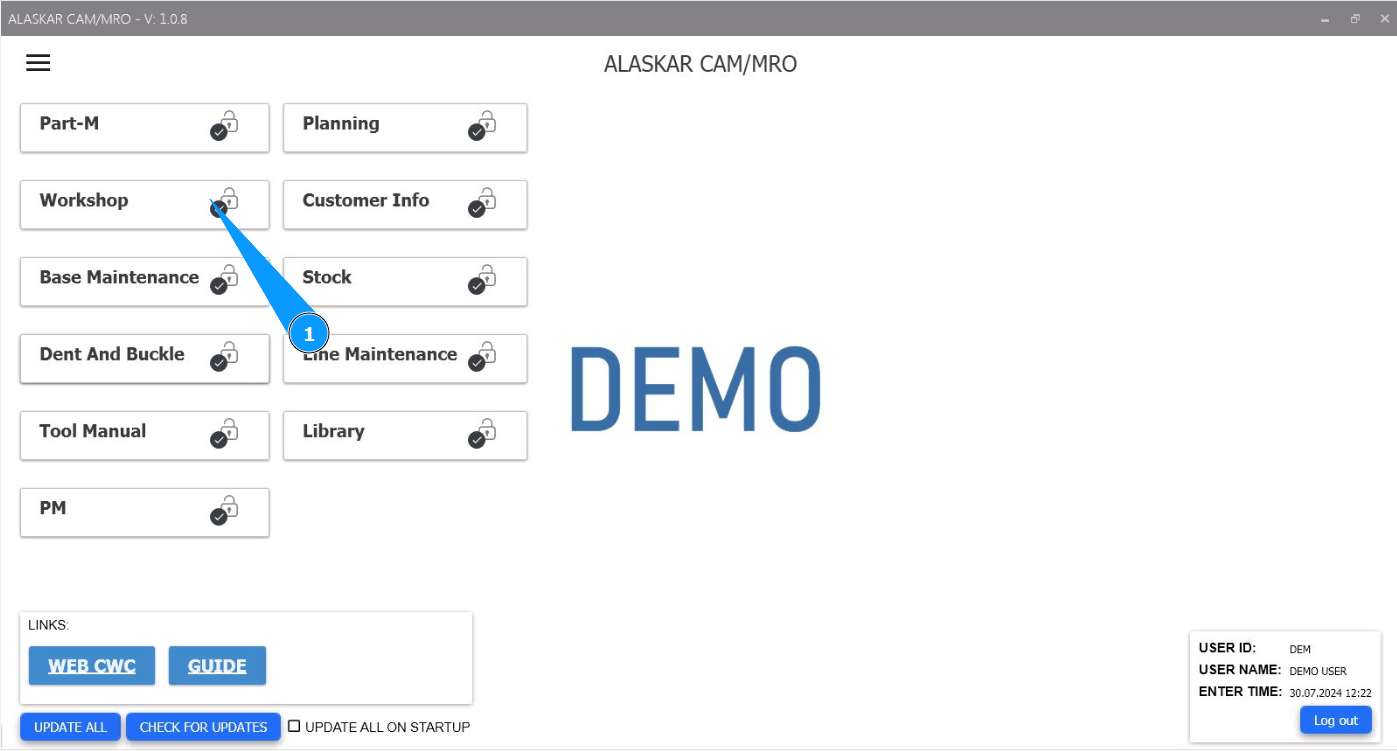
1. In order to close the work order for interior equipment (Interior WO), go to the module "Workshop".
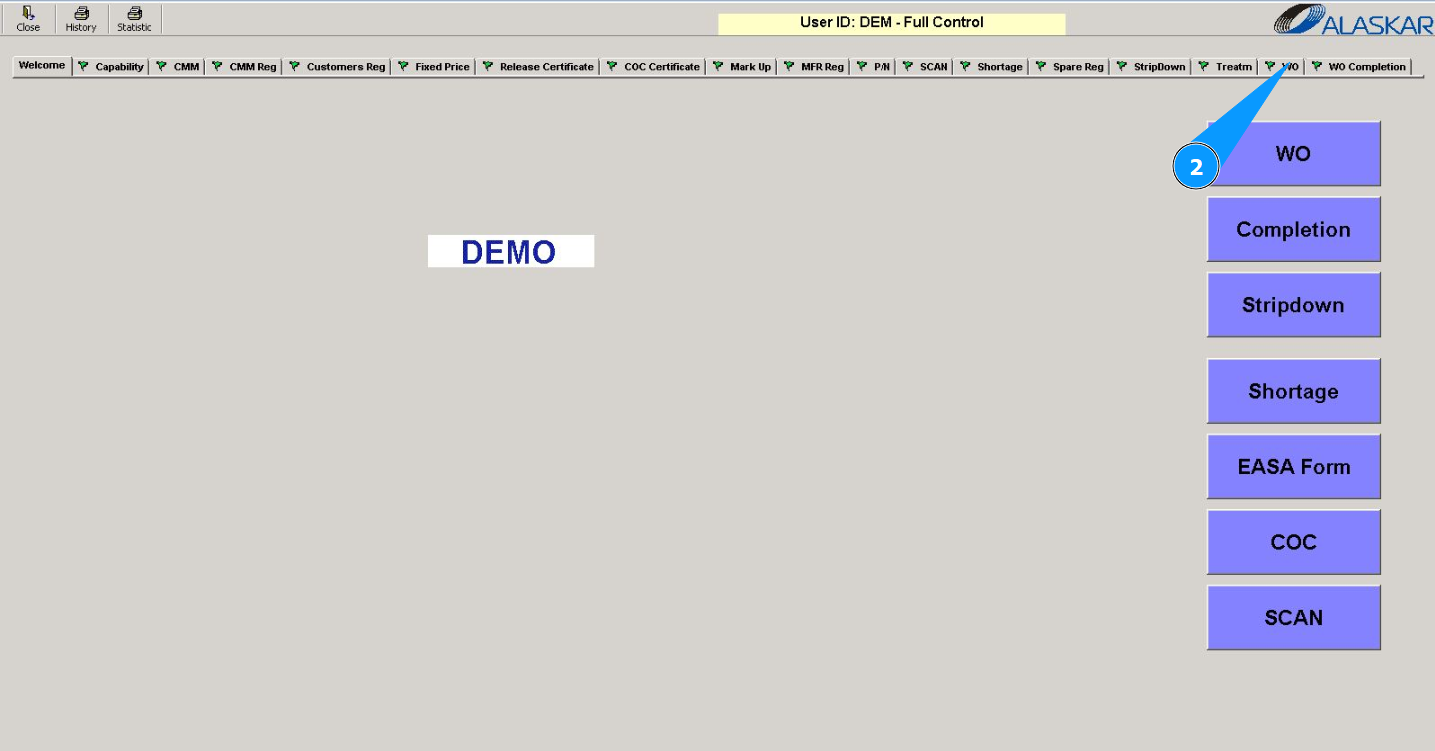
2. Then go to the tab "WO".
Note: Closing the work order for interior equipment is possible from the tab "WO Completion" or when entering the submodule "Completion" as well.
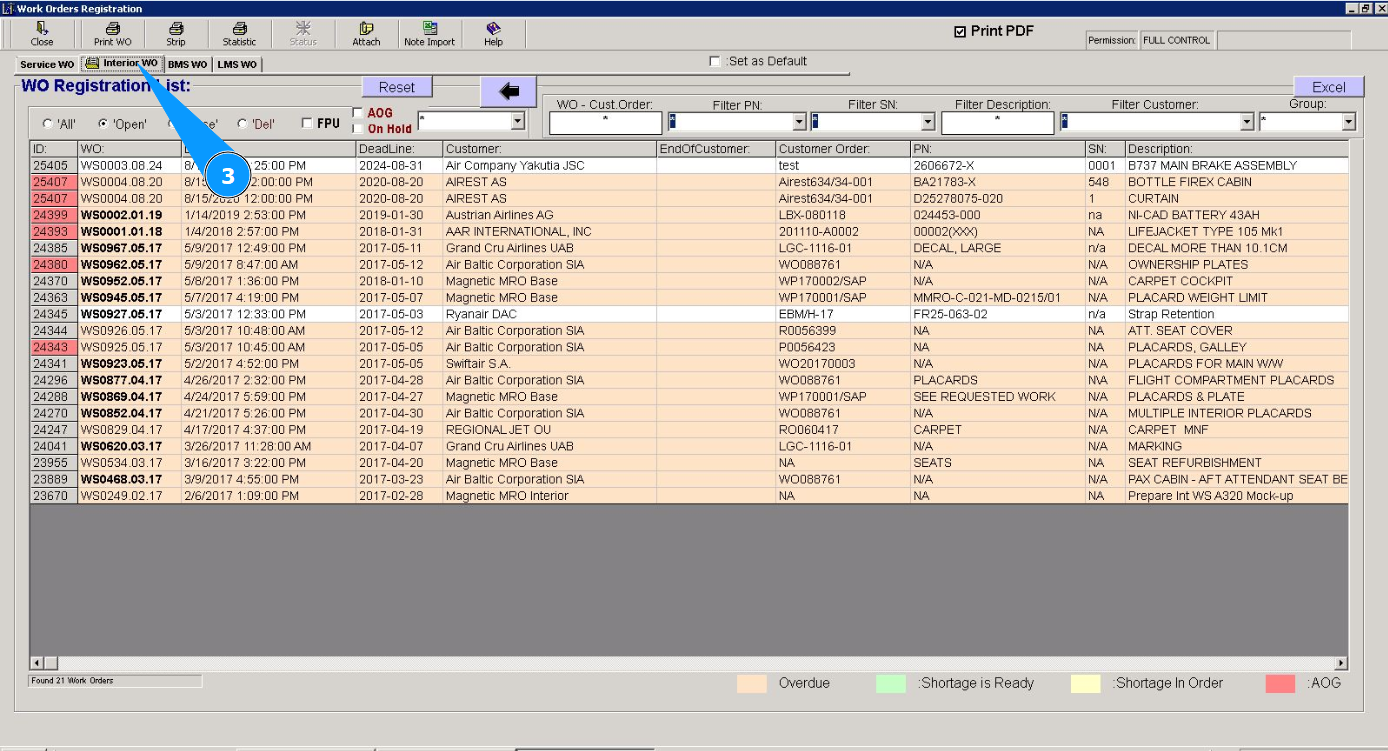
3. Then go to the tab "Interior WO".
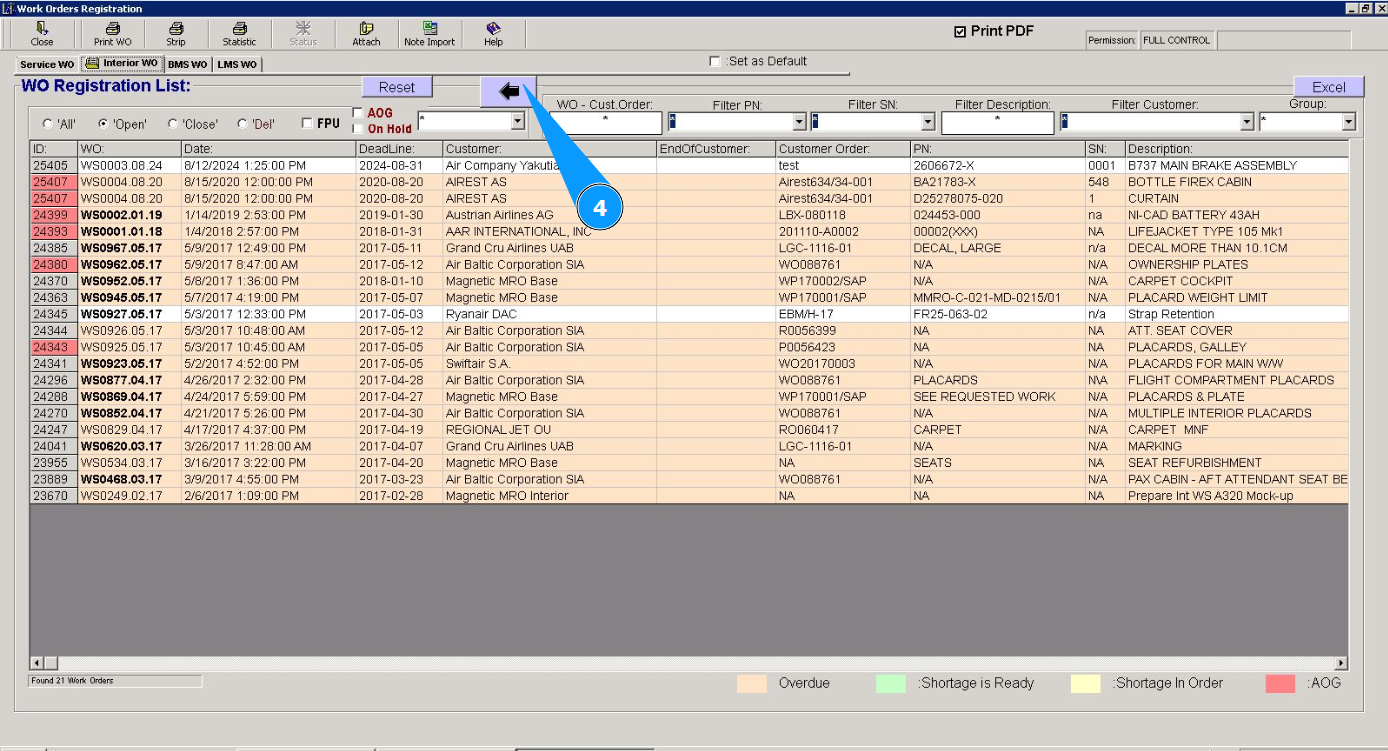
4. Click on the button with an arrow to open the WO creation editor.
5. Select the required one from the list of work orders in the window "WO Registration List". Click on the appropriate line. Note: Use the available filters if necessary.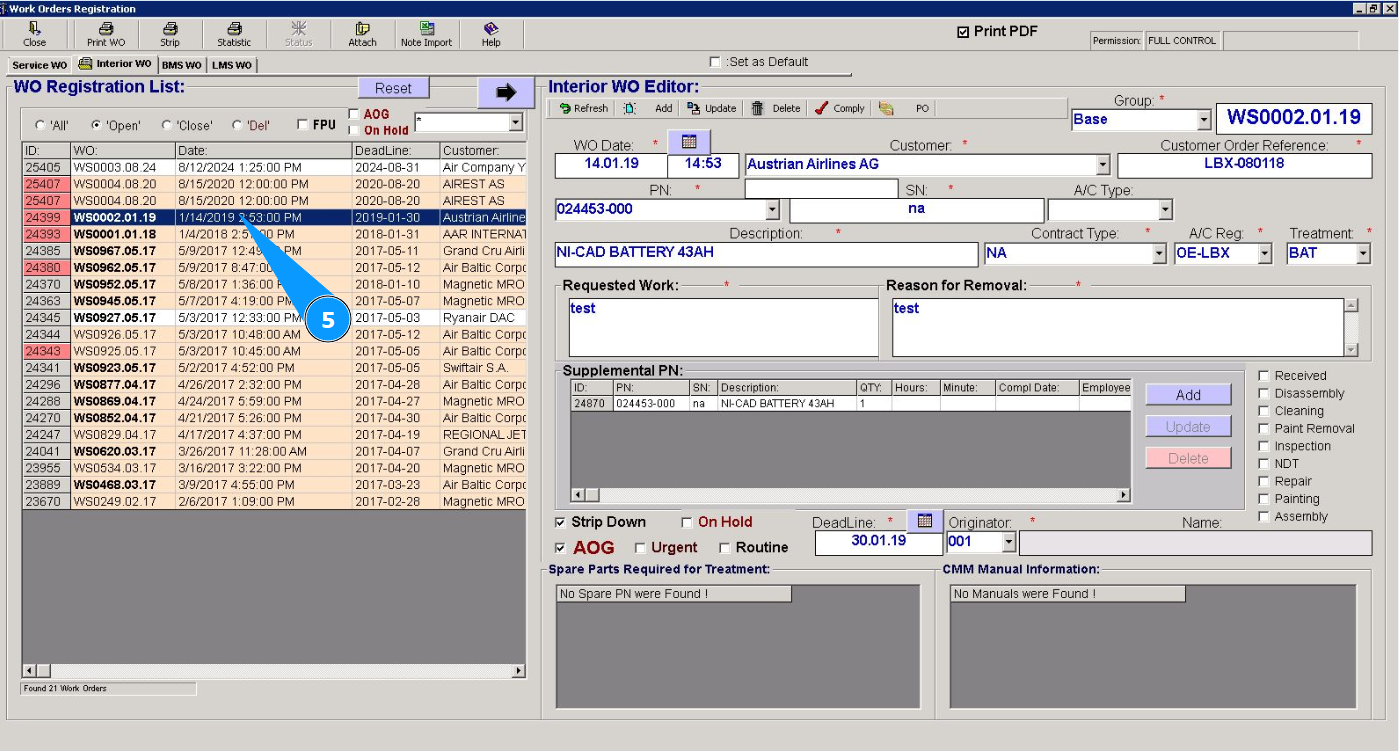
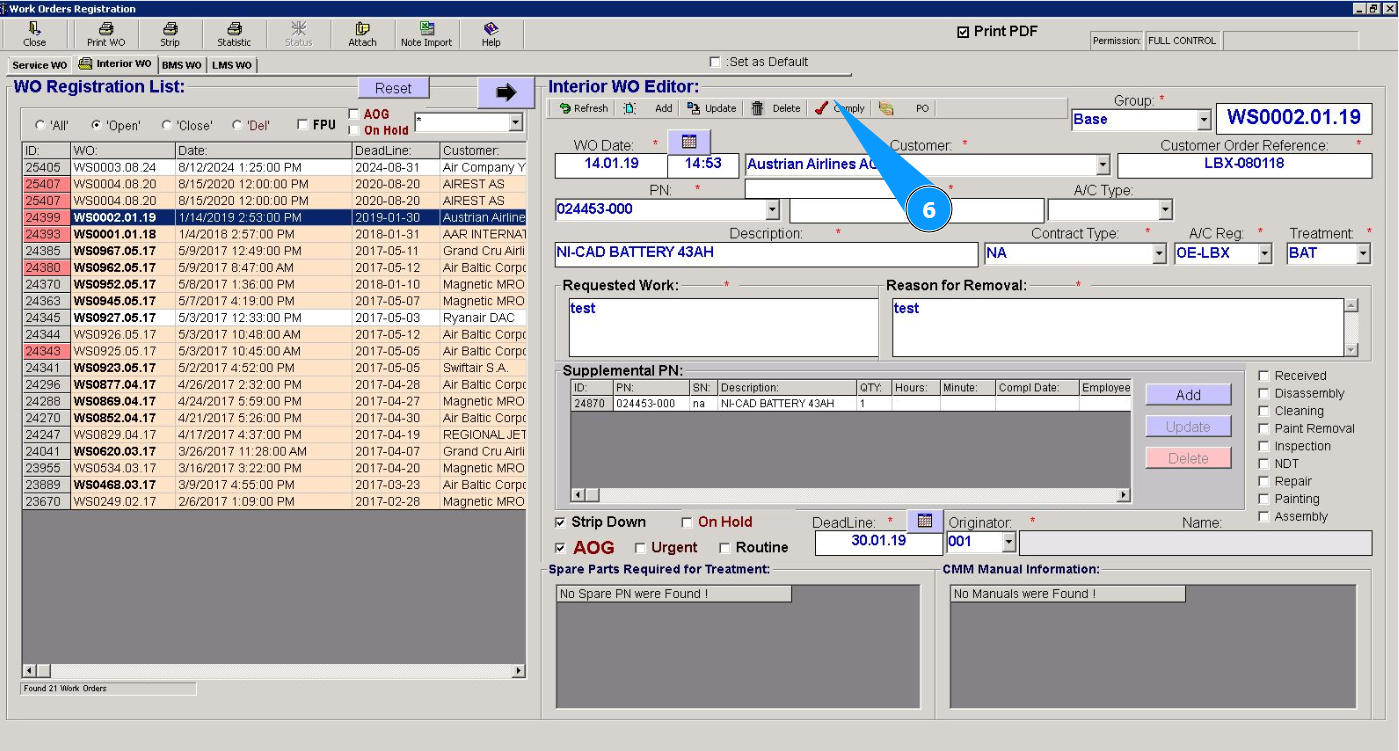
6. Click on the button "Comply" to open the service order closure editor.
7. Make sure that the editor opens in the window "Work Order Completion Form".
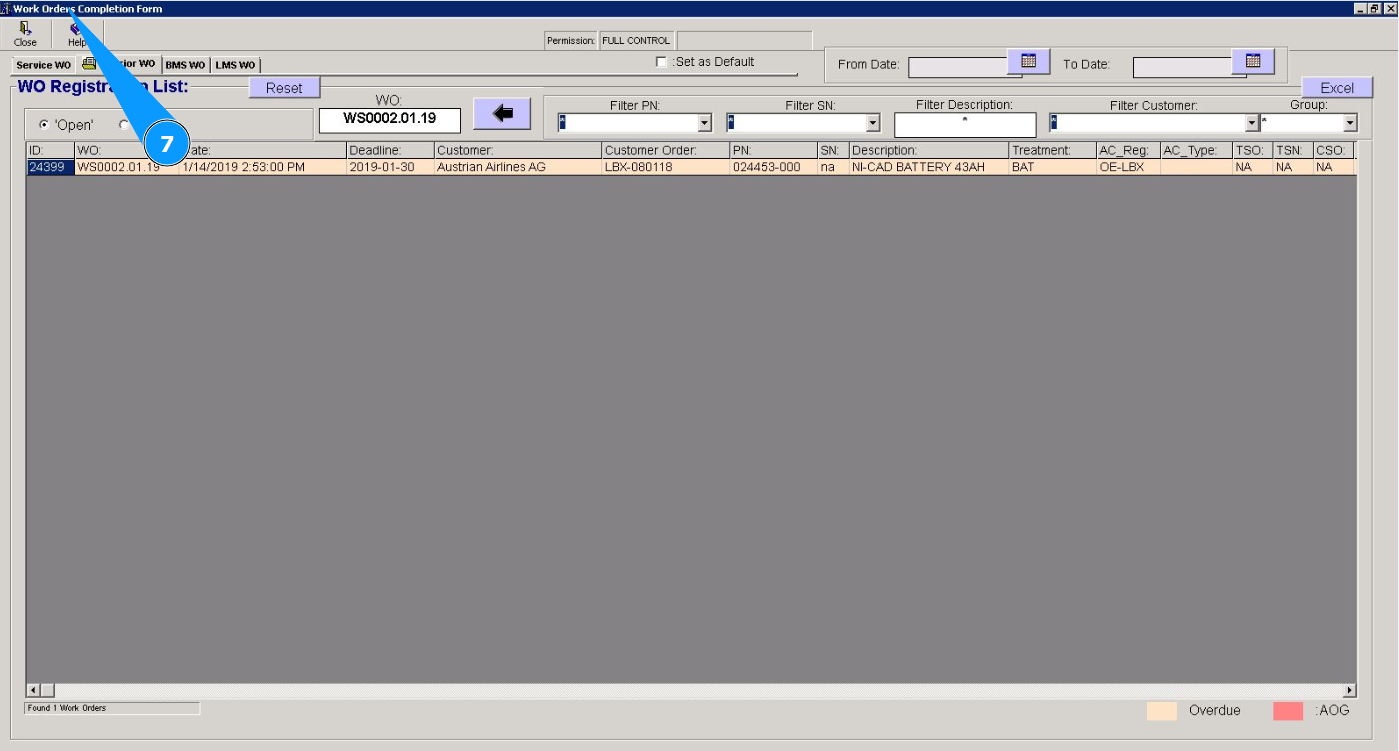
8. Click on the button with an arrow to open the work order close editor.

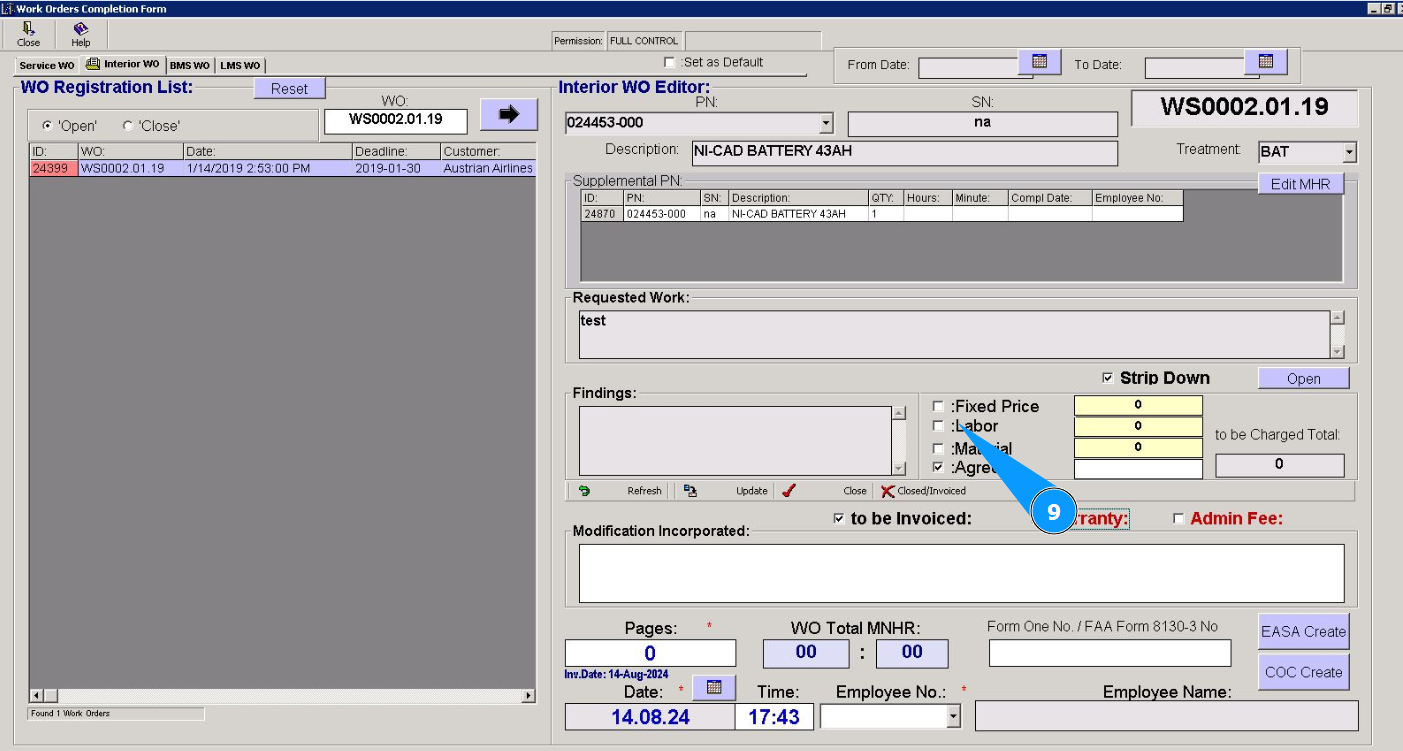
9. Select the cost you want to take into account for this work and click in the appropriate window.
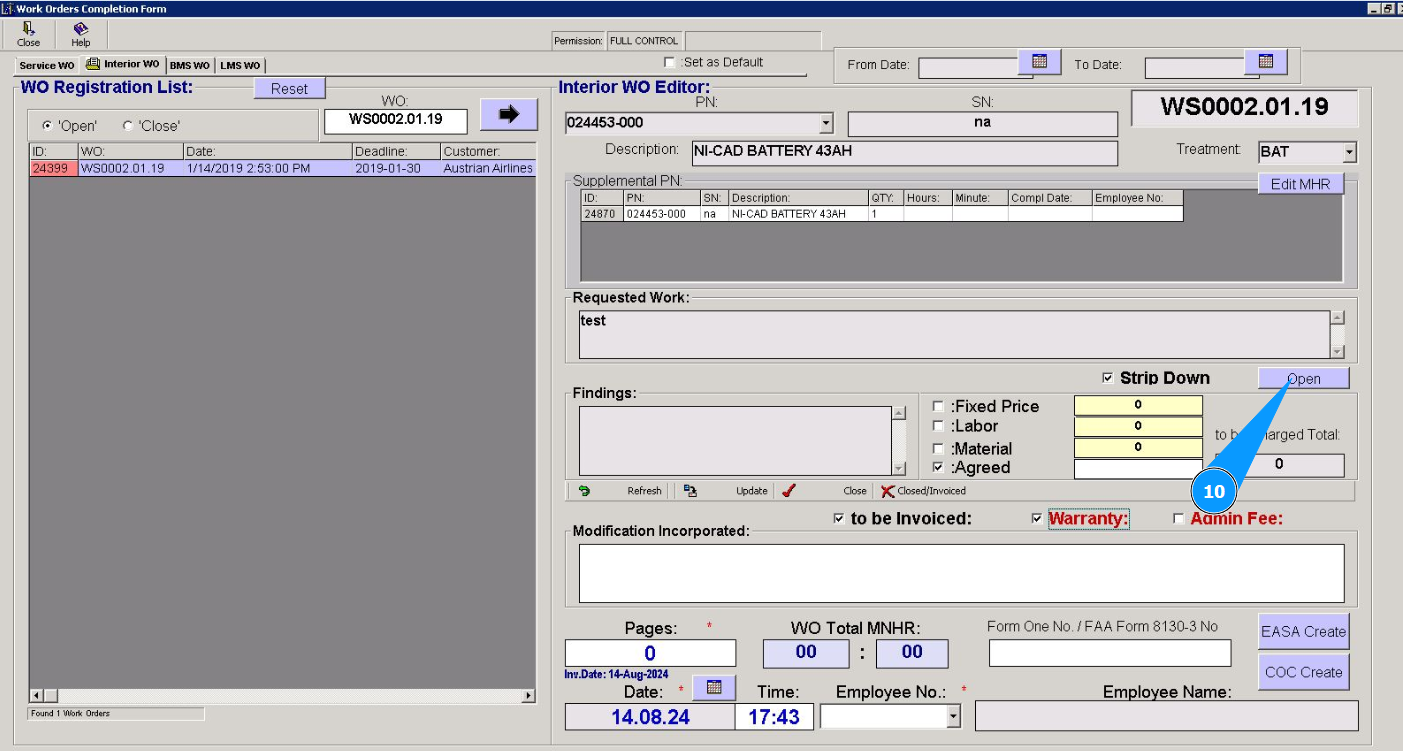
10. If you need additional completion of the work order, go to the "Stripdown" editor and click on the button "Open".
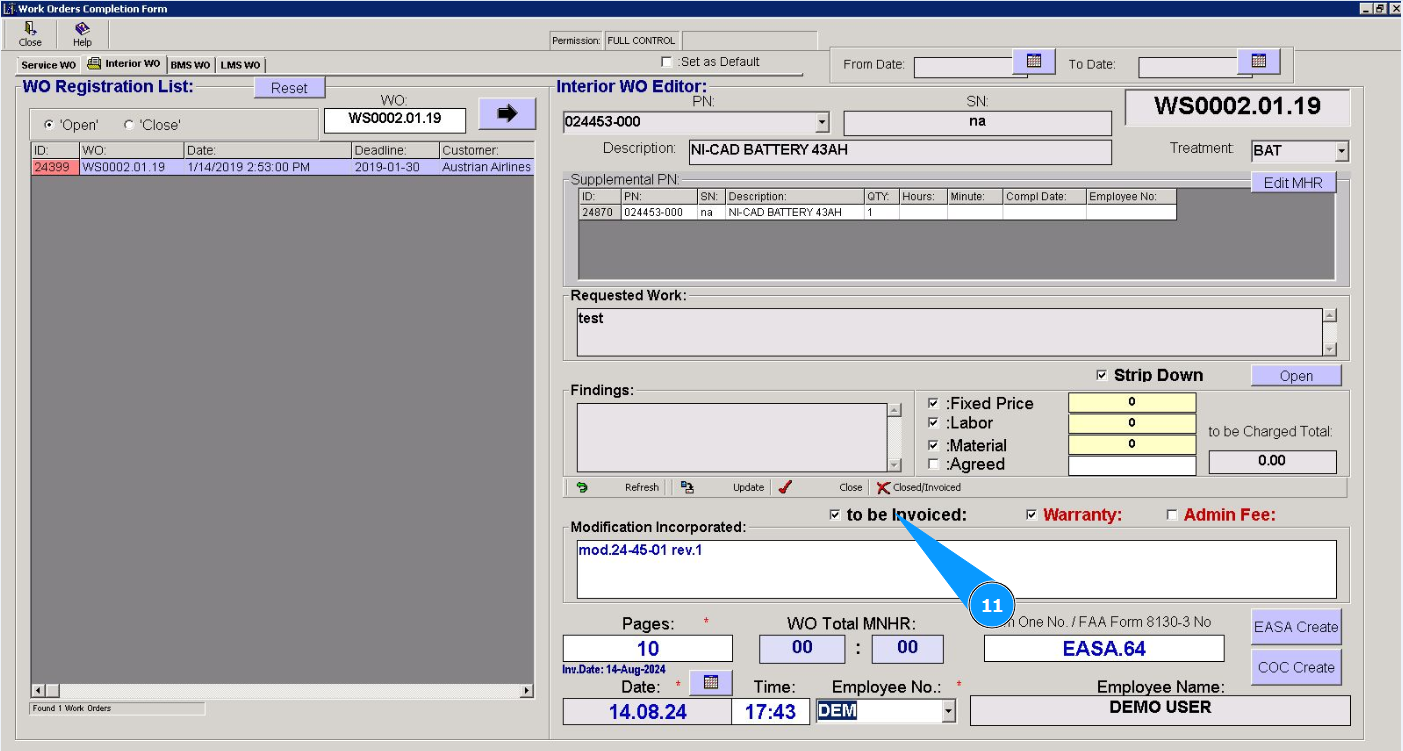
11. Select which payment option you want to consider for this work order and click in the appropriate window.
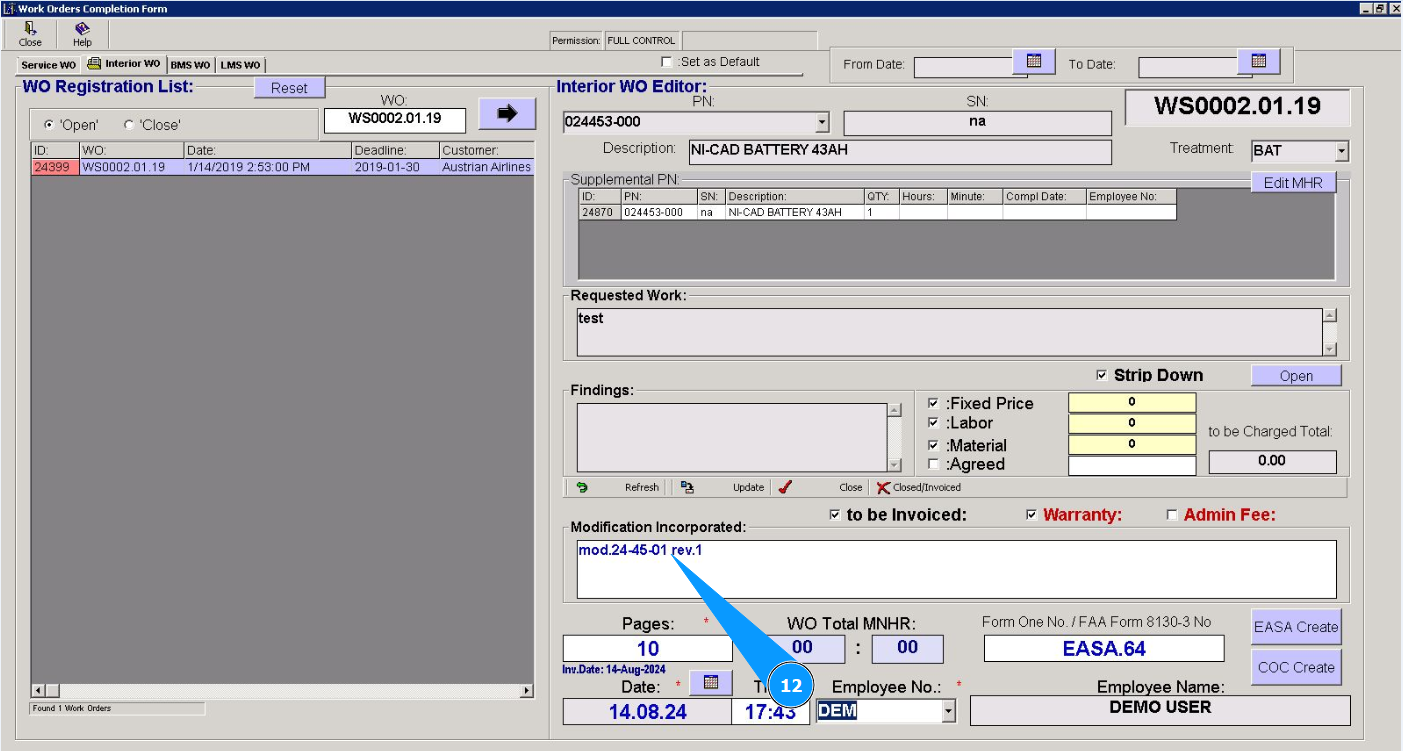
12. Enter the modifications made during the work in the field "Modification Incorporated".
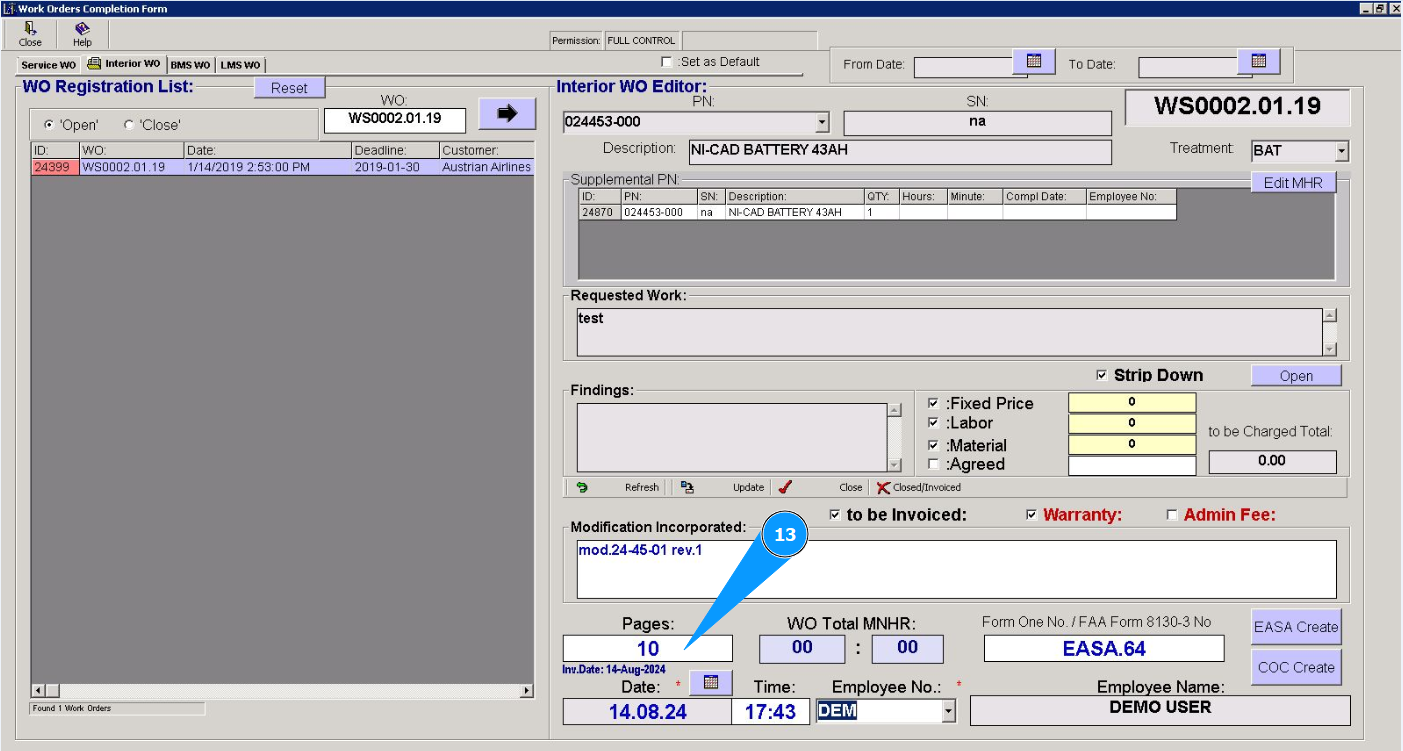
13. Enter the page number of the work in the field "Pages".
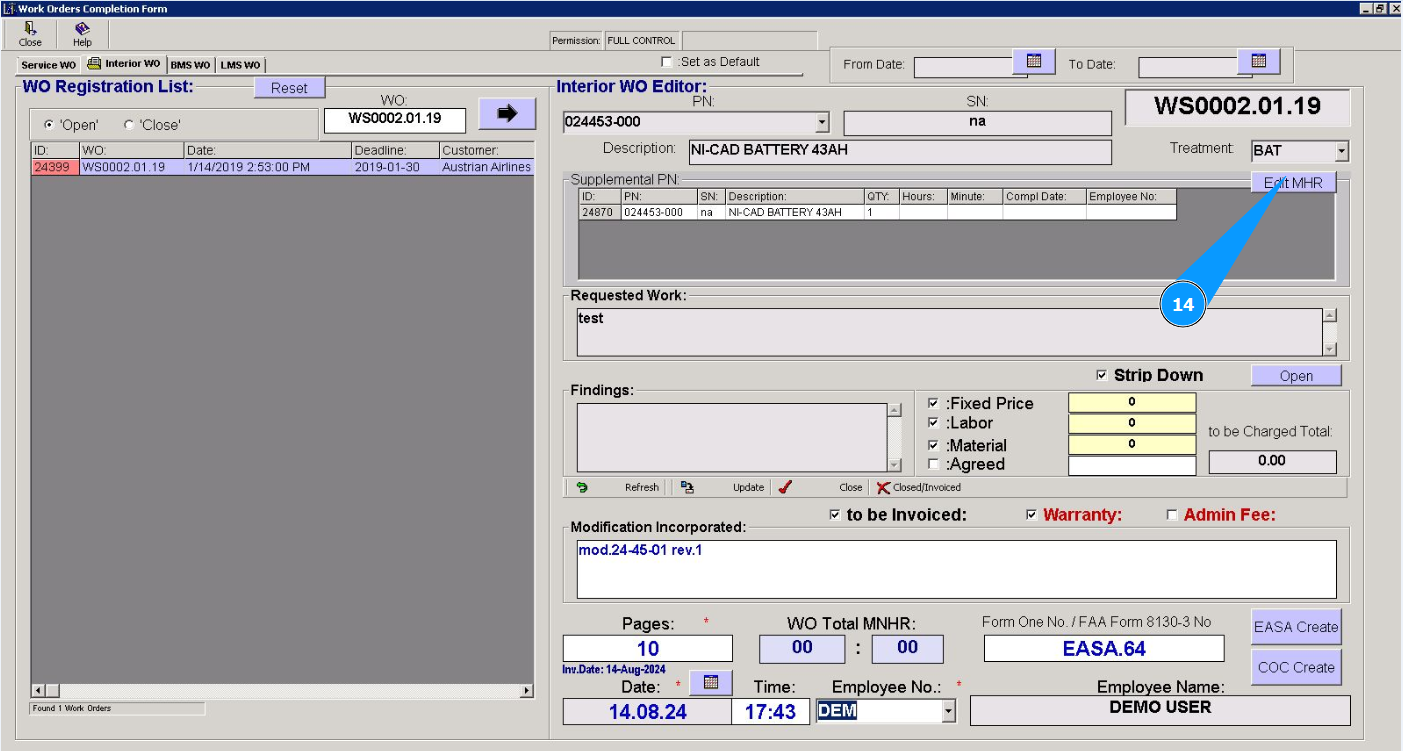
14. Enter the man-hours spent. Click on the "Edit MHR" button.
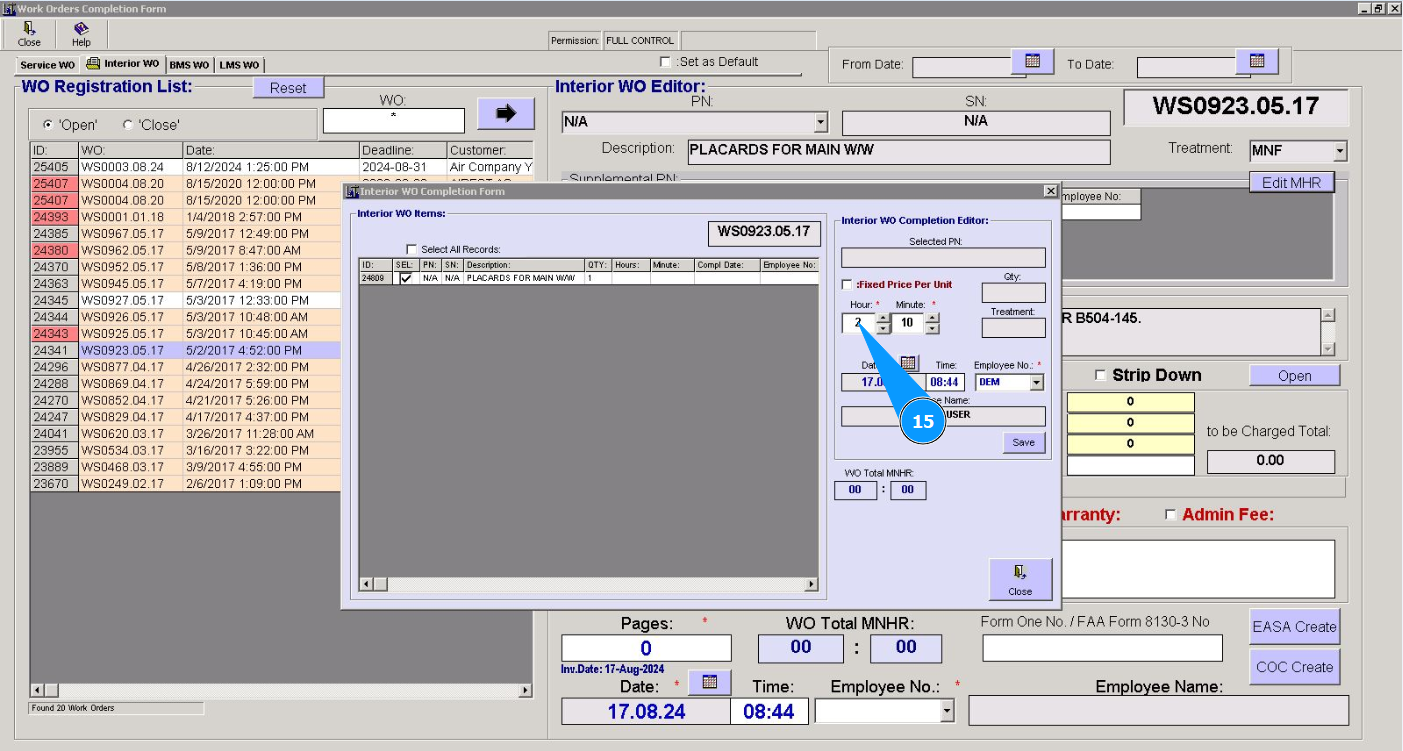
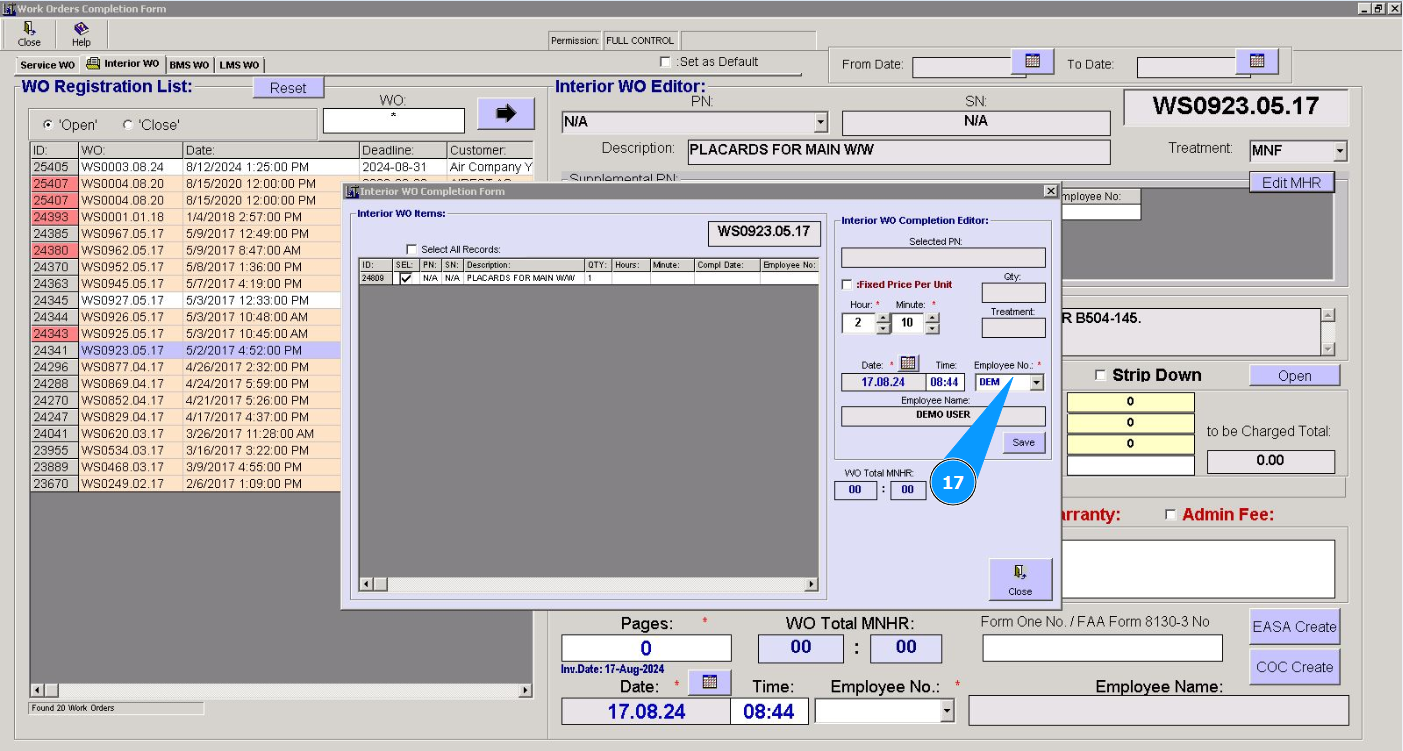
15. Enter the man-hours spent in hours in the field "Hour".
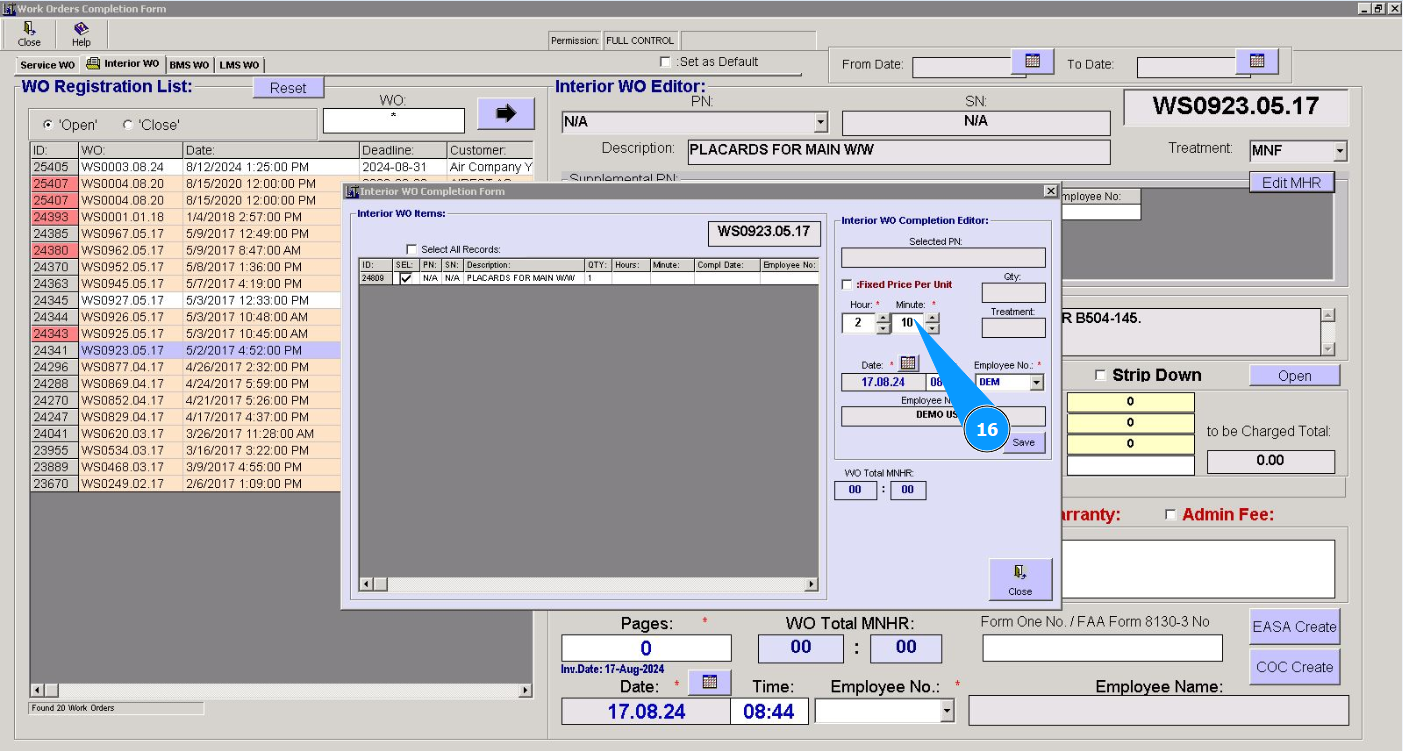
16. Enter the man-hours spent in minutes in the field "Minute".
17. Select from the dropdown list the initials of the performer or the one who closes the WO (in accordance with your company's policy) in the field "Employee №".
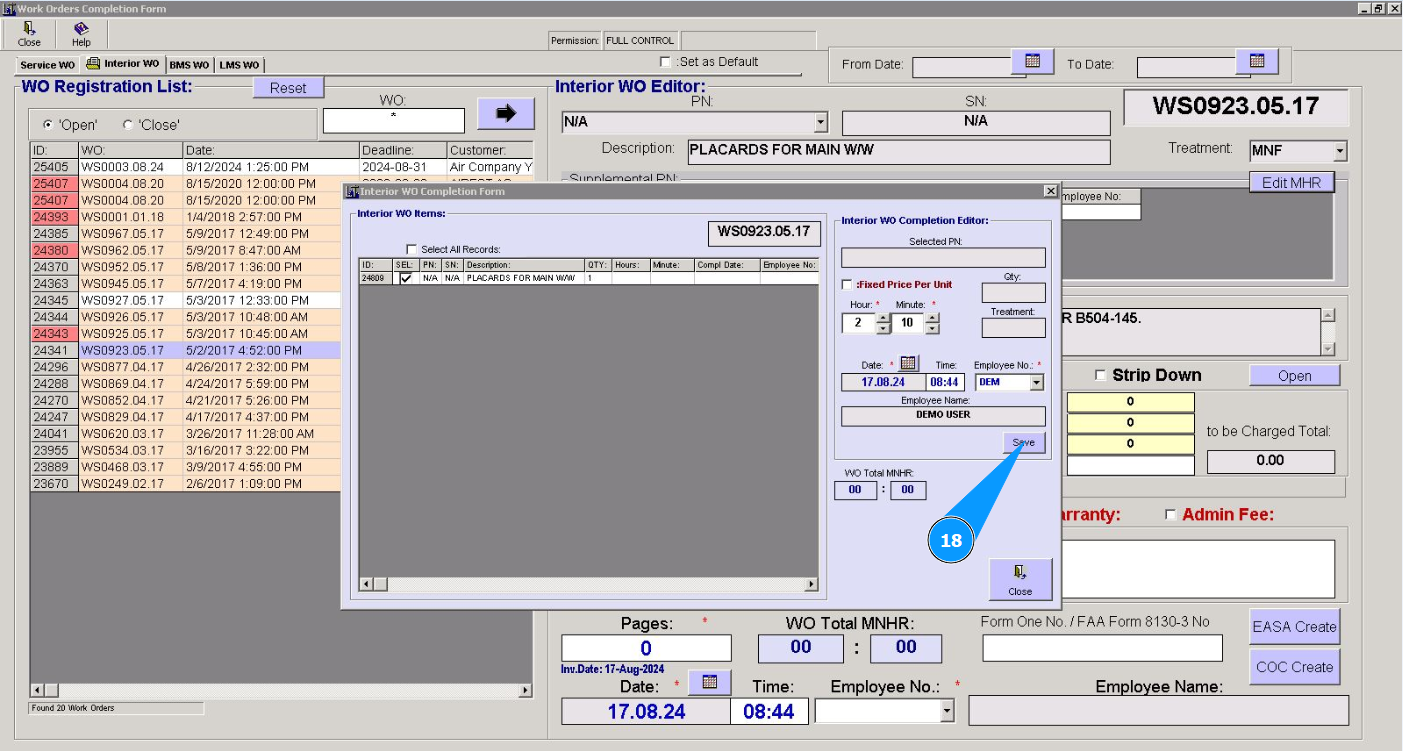
18. Click on the button "Save" to add man-hours to the work order.
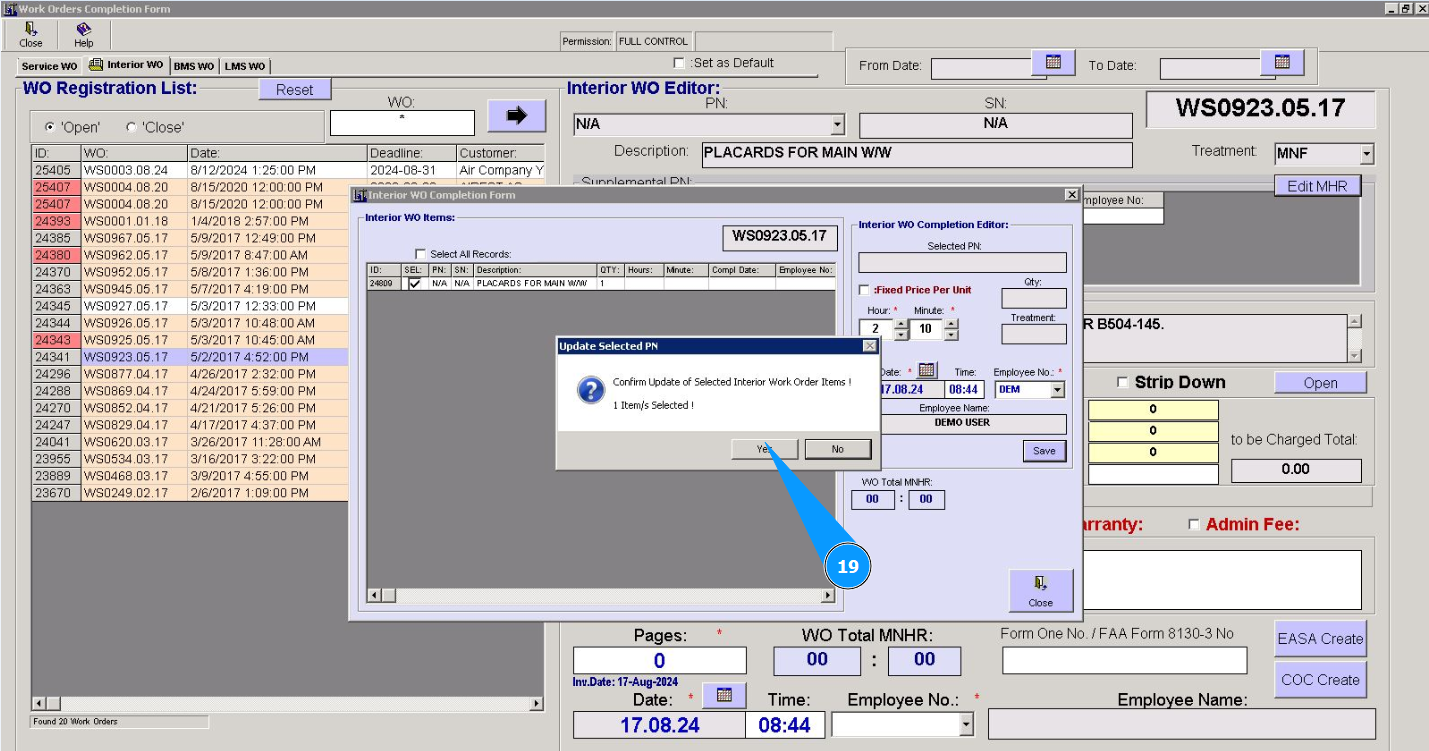
19. Click on the button "Yes" to confirm entering data into the program.
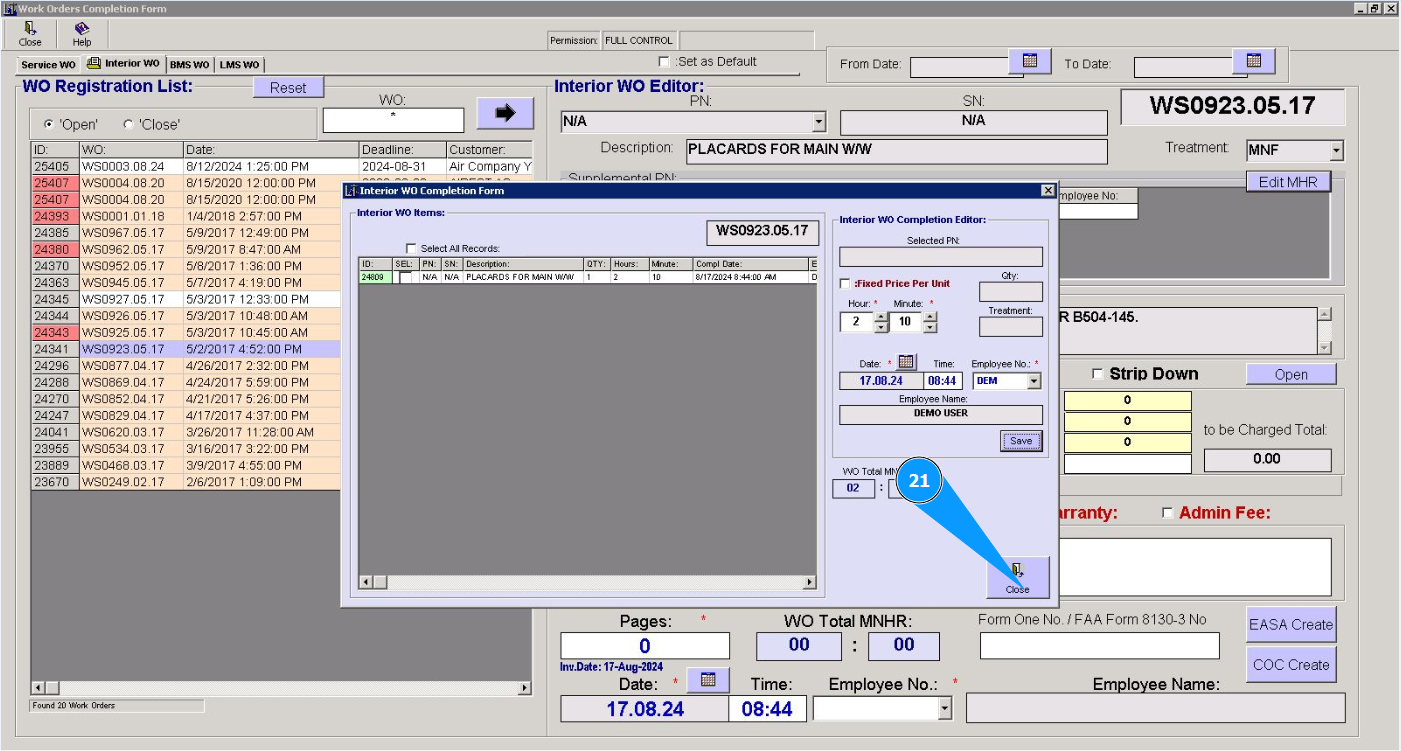
20. Check that man-hours are entered in the field "WO Total MNHR".
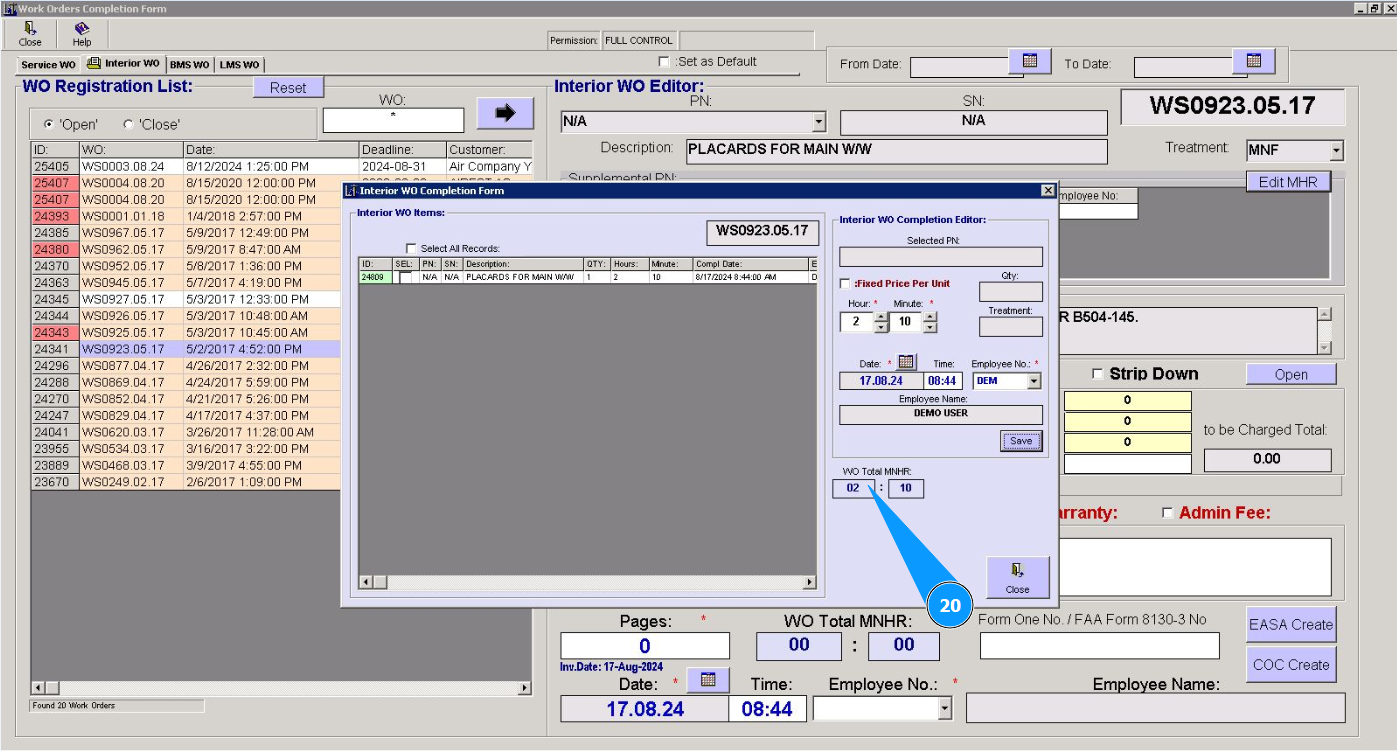
21. Click on the button "Close" to exit the editor.
22. Enter the number of the certificate of release to service in the field "Form One No./FAA Form 8130-3 No.".

23. If the release certificate number is not known, go to the creation editor and click on the button "EASA Create".
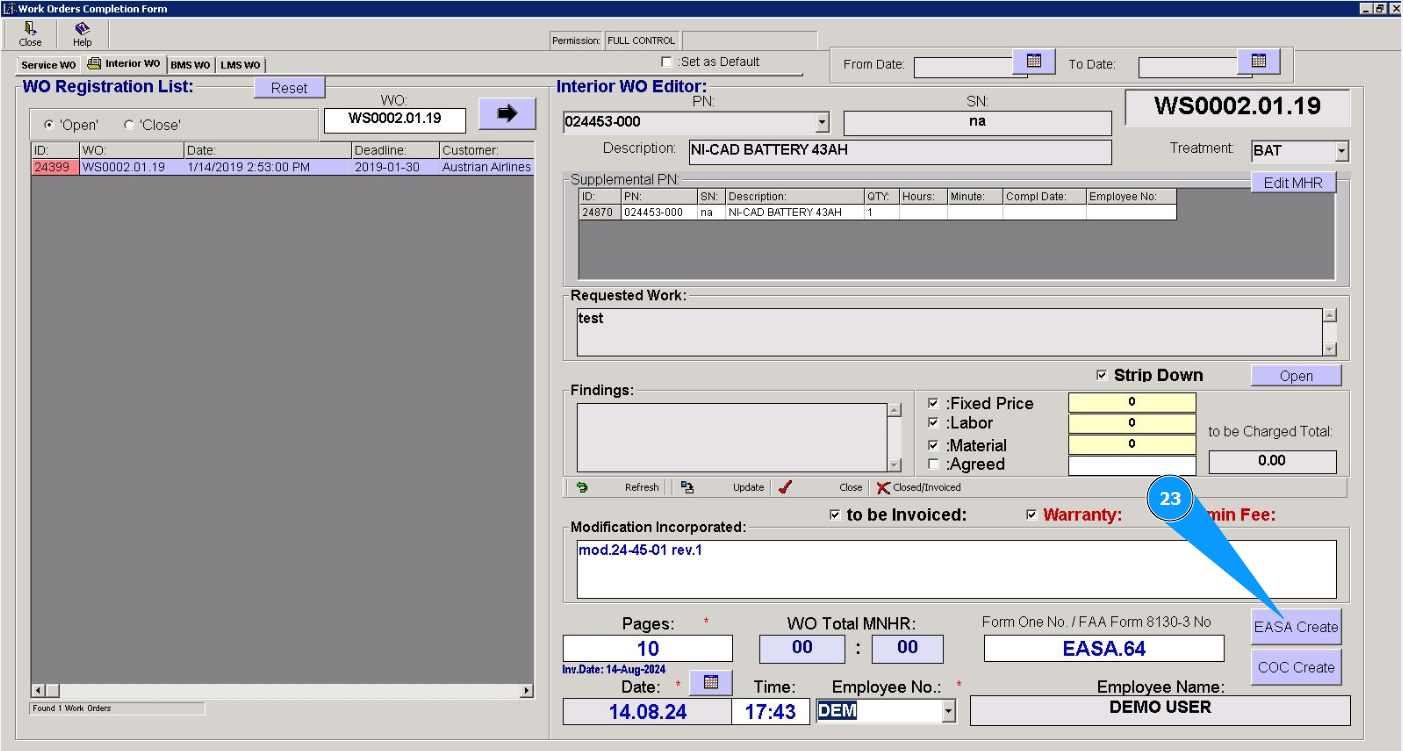
Attention: If you need to create a certificate of release to service, please use the appropriate instruction by link below:
"How to issue a certificate of release to service"
24. If necessary, to create a certificate of conformity, go to the creation editor and click on the button "CoC Create".
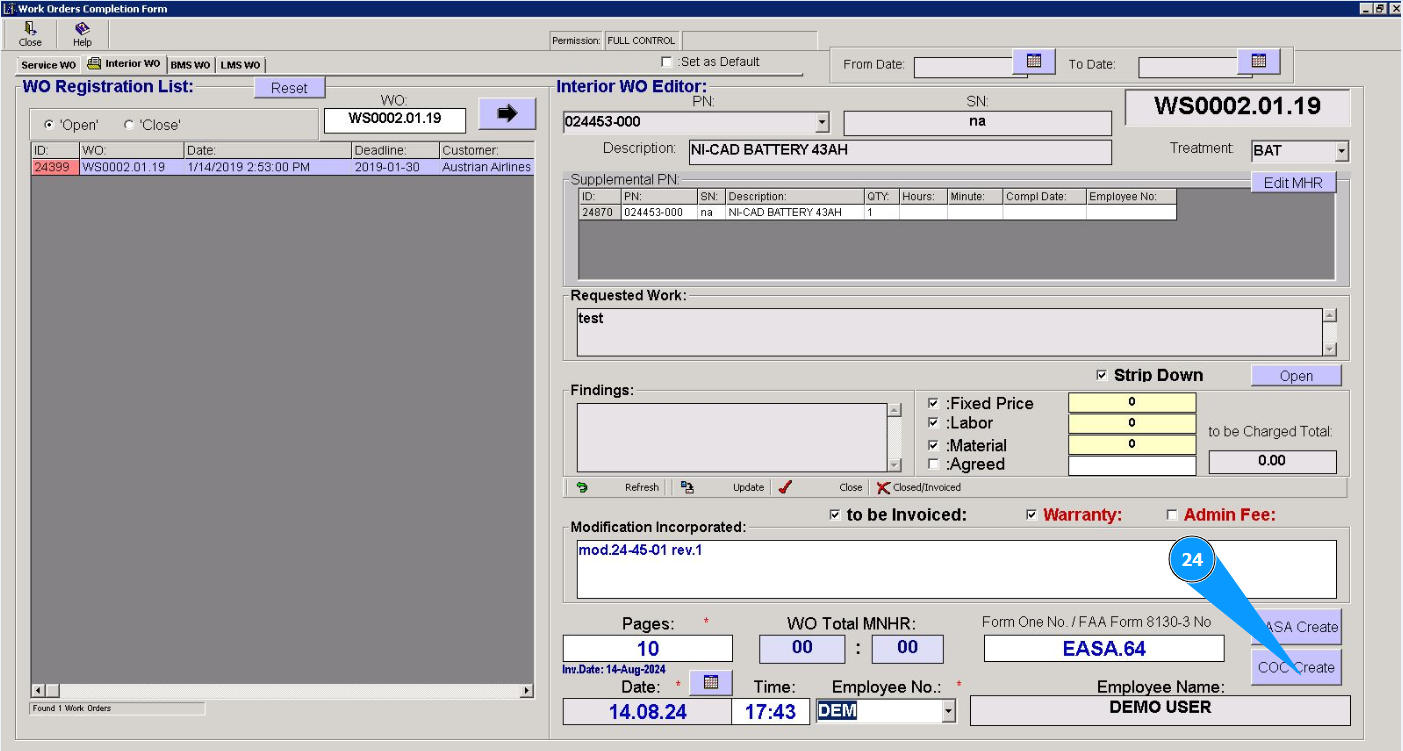
Attention: If you need to create a certificate of conformity, use the appropriate instruction by link below:
"How to issue a certificate of conformity"
25. Select the date the work order will be completed from the calendar in the field "Date".
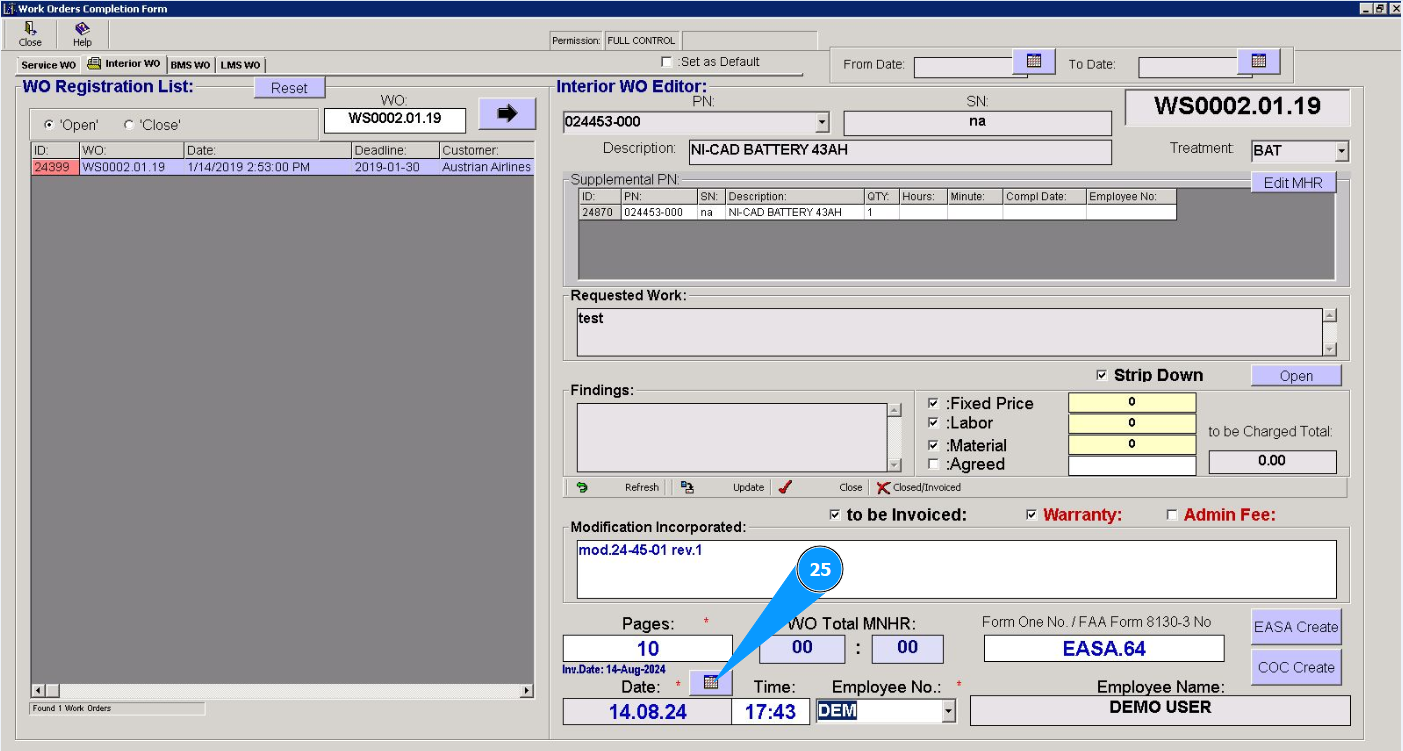
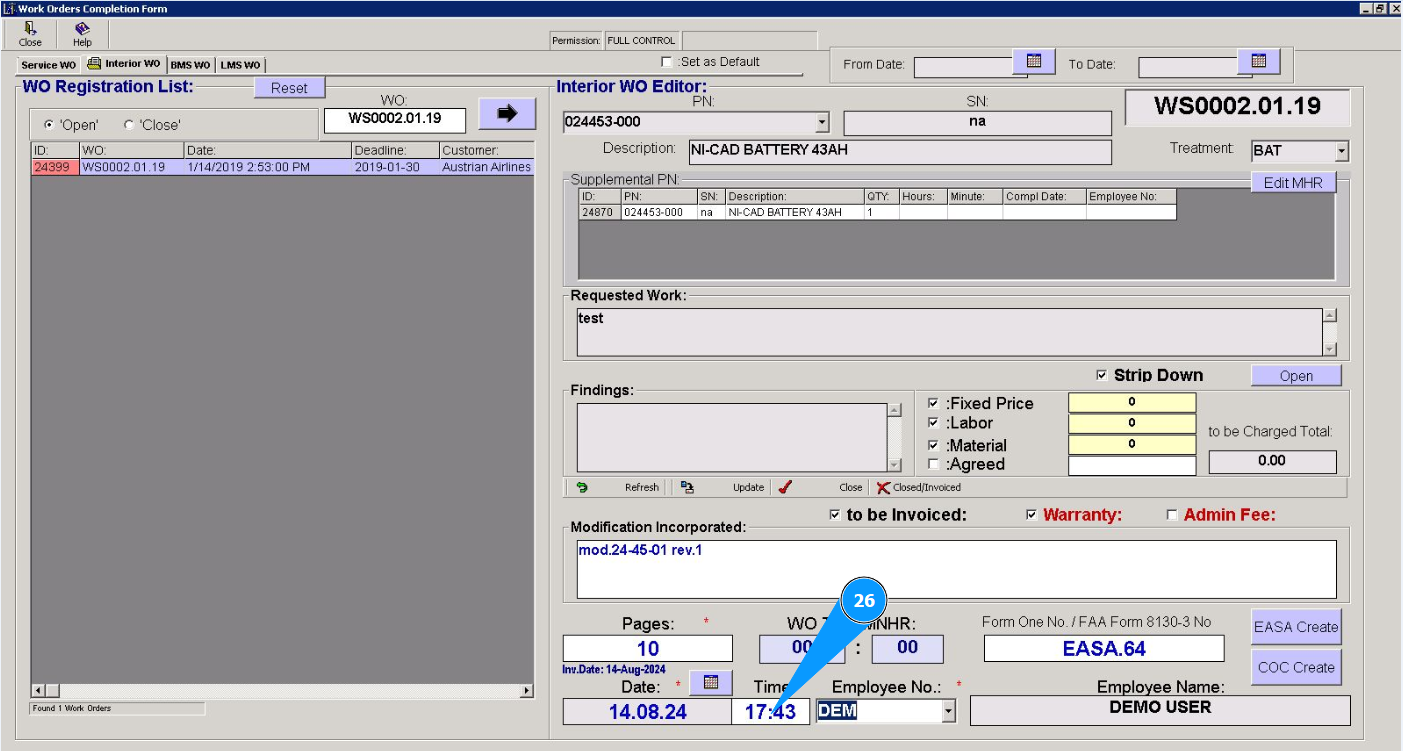
26. Enter the job closing time in the field "Time".
27. Select from the dropdown list the initials of the performer or the one who closes the WO (in accordance with your company's policy) in the field "Employee No.". Note: The performer's first and last name will appear automatically in the field "Employee Name".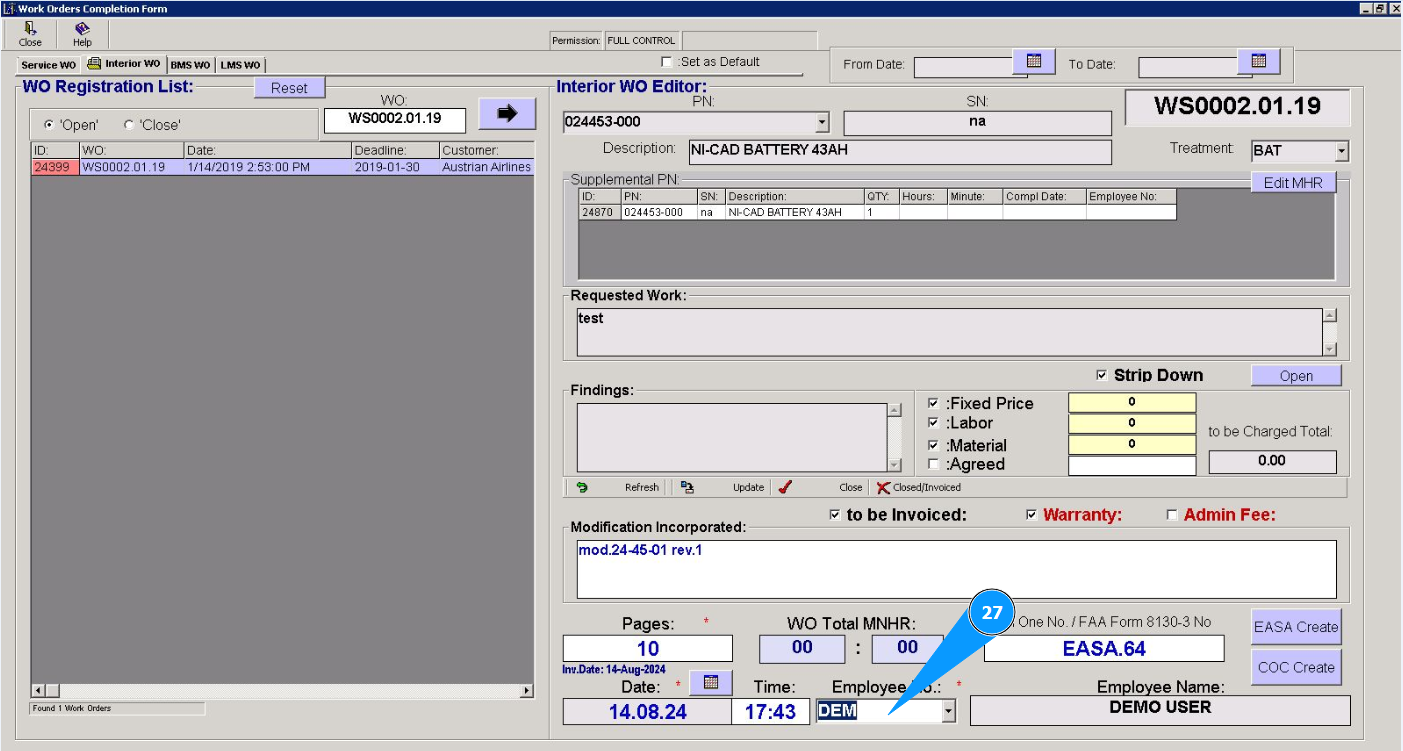
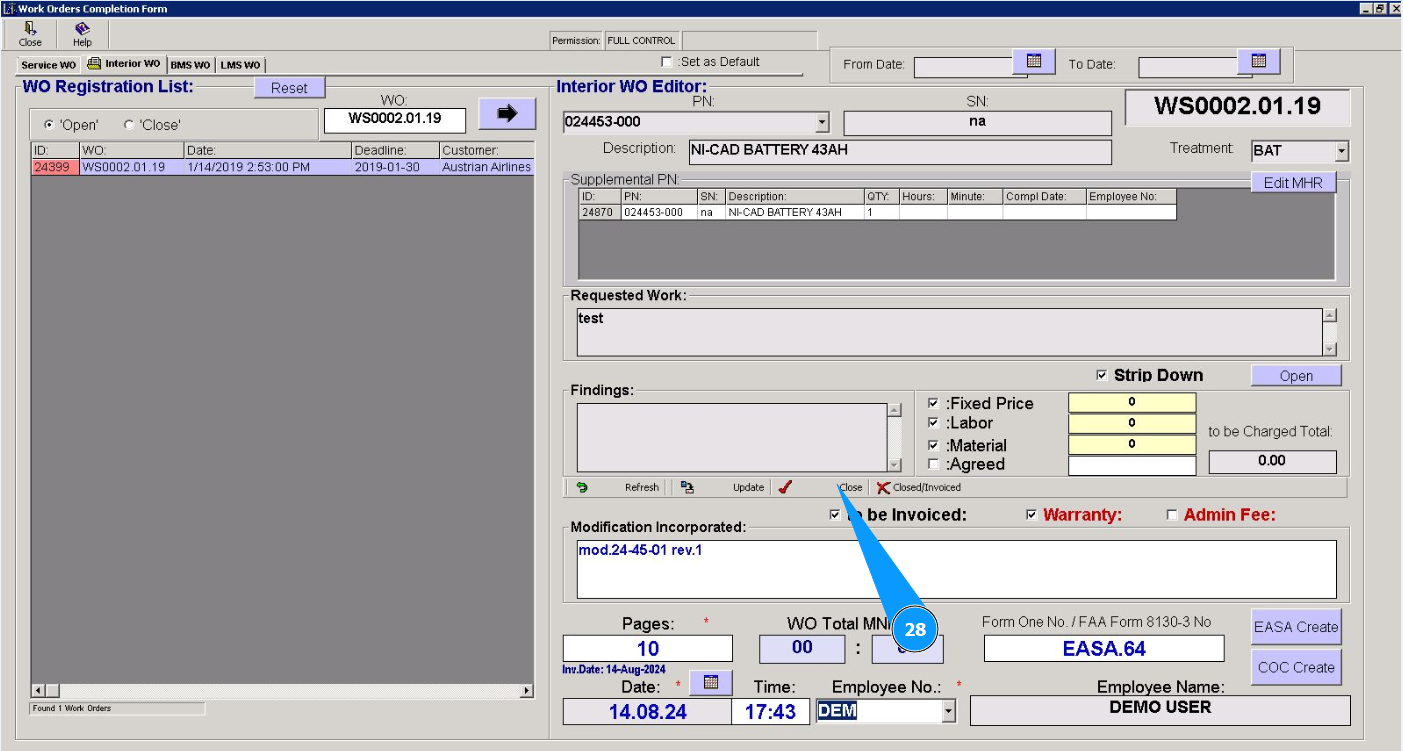
28. Click on the button "Close" to close the work order for interior equipment.
29. Click on the button "Yes" to confirm closing Interior WO into the program.
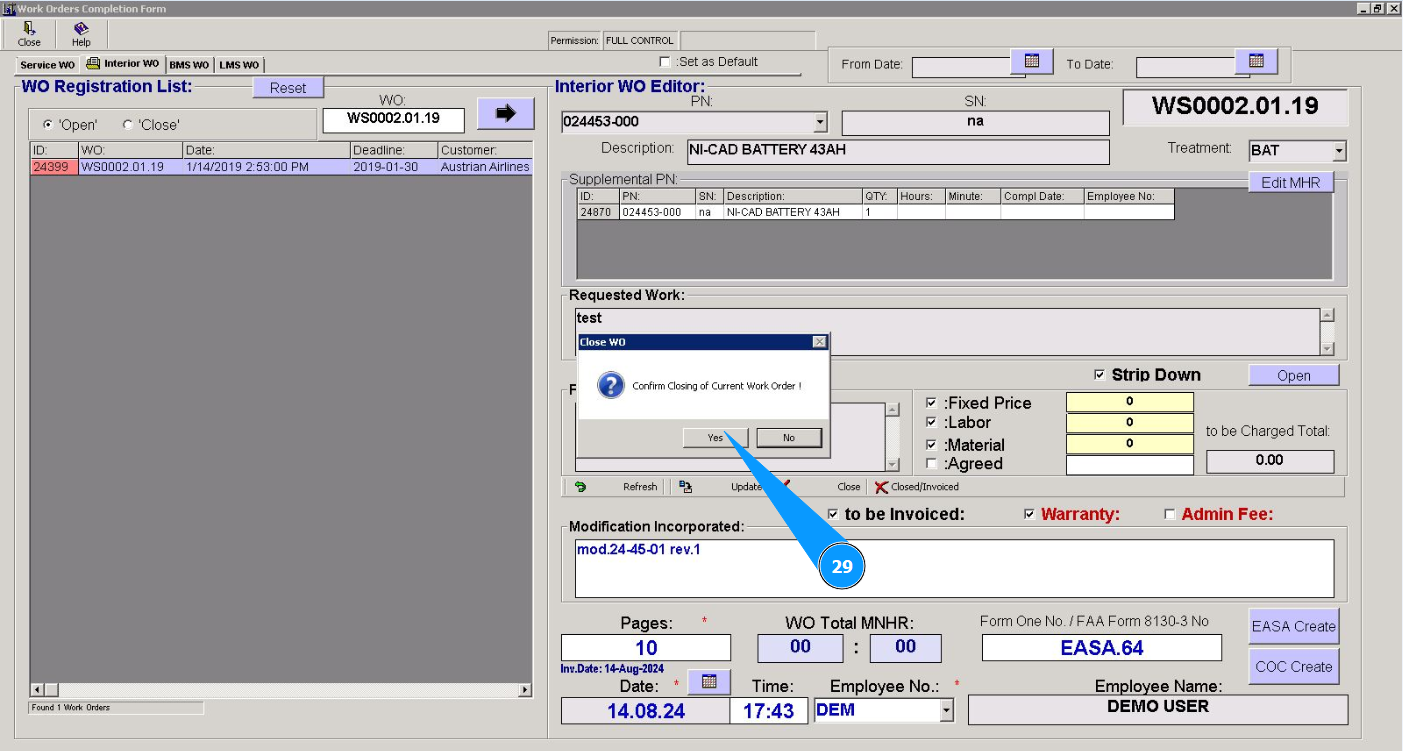
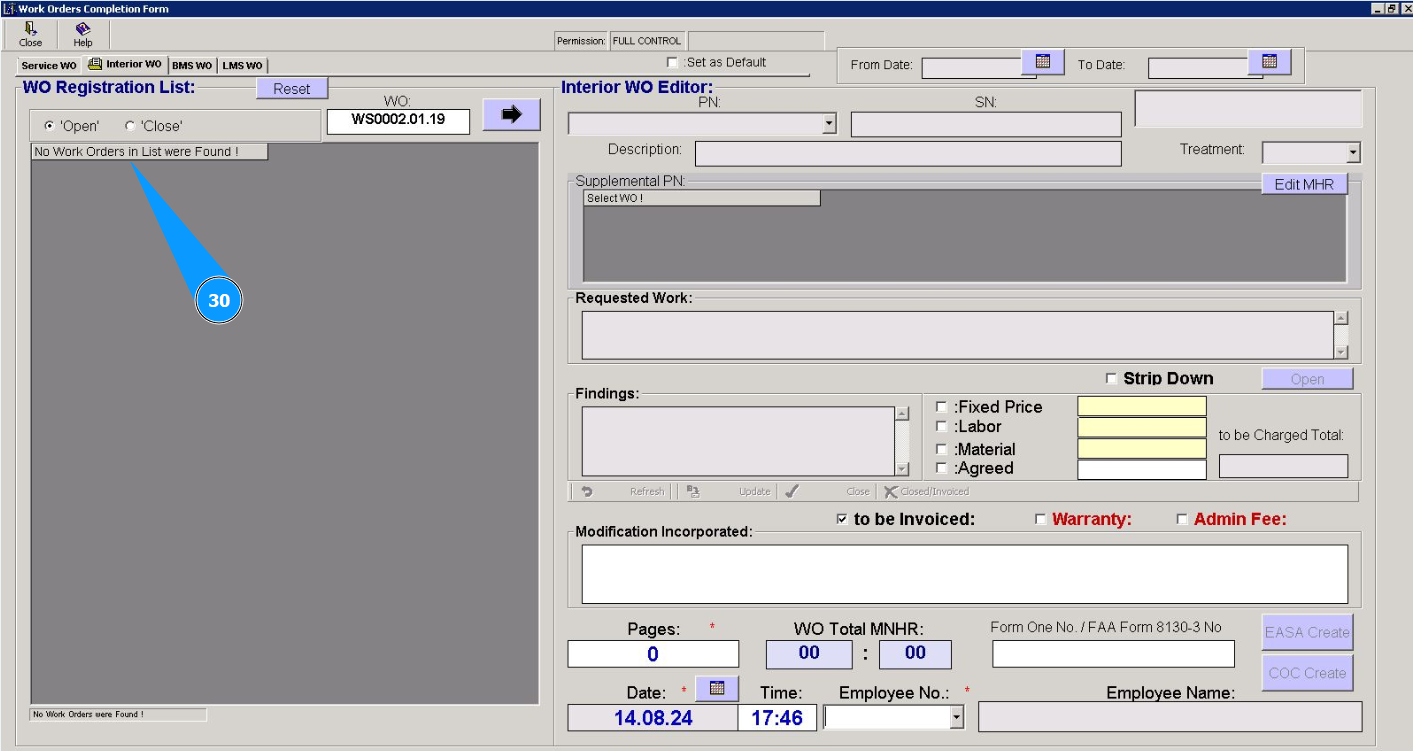
30. Check that the closed WO is not displayed in the window "WO Registration List".