How to attach a document
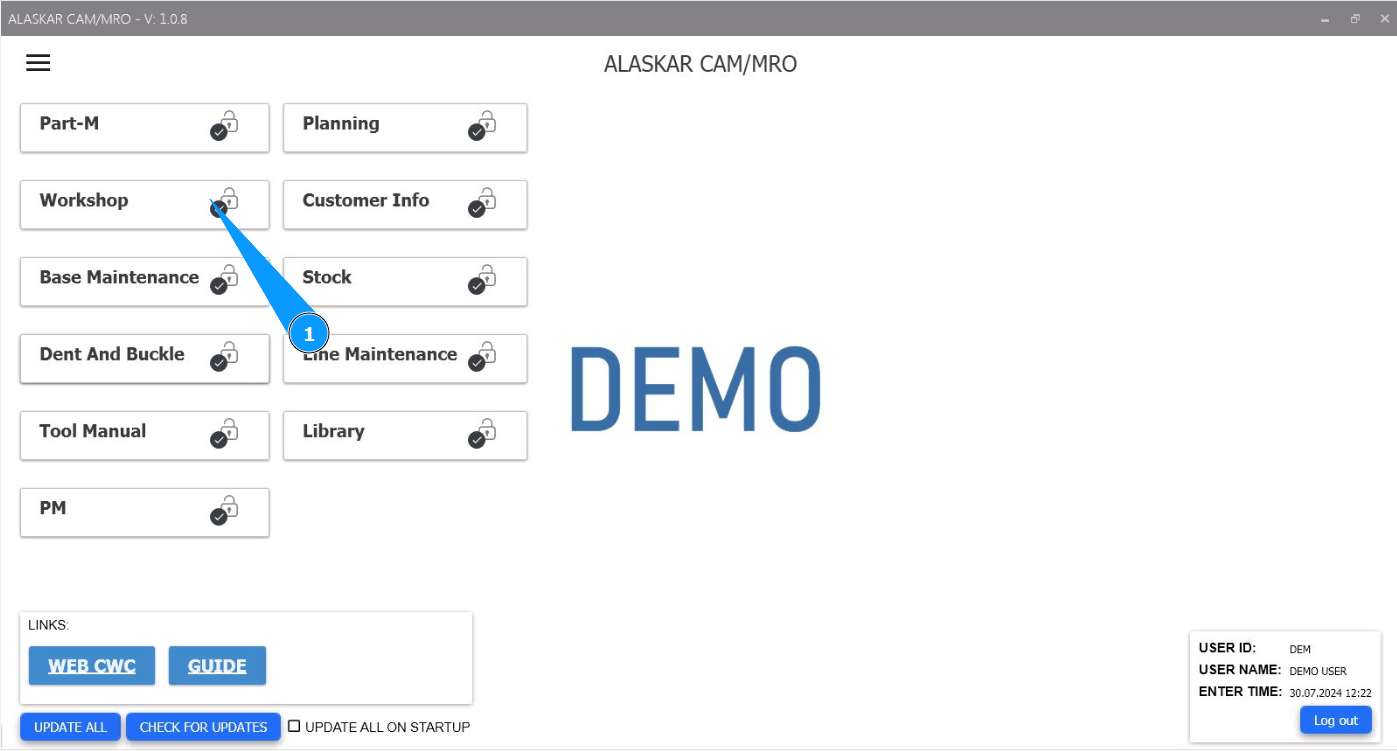
1. In order to attach a document, go to the module "Workshop".
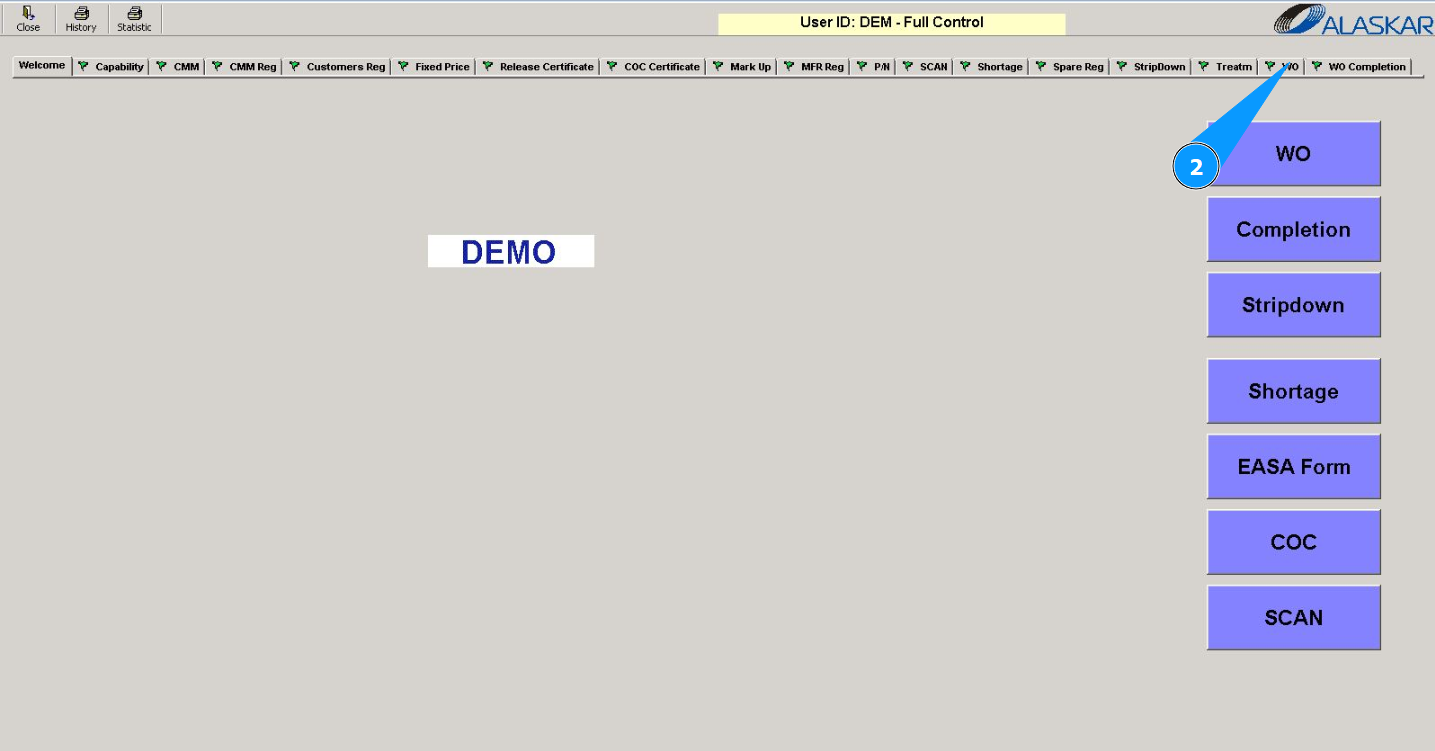
2. Then go to the tab "WO".
Note: It is possible to attach any document to any service WO or to a work order for interior equipment.
3. Then go to the tab "Interior WO" or tab "Service WO".
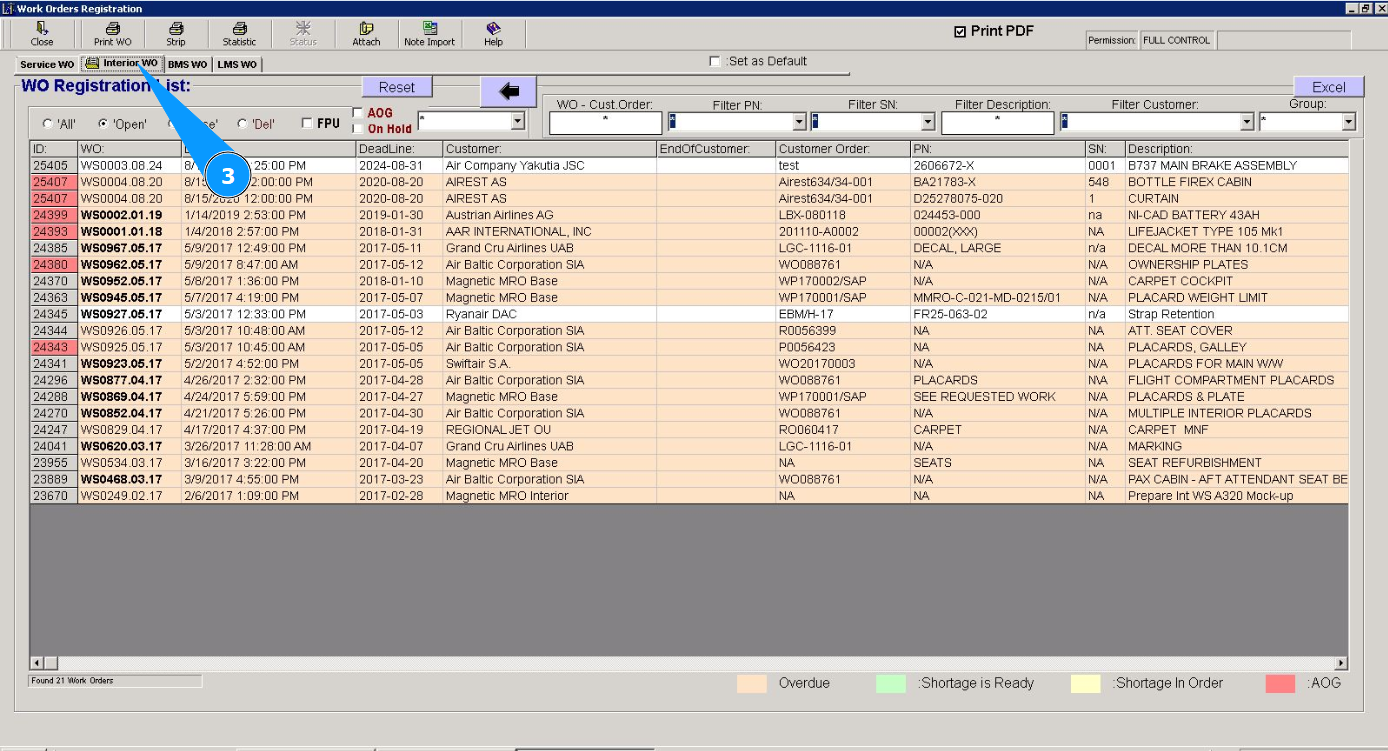
4. Select the required one from the list of work orders in the window "WO Registration List". Click on the corresponding line. Note: Use the available filters if necessary.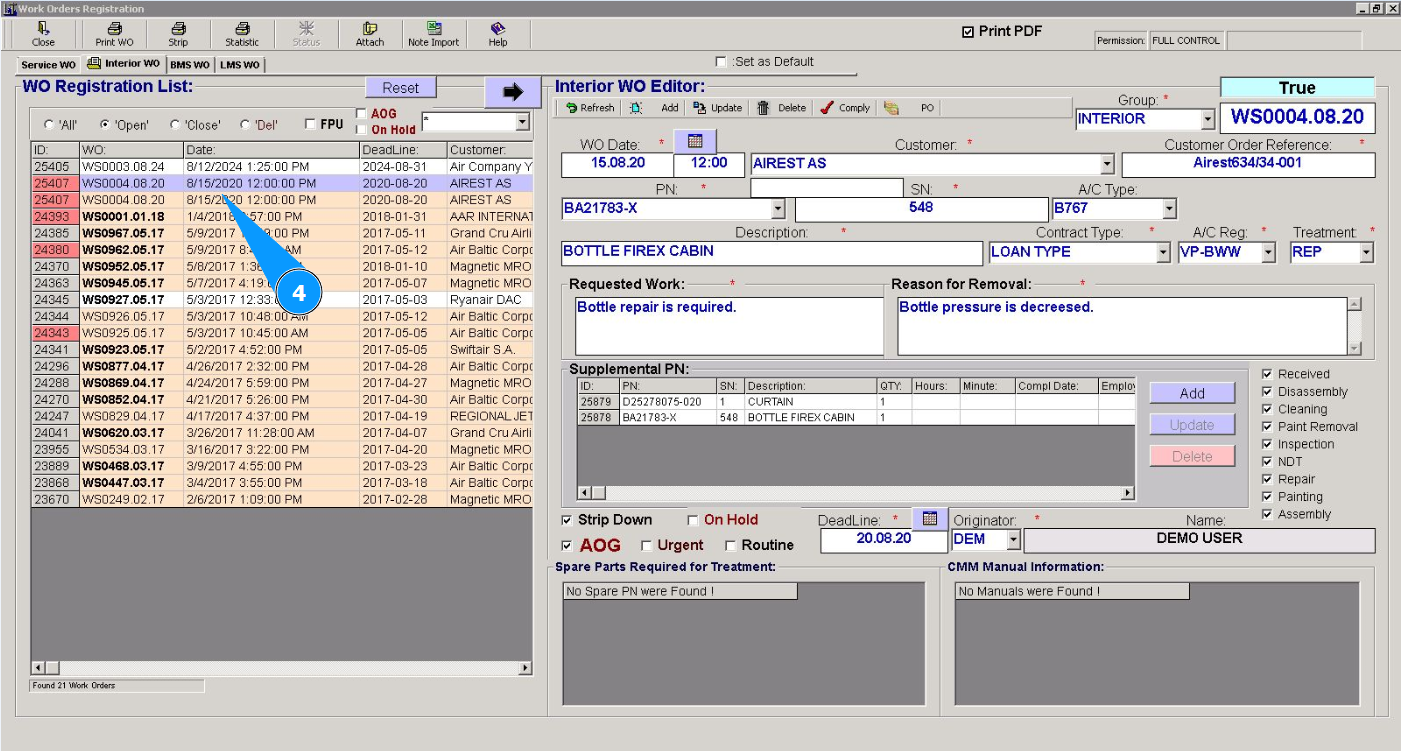
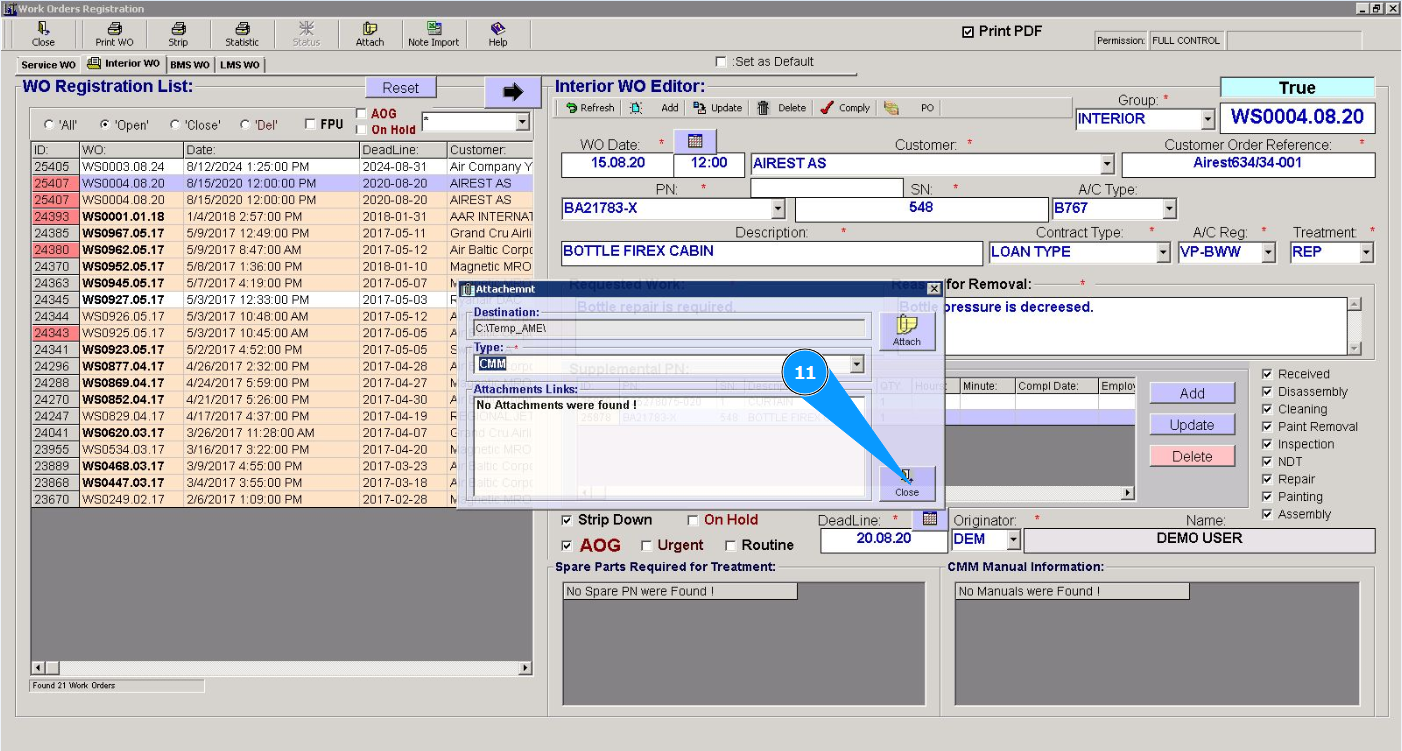
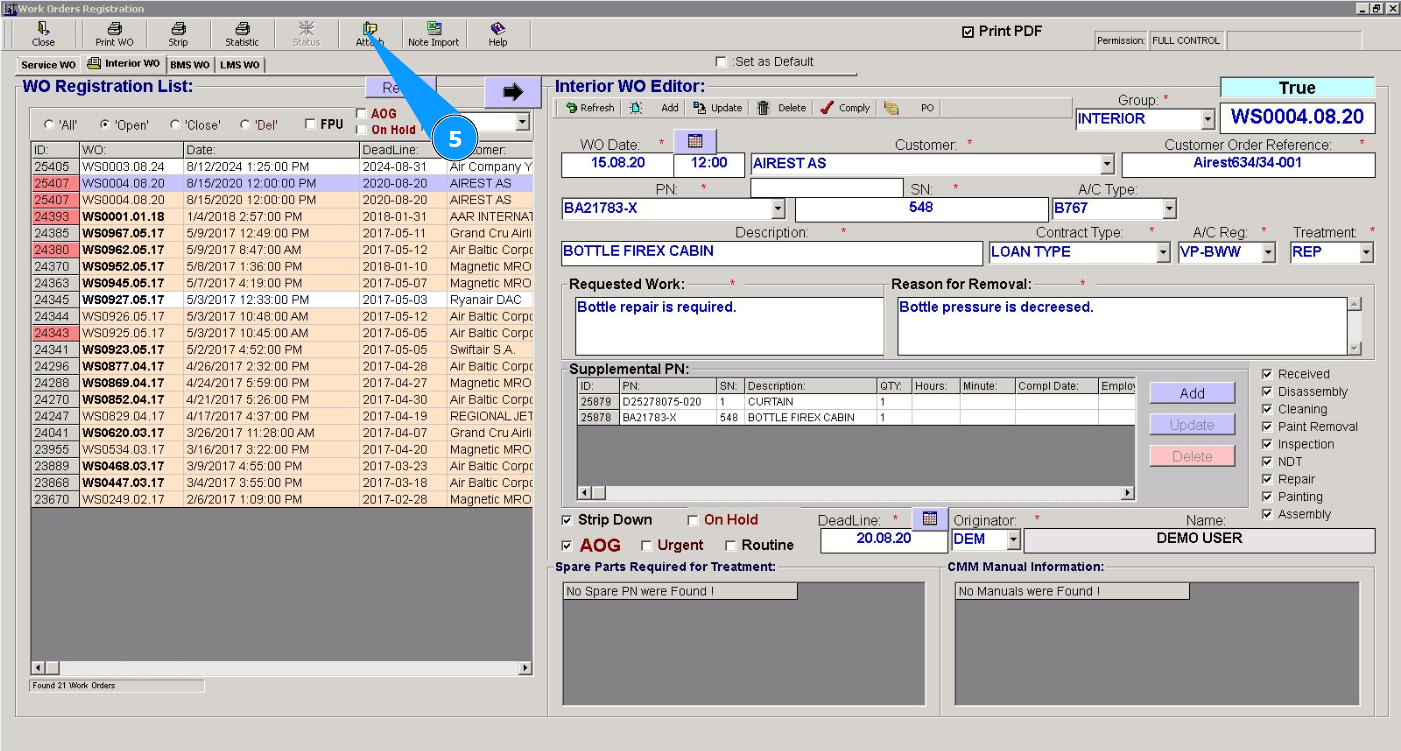
5. In order to attach documents to the program, click on the button "Attach".
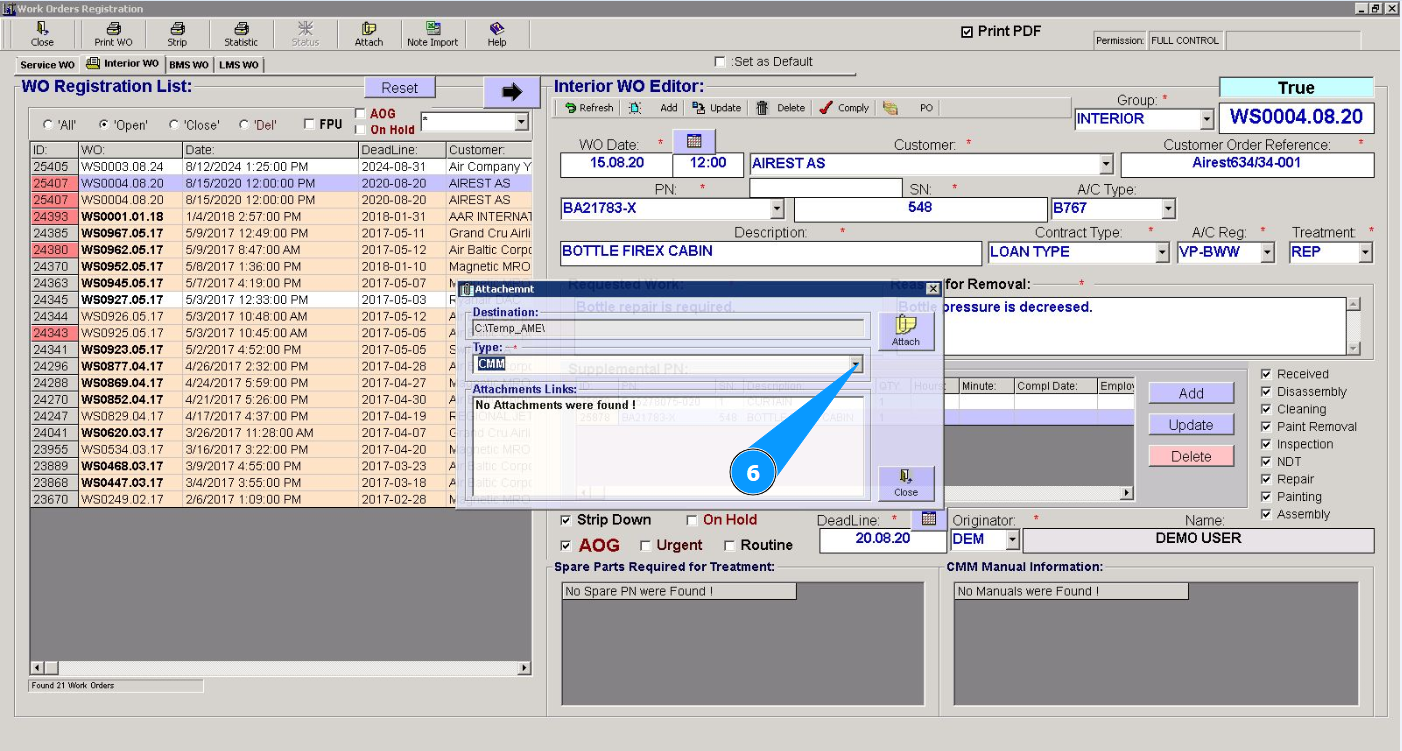
6. From the dropdown list, select the document type: CMM, repair order, and so on.
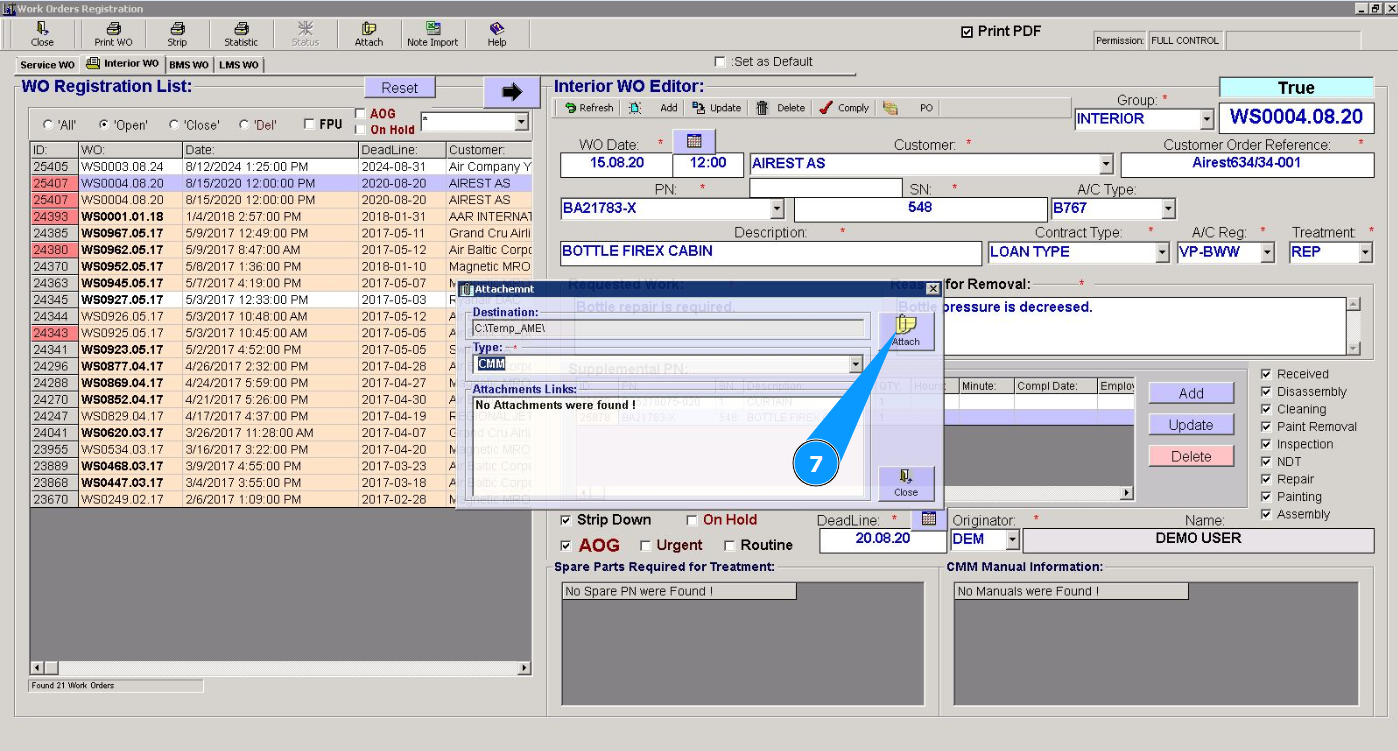
7. Click on the button "Attach".
8. Select your file to attach.
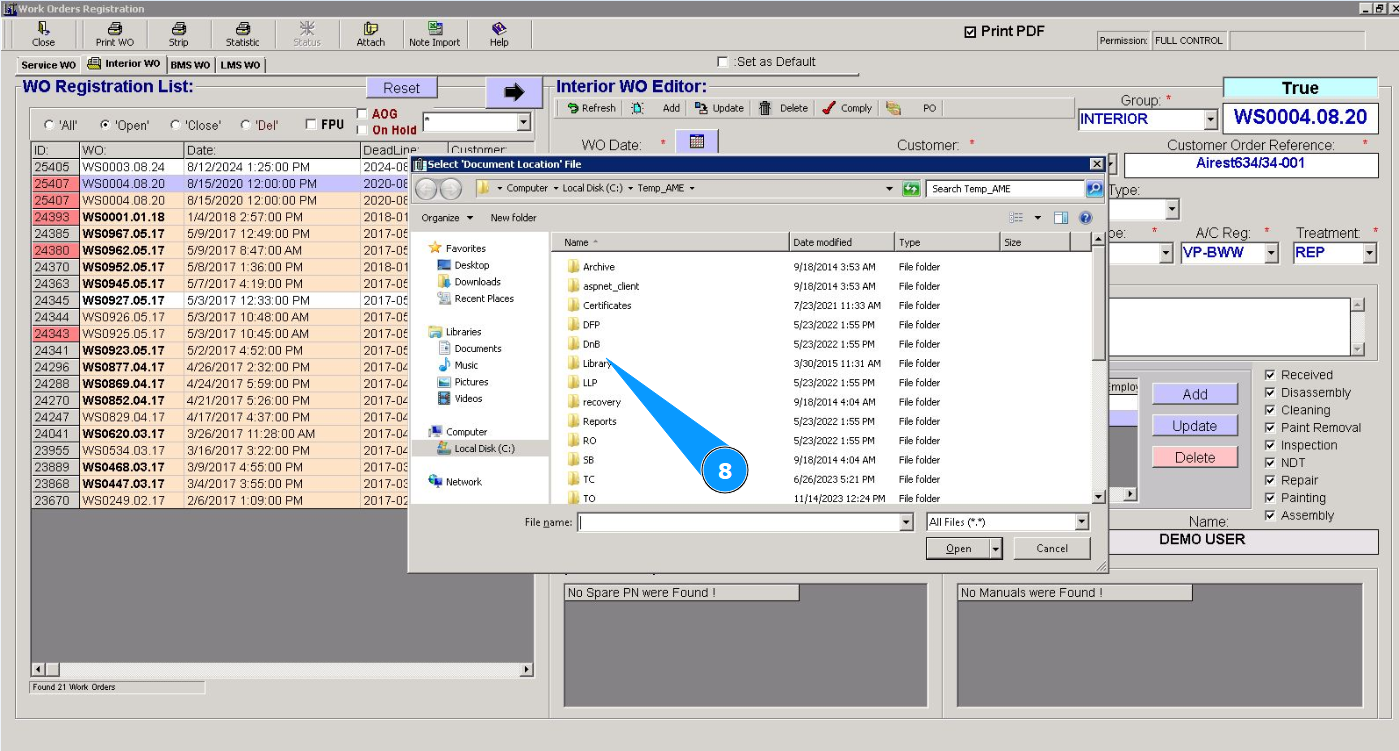
9. Click on the button "Open".

Note: If you need to attach several documents, repeat steps 6–10.
10. Check that the new document is displayed in the window "Attachment Links".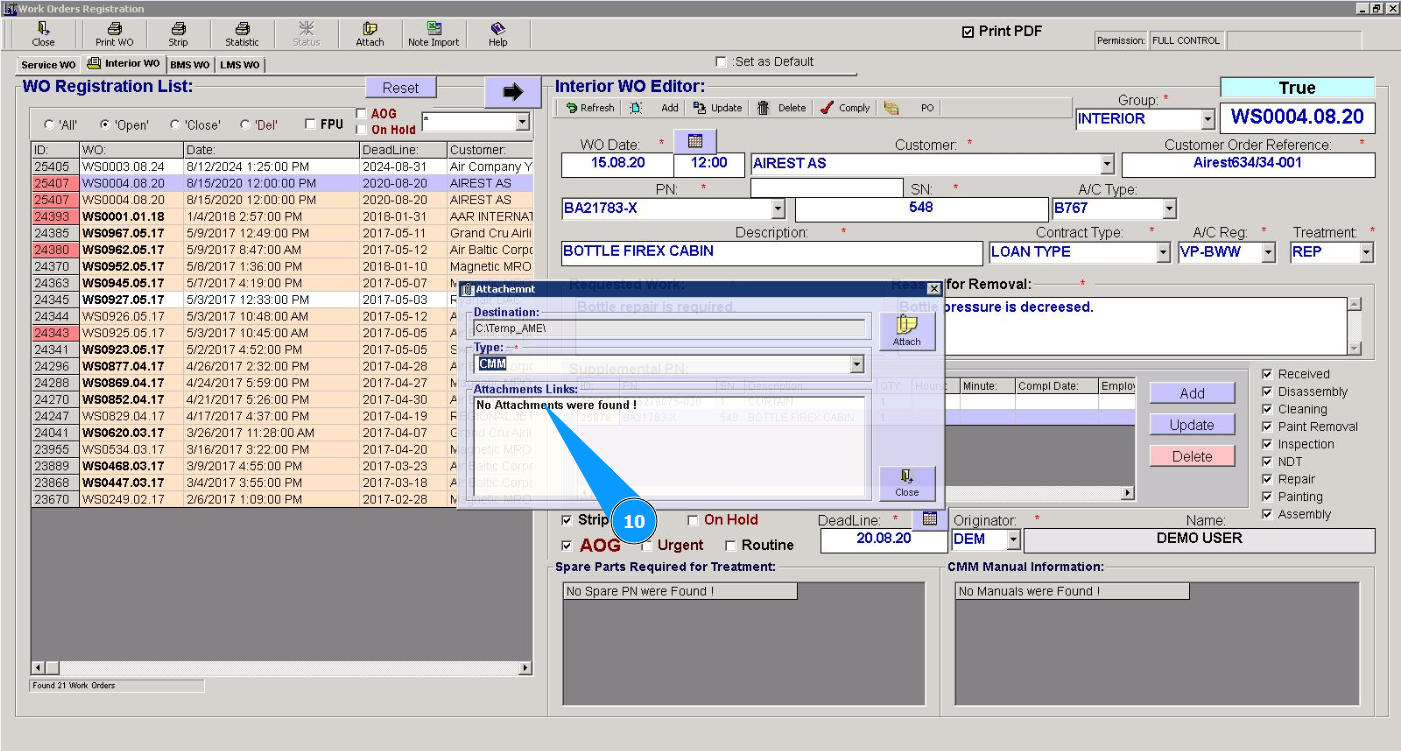
11. Click on the button "Close" to exit the attachment editor.