How to add a manual for a component
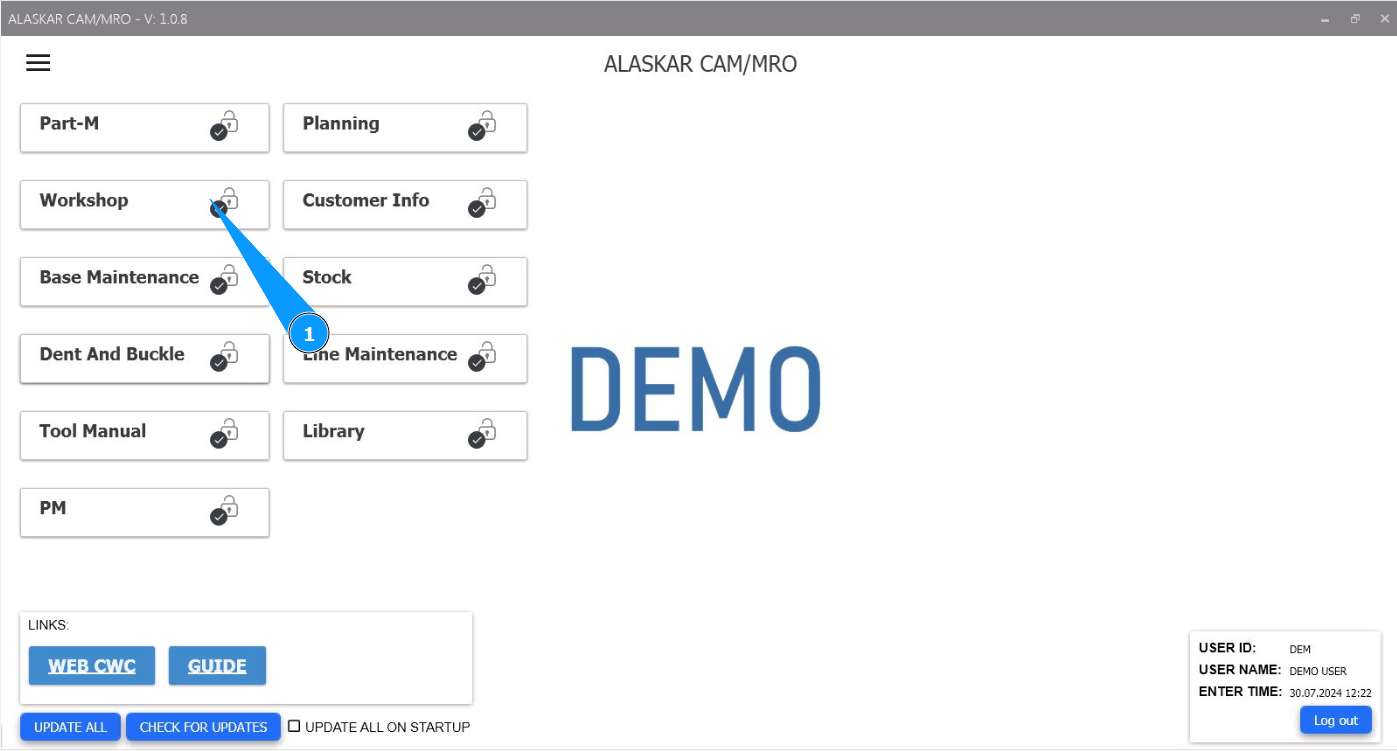
1. In order to add a component repair manual (or others), go to the module "Workshop".
2. Then go to the tab "Capability".

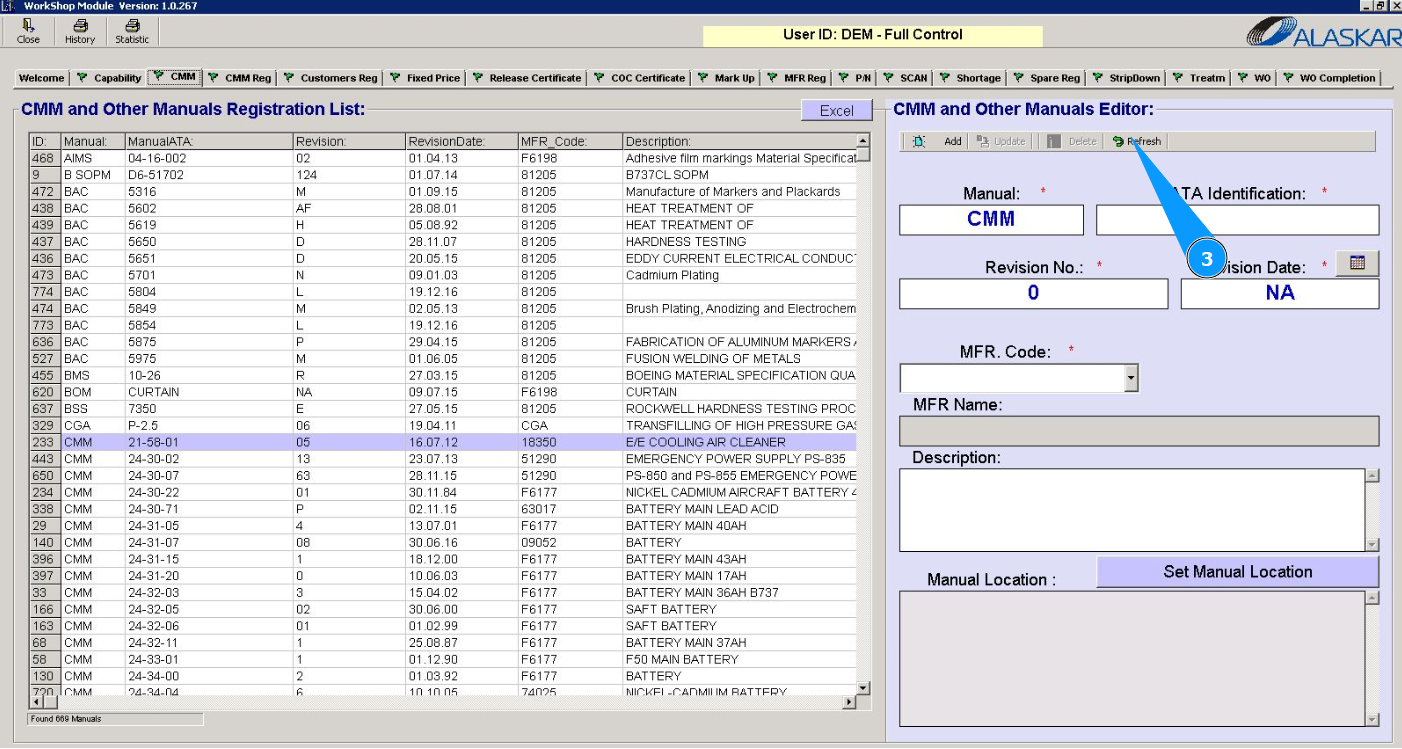
3. Click on the button "Refresh" to refresh the fields in the editor "CMM and other Manuals Editor".
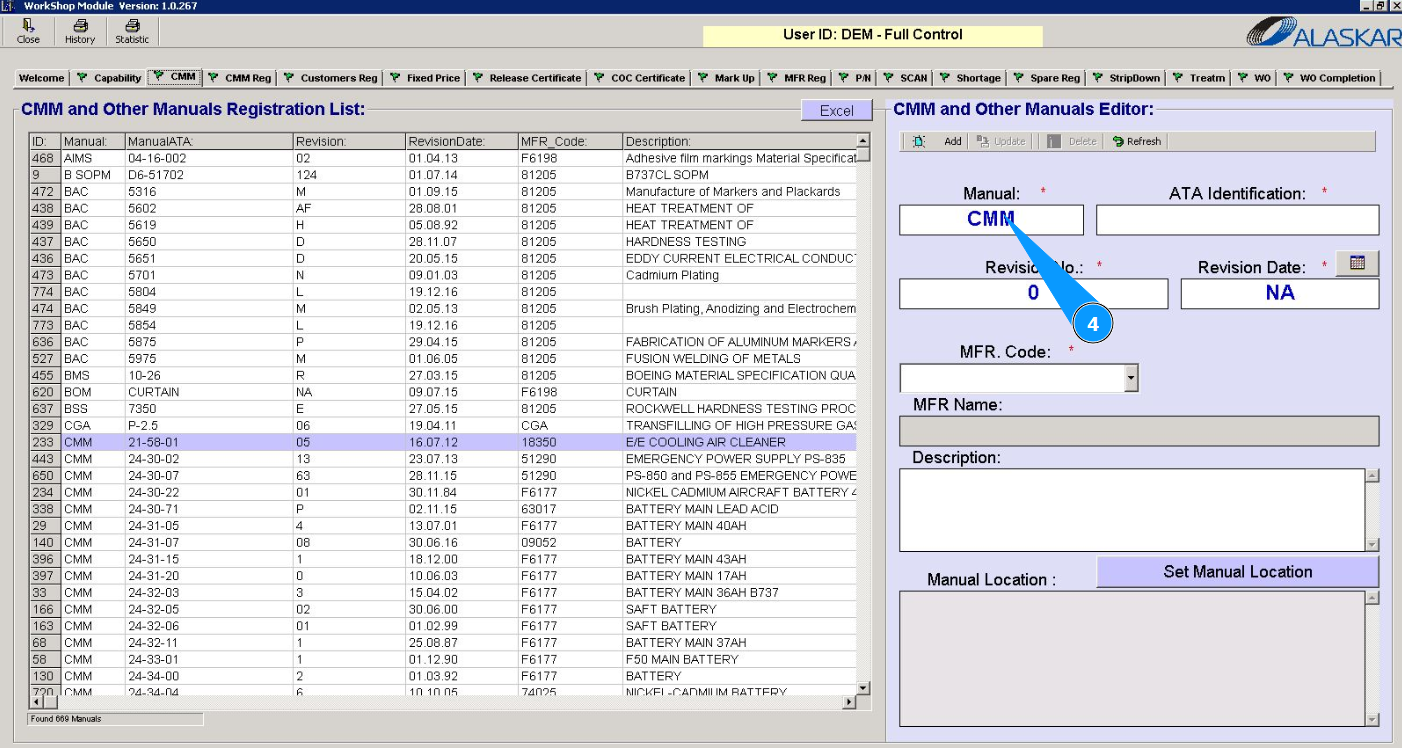
4. Enter the name of the manual in the field "Manual".
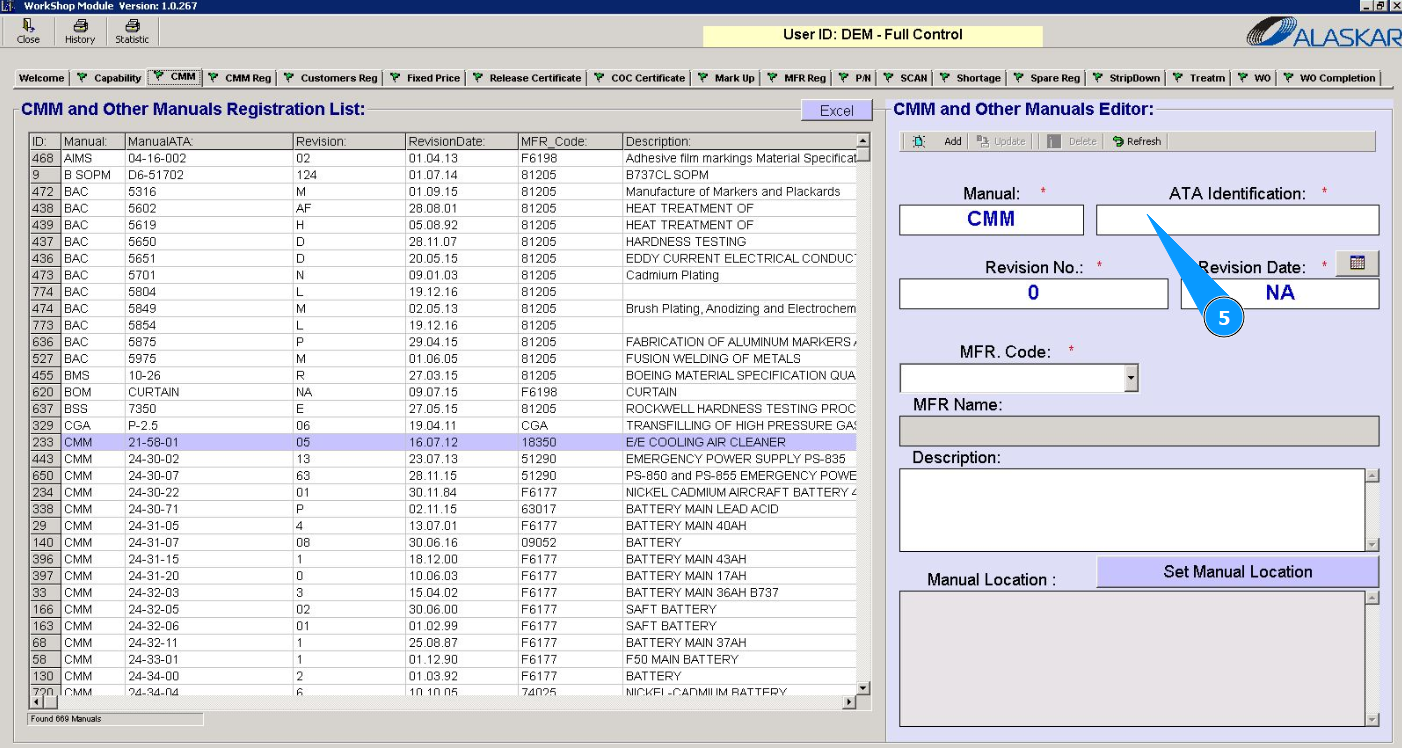
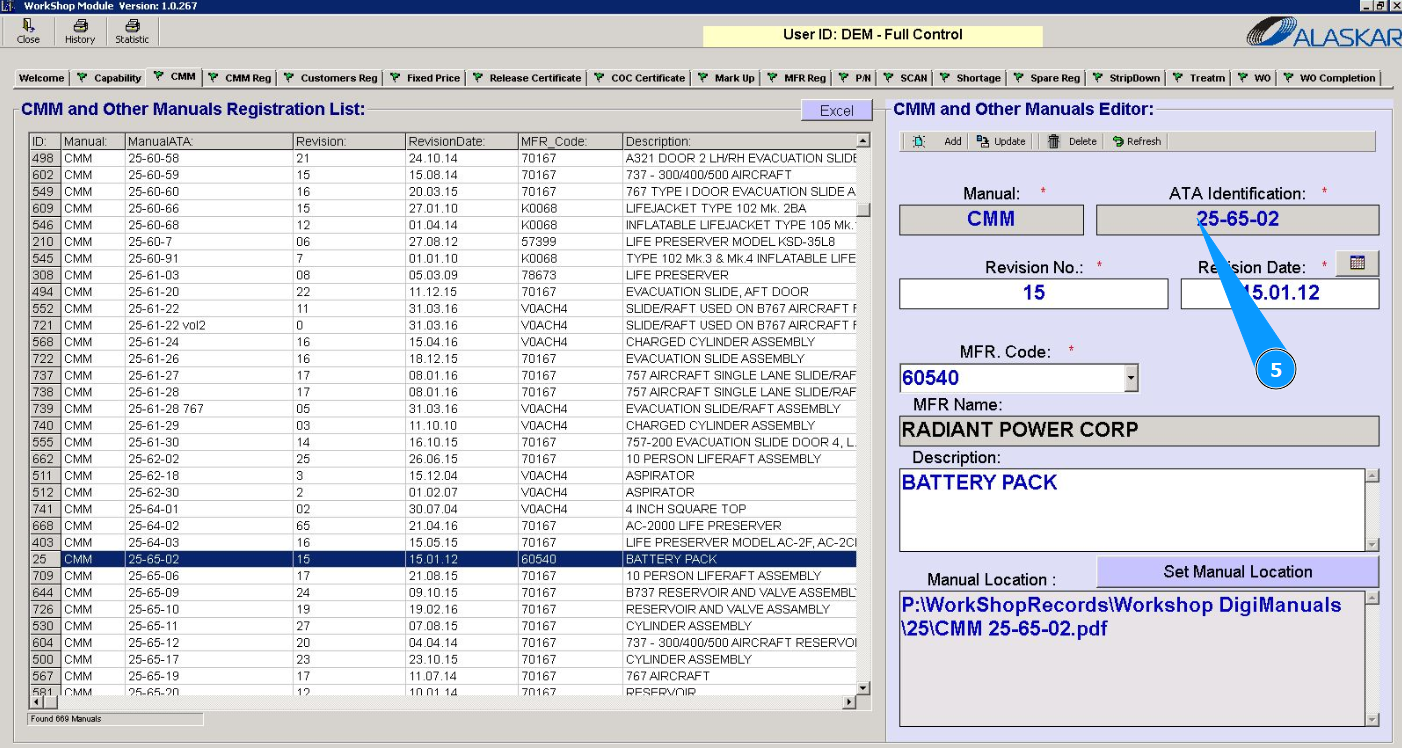
5. Enter the ATA chapter number in the field "ATA Identification".
6. Enter the revision number of the manual in the field "Revision No.".
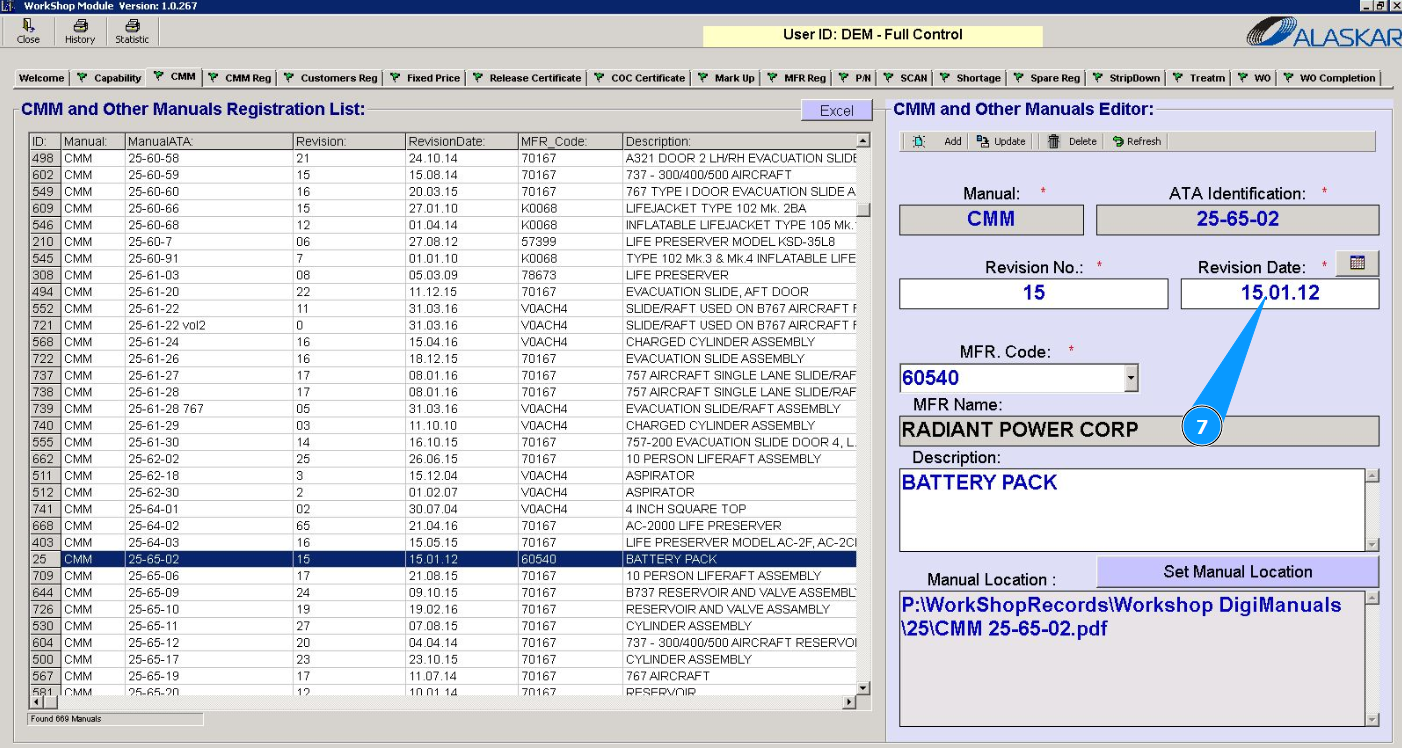
7. Enter the revision date of the manual in the field "Revision Date".
8. From the dropdown list, select the manufacturer code of the components being repaired in your shop, or enter the code in the field "MFR Code".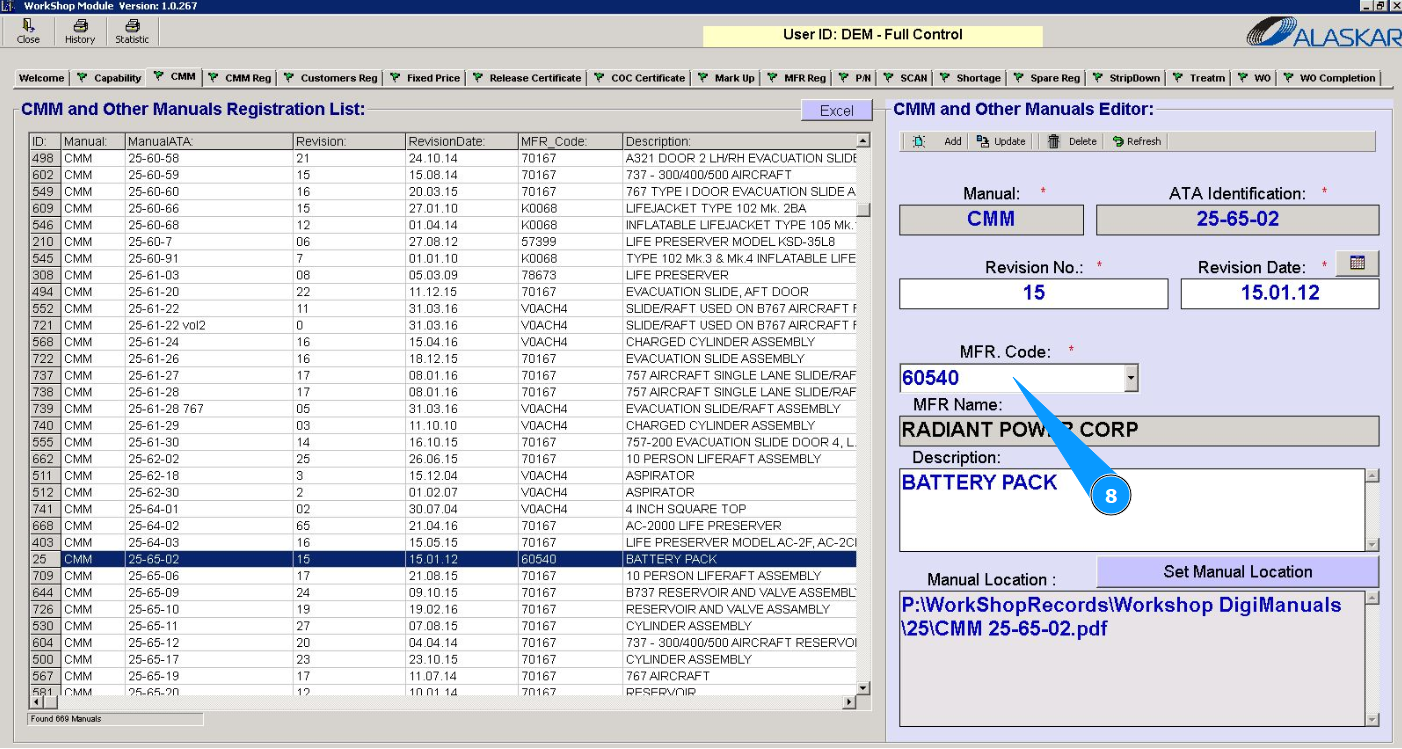
9. Enter a description of the component in the field "Description".

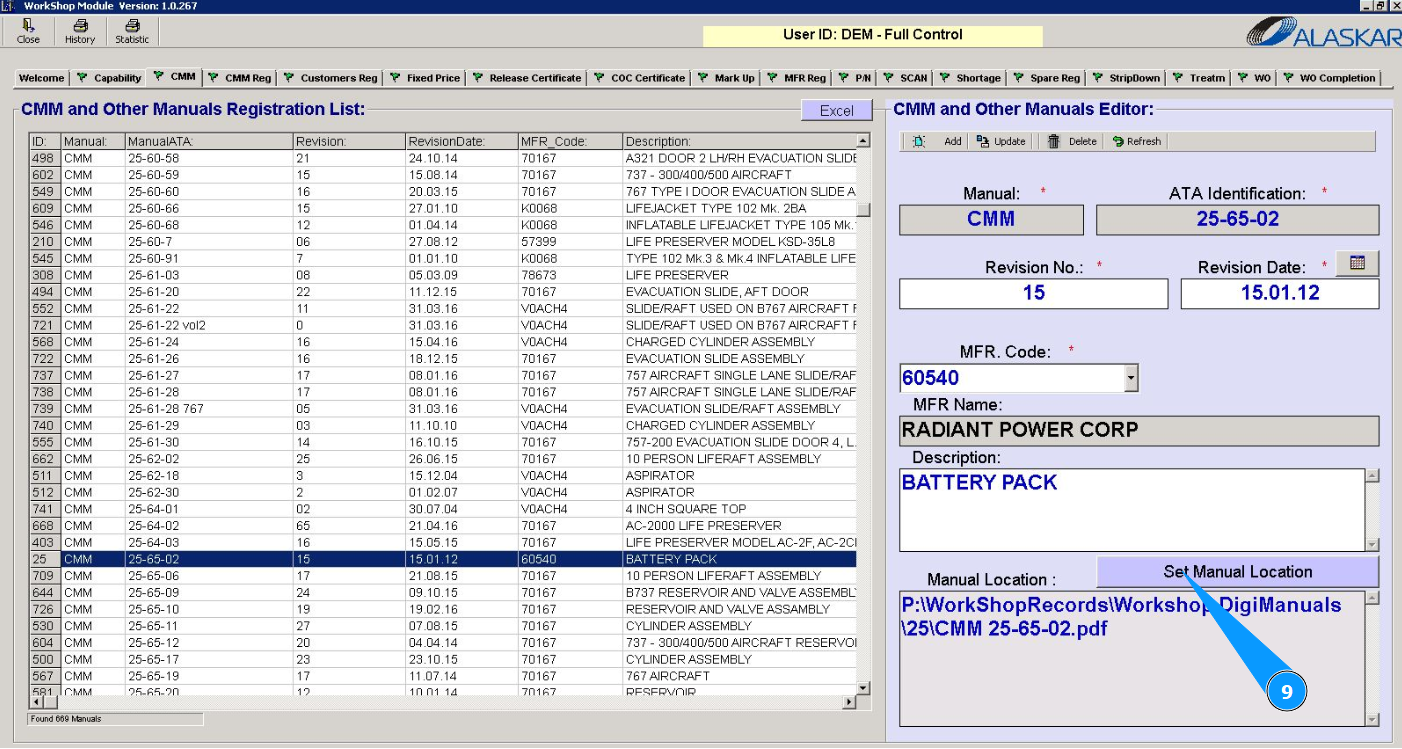
10. Enter the location of the manual, click on the button "Set Manual Location".
11. Select a file on your computer and click on the button "Ok".
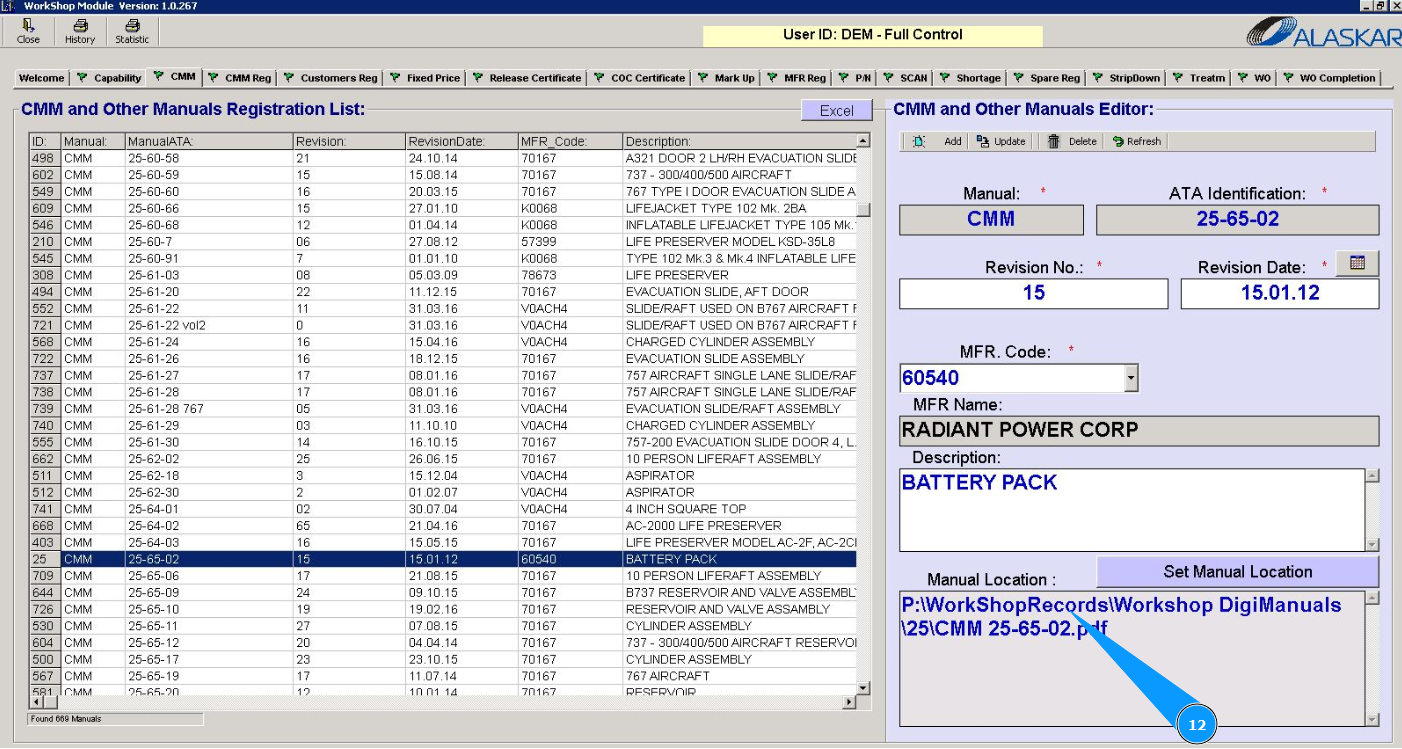
12. Check that the file with manual is displayed in the window "Manual Location".
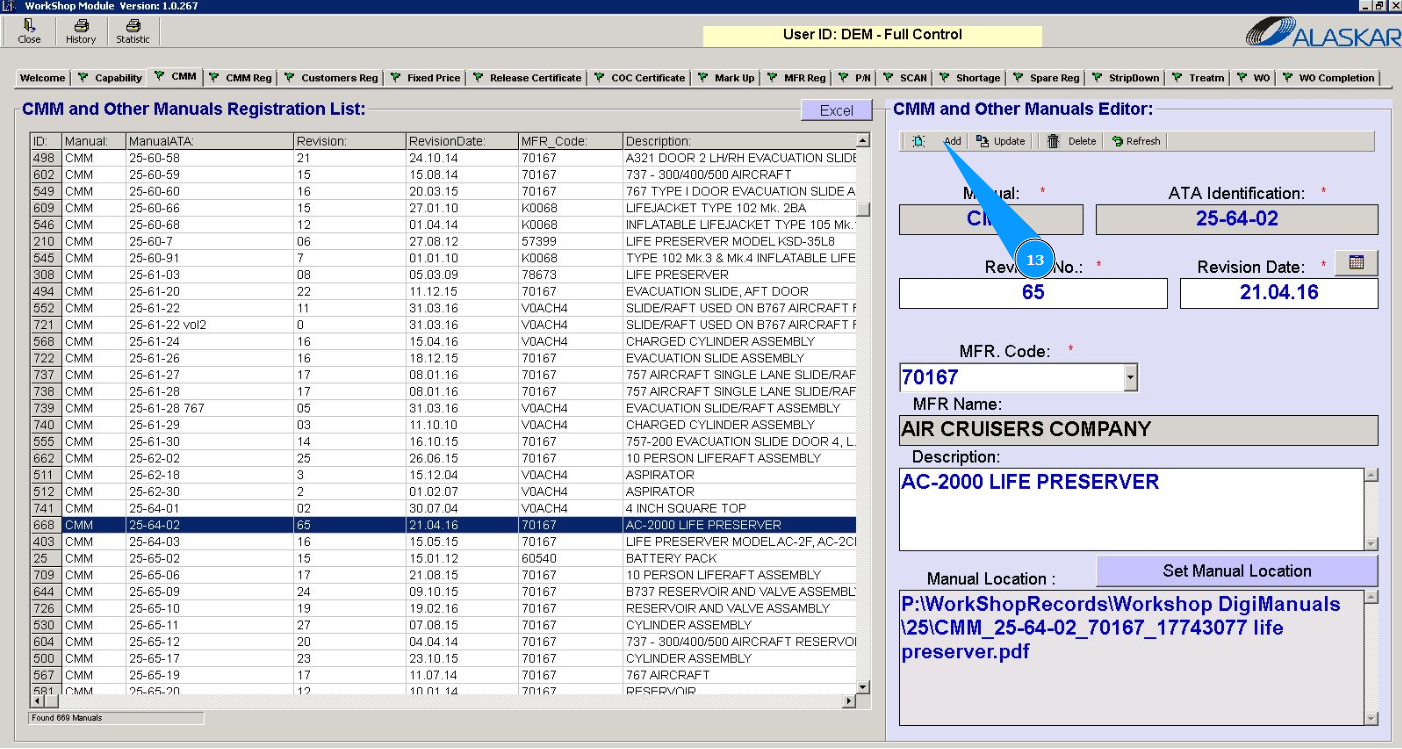
13. Click on the button "Add" to add a manual to the program.
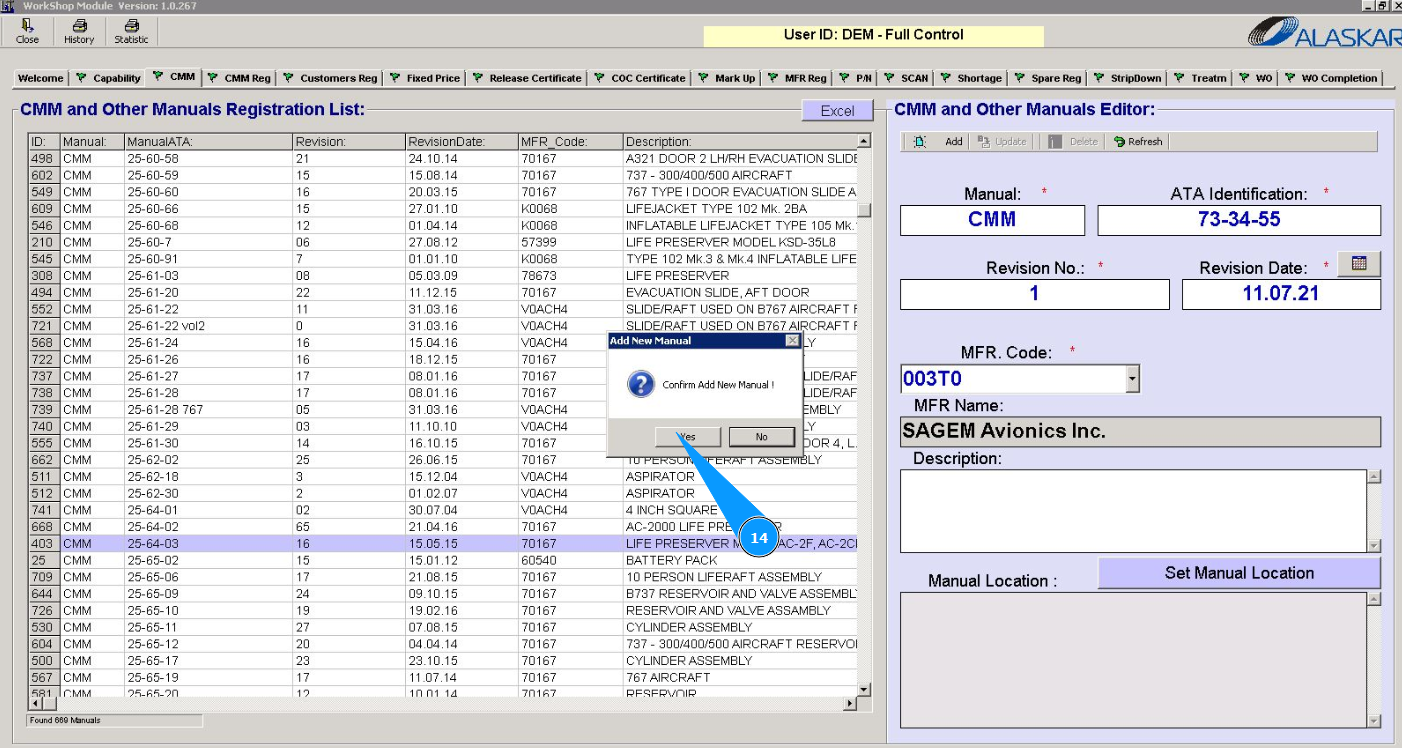
14. Click on the button "Yes", to confirm adding the manual to the program.
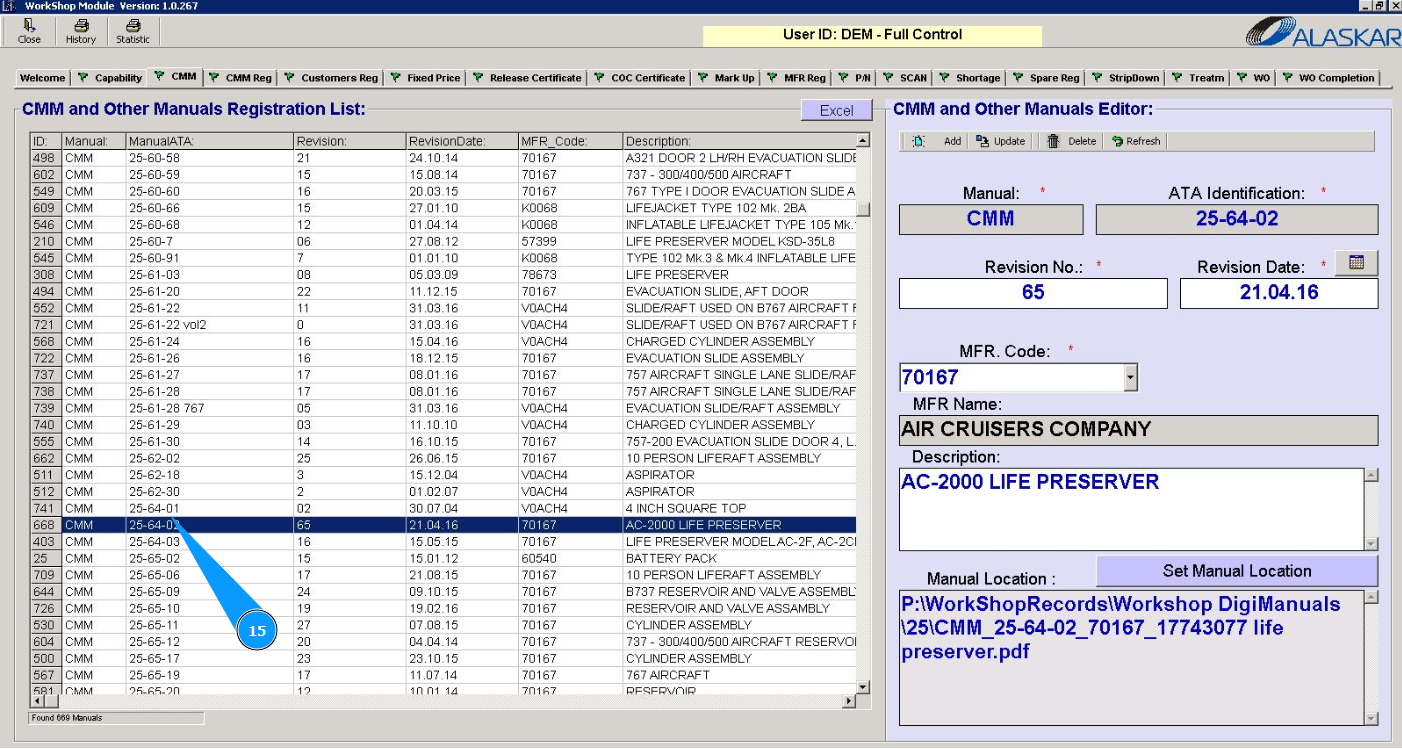
15. Check that your manual is displayed in the window "CMM and other Manuals Registration List".