How to add capability to a component repair shop (Workshop)
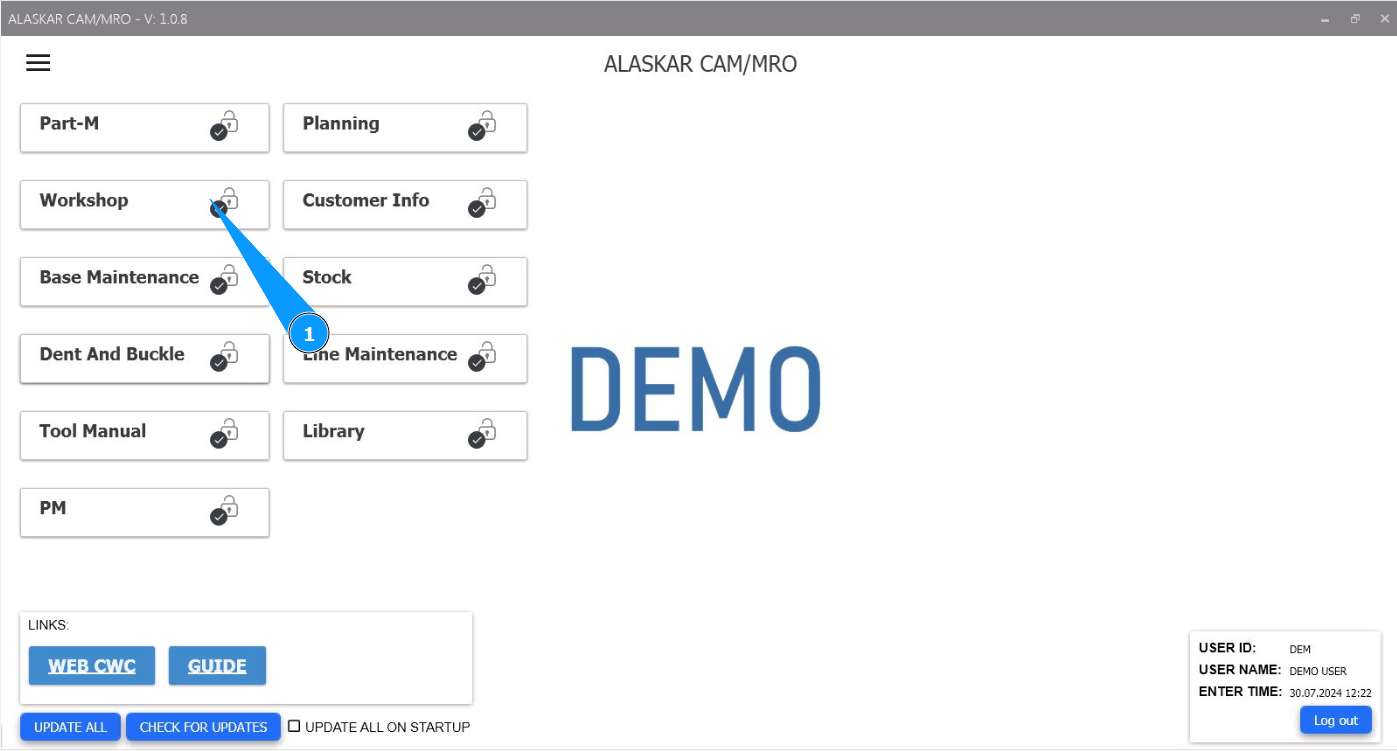
1. In order to add capability to a component repair shop (Workshop), go to the module "Workshop".
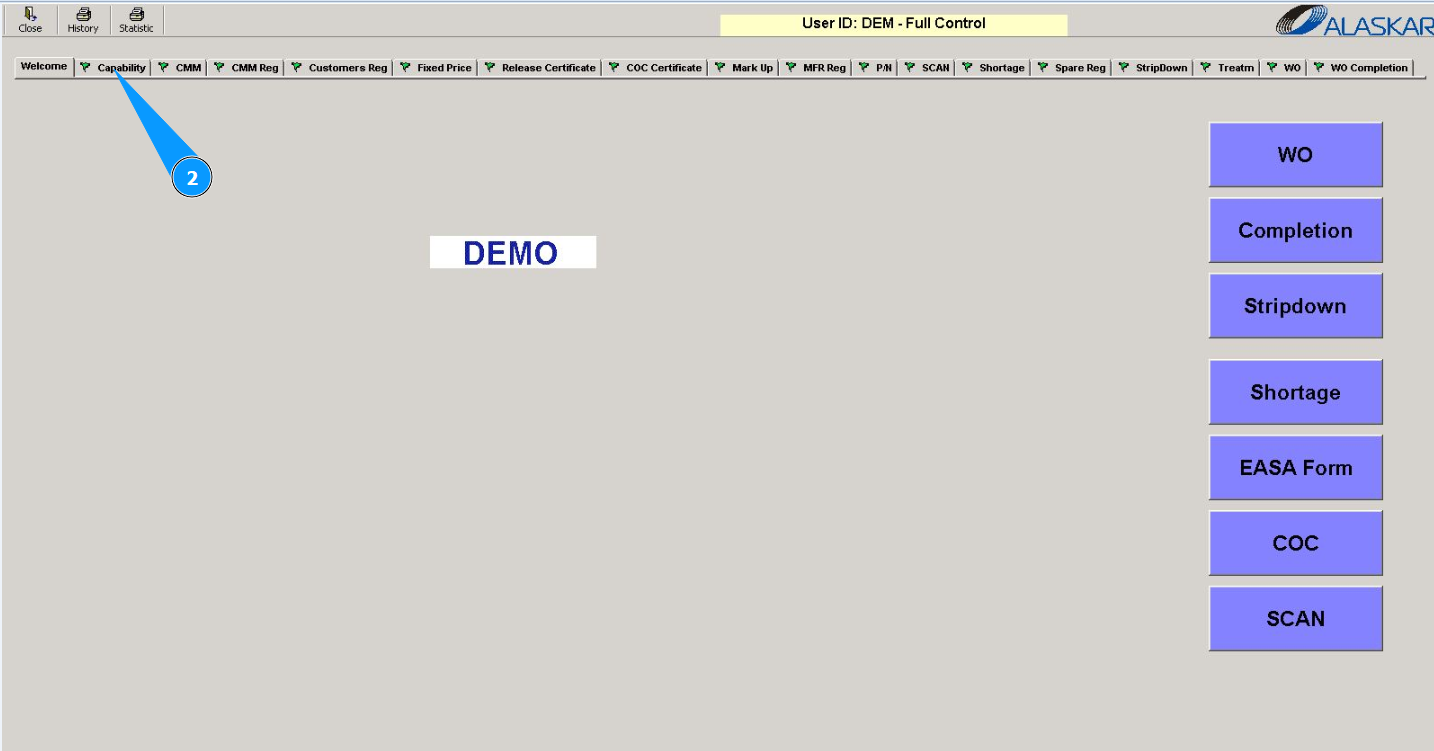
2. Next, go to the tab "Capability".
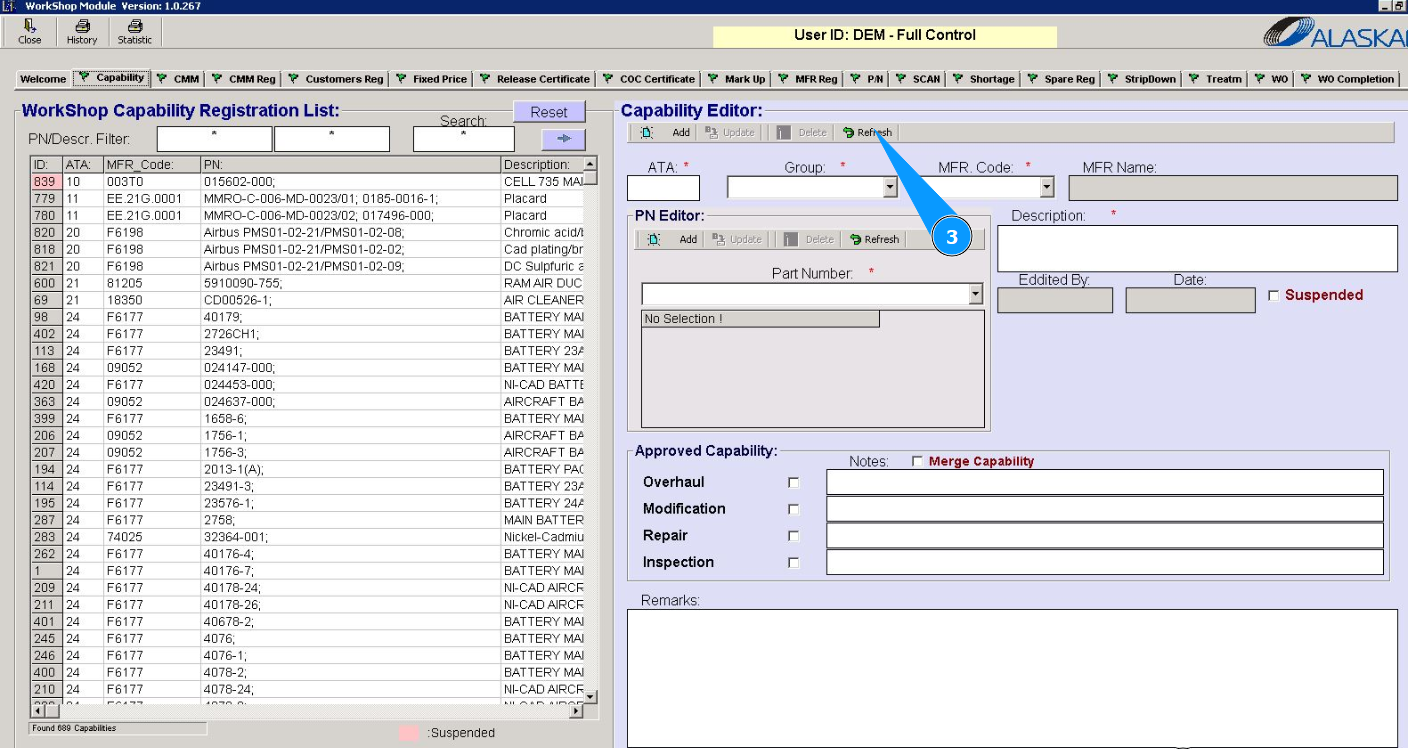
3. Click on the button "Refresh" to delete data from the fields in the editor "Capability Editor".
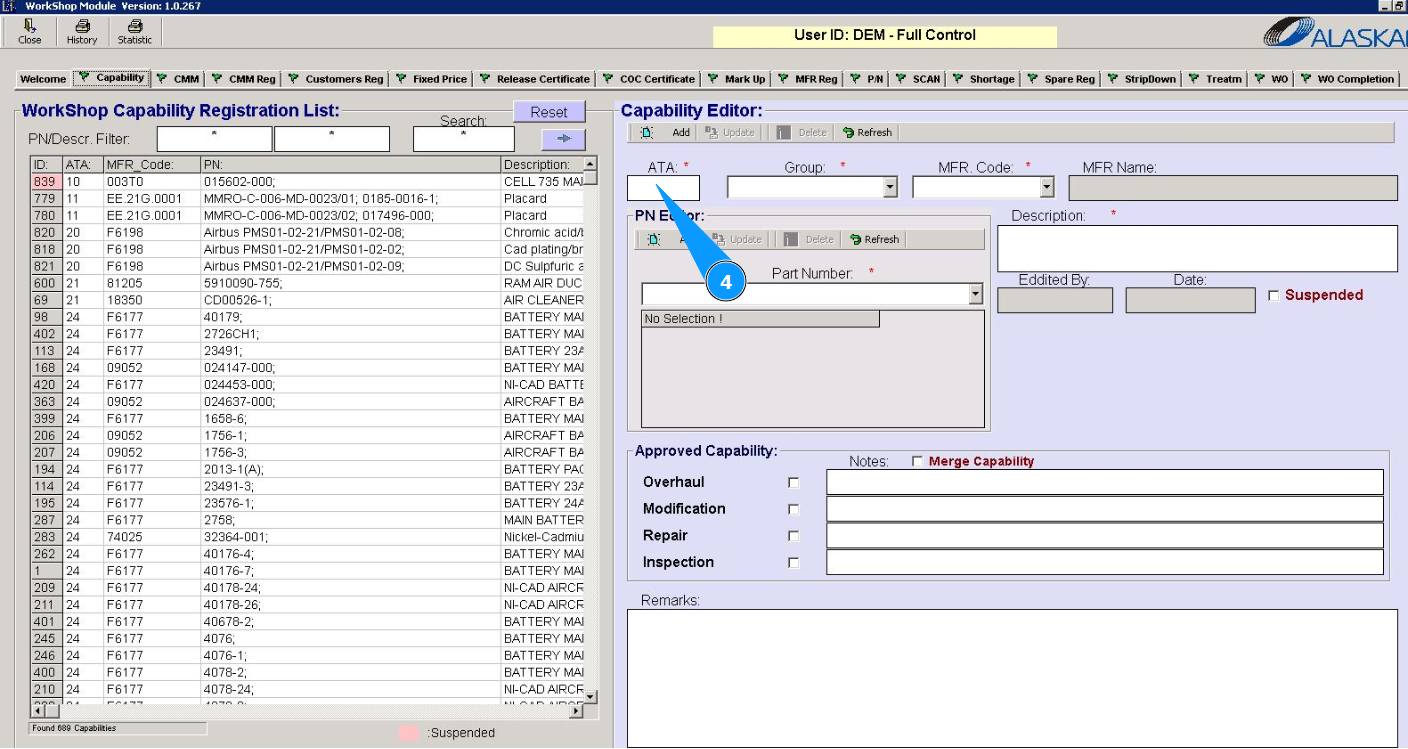
4. Enter the ATA chapter number in the field "ATA".
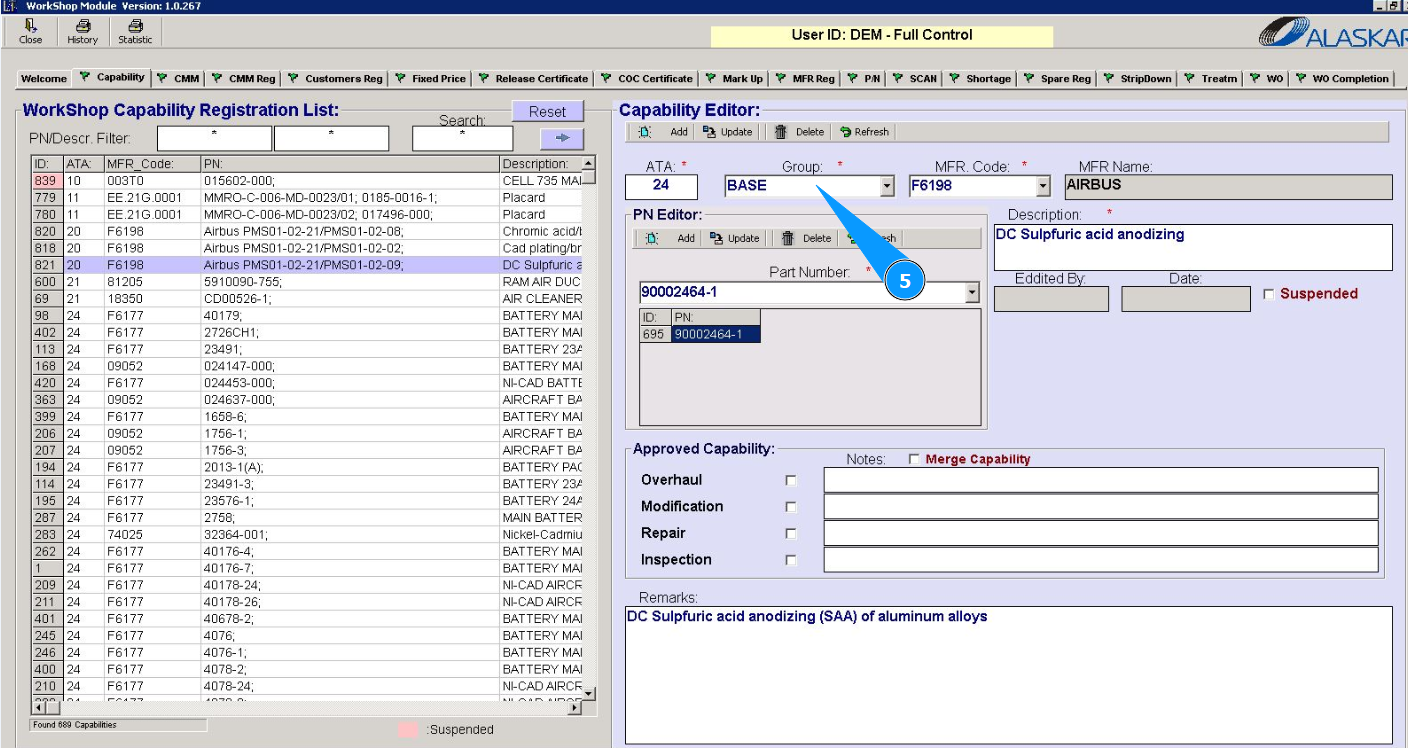
5. From the dropdown list, select the group for which component group is maintained in your shop or enter the name of the group in the field "Group".
6. From the dropdown list, select the manufacturer code of the component being repaired in the workshop, or enter the code in the field "MFR Code".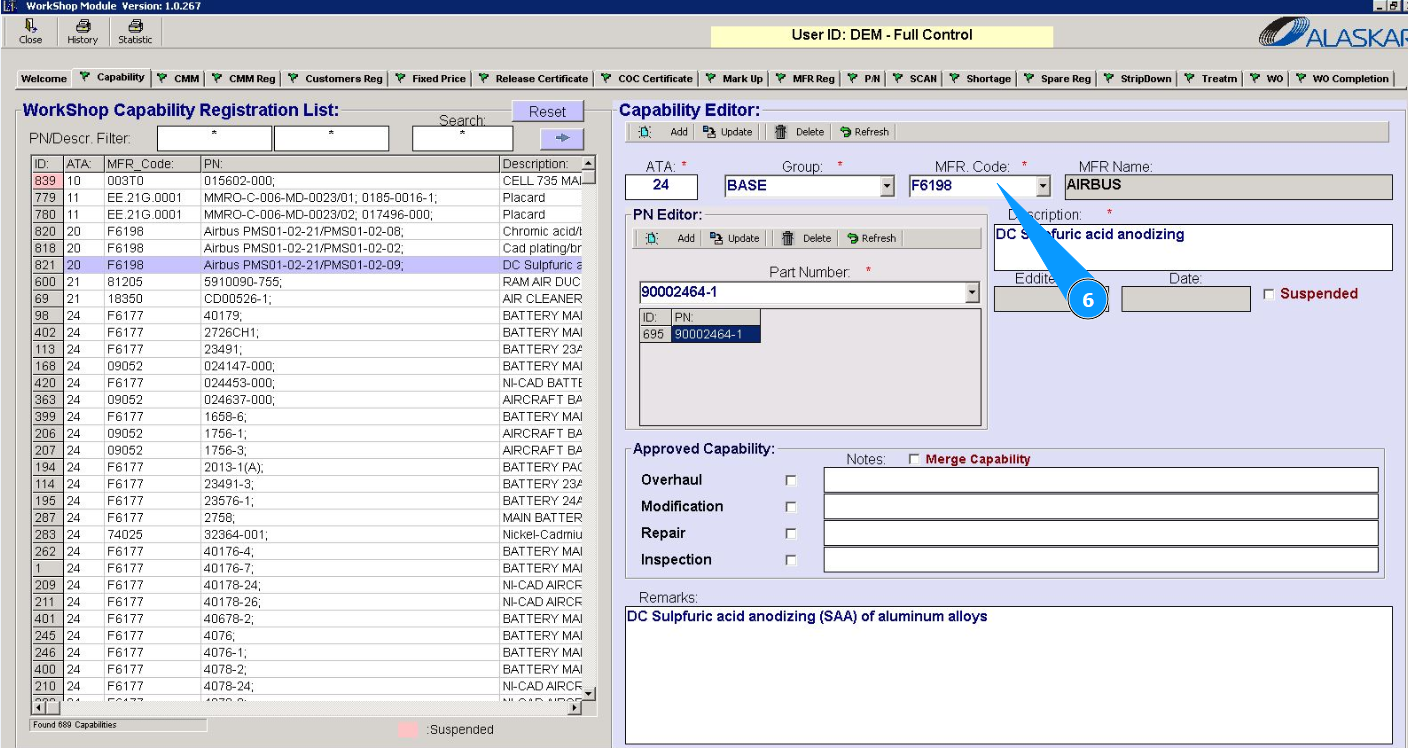
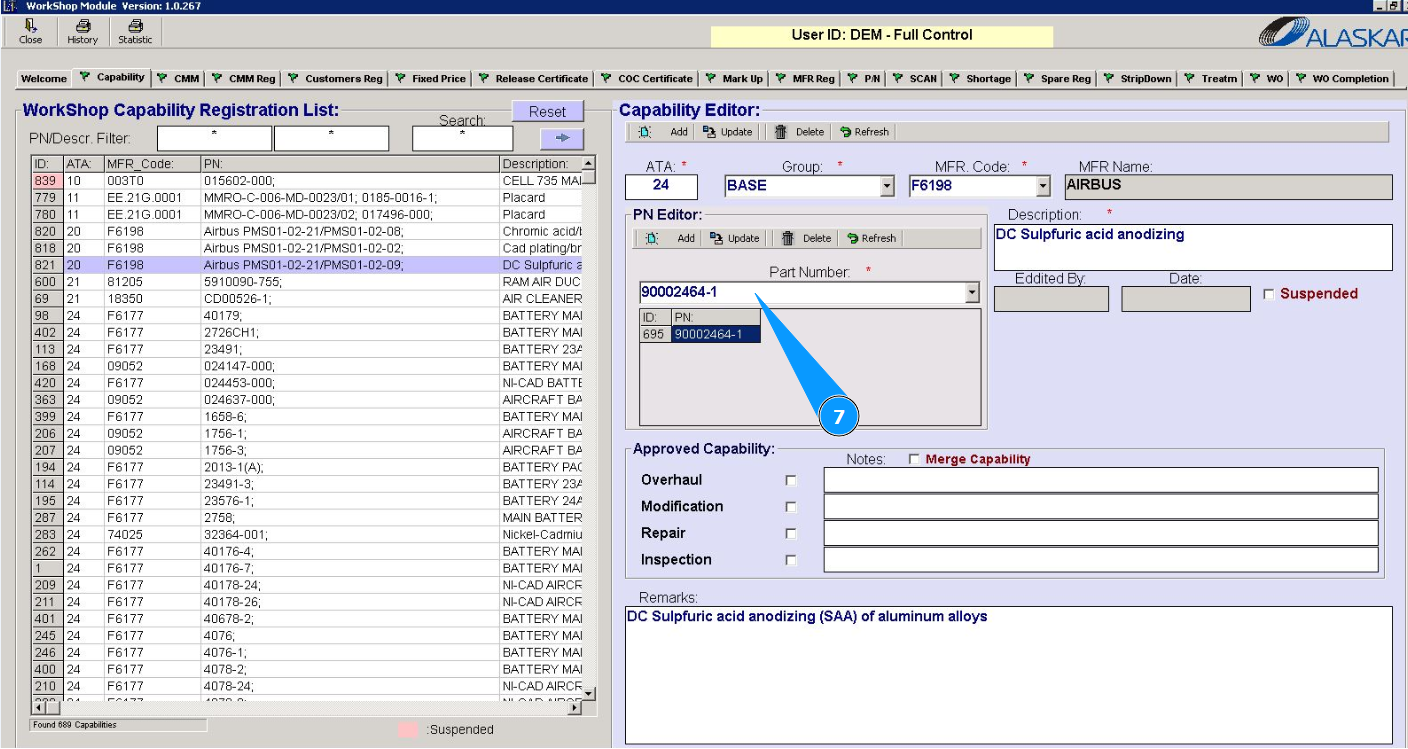
7. From the dropdown list, select the part number of the product being repaired at in your shop, or enter its p/n in the field "Part Number".
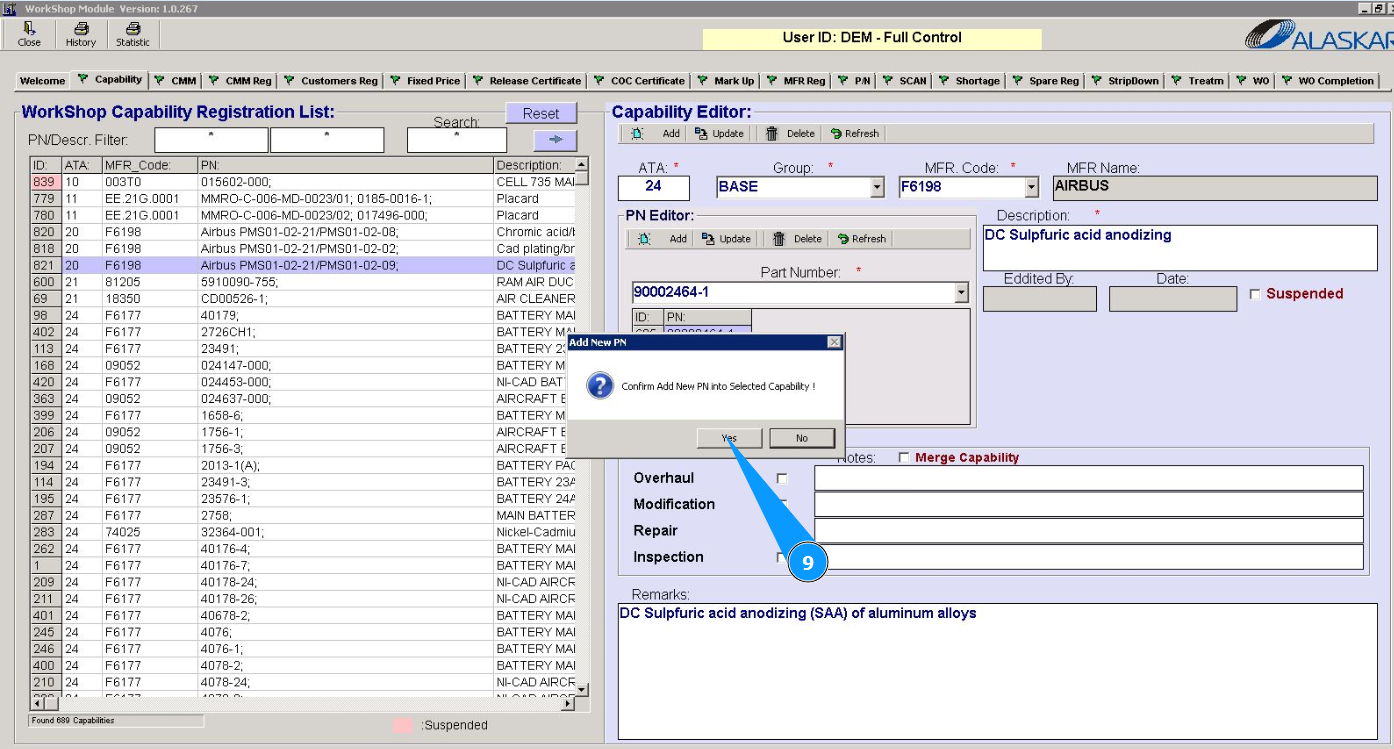
8. Click on the button "Add" to add the part number to the capability.
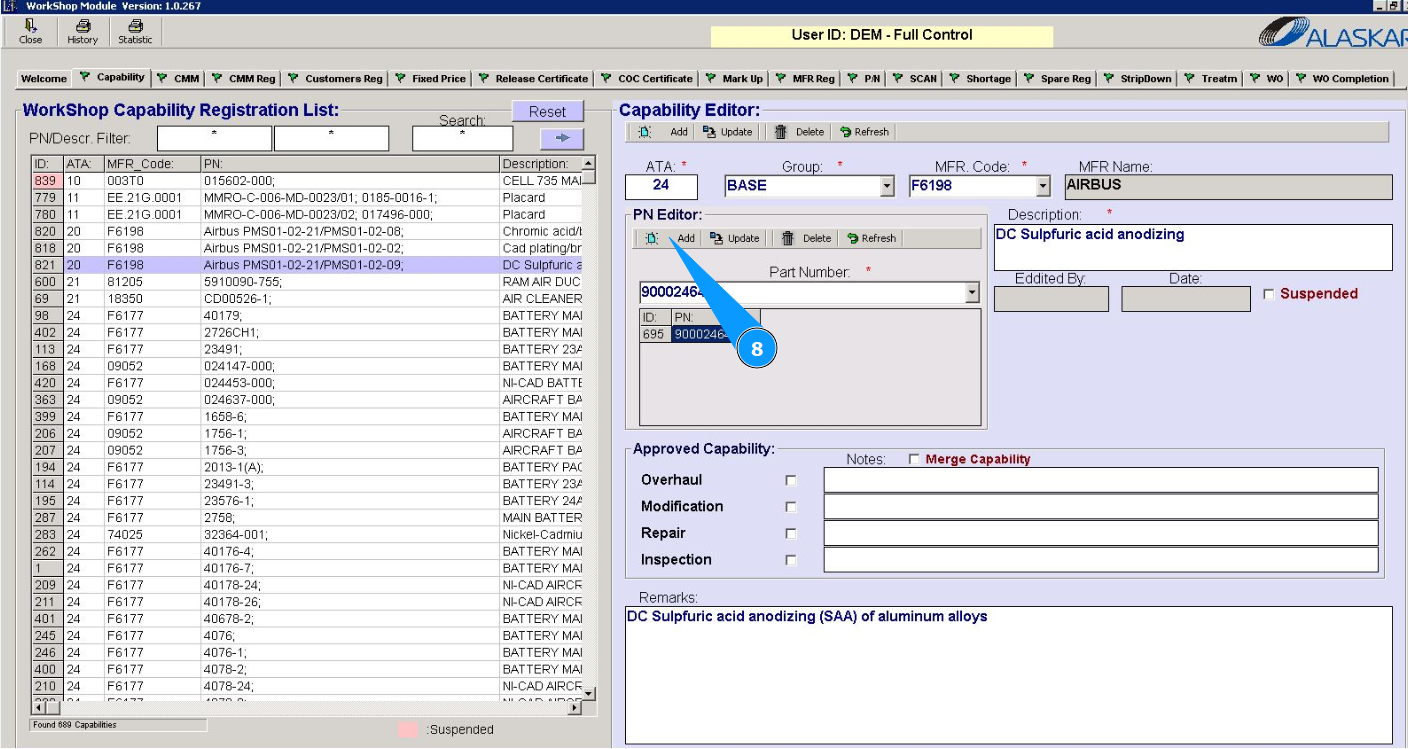
9. Click on the button "Yes" to confirm adding the batch number.
10. Enter a description of the component in the field "Description".
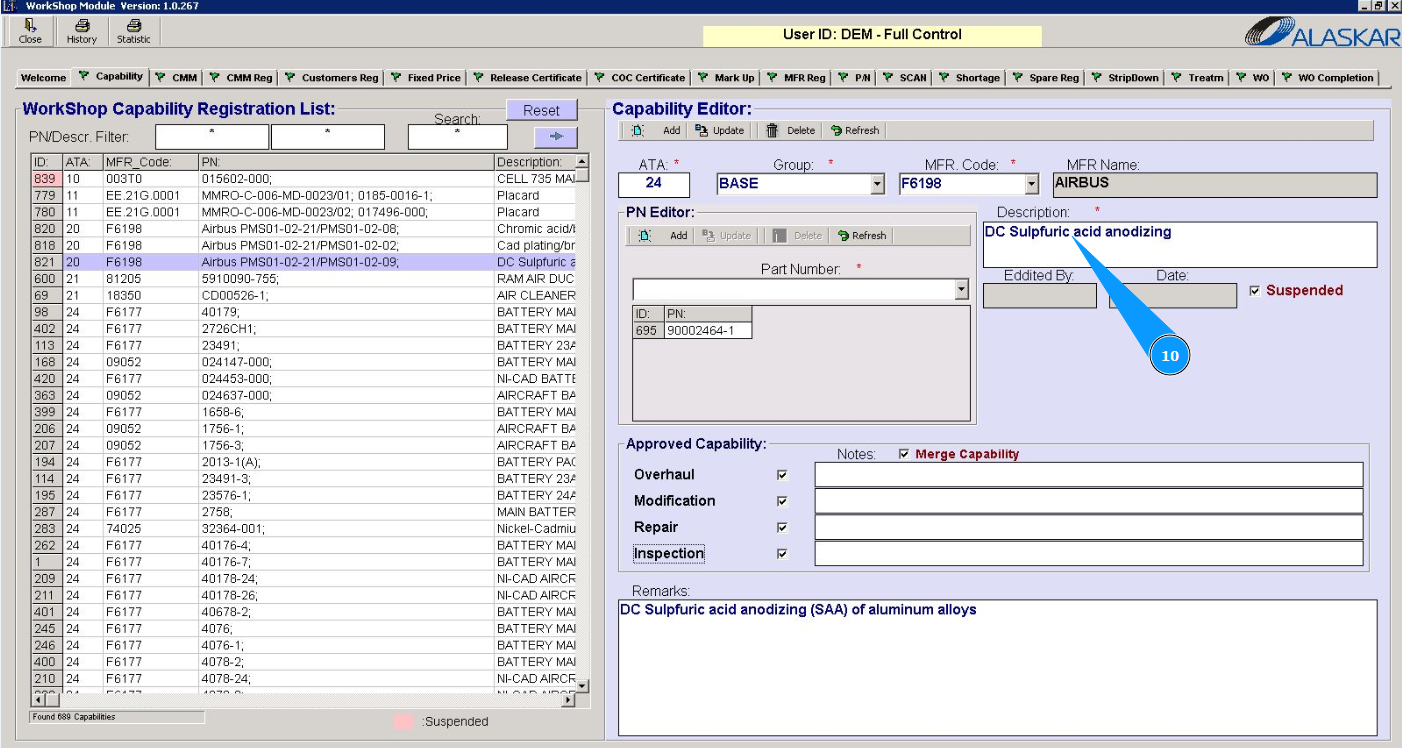
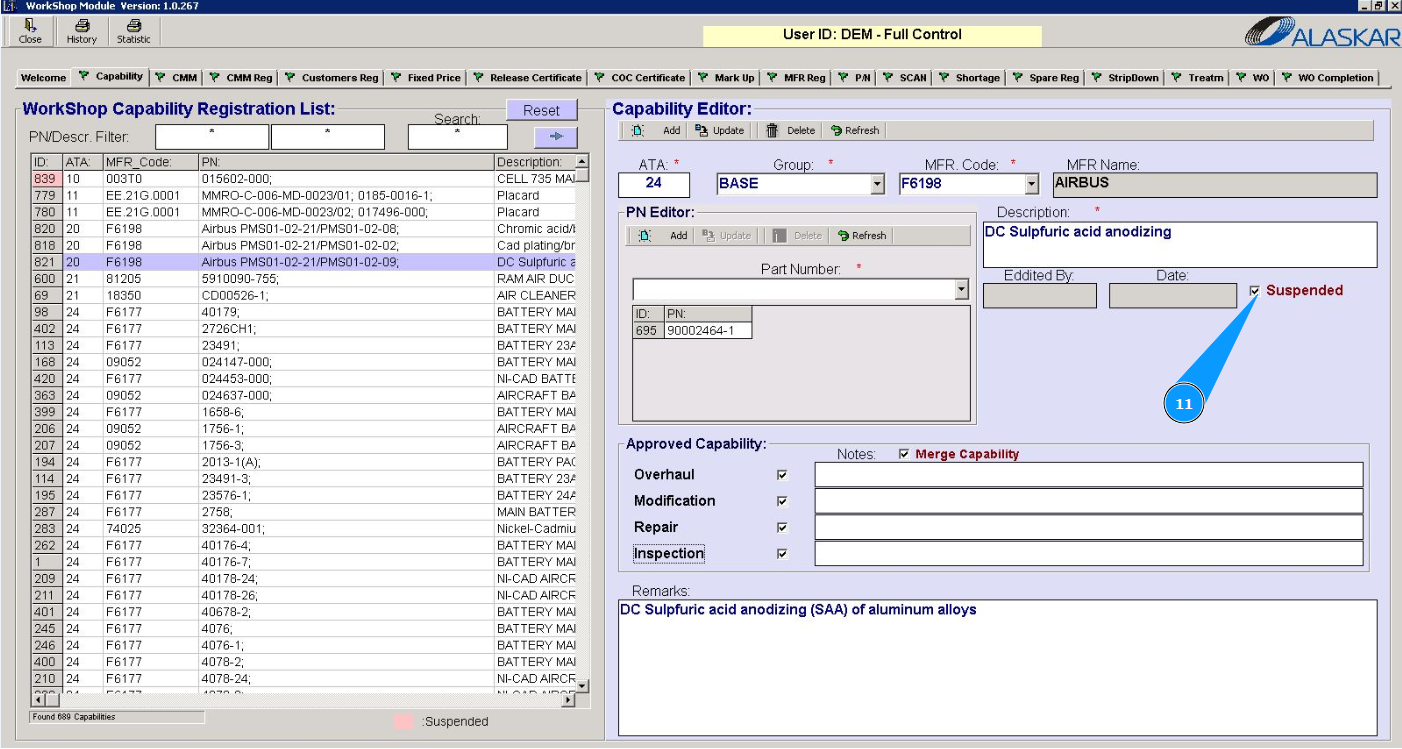
11. If necessary, suspend your competence for this party number and click in the field "Suspended".
12. Enter what types of work your shop is approved for and click in the appropriate fields: "Overhaul", "Modification", "Repair" and "Inspection".
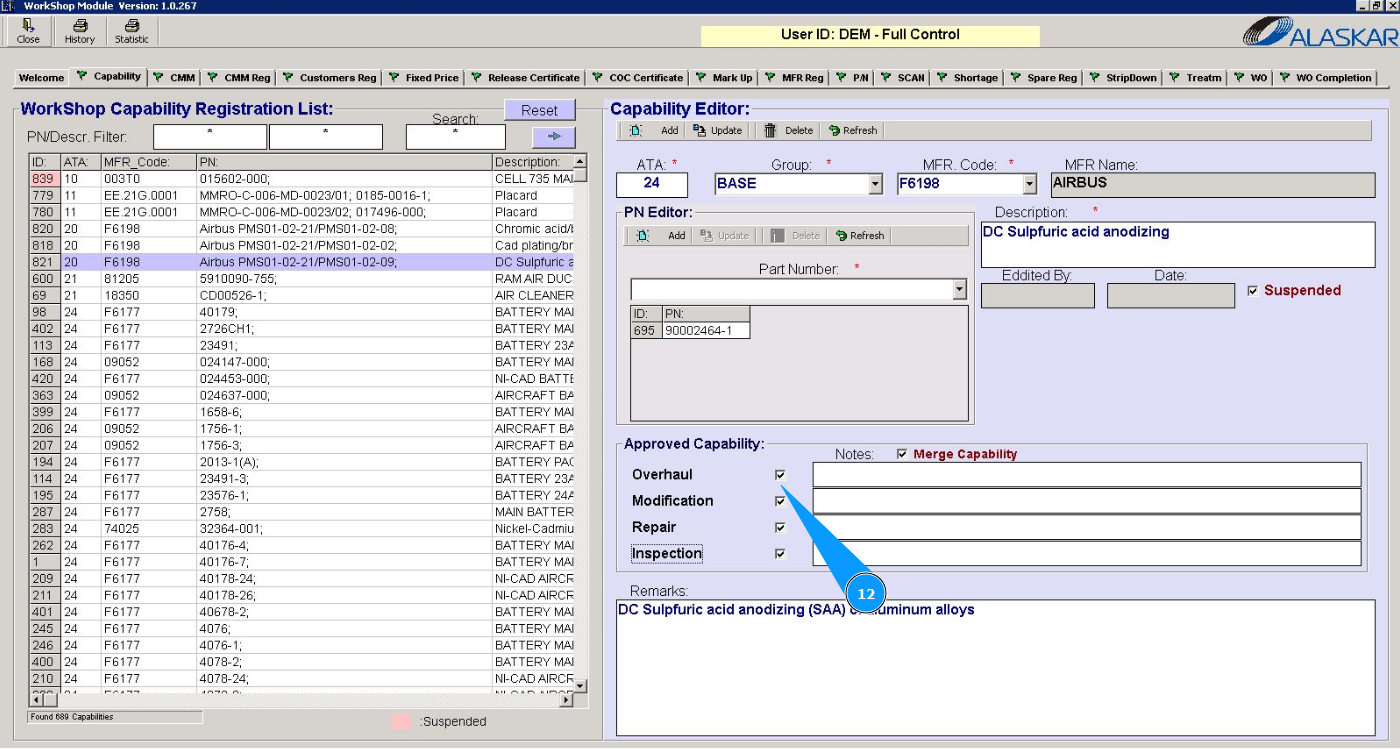
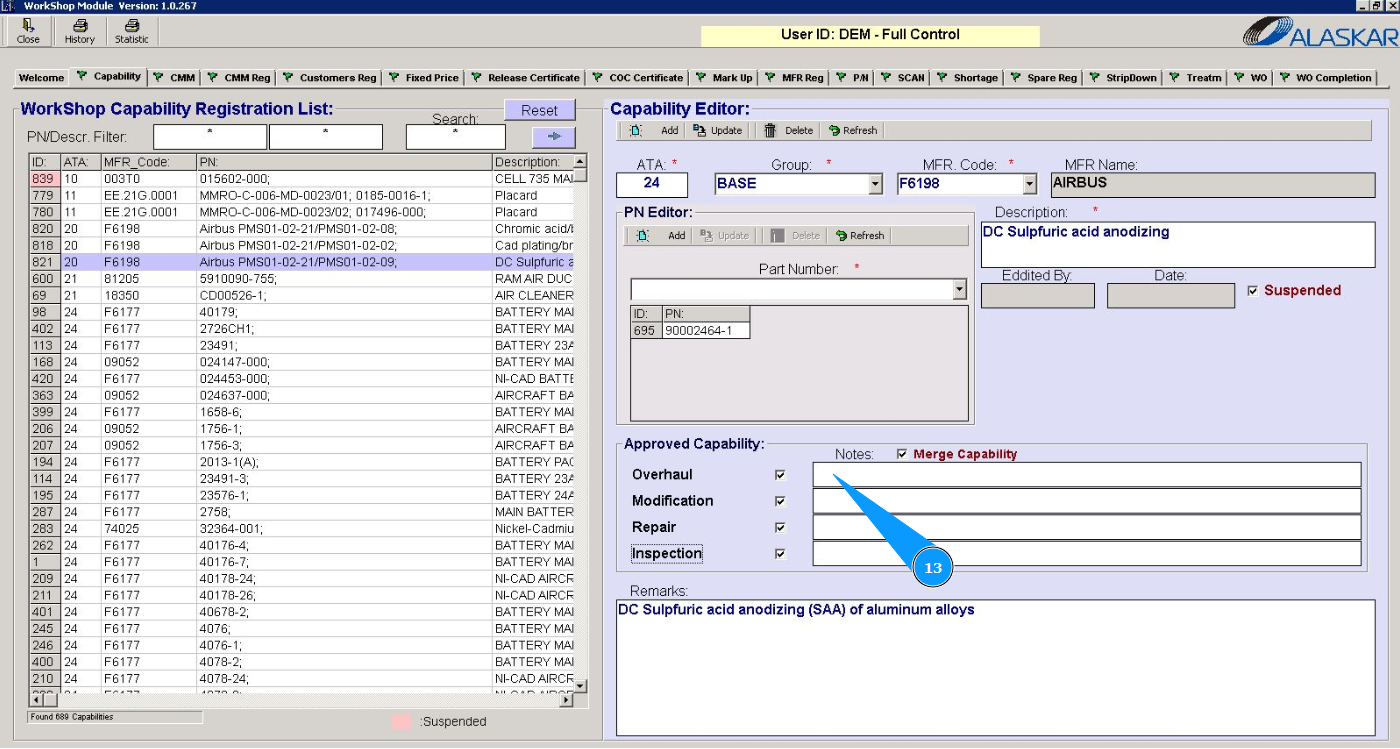
13. If necessary, enter a description of the types of work performed in the workshop in the field "Notes".
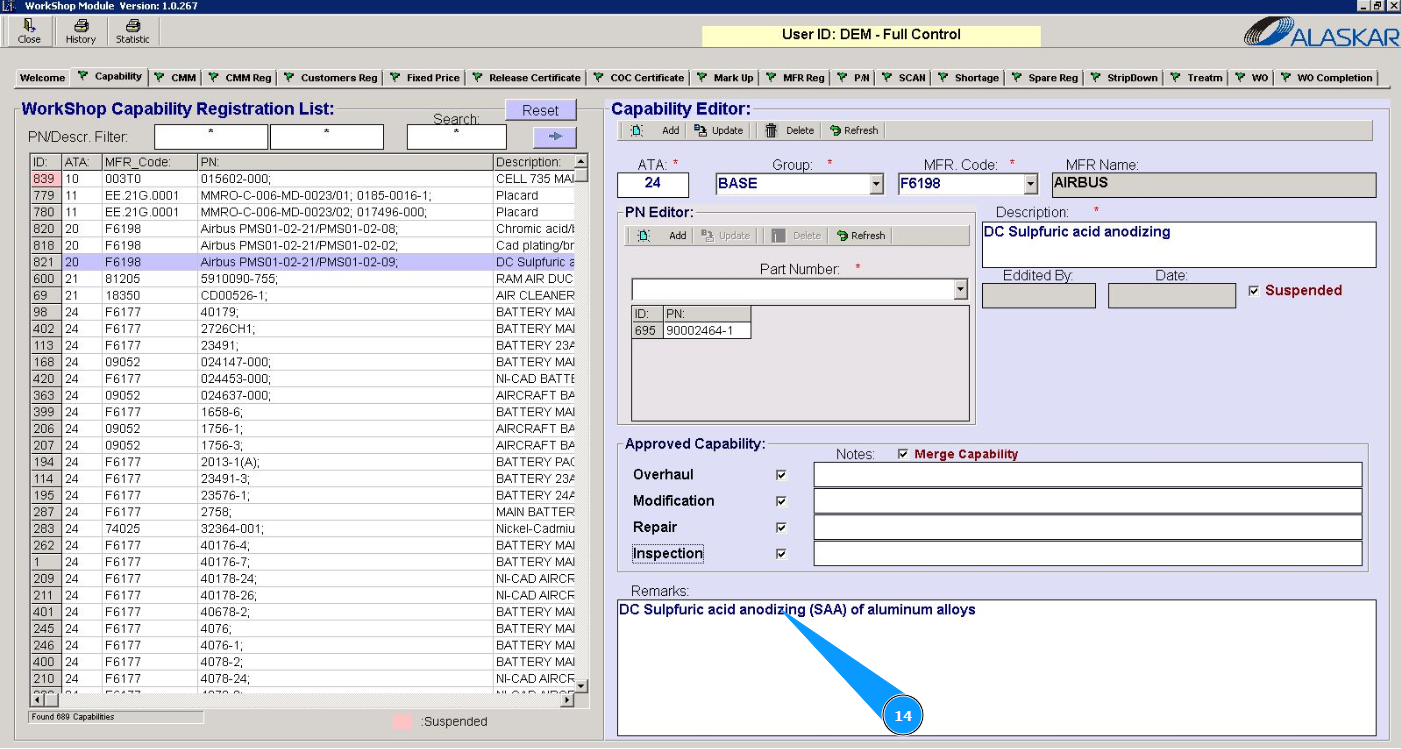
14. If necessary, enter additional comments in the field "Remarks".
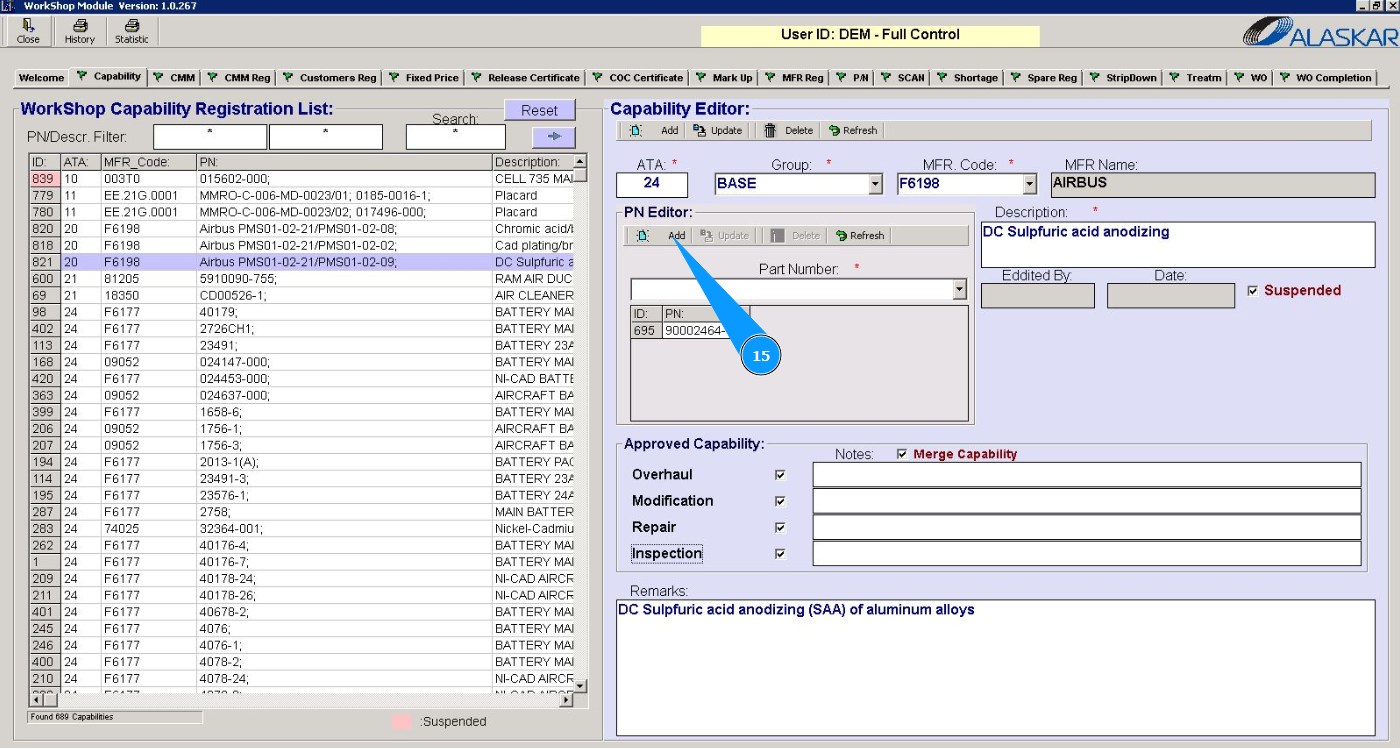
15. Click on the button "Add" to add a capability to the program.
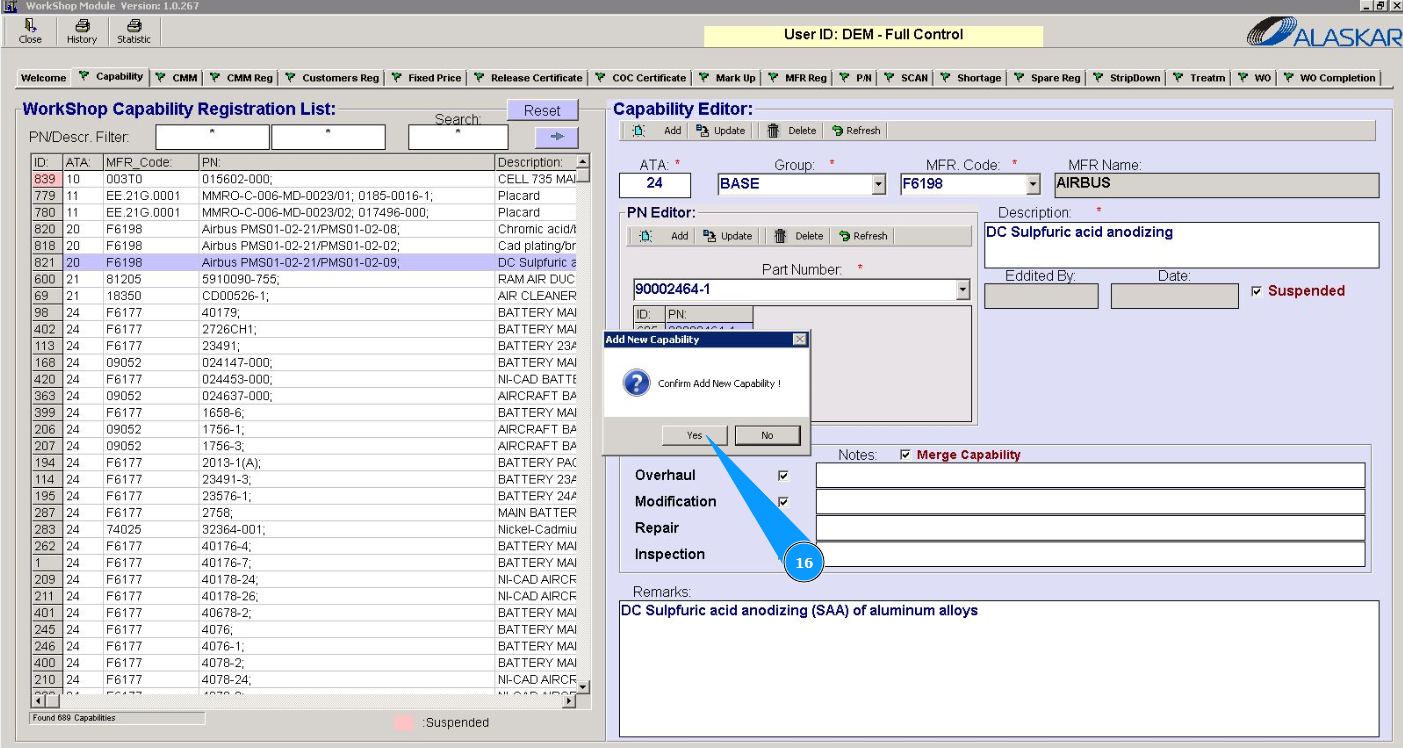
16. Click on the button "Yes" and confirm adding the capability to the program.
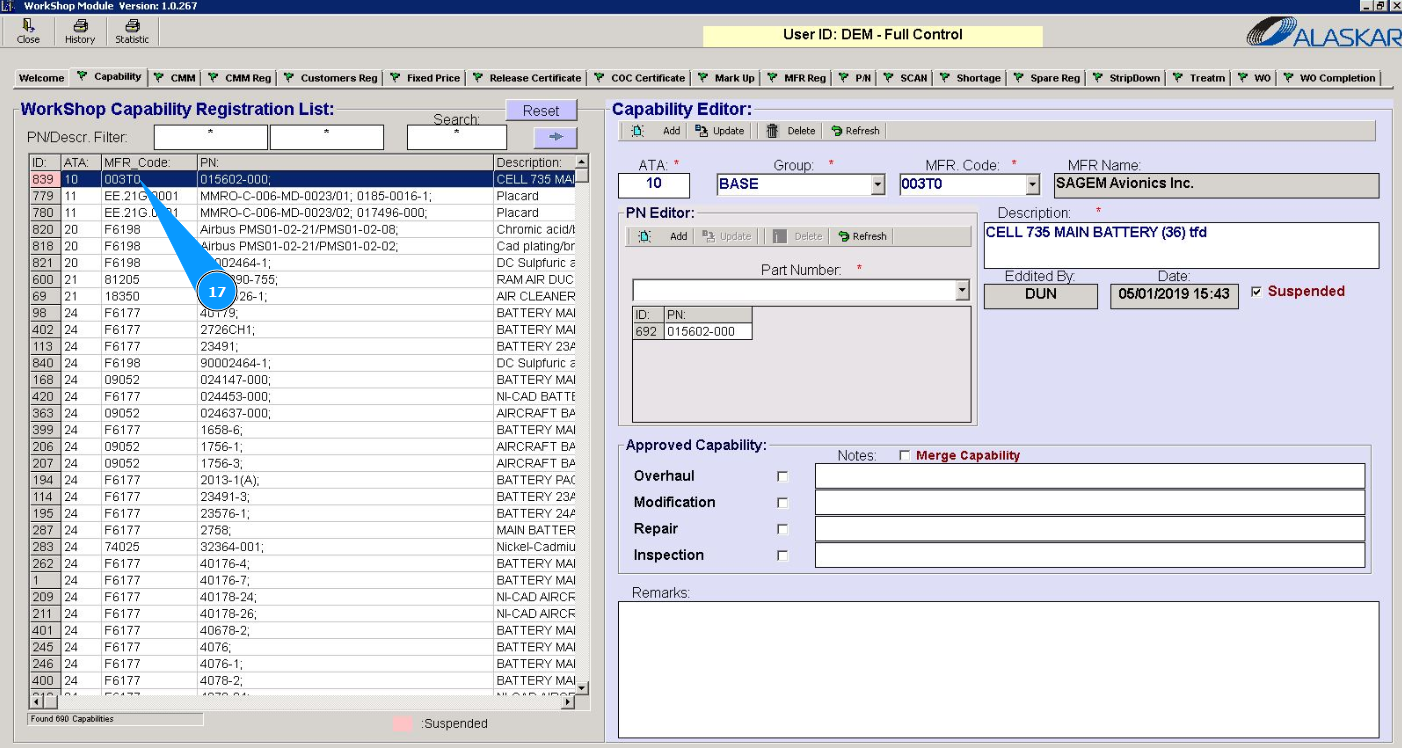
17. Check that the capability is displayed in the window "Workshop Capability Registration List".
Note: If the field "Suspended" is clicked, the capability for this component is suspended. The line in the list is marked in red!