How to update data in Repair order
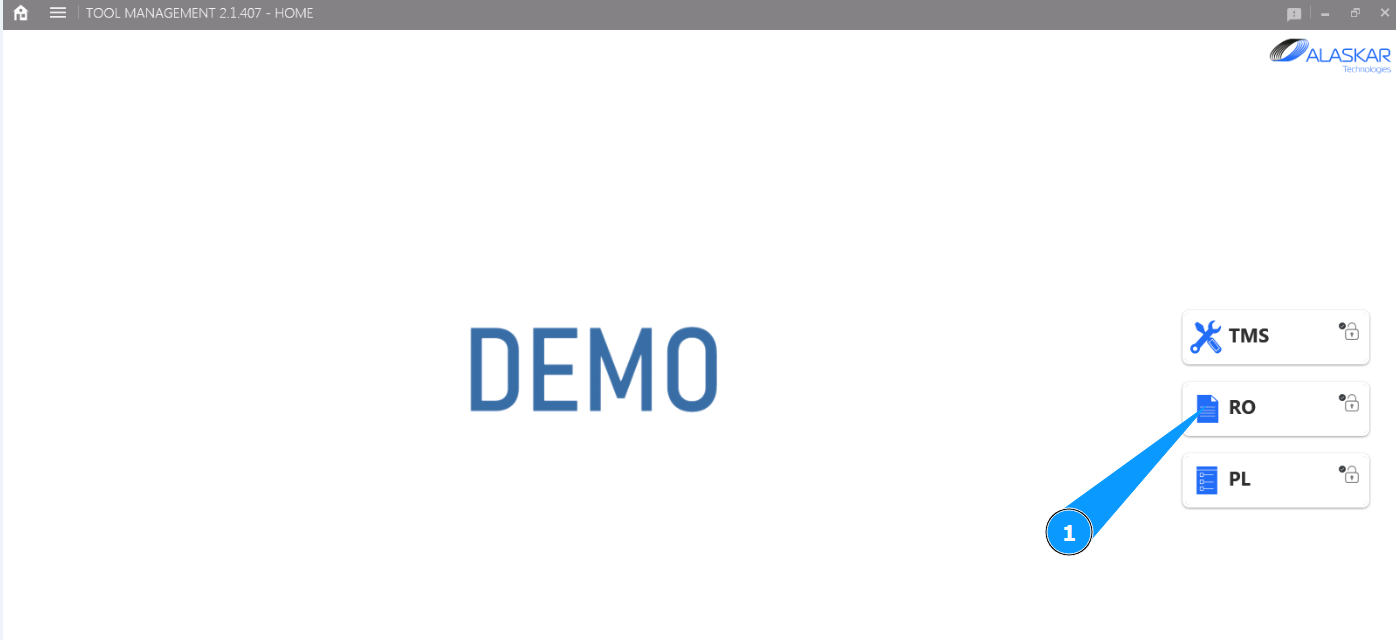
1. In order to update data in Repair order, go to the submodule "RO".
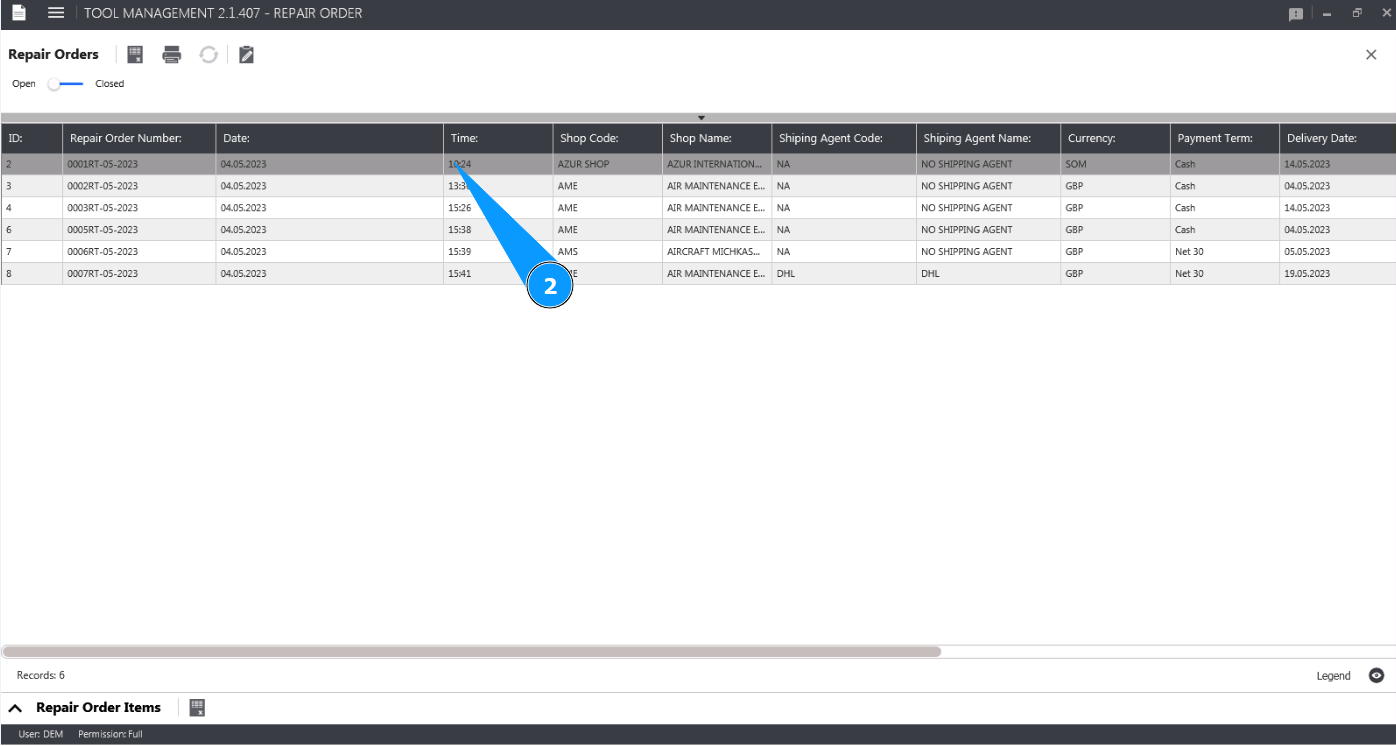
2. Select the Repair order you need to update from the list and click on the corresponding line in the window "Repair Orders".
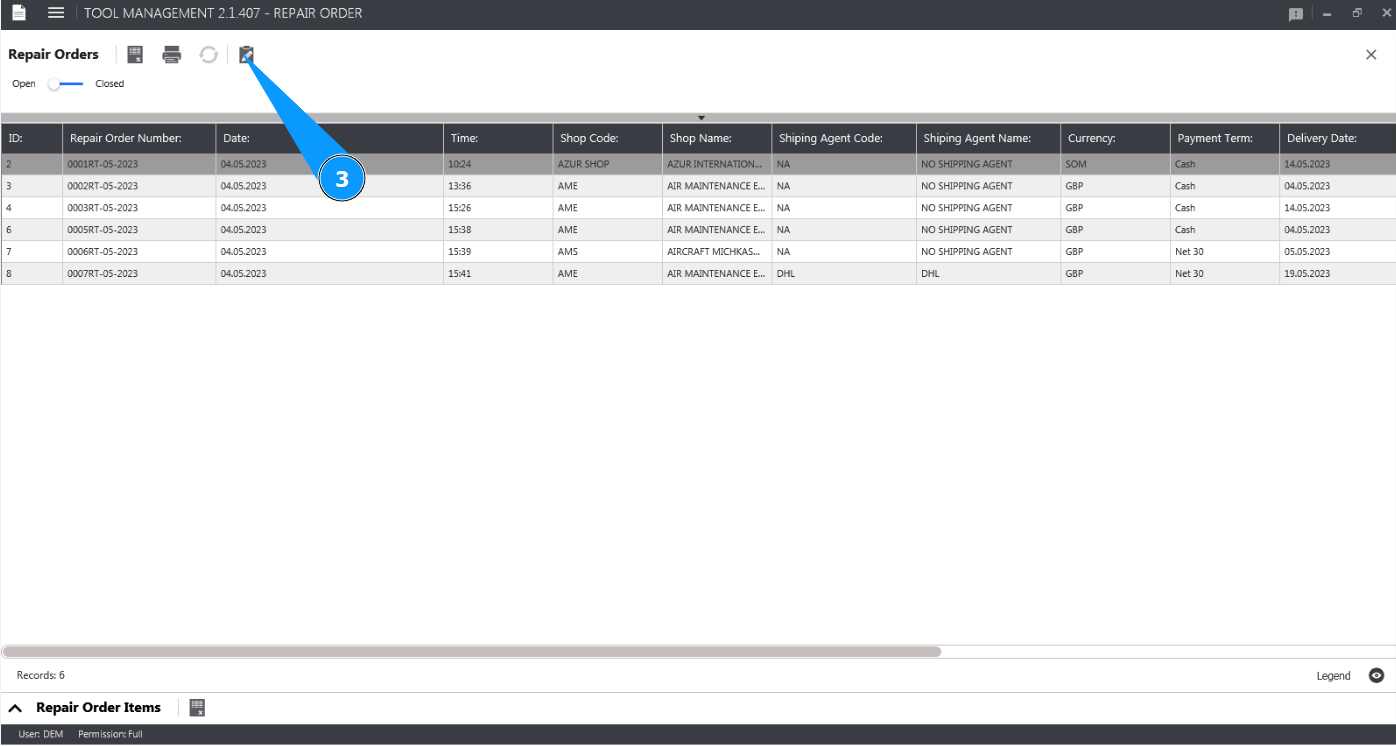
3. Click on the button "Show Editor" to open the Repair order editor.
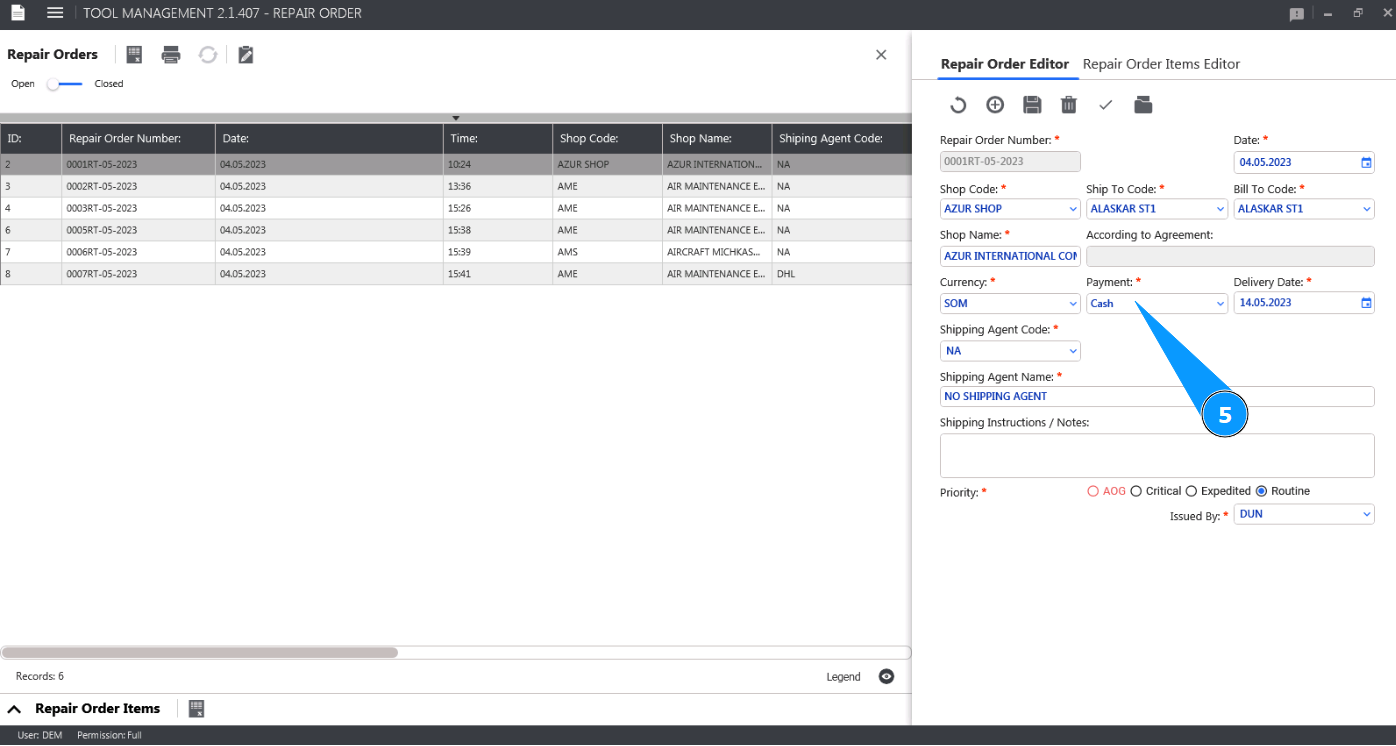
4. Check that the window "Repair Order Editor" is opened.
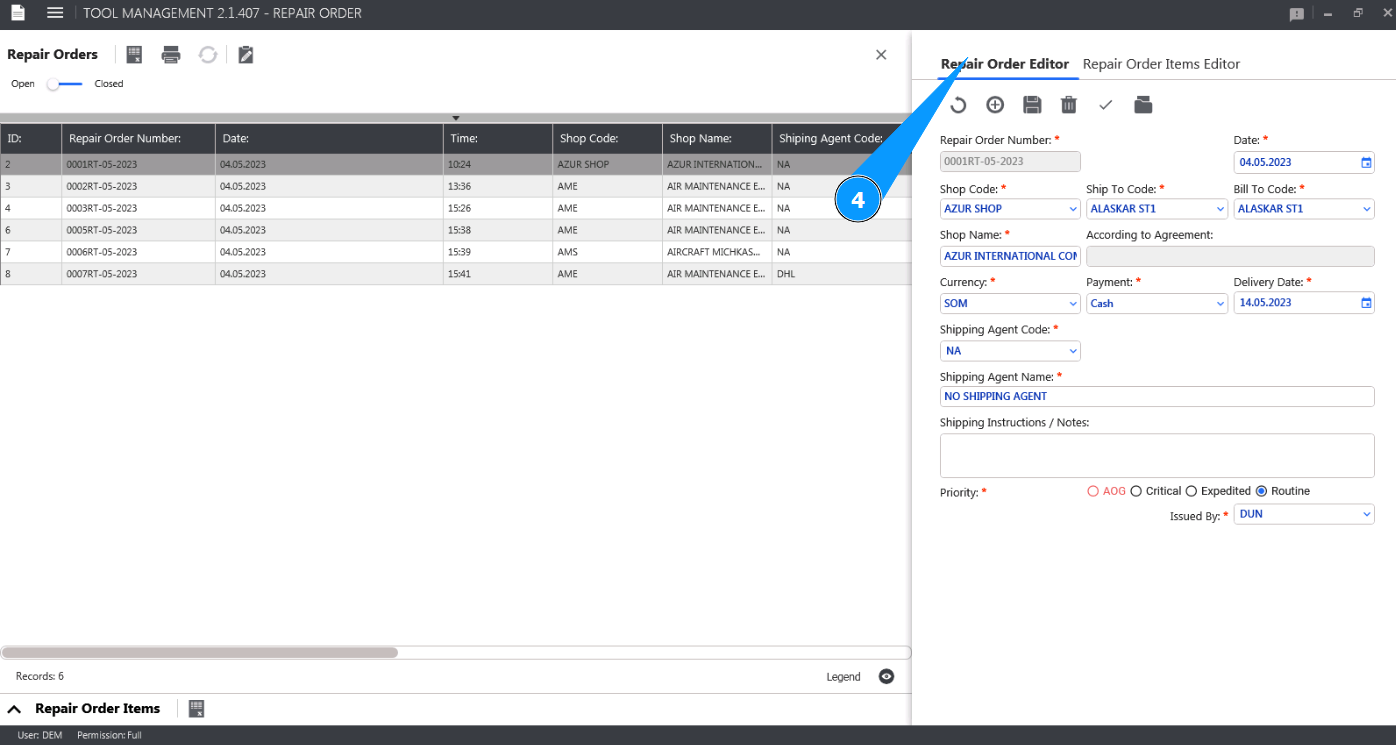
5. Make the required corrections to the Repair order in the window "Repair Order Editor".
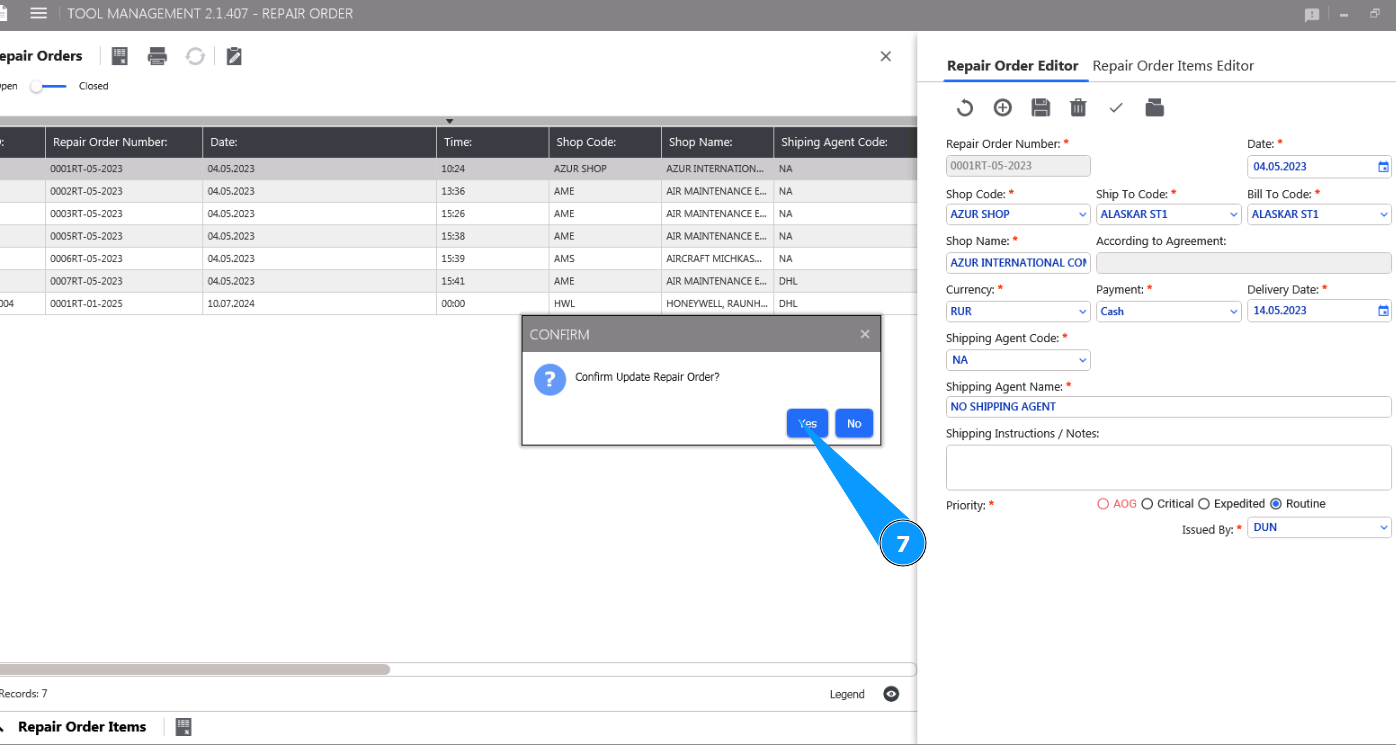
6. Click on the button "Update" to write the corrected data to the Alaskar.

7. Click on the button "Yes", to confirm adding new corrected data to Repair Order.
8. Check that changes in Repair Order data are displayed in the window "Repair Orders".
