How to check a tool
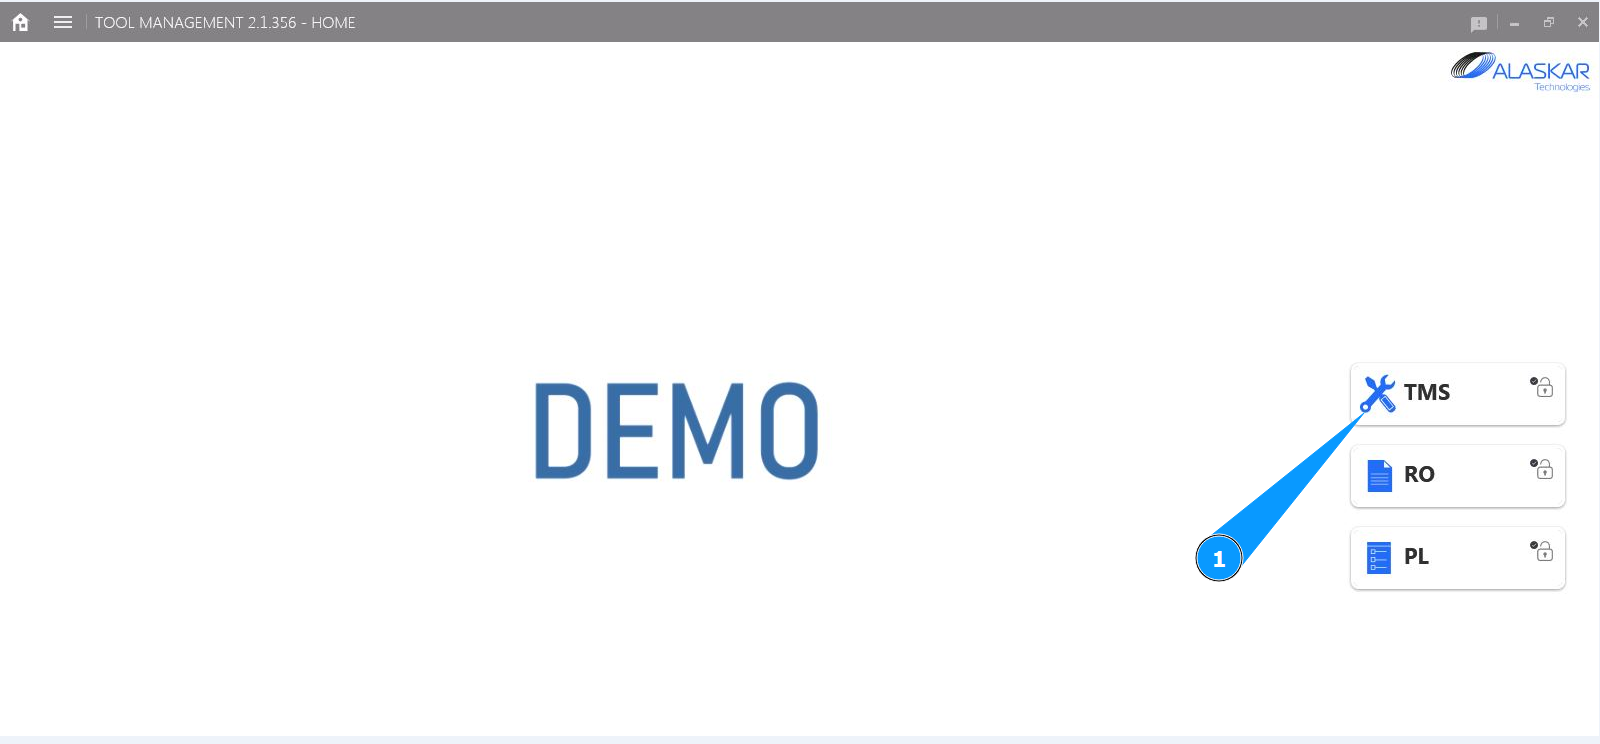
1. In order to check a tool, go to the submodule "TMS".
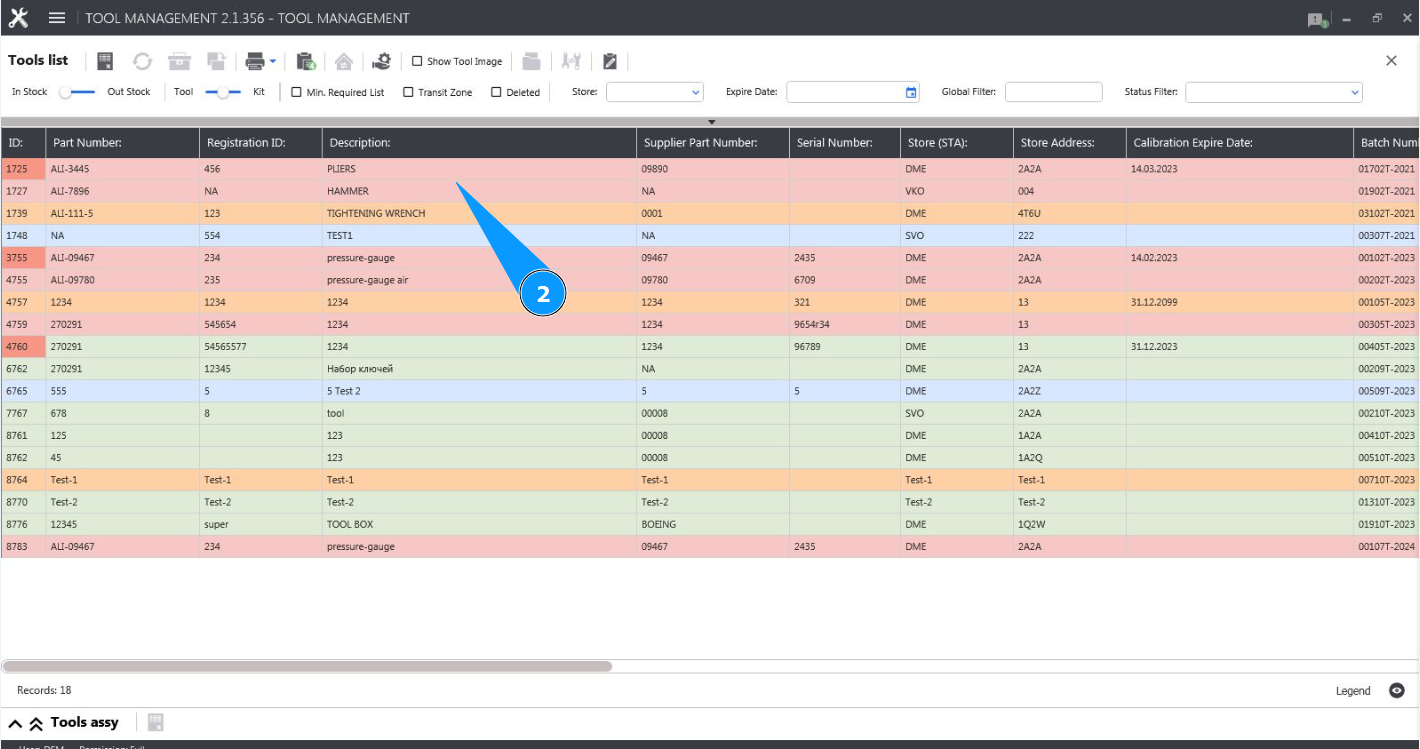
2. Select the required line with the tool and click on it in the window "Tool List".
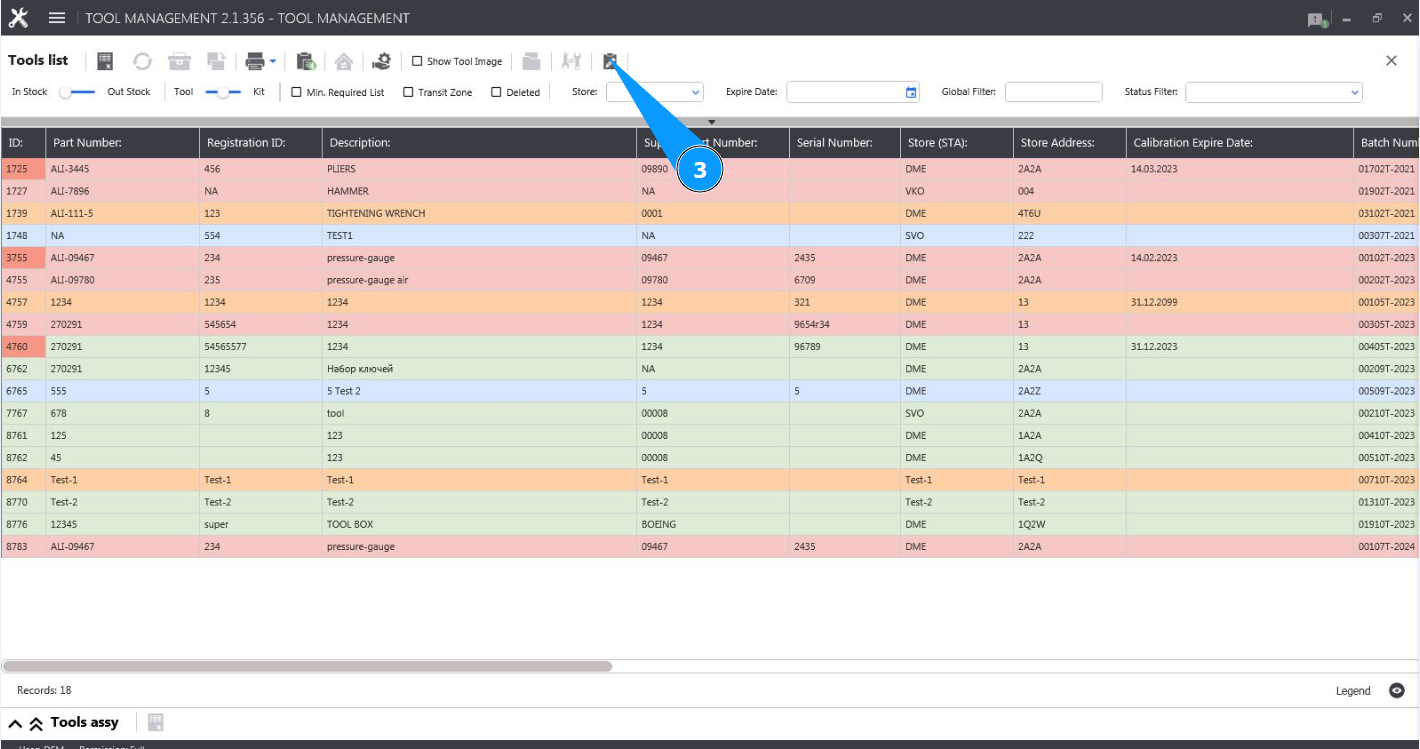
3. Click on the button "Show Editor" to open the tool editor.
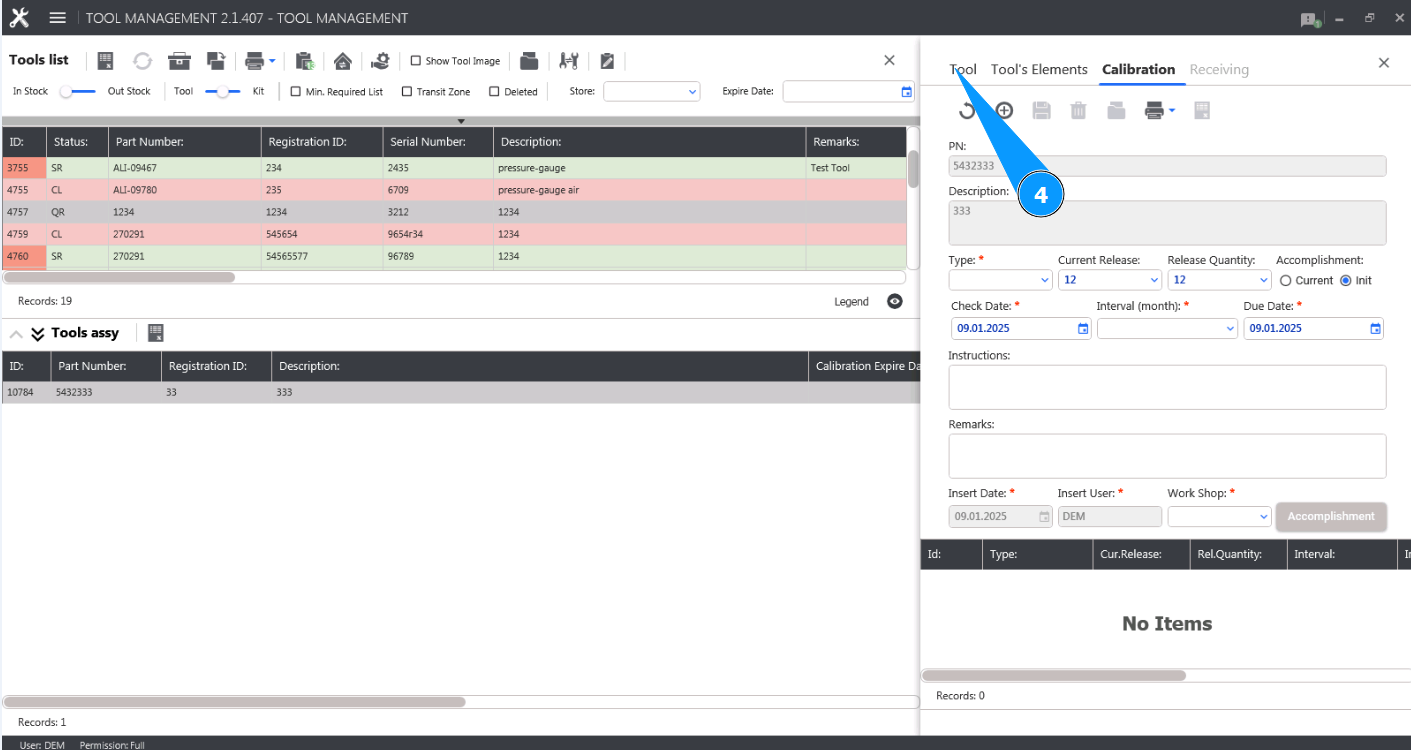
4. Make sure the editor is open and accessible in the tab "Tool".
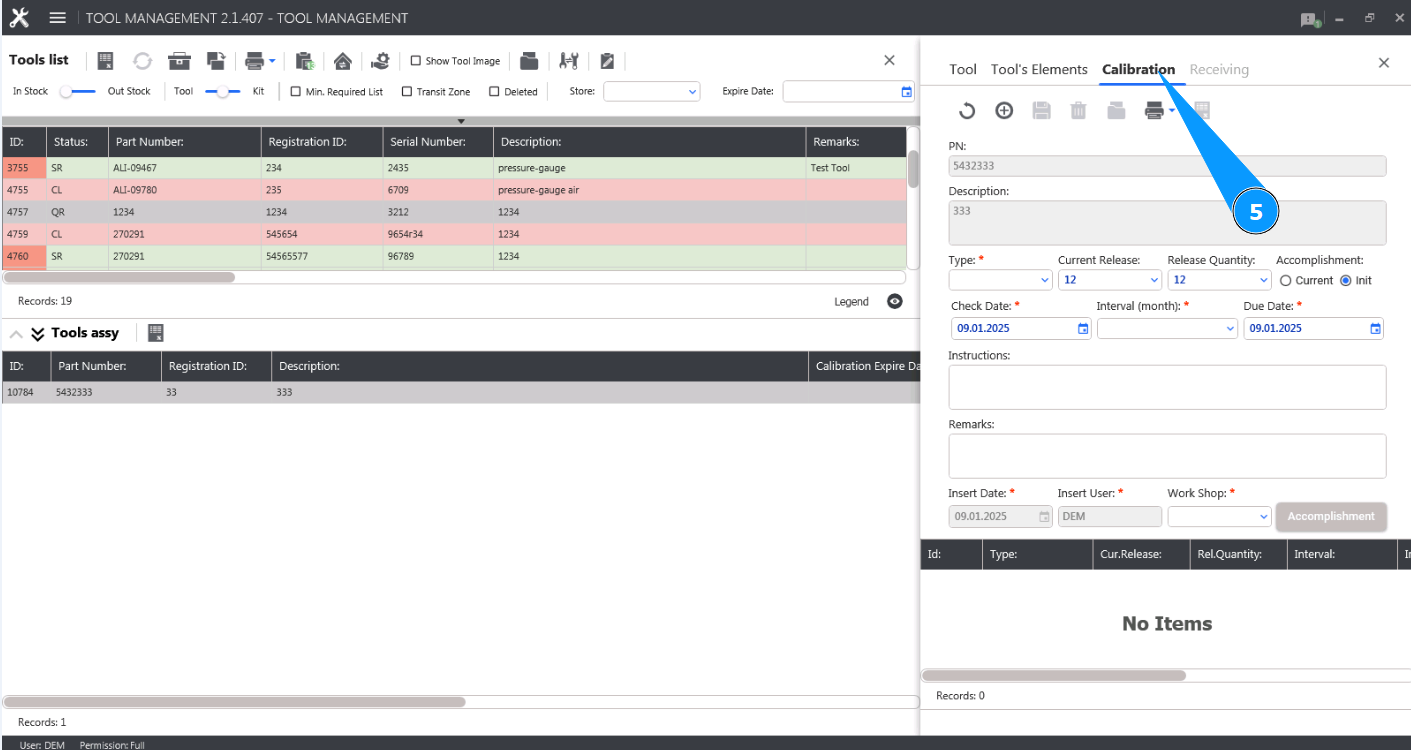
5. Go to the tab "Calibration".
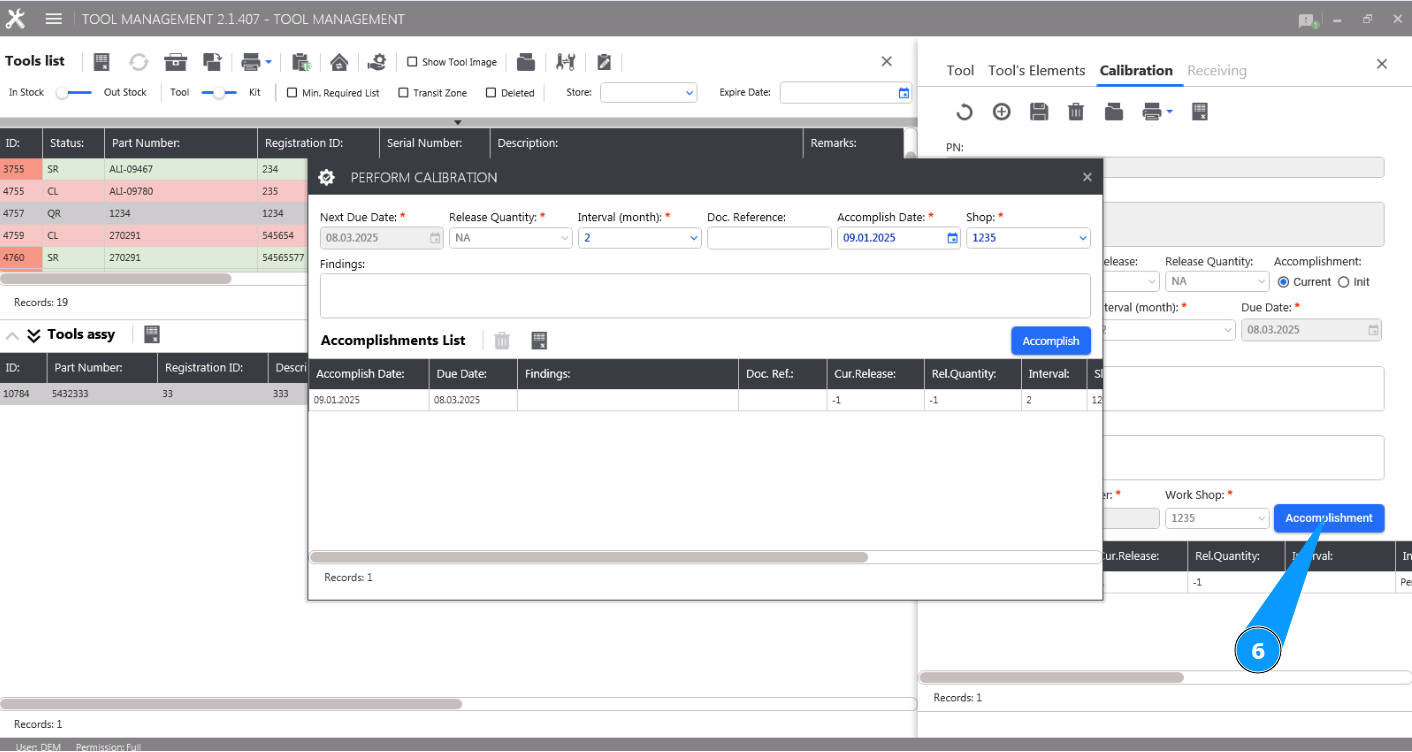
6. Click on the button "Accomplishment" to open the tool checking editor.
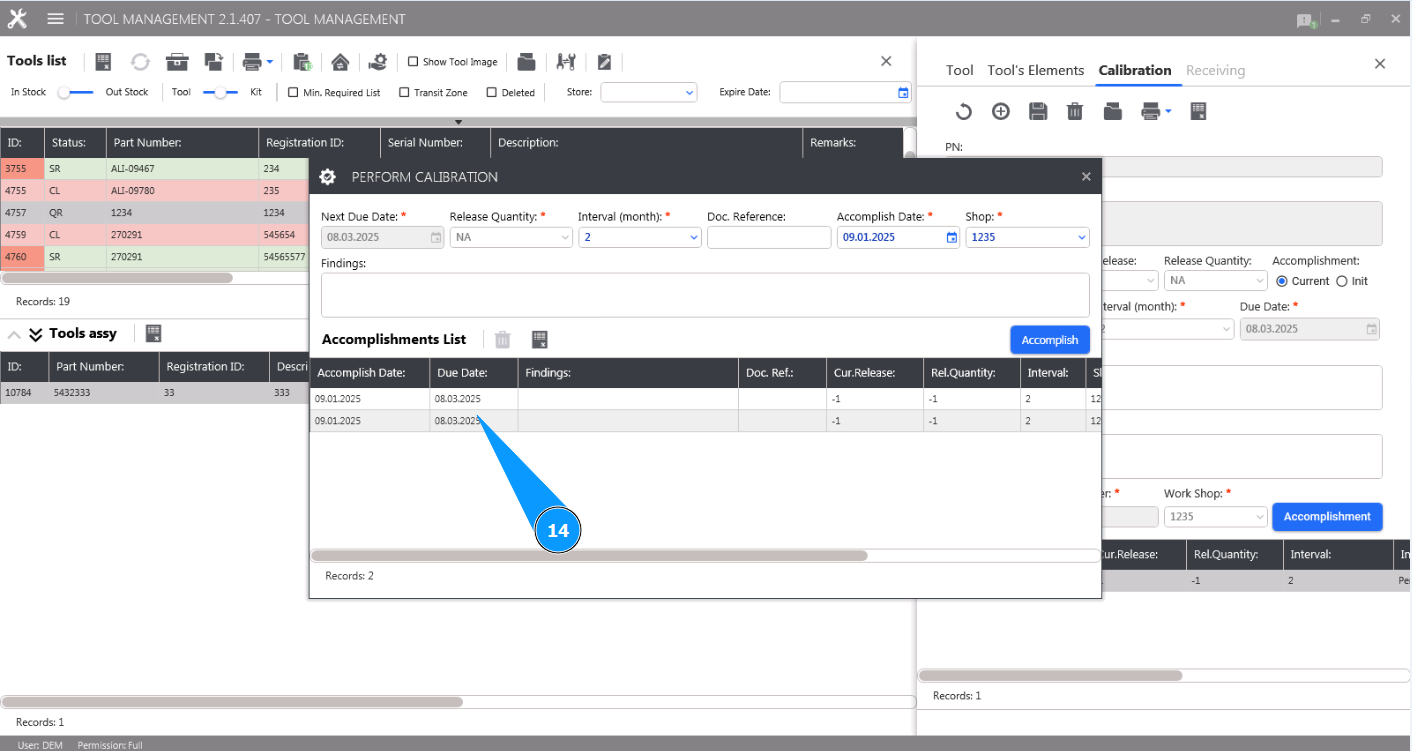
7. Check that the editor is open and accessible in the window "Perform calibration".
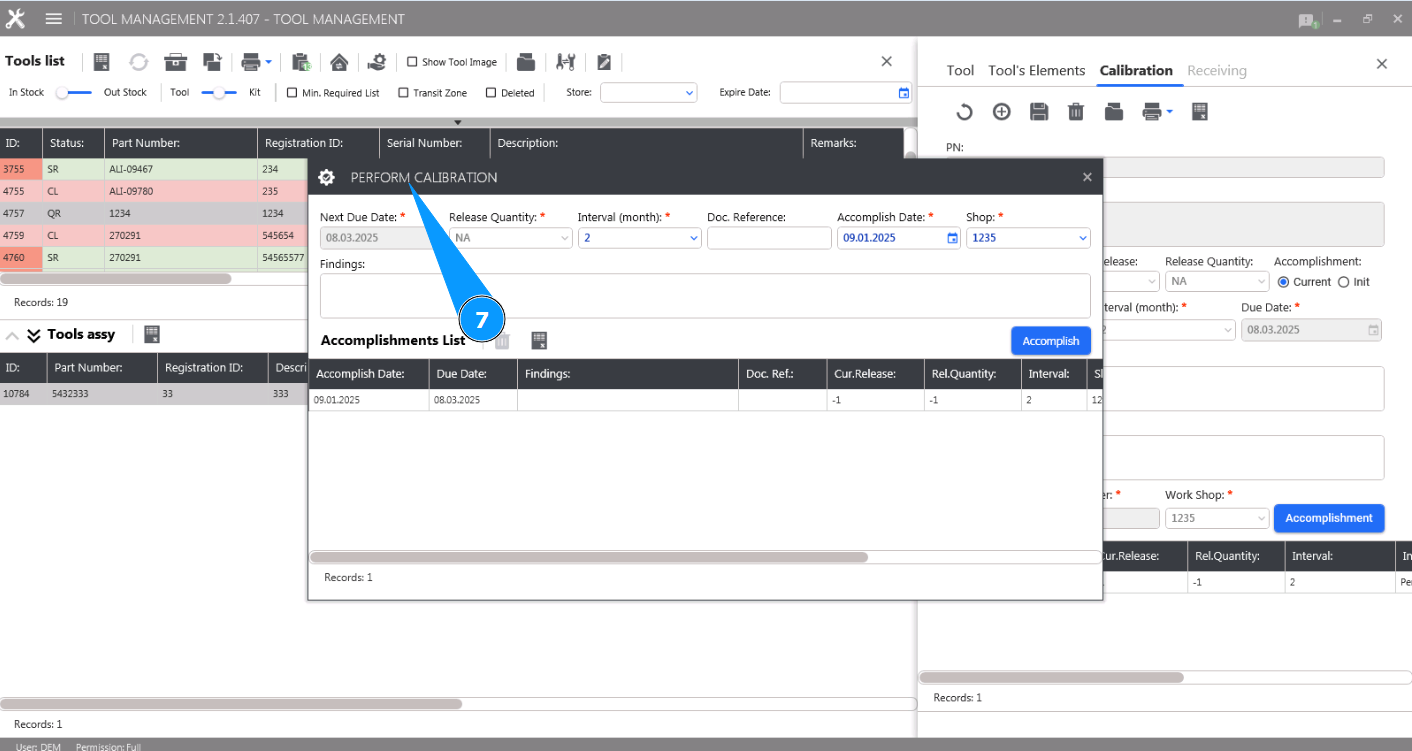
8. Select the interval at which this check should be performed from the dropdown list in the field "Interval (month)". Note: The next check date will be calculated automatically by the program in the field "Next Due Date".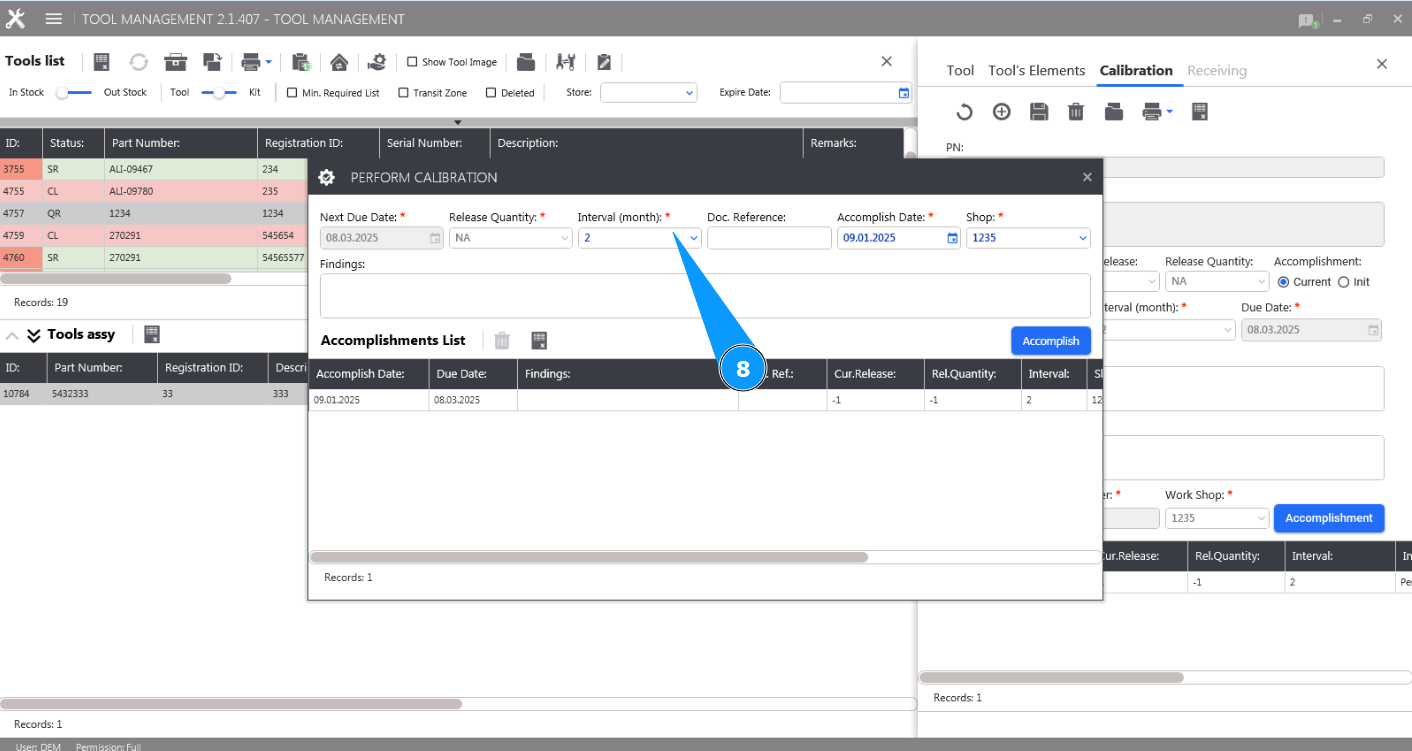
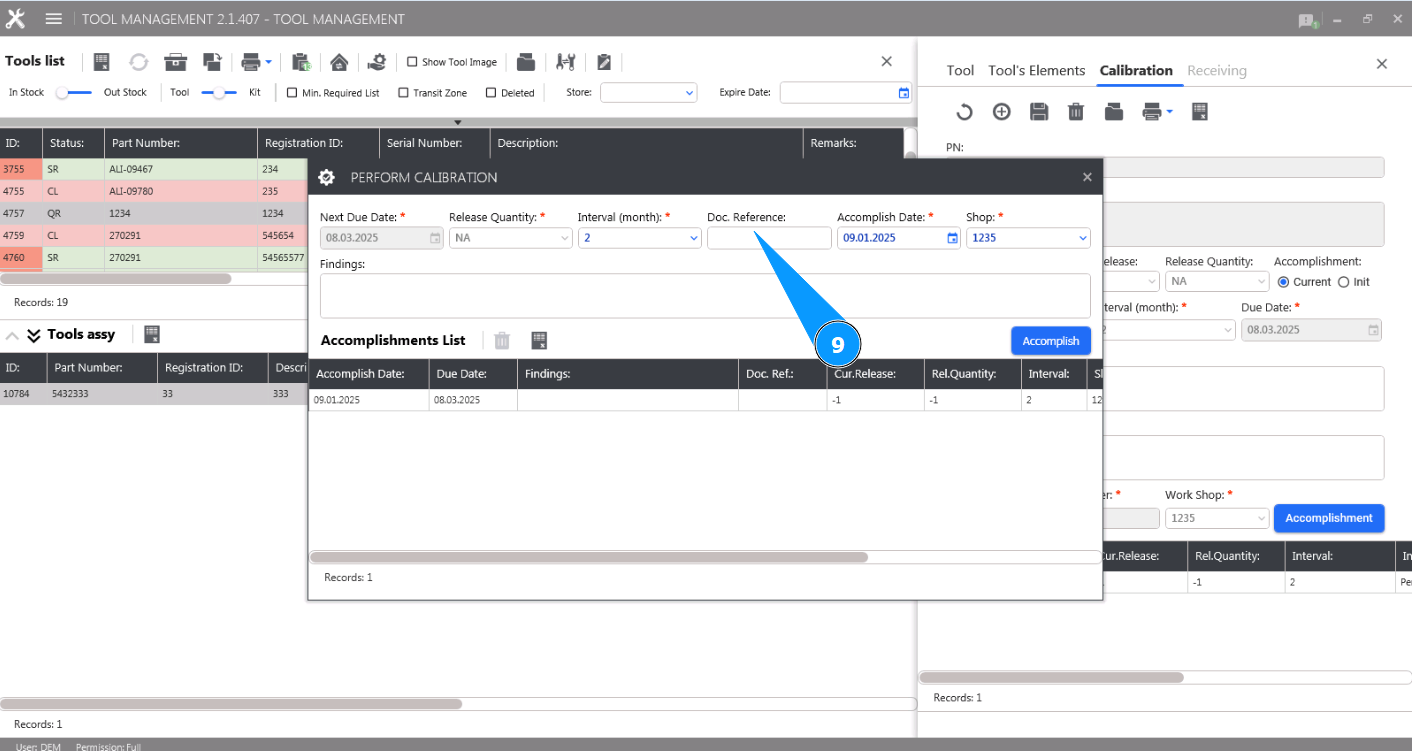
9. If necessary, enter a reference to the document in the field "Doc.reference".
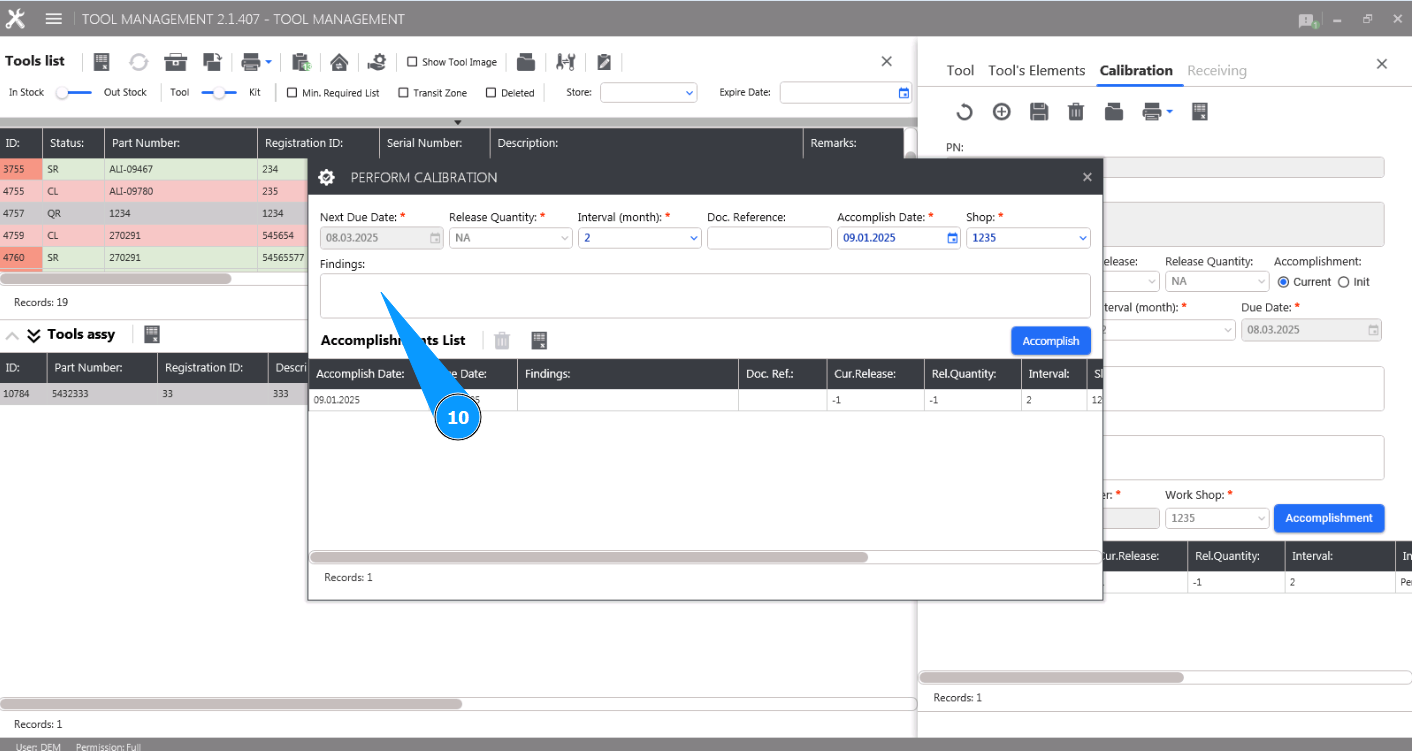
10. If necessary, enter the found findings during the checking in the field "Findings".
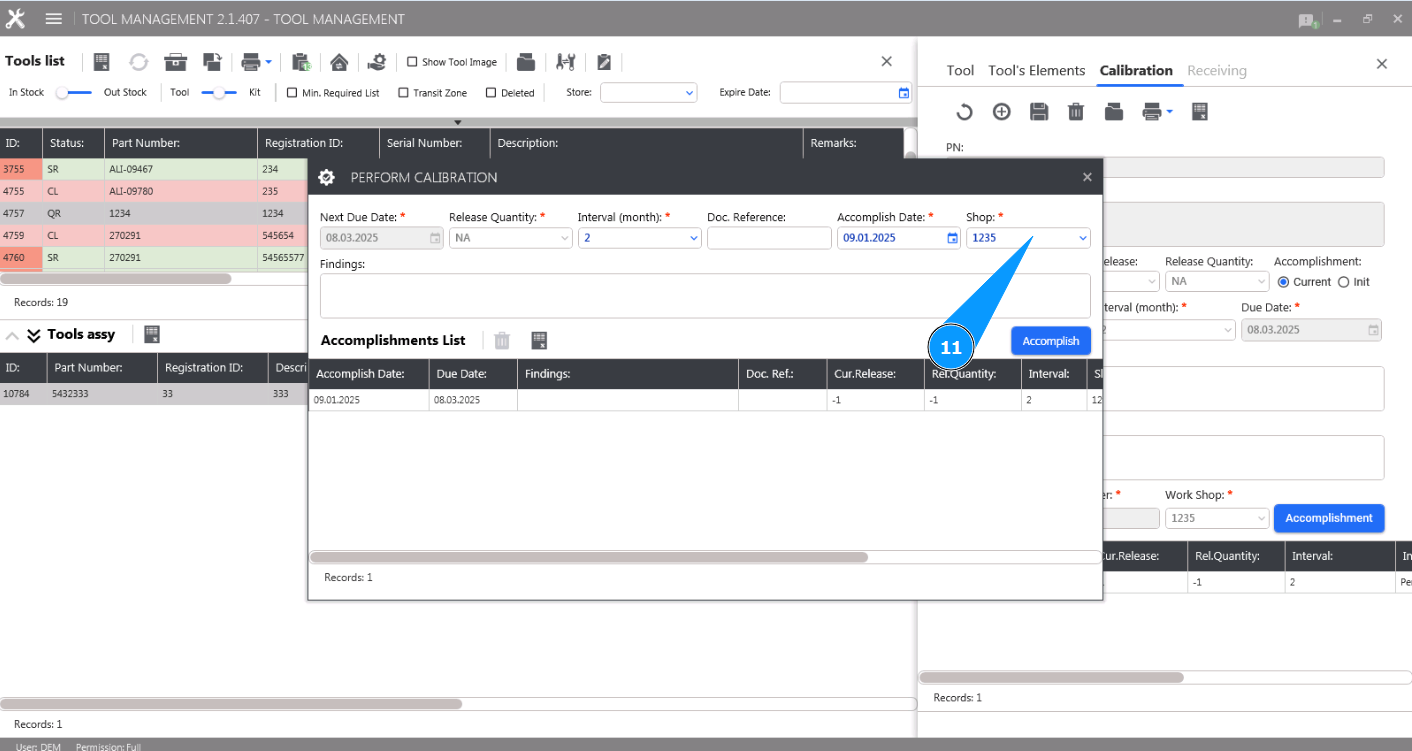
11. Select from the dropdown list or enter the name of the workshop for performing the check in the field "Shop".
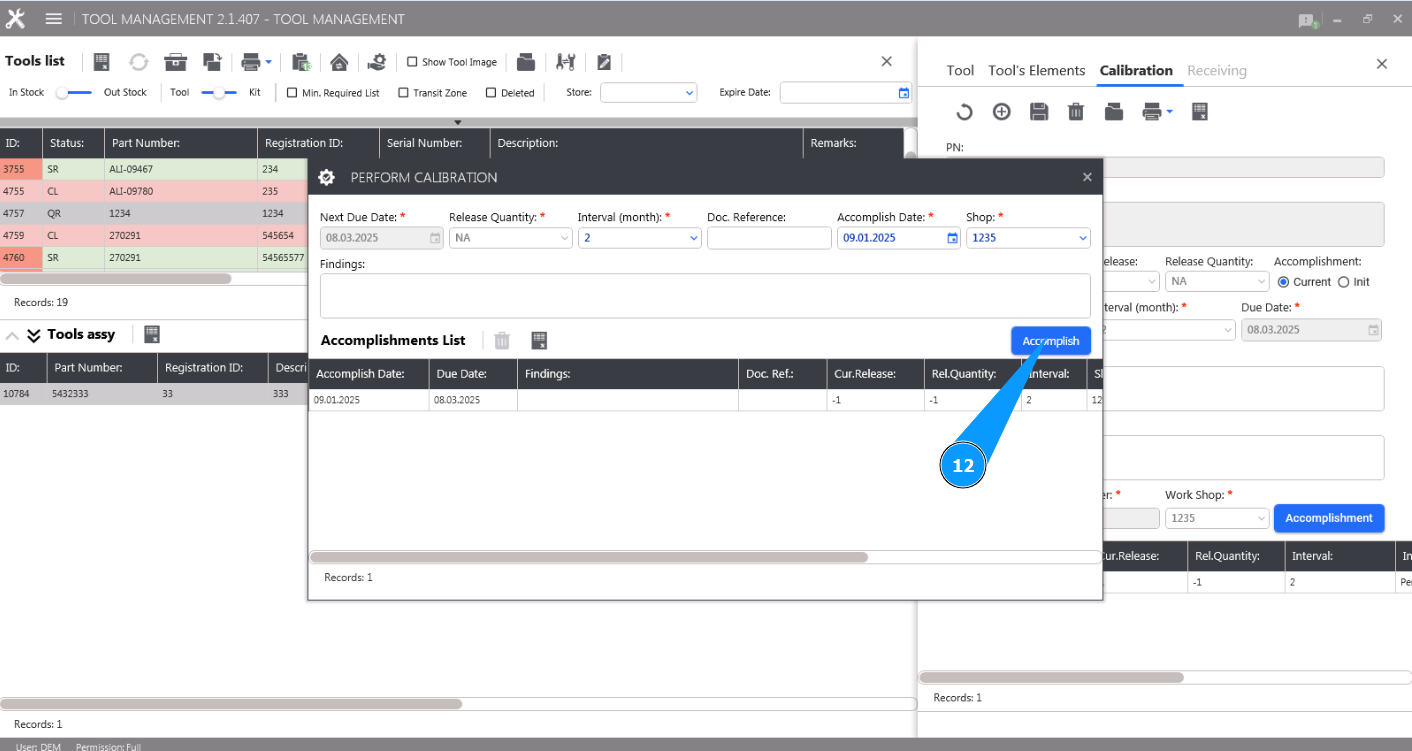
12. Click on the button "Accomplish" to add a record of the tool check.
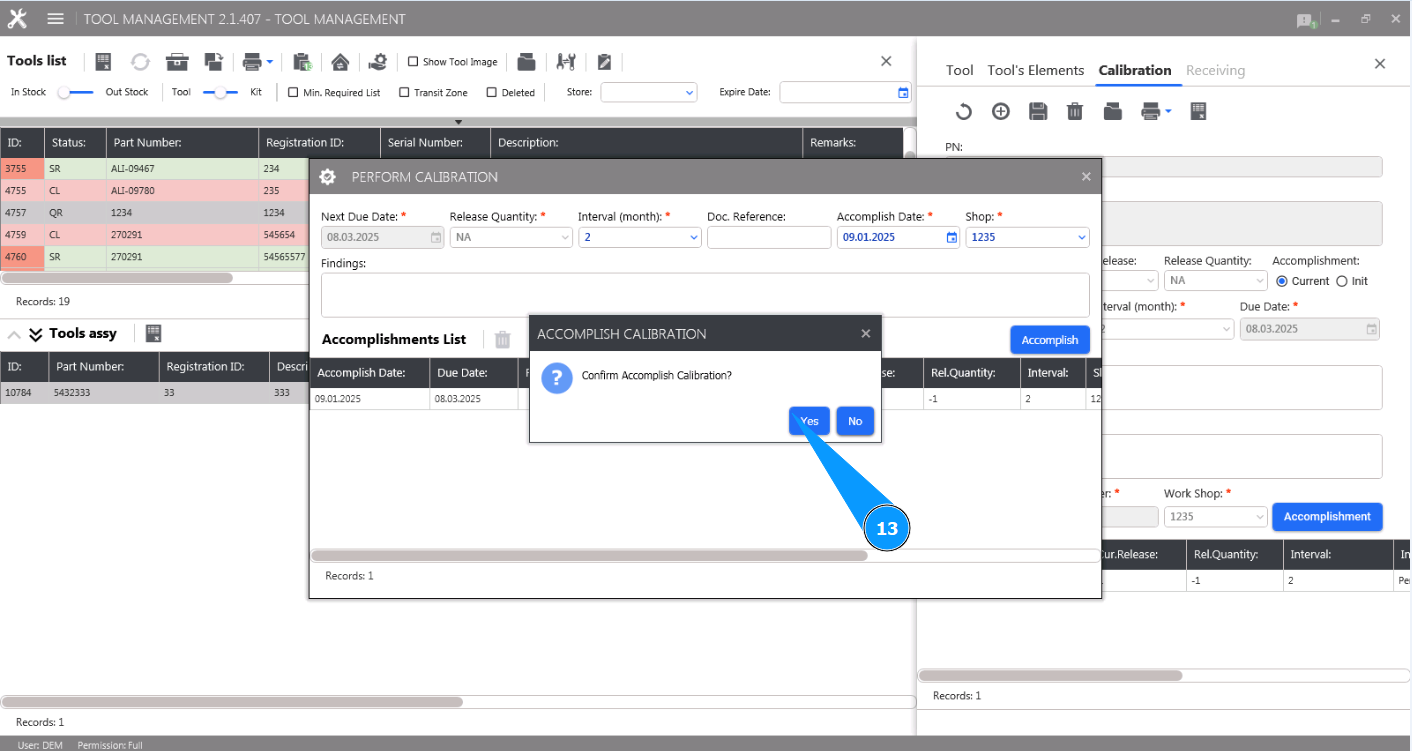
13. Click on the button "Yes" to confirm adding the new tool check record.
14. Make sure that the new tool checking record is displayed in the window "Perform calibration".