How to attach a document to a Repair Order
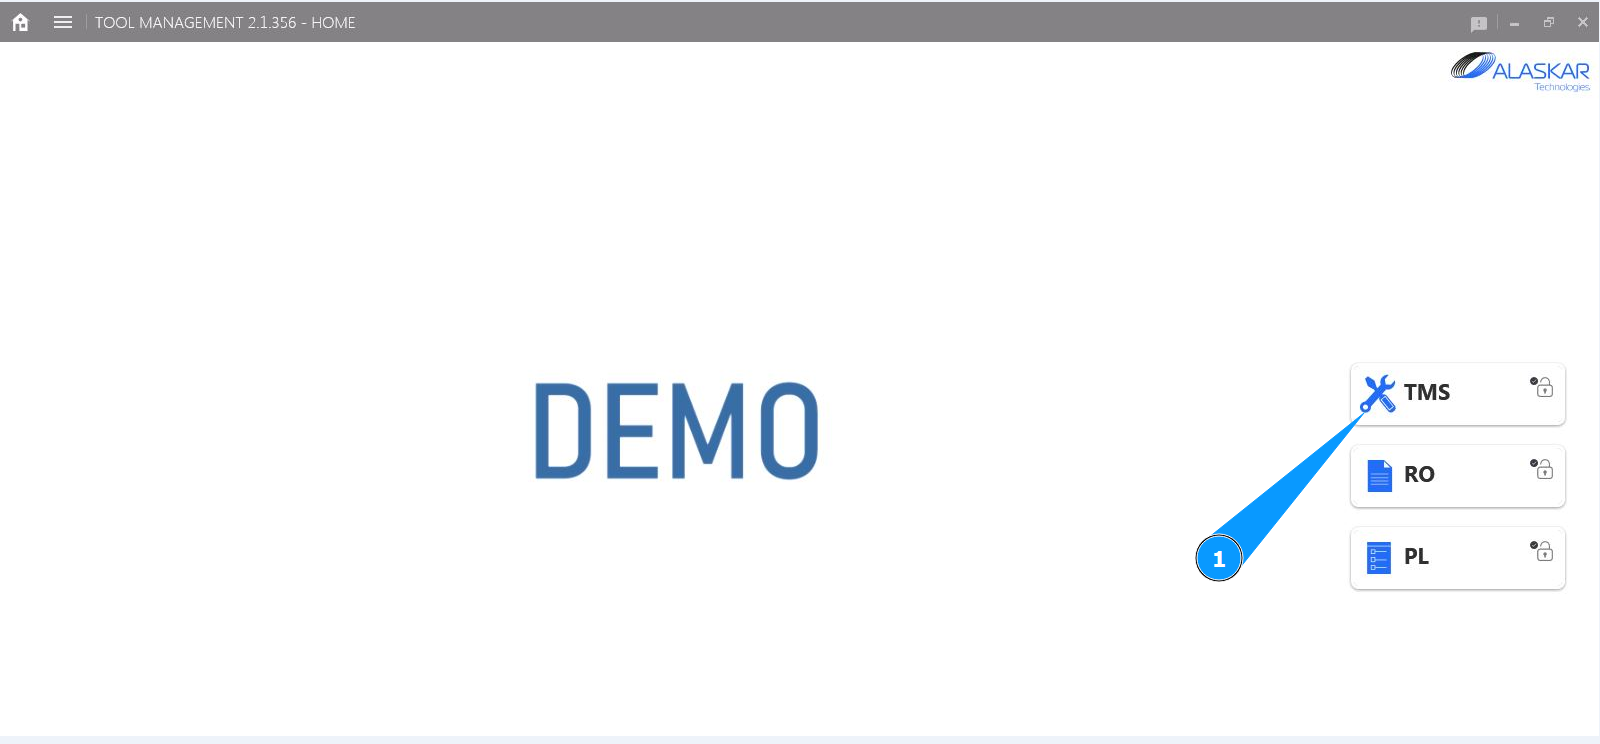
1. In order to attach a document to a Repair Order, go to the submodule "TMS".
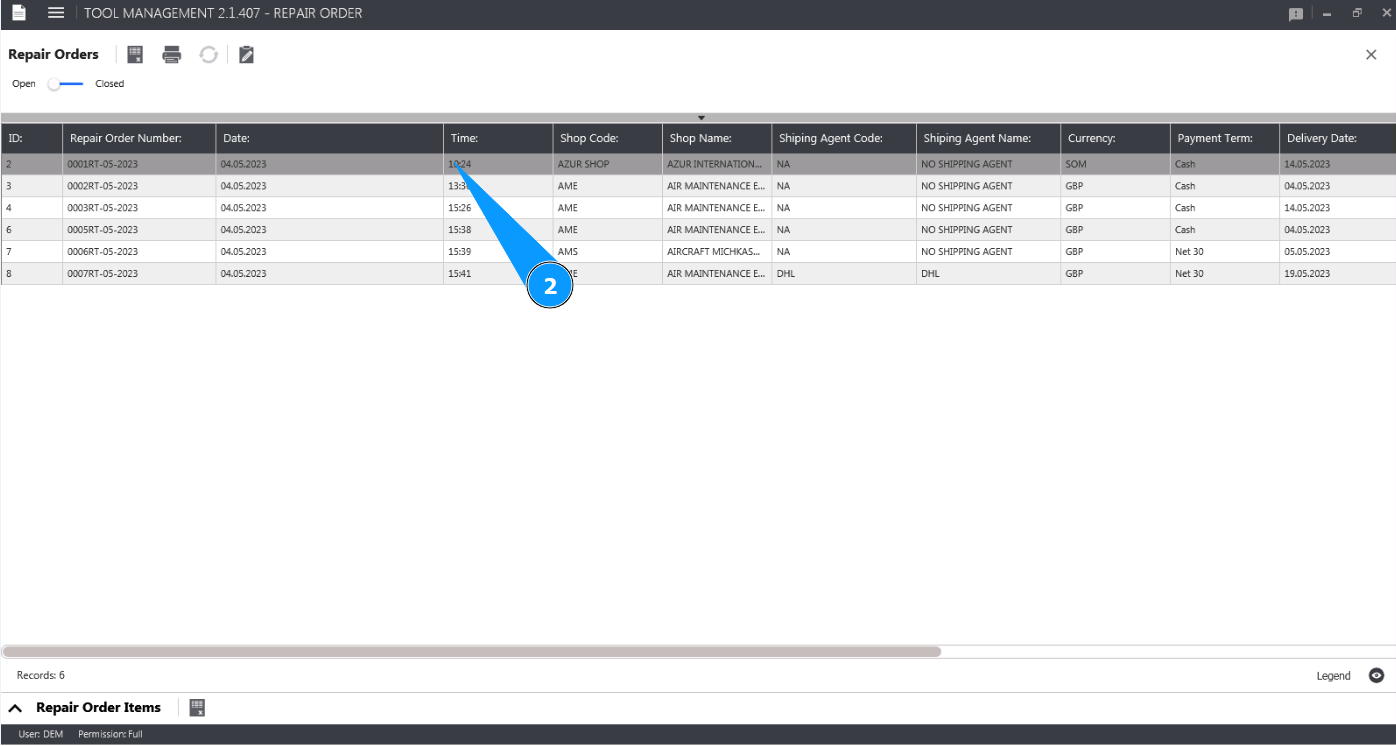
2. Select the Repair order you want to add a document from the list and click on the corresponding line in the window "Repair Orders".
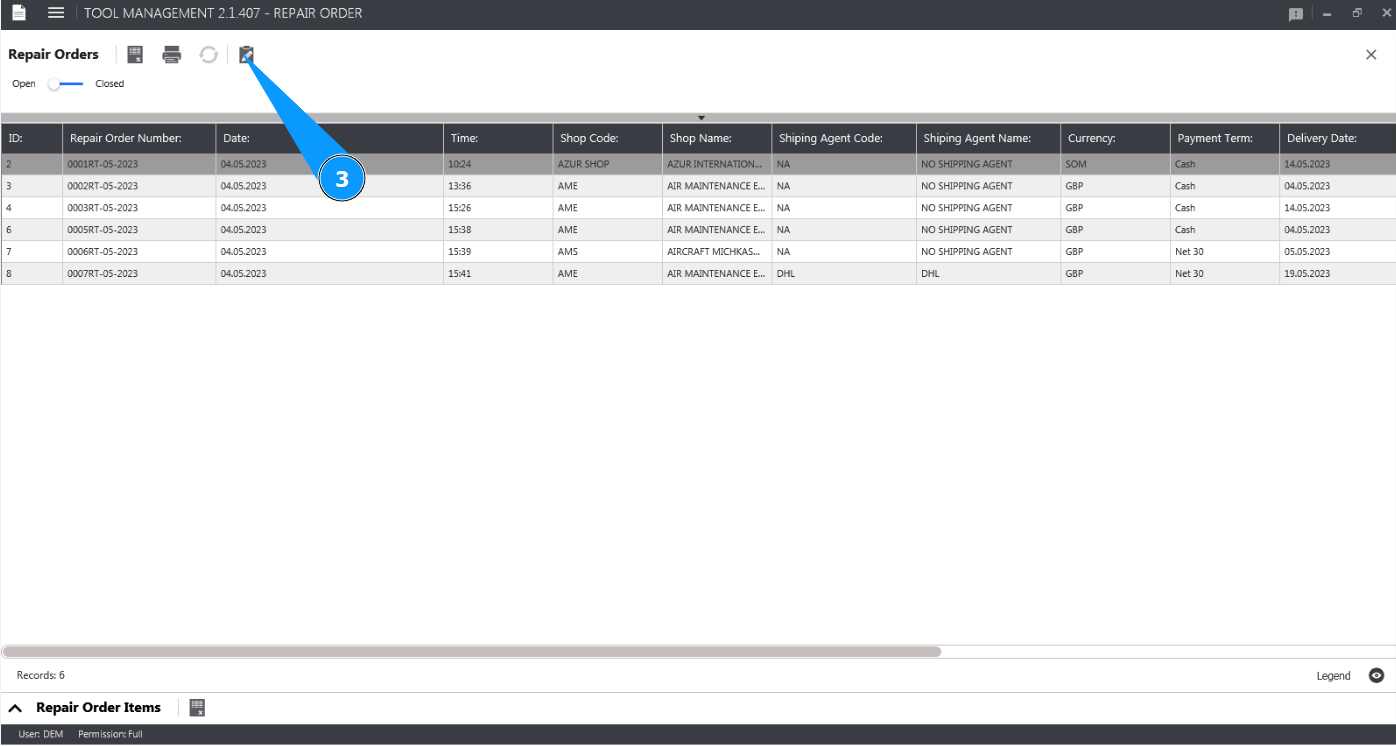
3. Click on the button "Show Editor" to open the Repair order editor.
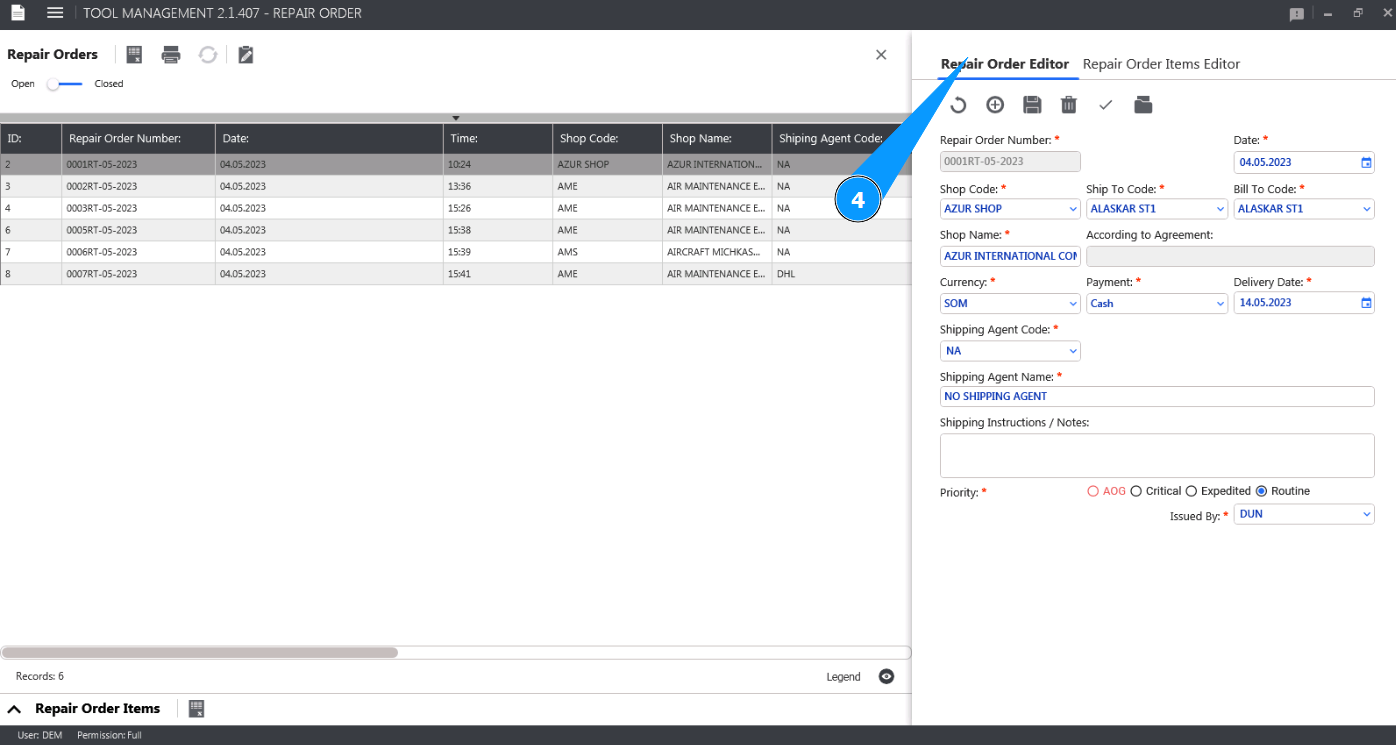
4. Check that the window editor "Repair Order Editor" is opened.
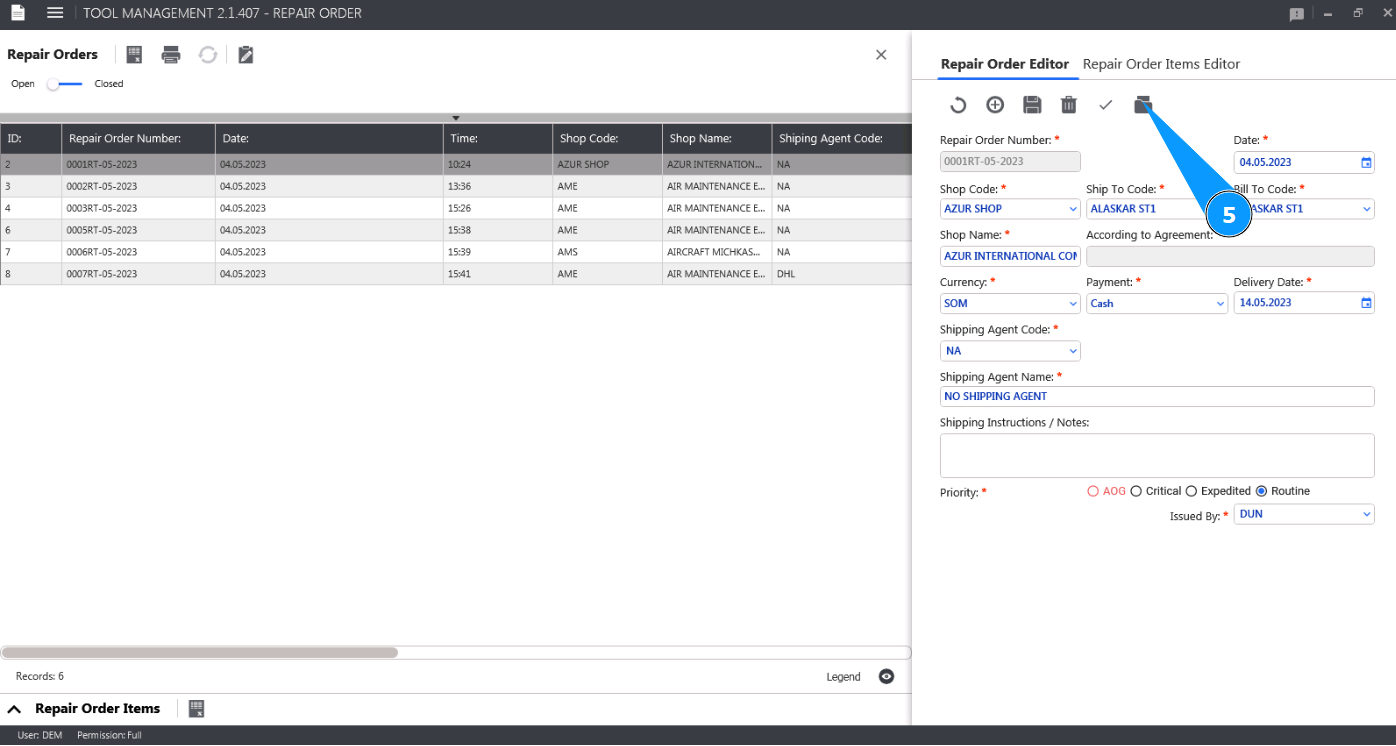
5. Click on the button "Attachment Documents" to open the document addition editor.
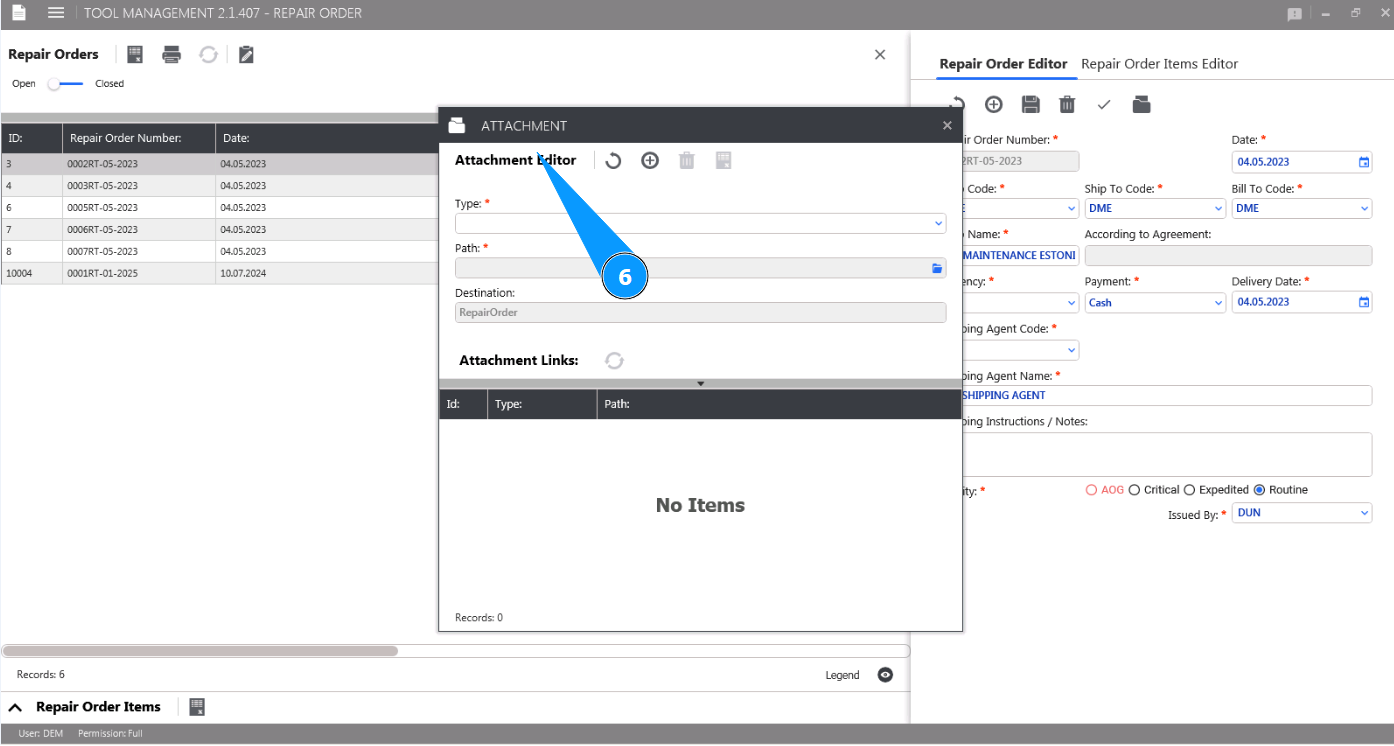
6. Check that the section for working with document attachments is opened and available in the window "Attachment Editor".
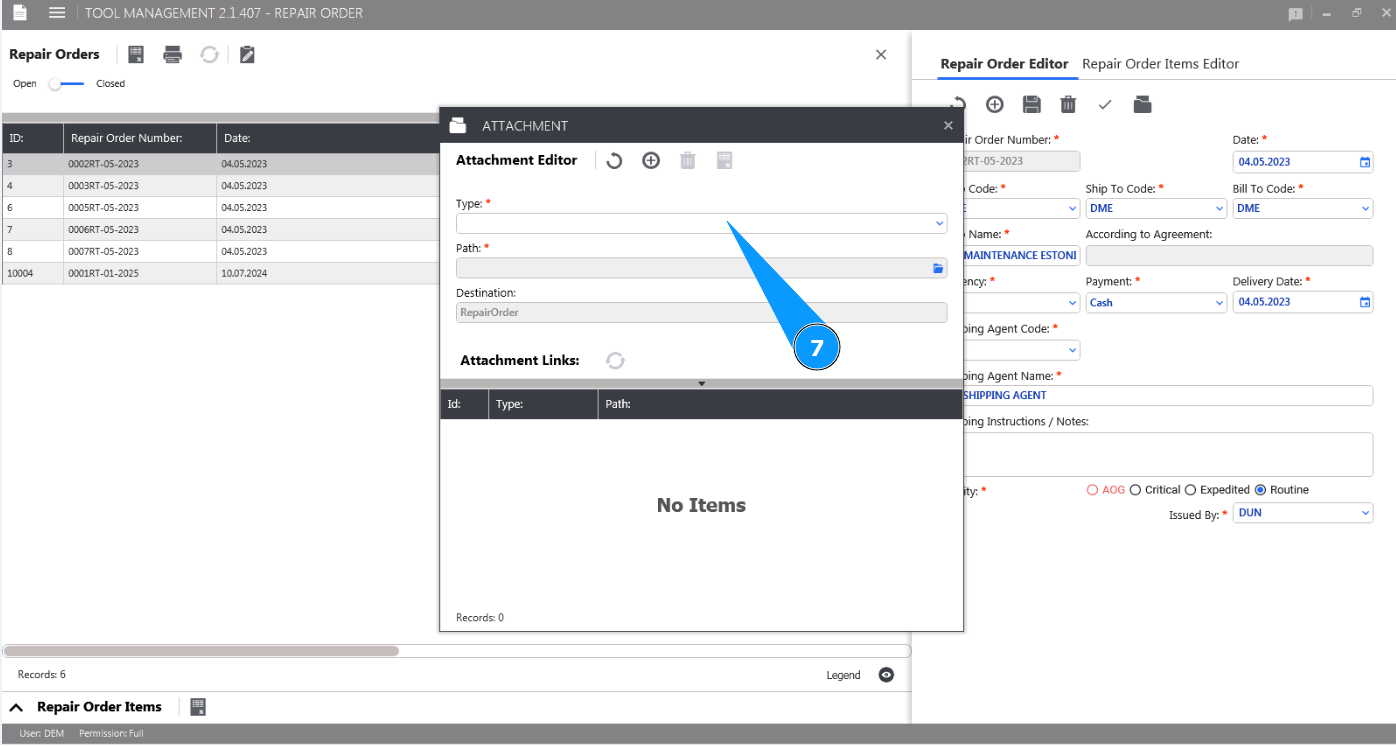
7. Select the document type from the dropdown list in the field "Type".
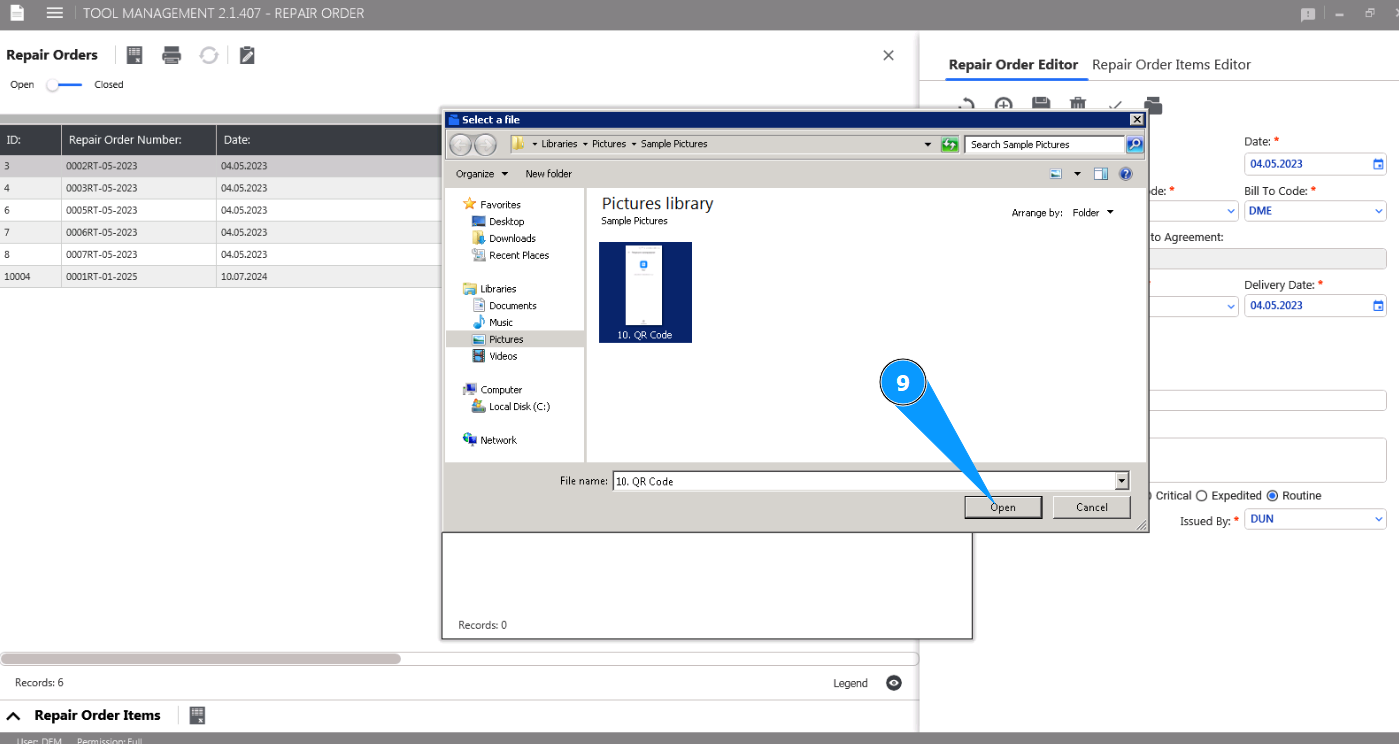
8. Click on the button "Path" to select a document on your computer.

9. Select the required document file on your computer and click on the button "Open".
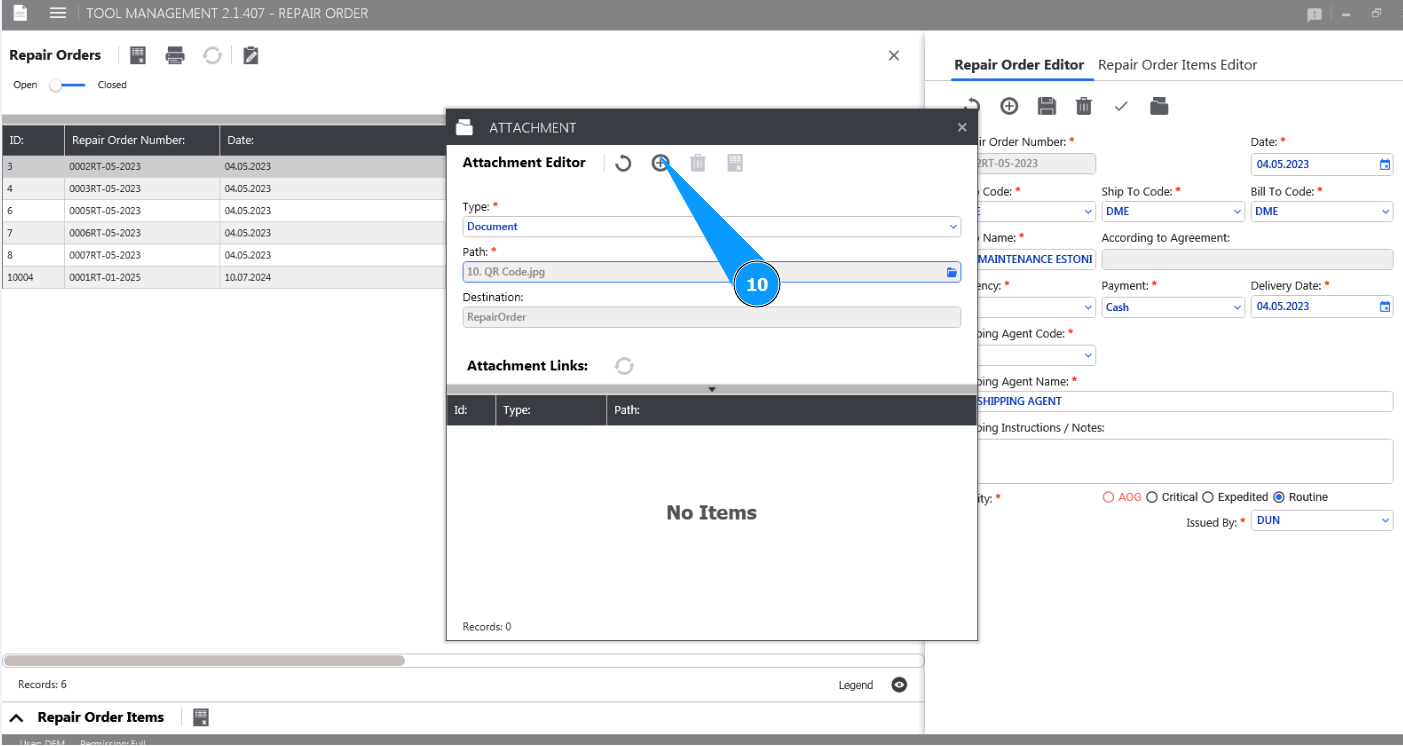
10. Click on the button "Add" to add a document to the Repair Order.
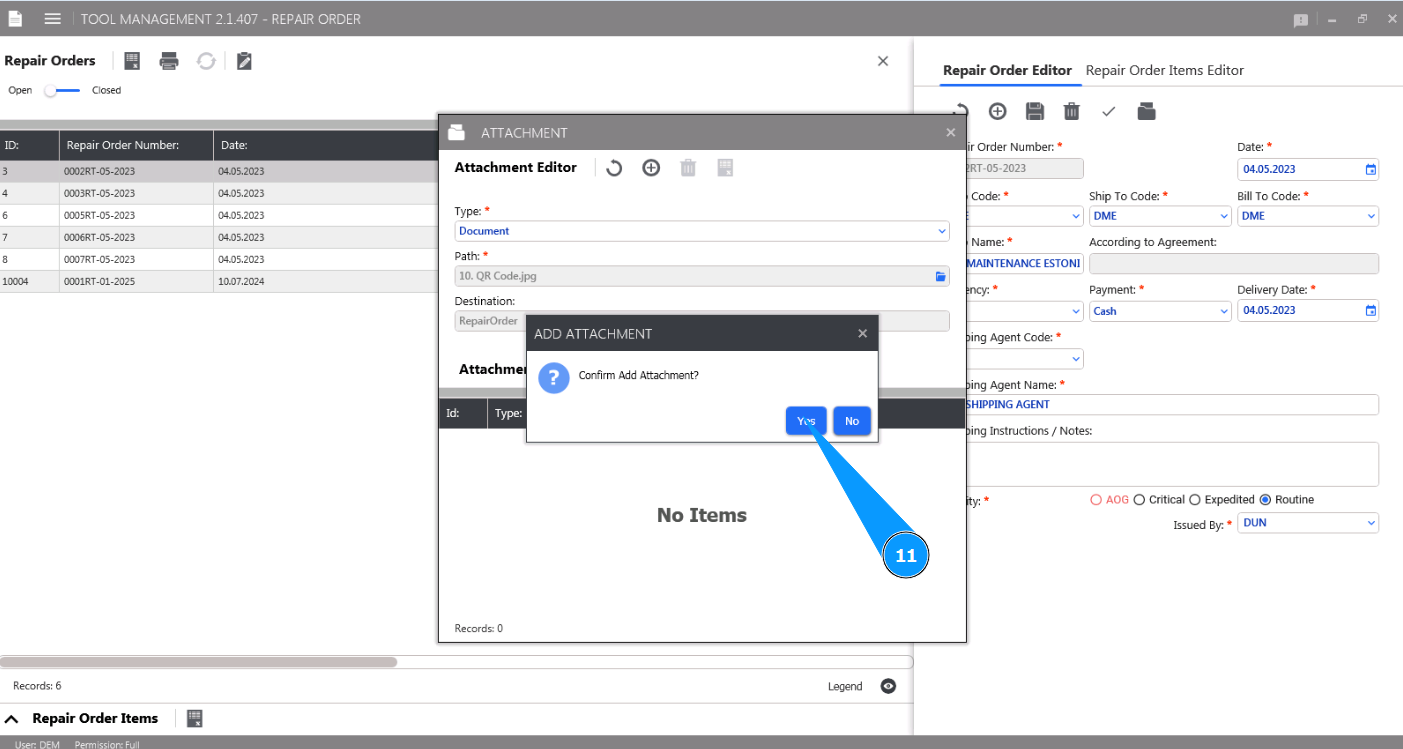
11. Click on the button "Yes" to confirm adding the document to the Repair Order.
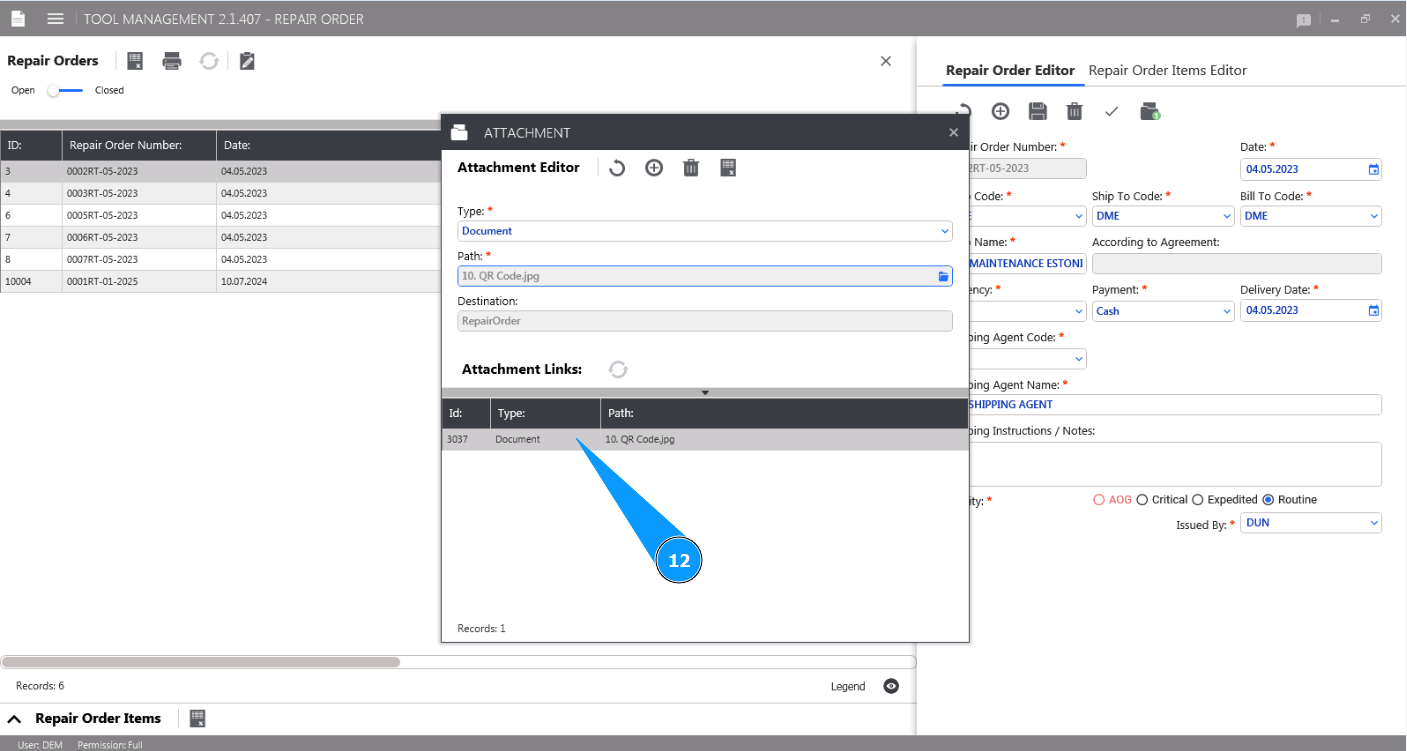
12. Check that the added document is displayed in the window list "Attachment Links".
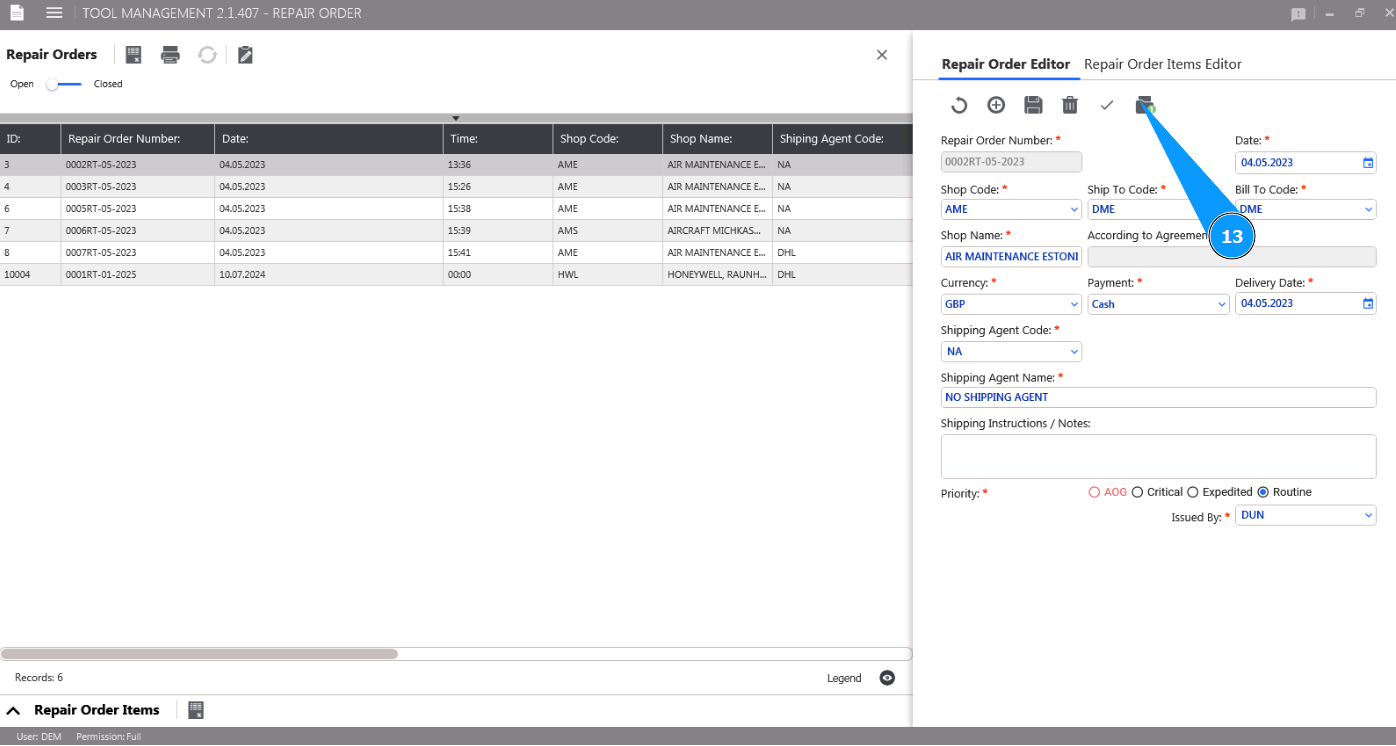
13. The number of attached documents is displayed on the button symbol of the editor window "Repair Order Editor".