How to add a tool to a Repair order
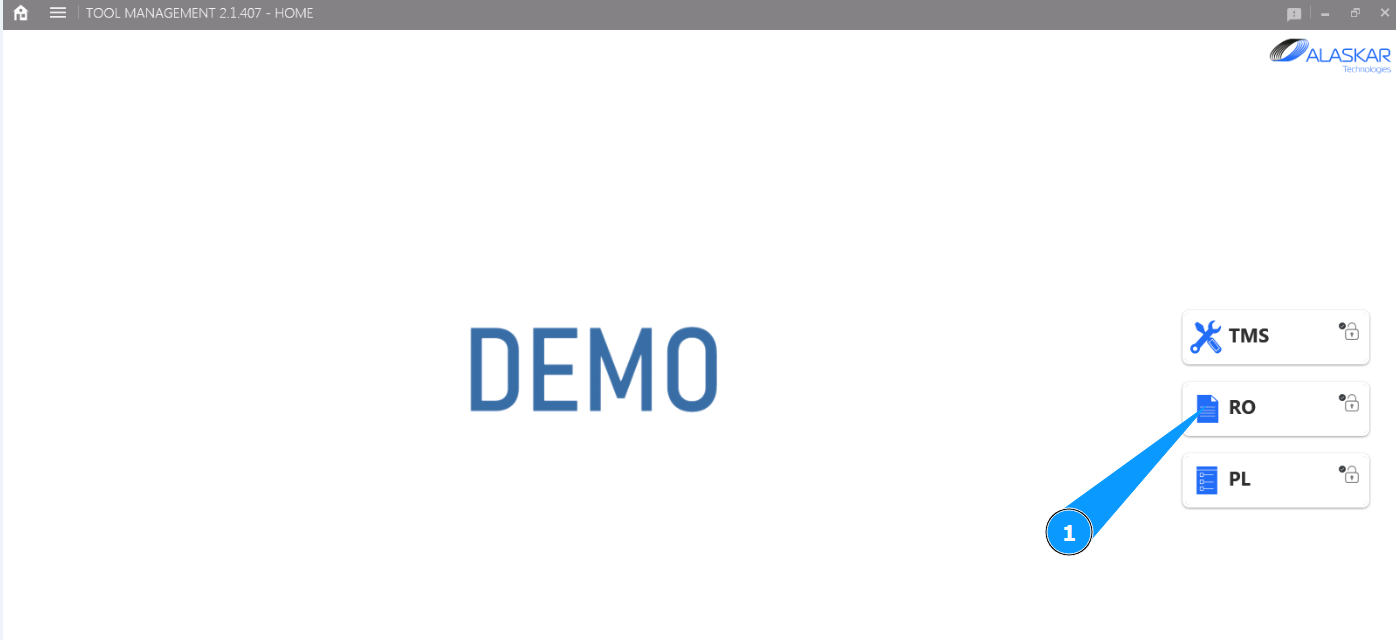
1. In order to add a tool to a Repair order, go to the submodule "RO".
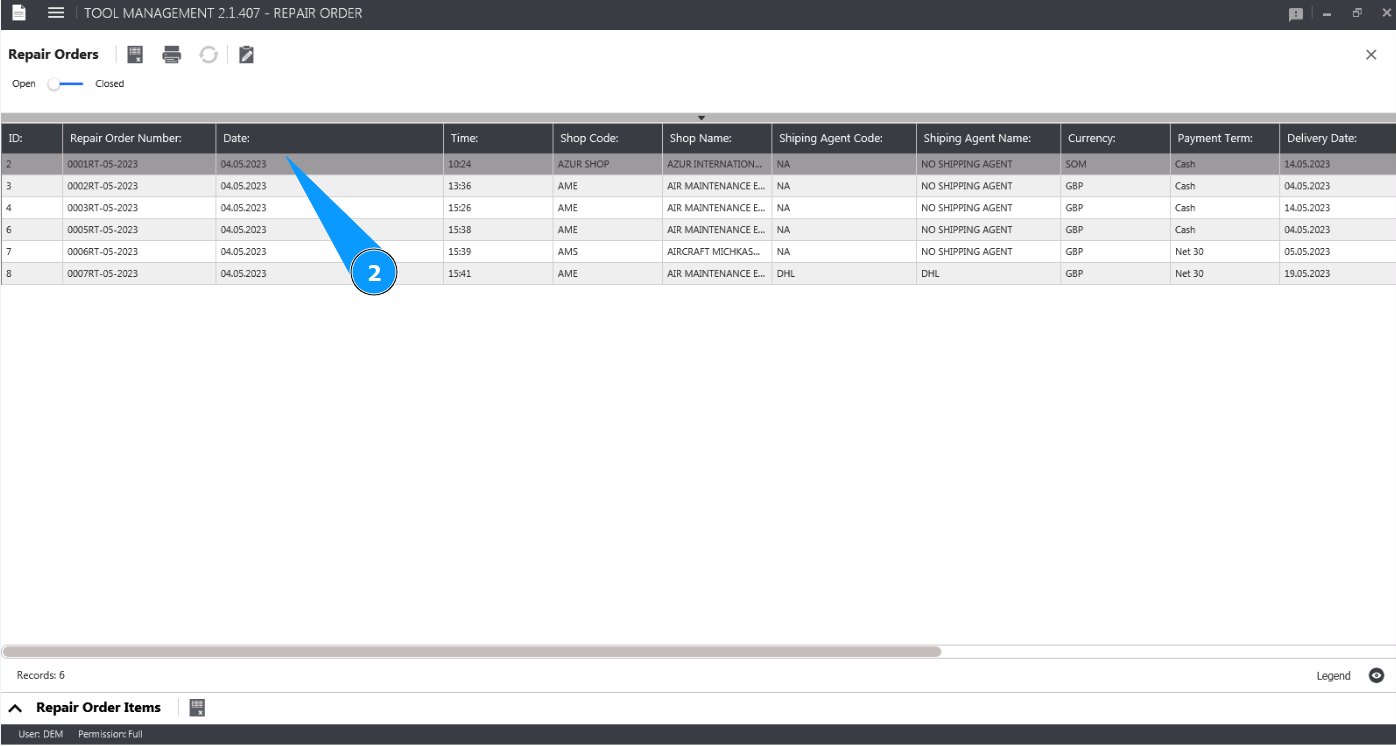
2. Select the Repair order you want to add the tool to from the list and click on the corresponding line in the window "Repair orders".
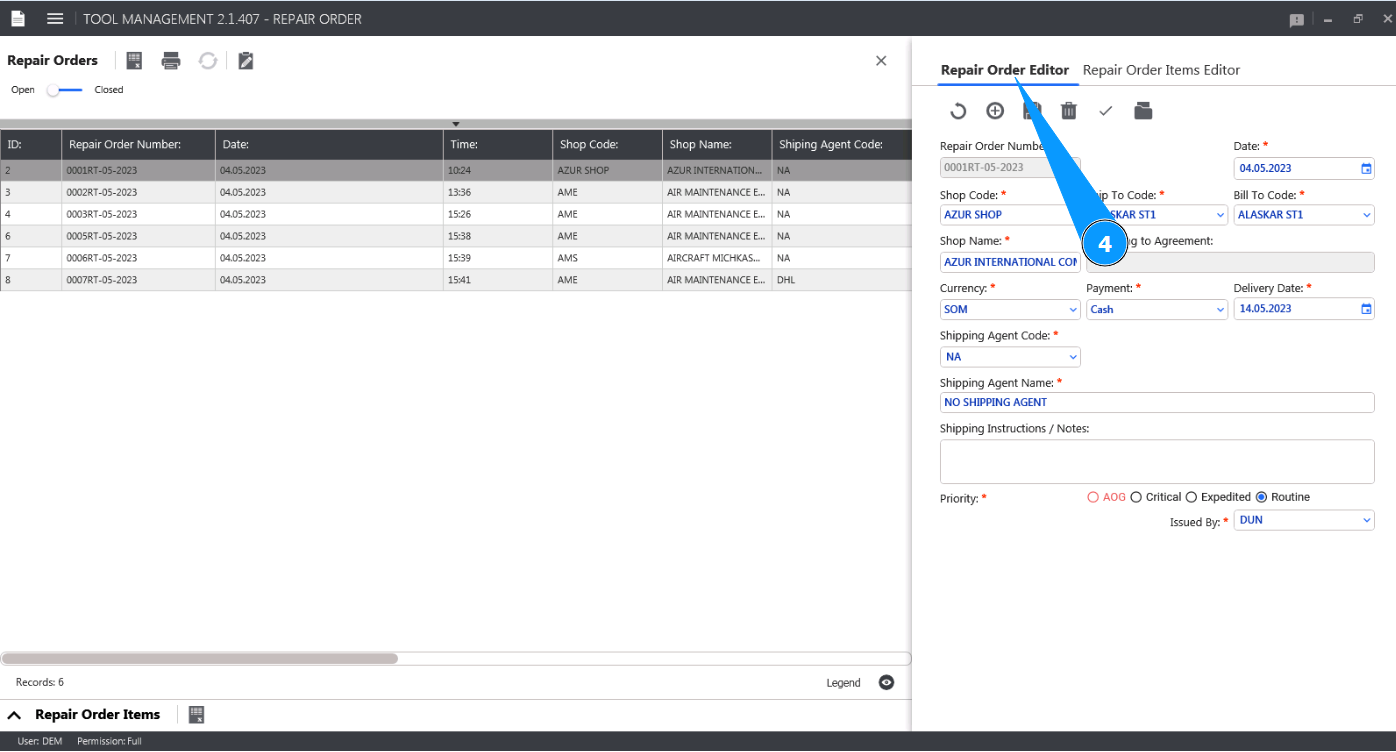
3. Click on the button "Show Editor" to open the Repair order editor.
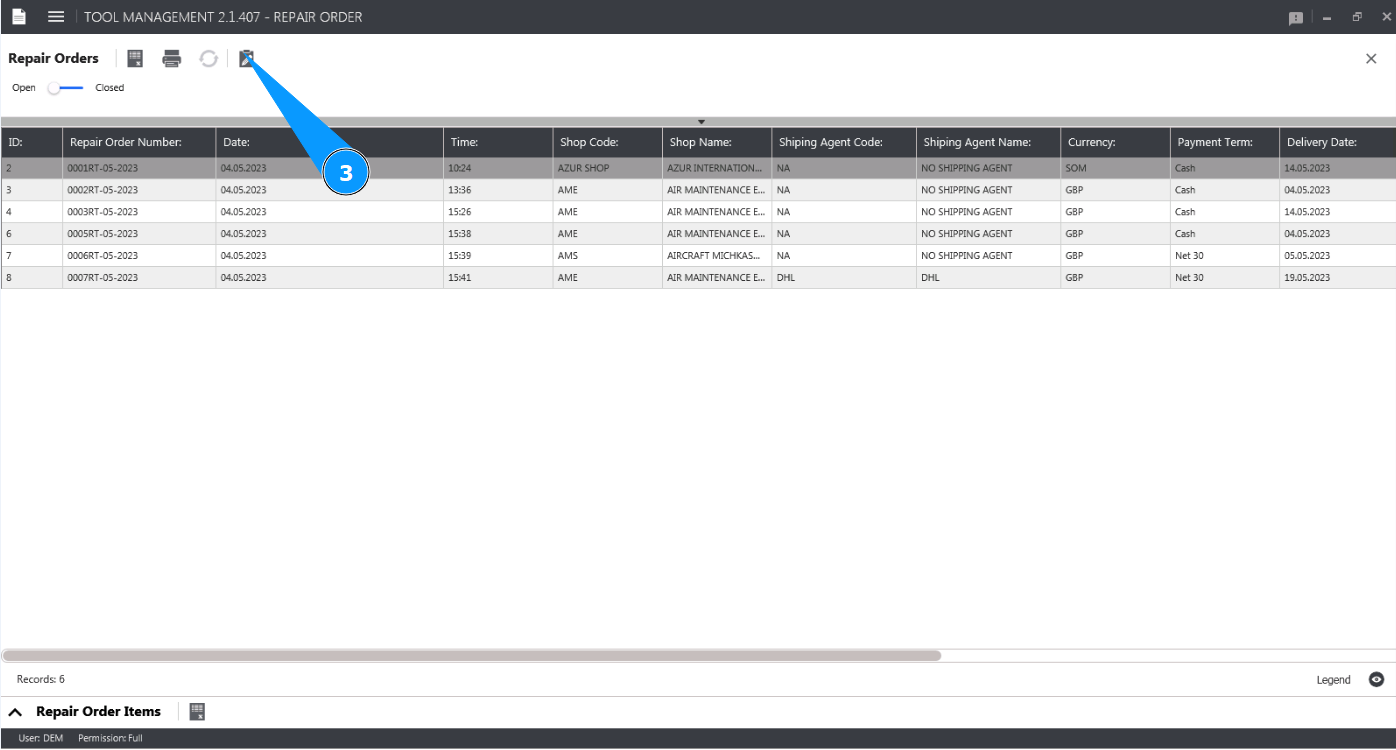
4. Check that the window "Repair Order Editor" opens.
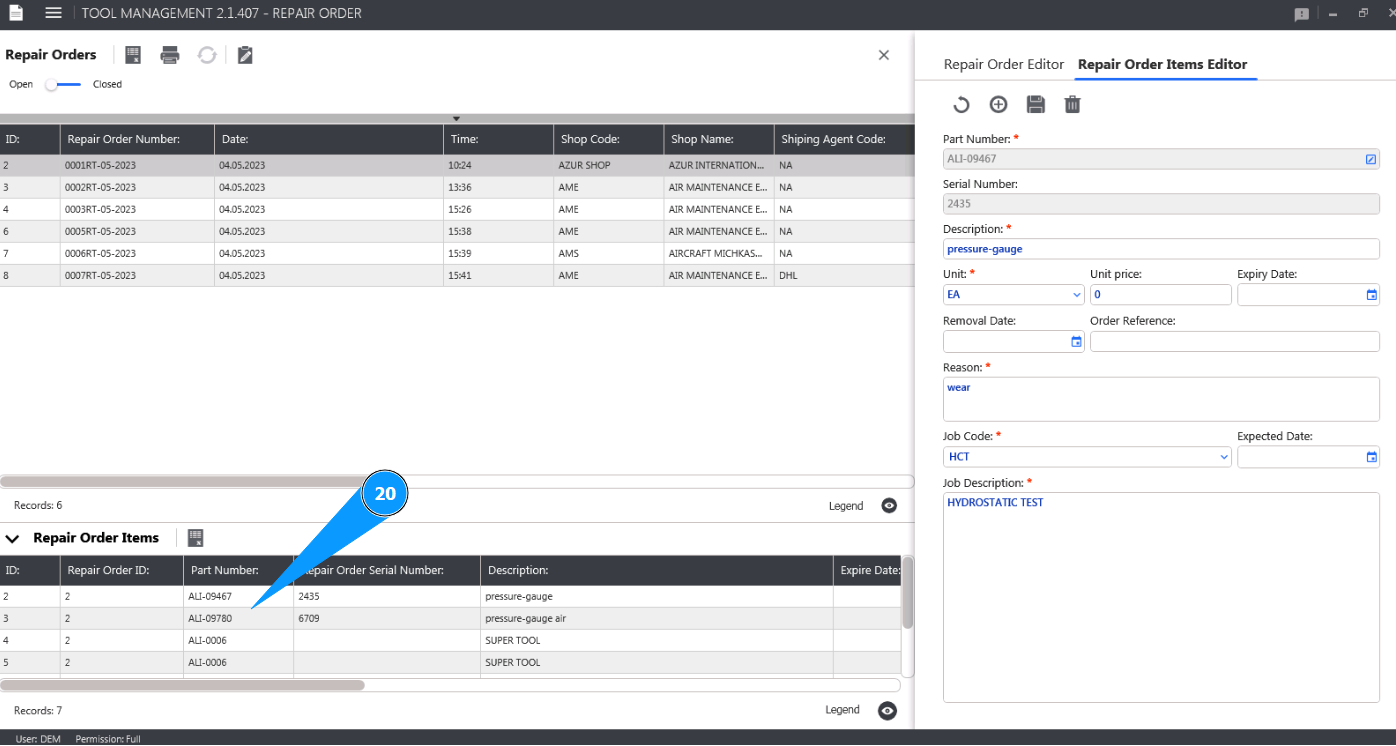
5. Go to the tab "Repair Order Items Editor".
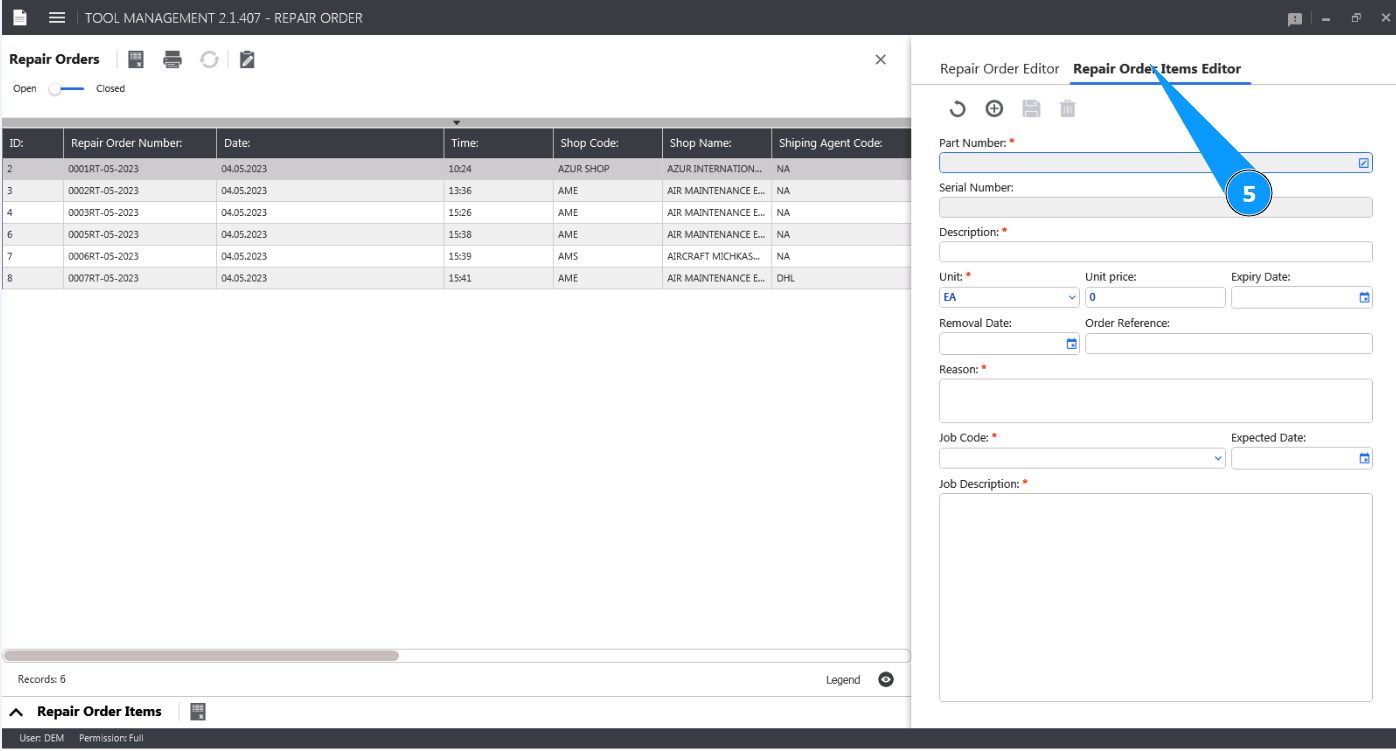
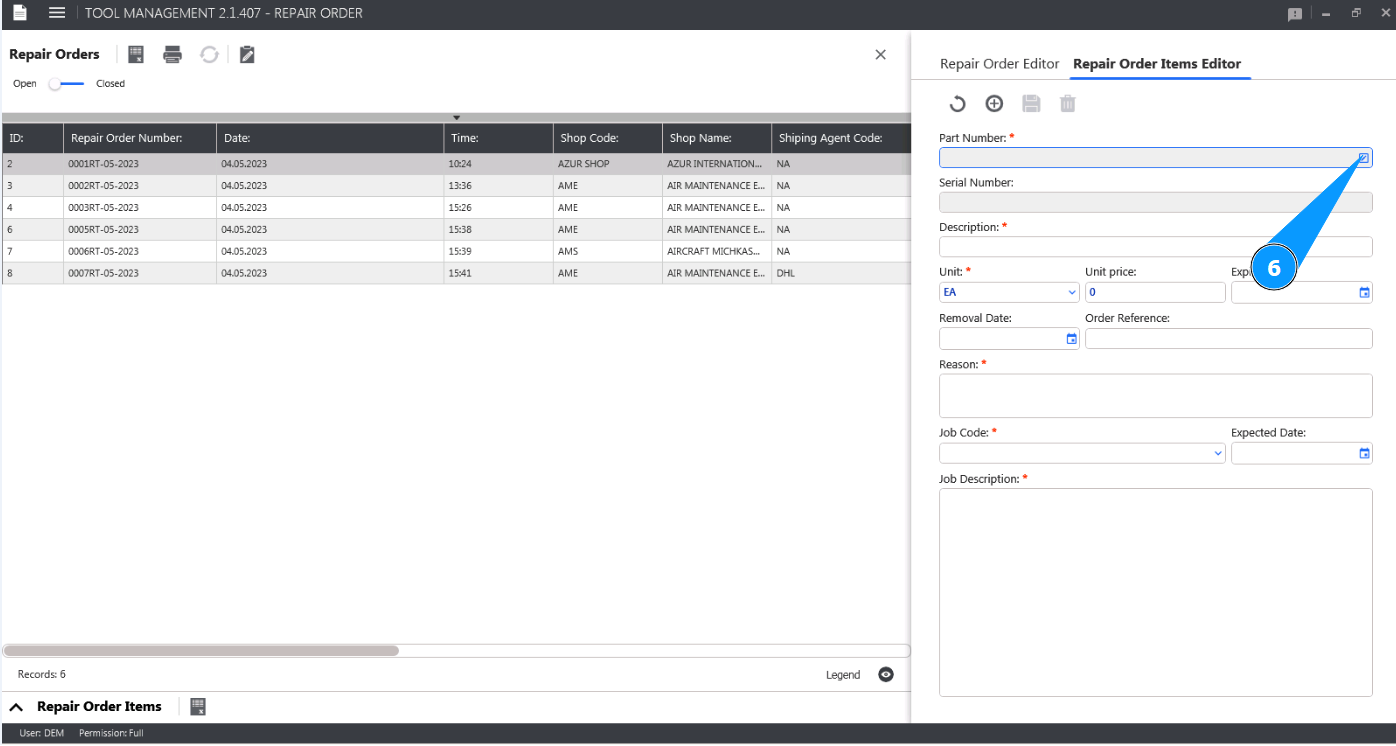
6. In order to select the part number of the tool, click in the field "Part Number".
7. Select the required part number of the tool from the dropdown list and click on the corresponding line.
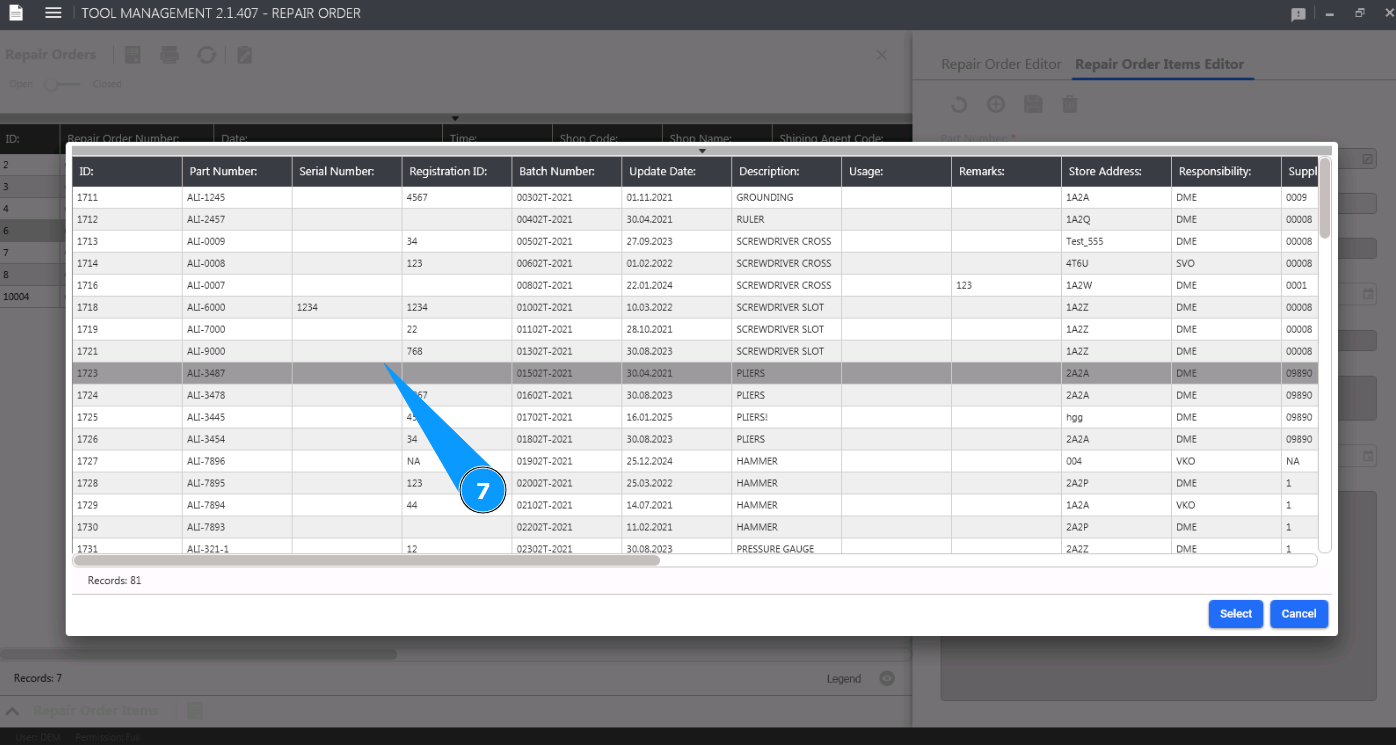
8. Click on the button "Select" to write the selected batch number to the Repair order. Note: The tool name will be displayed by the program automatically in the field "Description".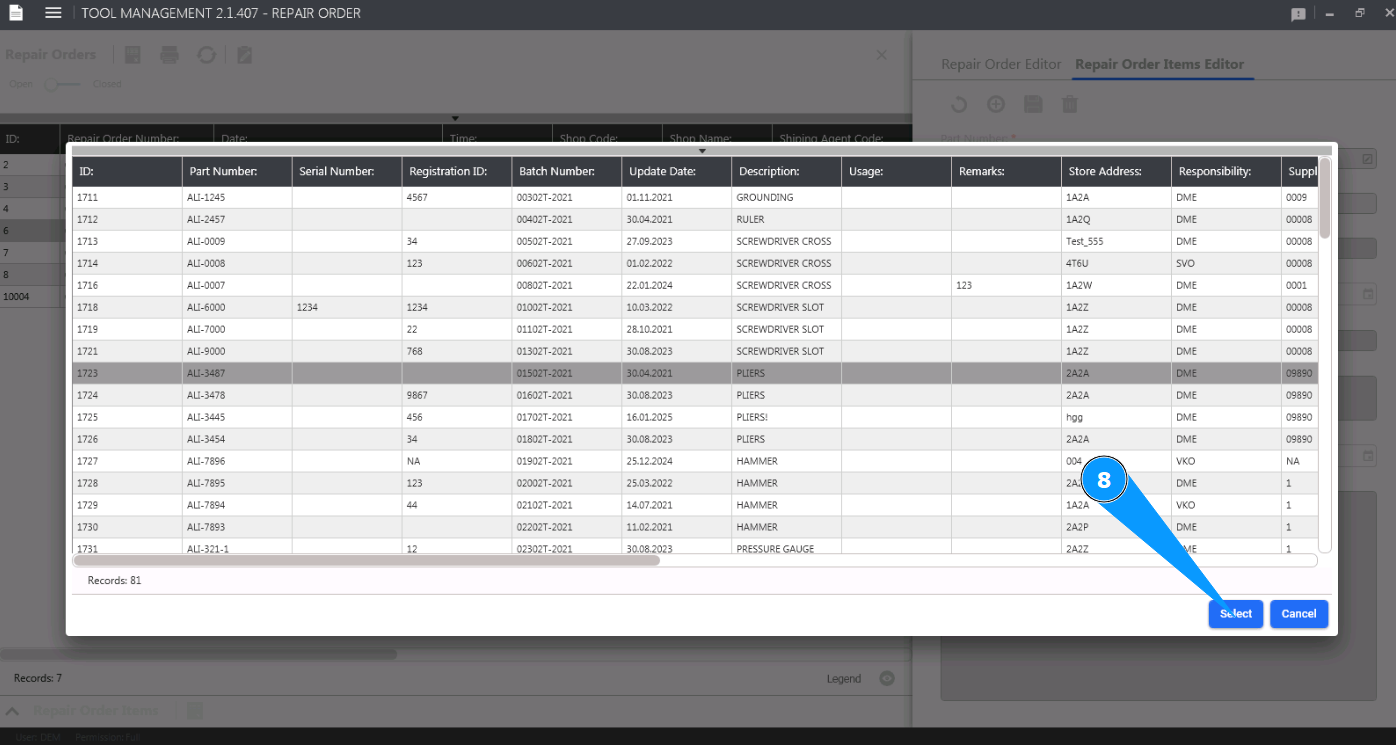
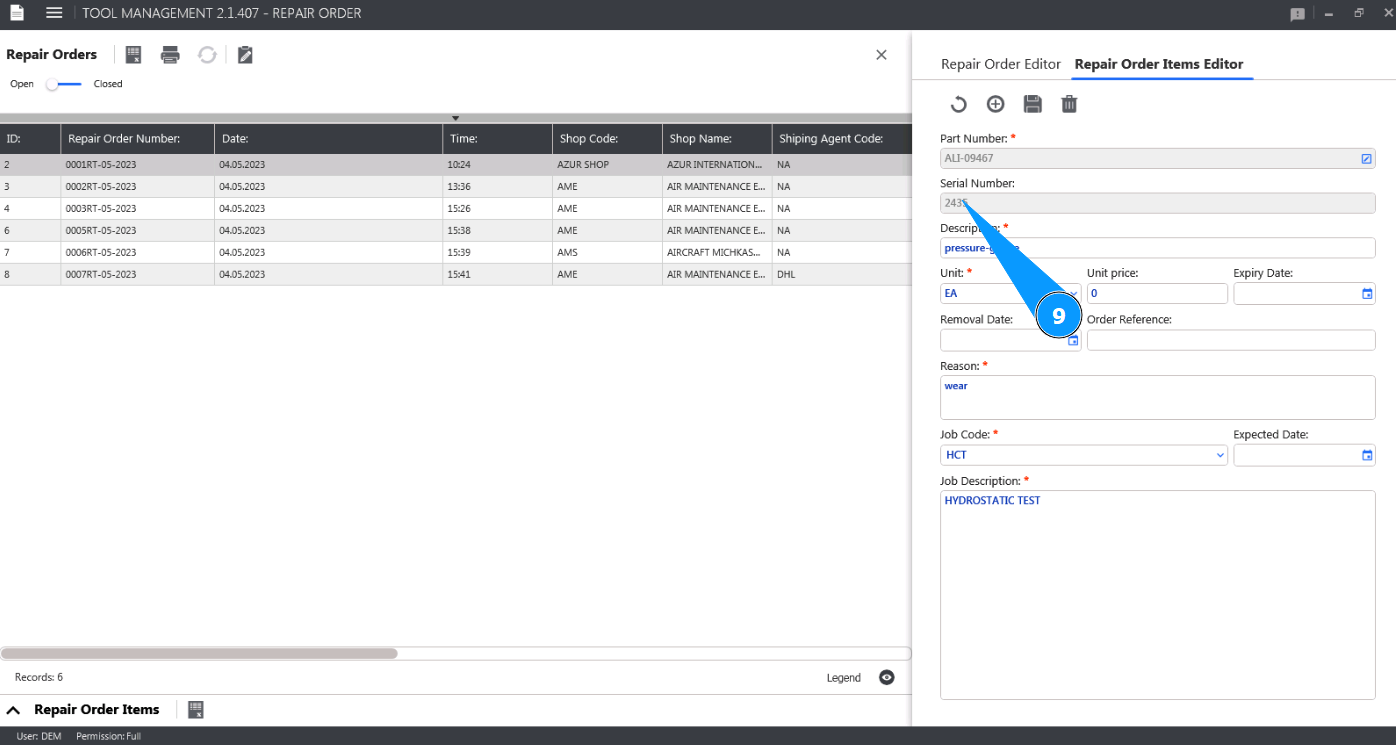
9. Enter the tool serial number in the field "Serial Number".
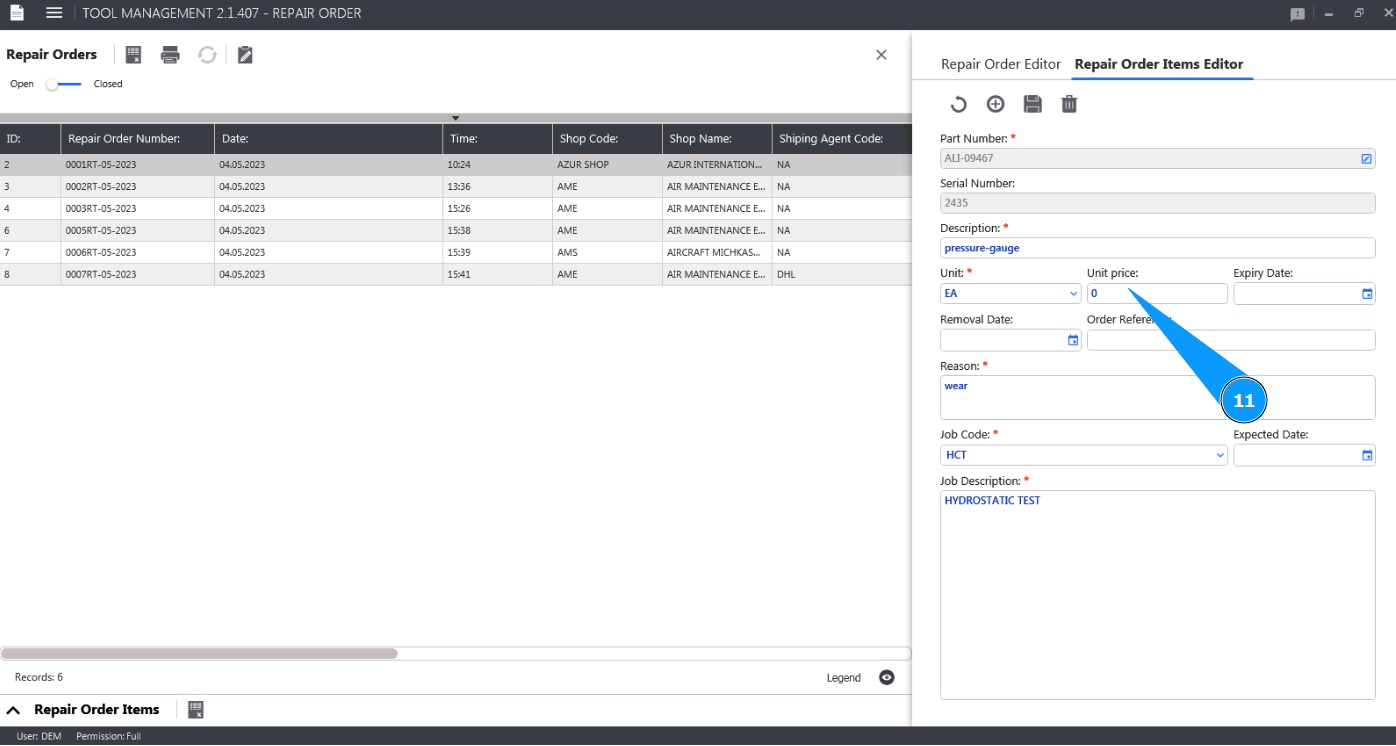
10. Select the units of the tool from the dropdown list in the field "Unit".

11. If necessary, enter the cost for one unit of the tool in the field "Unit Price".
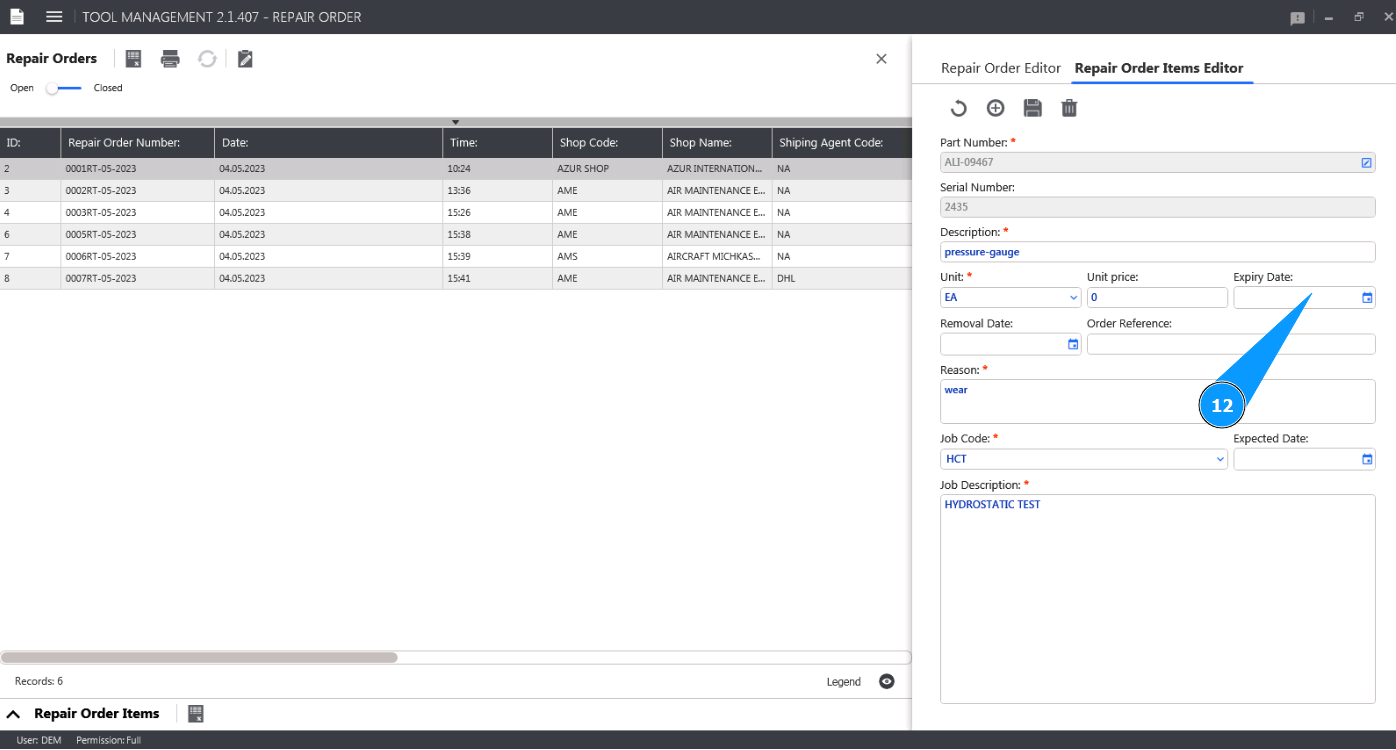
12. If necessary, enter the date of the tool calibration limitation in the field "Expire Date".
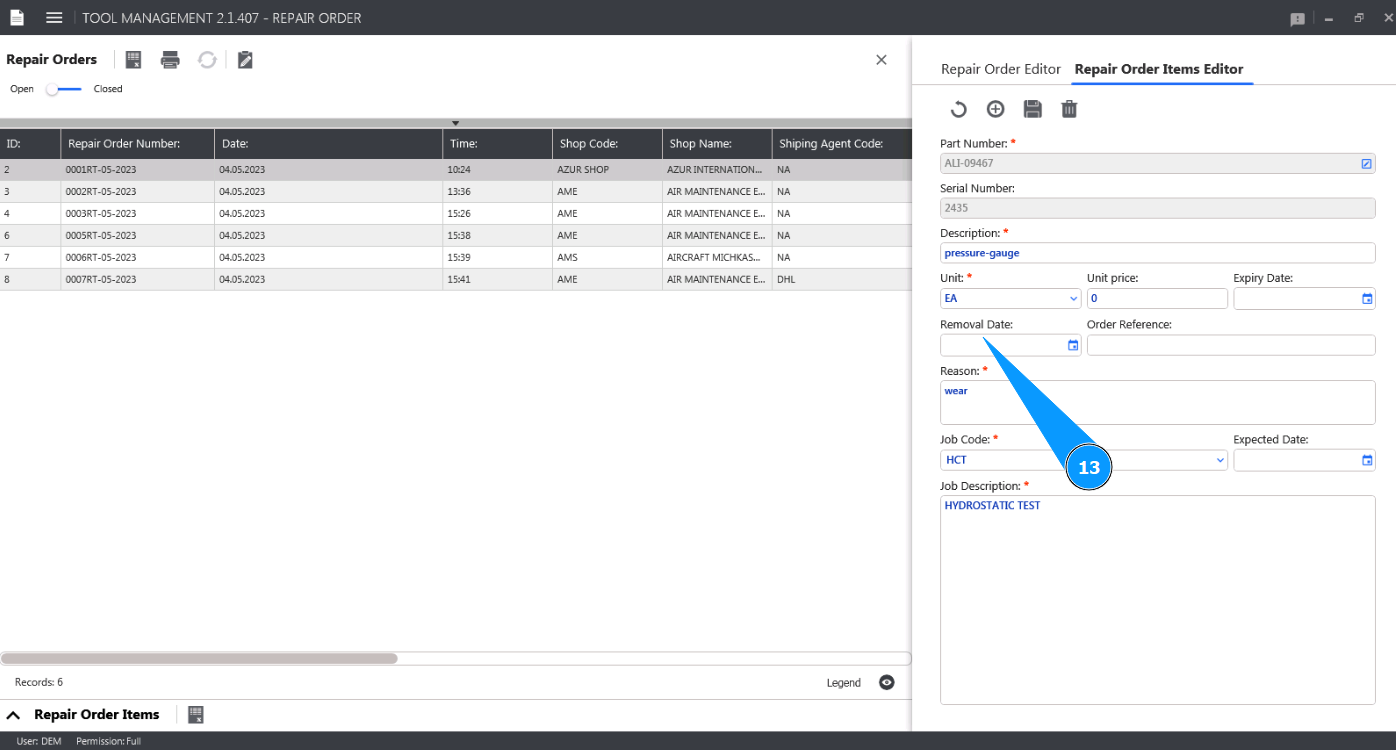
13. If necessary, enter the date the tool was removed from storage in the field "Removal Date".
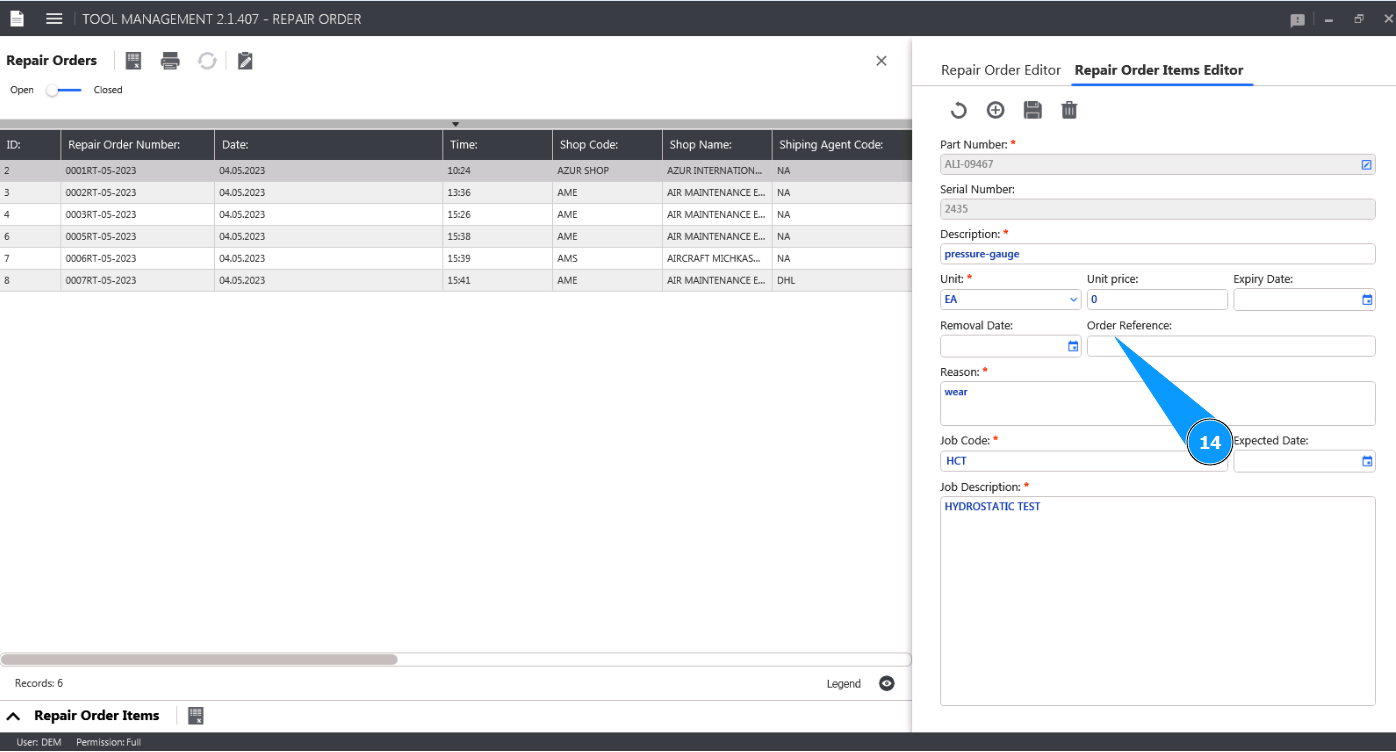
14. If necessary, enter the order reference in the field "Order Reference".
 '
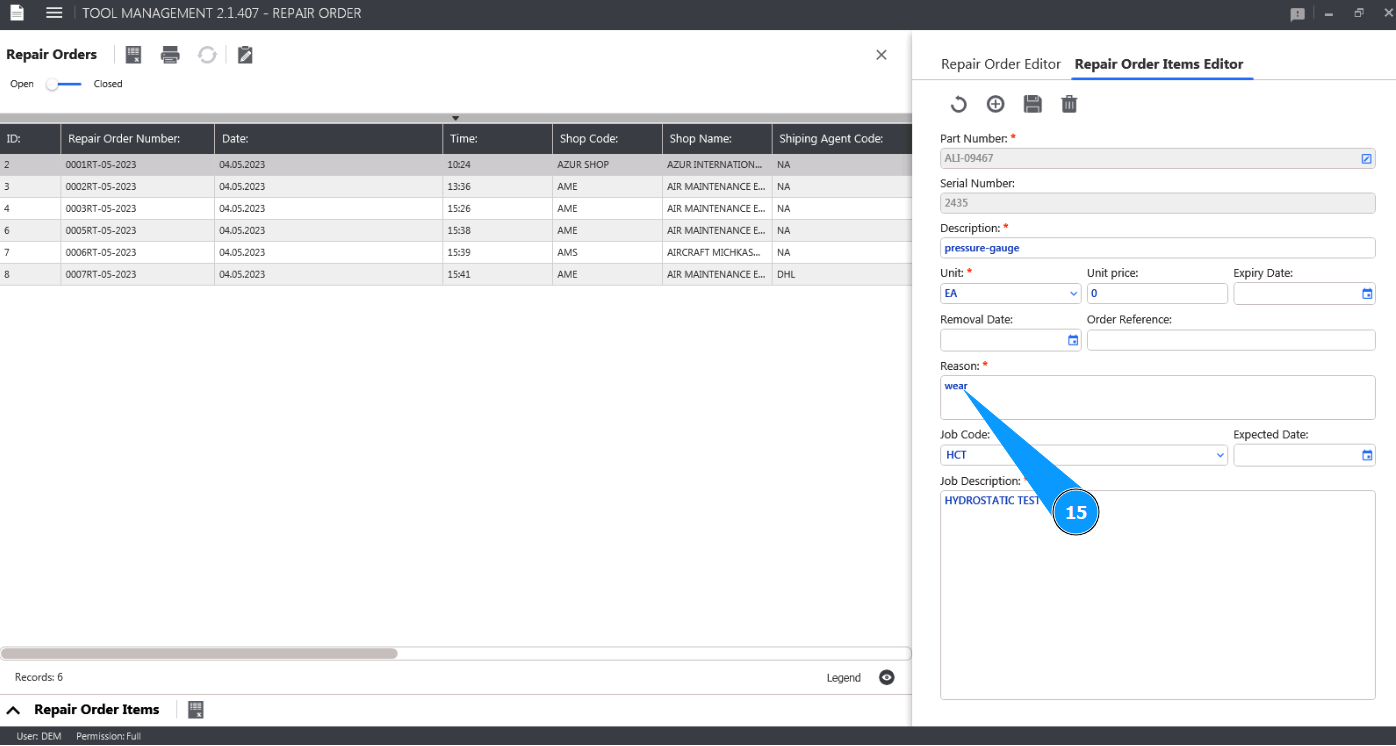
15. Enter the reason for the tool repair or check in the field "Reason".
'
15. Enter the reason for the tool repair or check in the field "Reason".
16. Select the type of job you want to repair or check from the dropdown list in the field "Job Code". Note: The name of the job or check will be displayed automatically by the program in the field "Job Description".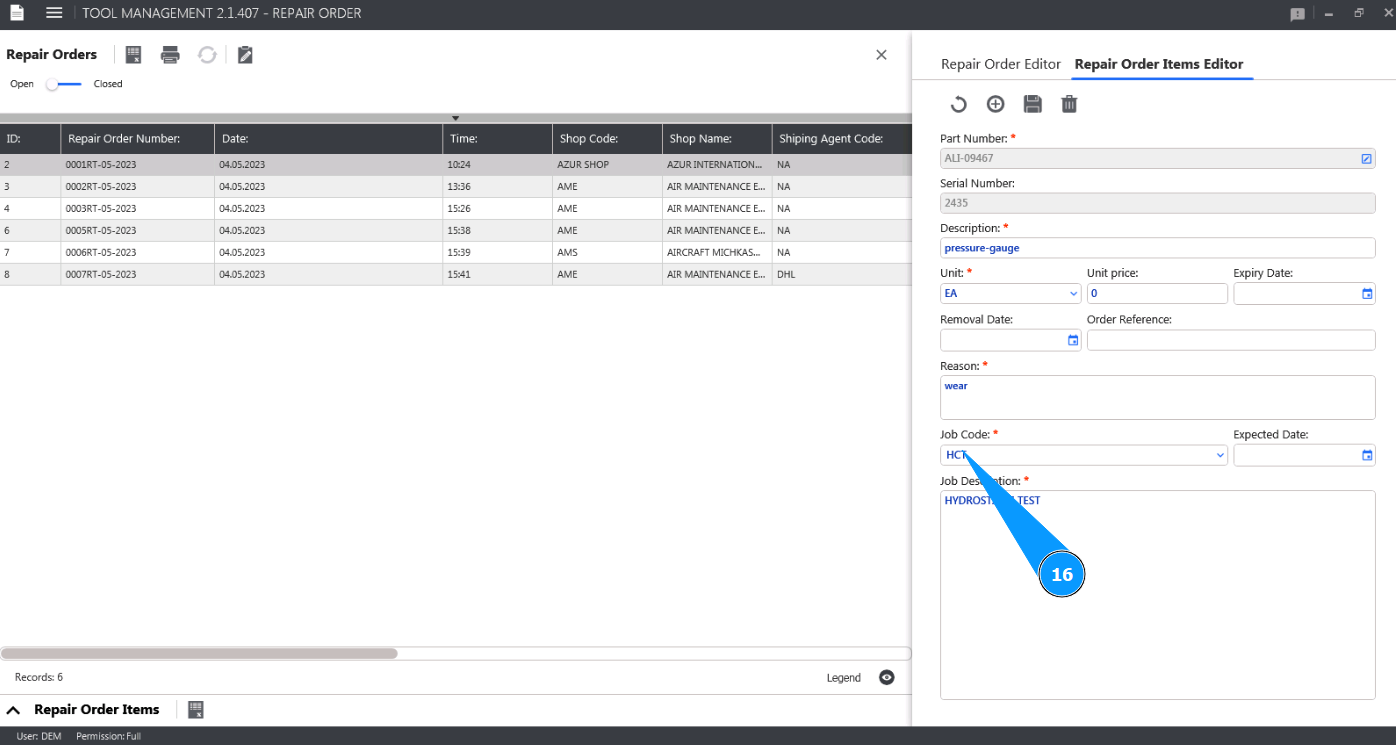
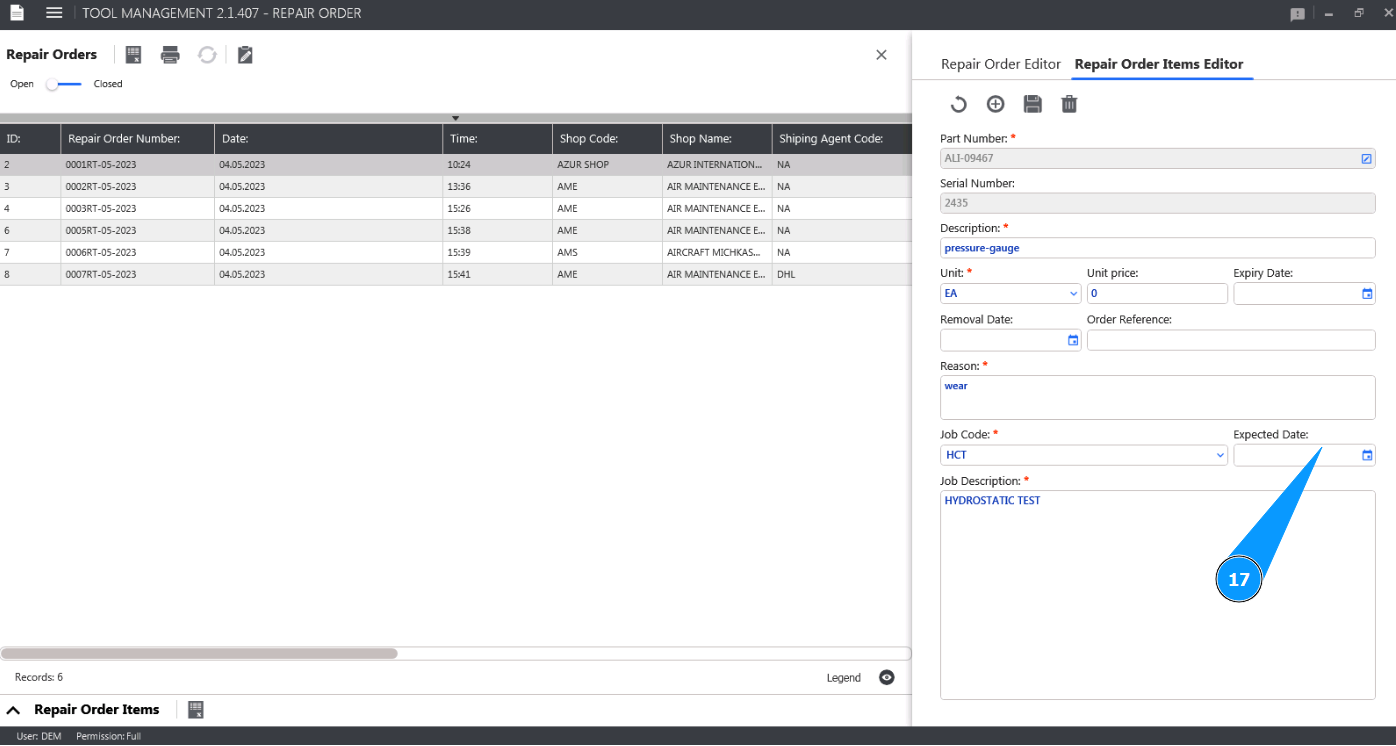
17. If necessary, enter the expected date for repair or inspection of the tool in the field "Expected Date".
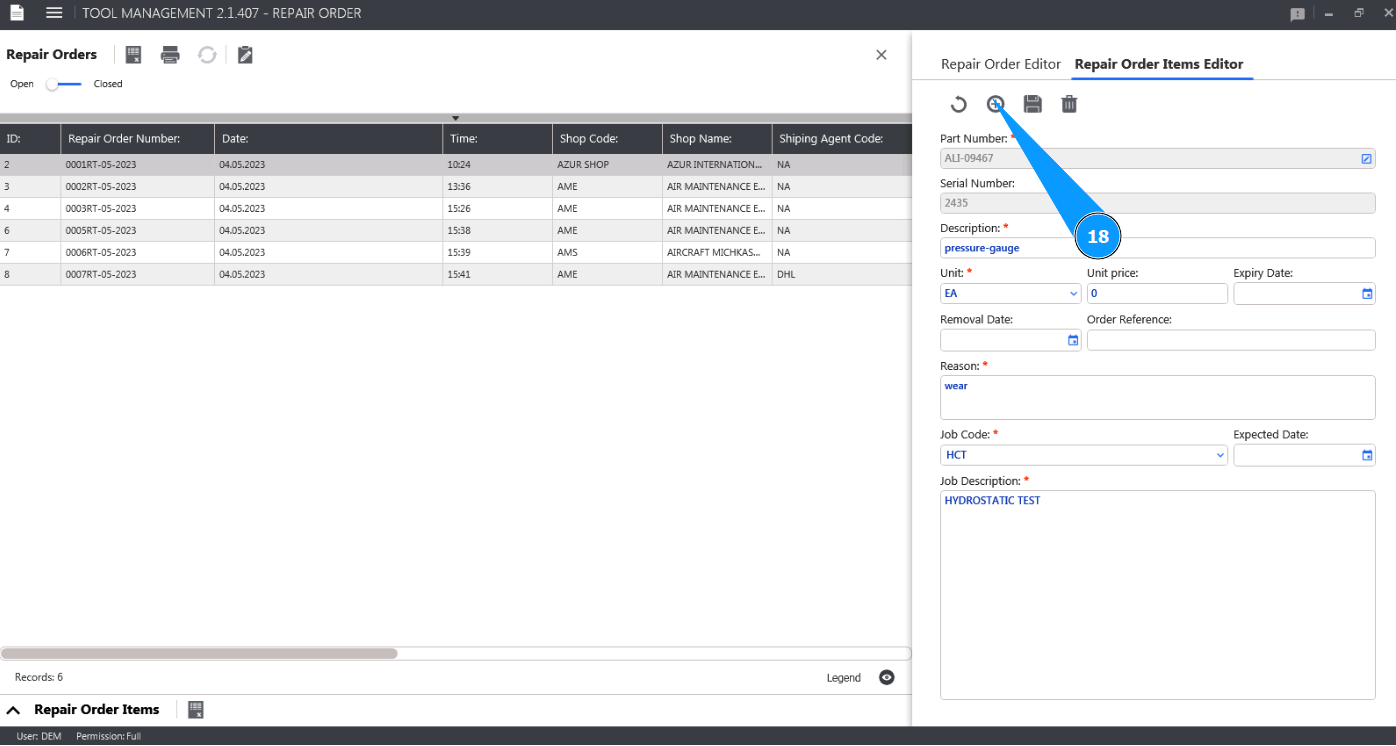
18. Click on the button "Add" to write the entered tool to the Repair Order memory and the program.
19. Click on the button "Yes" to confirm adding a new tool to the Repair Order.

20. Check that the entry with your tool appears in the window "Repair Order Items".