How to add a tool to the packing list
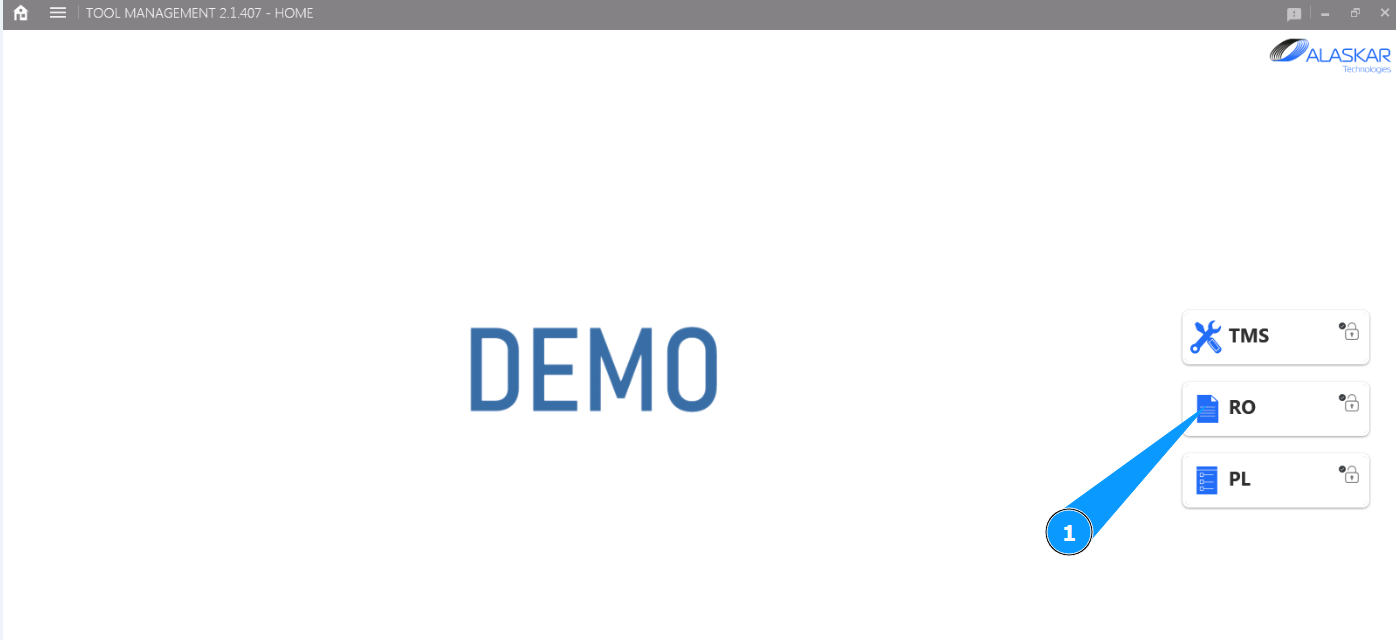
1. In order to add a tool to the packing list, go to the submodule "PL".
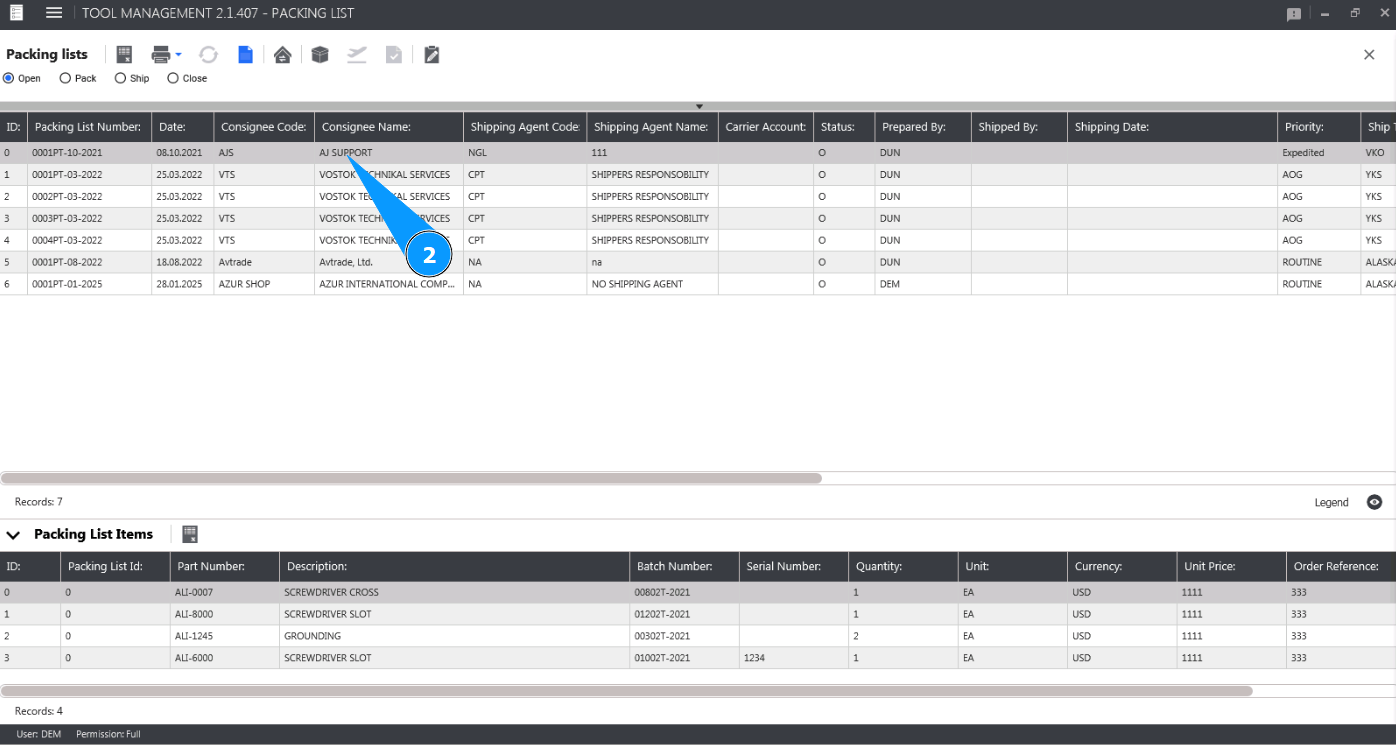
2. Select the Packing List that you want to add the tool to from the list and click on the corresponding line in the window "Packing Lists".
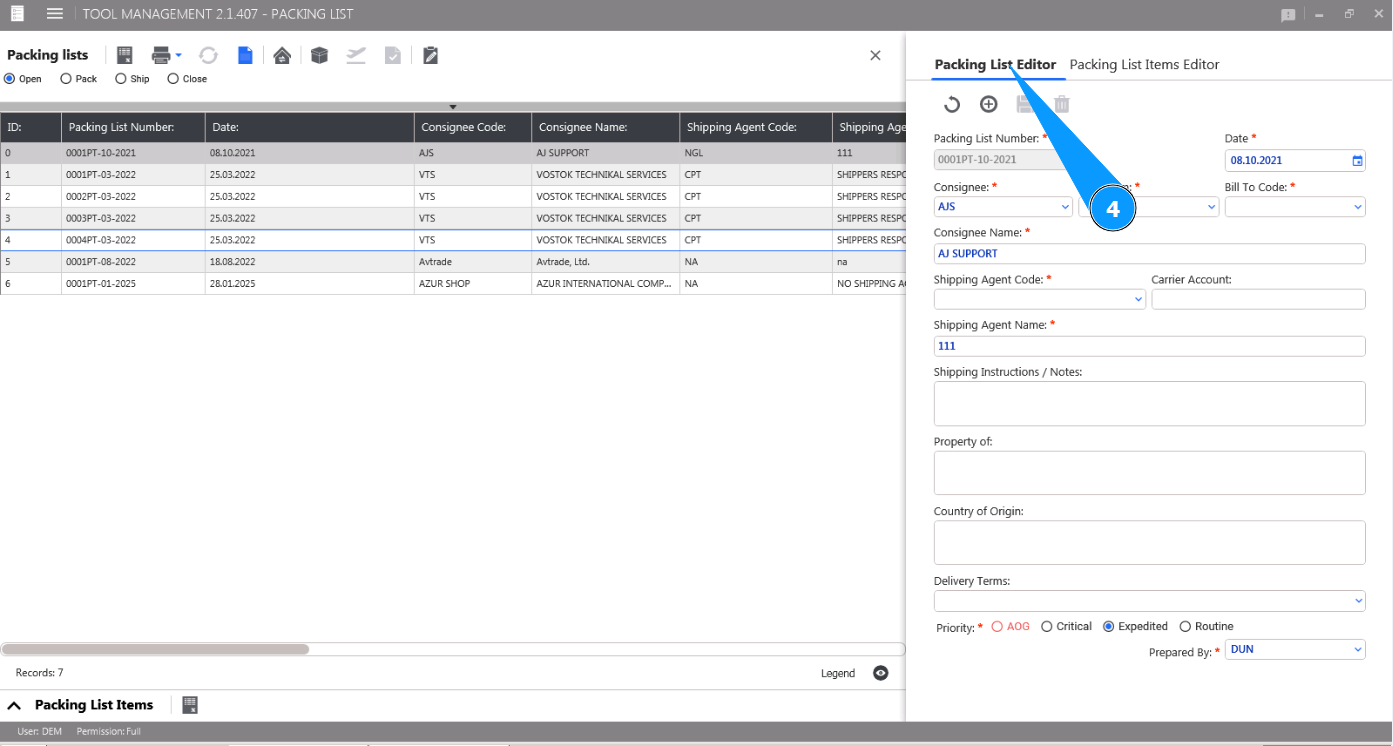
3. Click on the button "Show Editor" to open the Packing List editor.
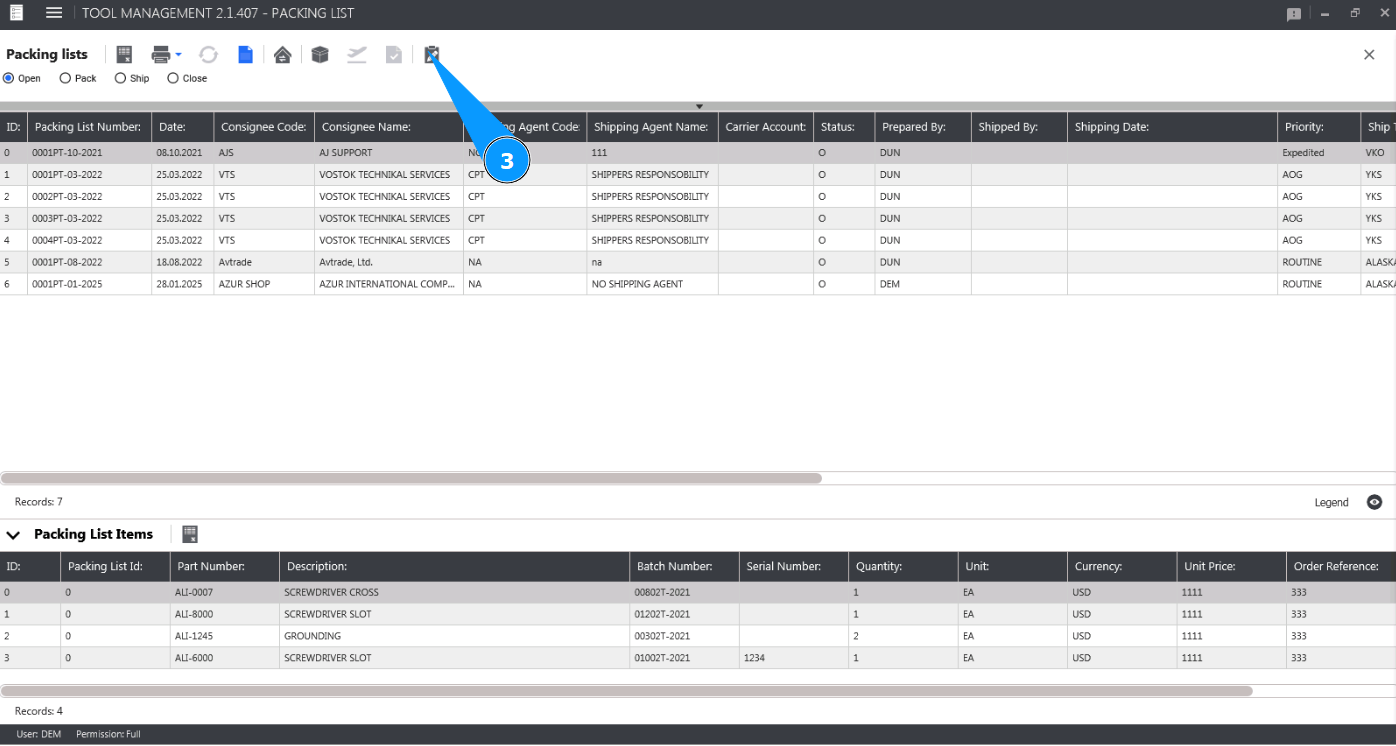
4. Check that the window "Packing List Editor" editor window opens.
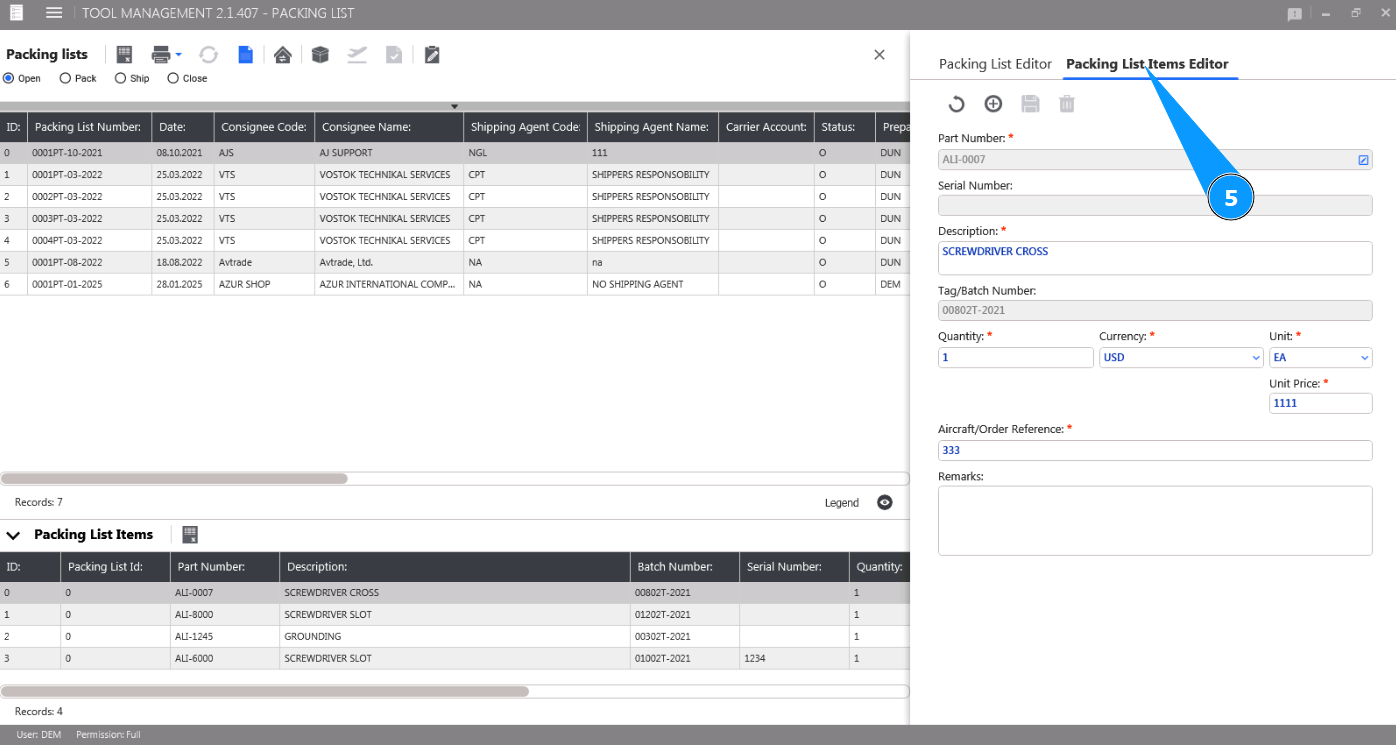
5. Go to the tab "Packing List Items Editor".
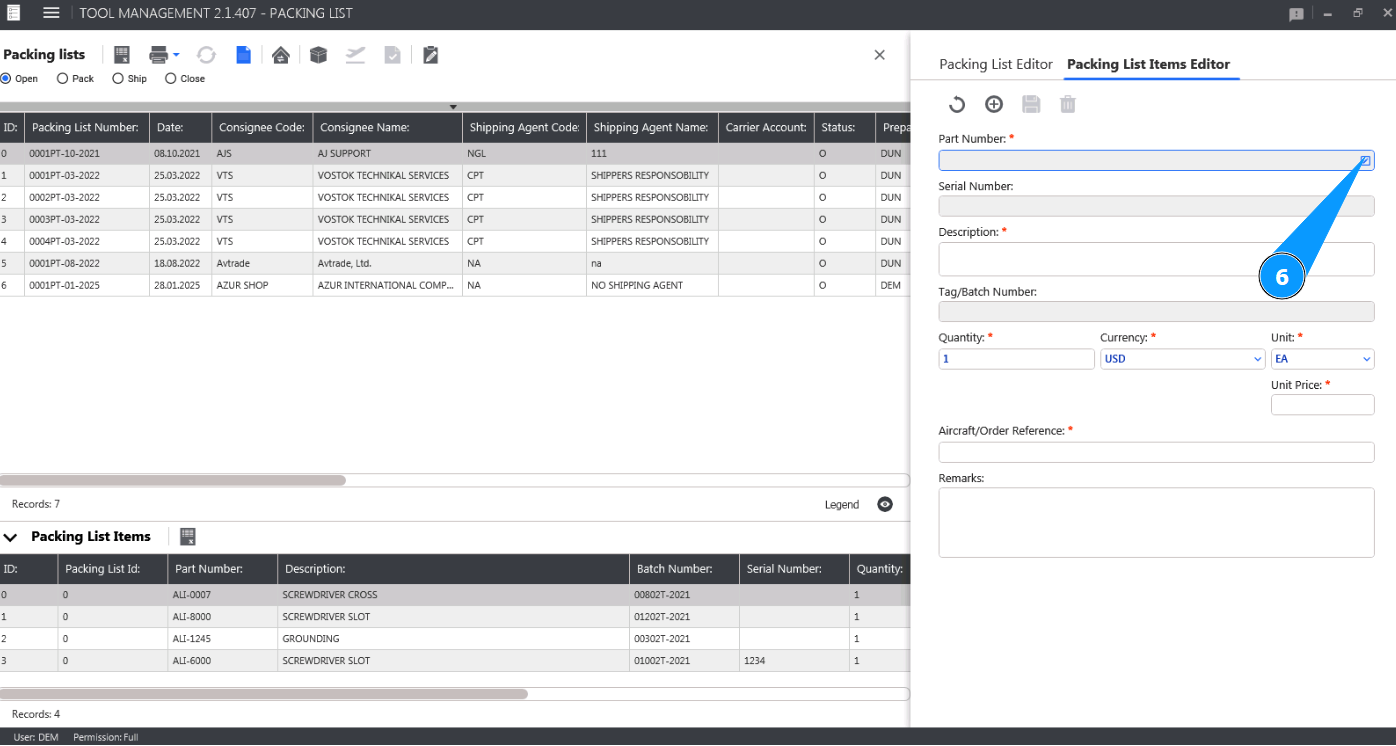
6. In order to select the tool part number, click in the field "Part Number".
Note: If necessary, reset all fields by clicking on the button "Reset".
7. Select the tool part number you want to add from the dropdown list and click on the corresponding line.
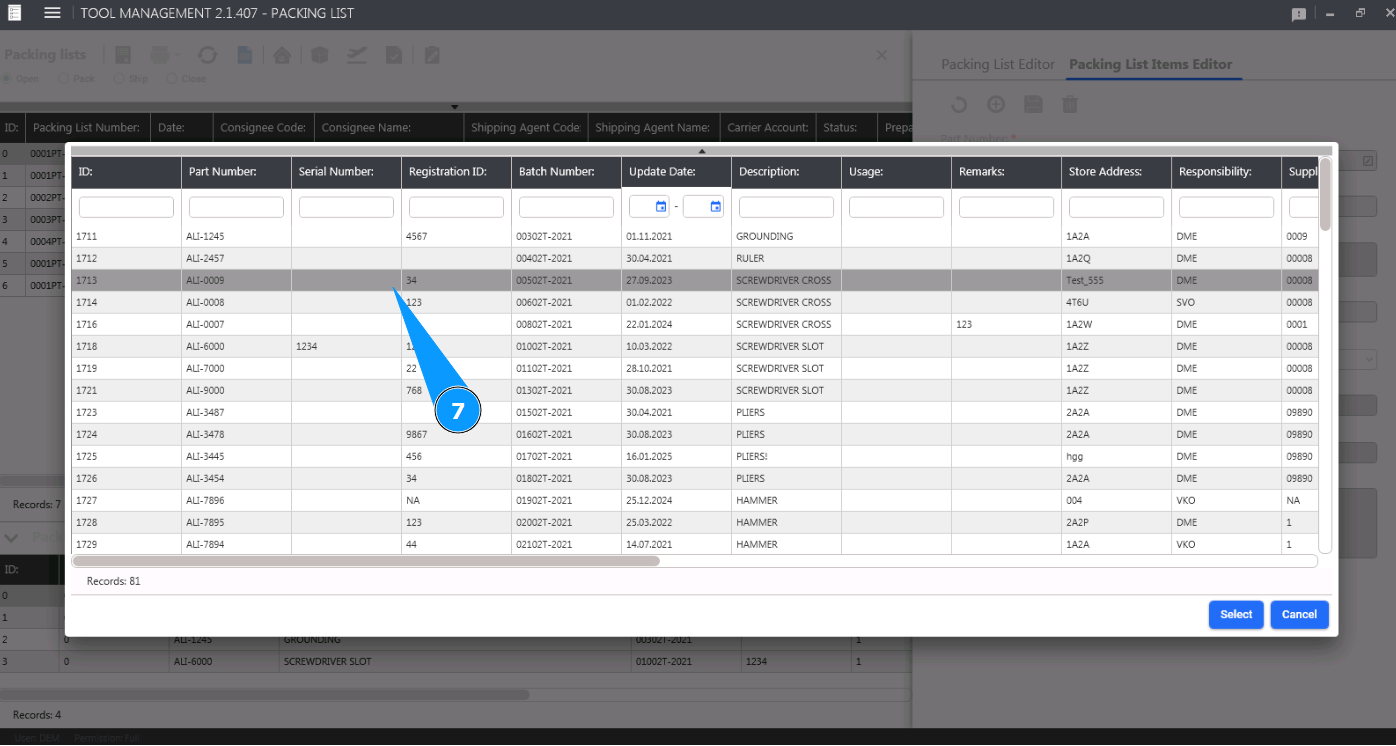
8. Click on the button "Select" to add the selected batch number to the Packing List. Note: The name and serial number (if any) of the tool will be displayed by the program automatically in the fields "Serial Number" and "Description".
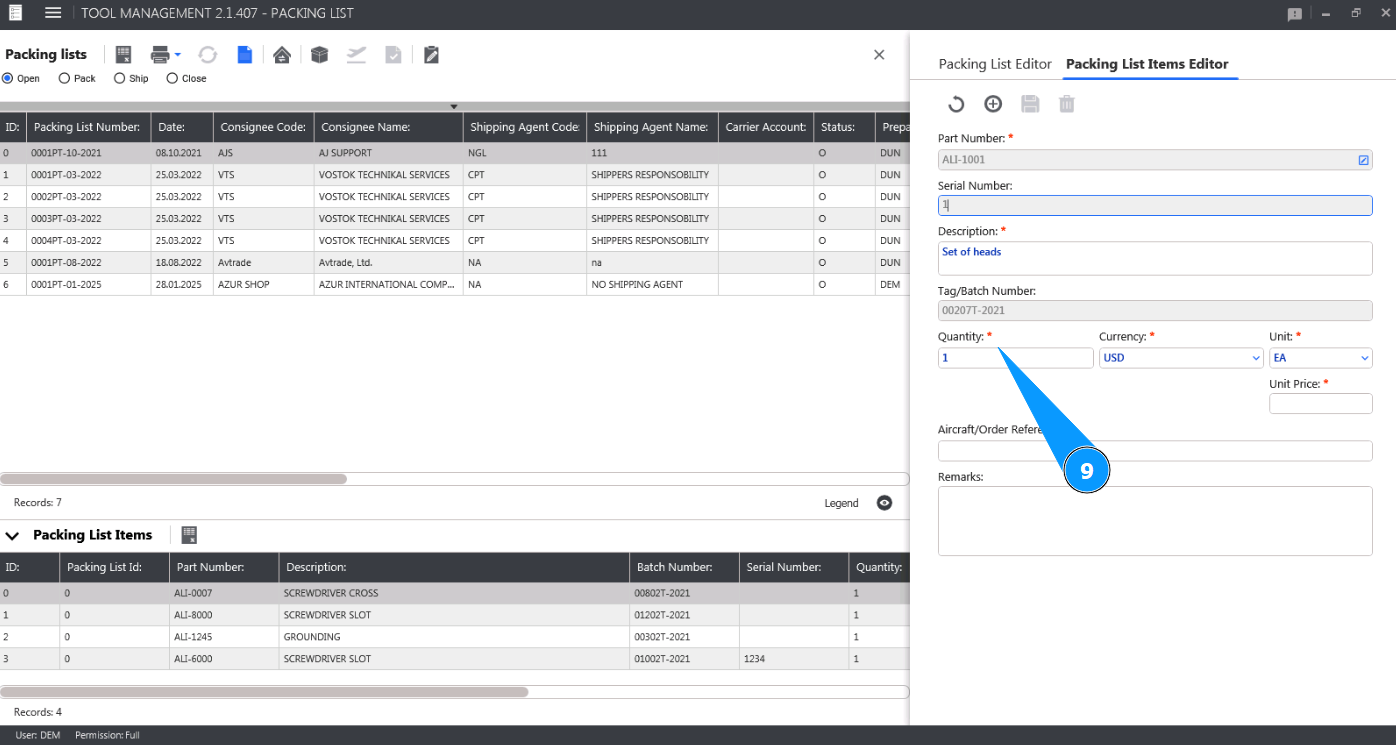
9. Select the quantity of the tool to be sent from the dropdown list in the field "Quantity".
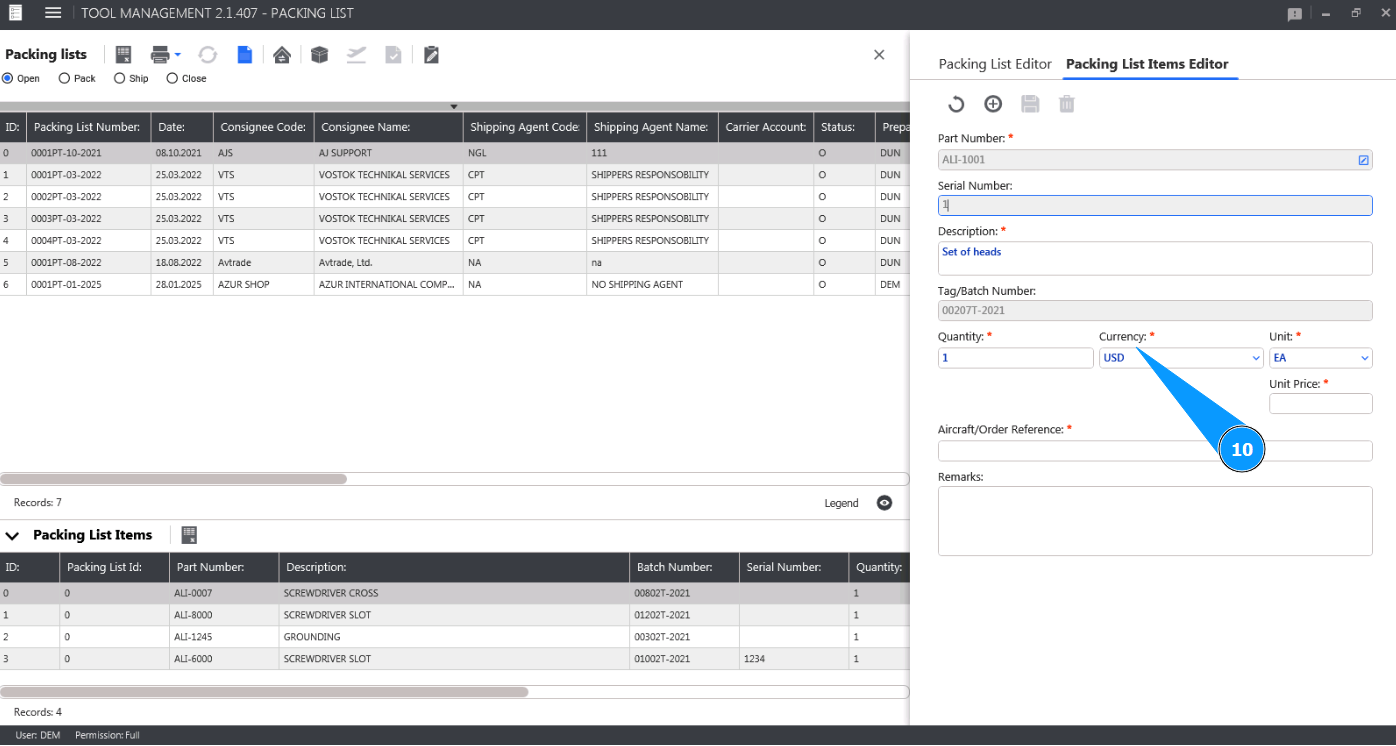
10. Select the currency of the tool cost from the dropdown list in the field "Currency".
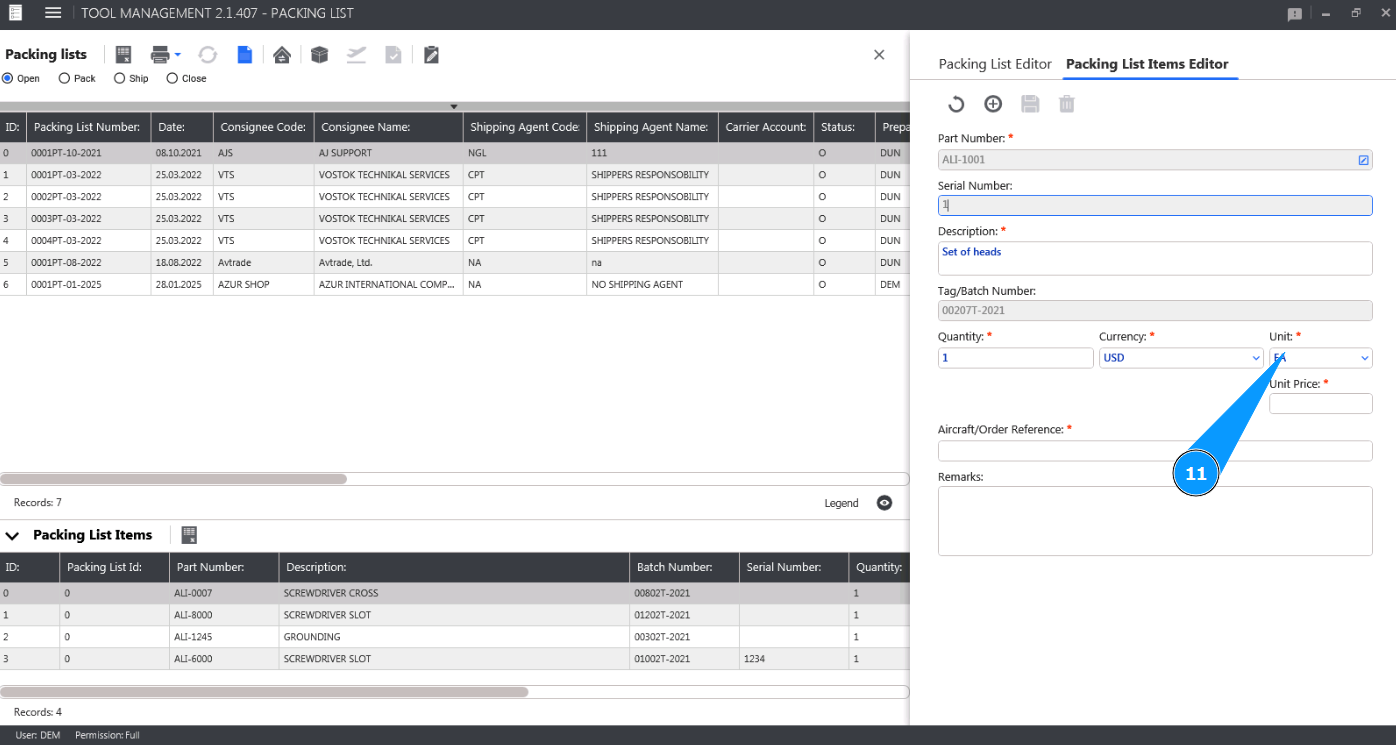
11. Select the units of quantitative measurement of the tool from the dropdown list in the field "Unit".
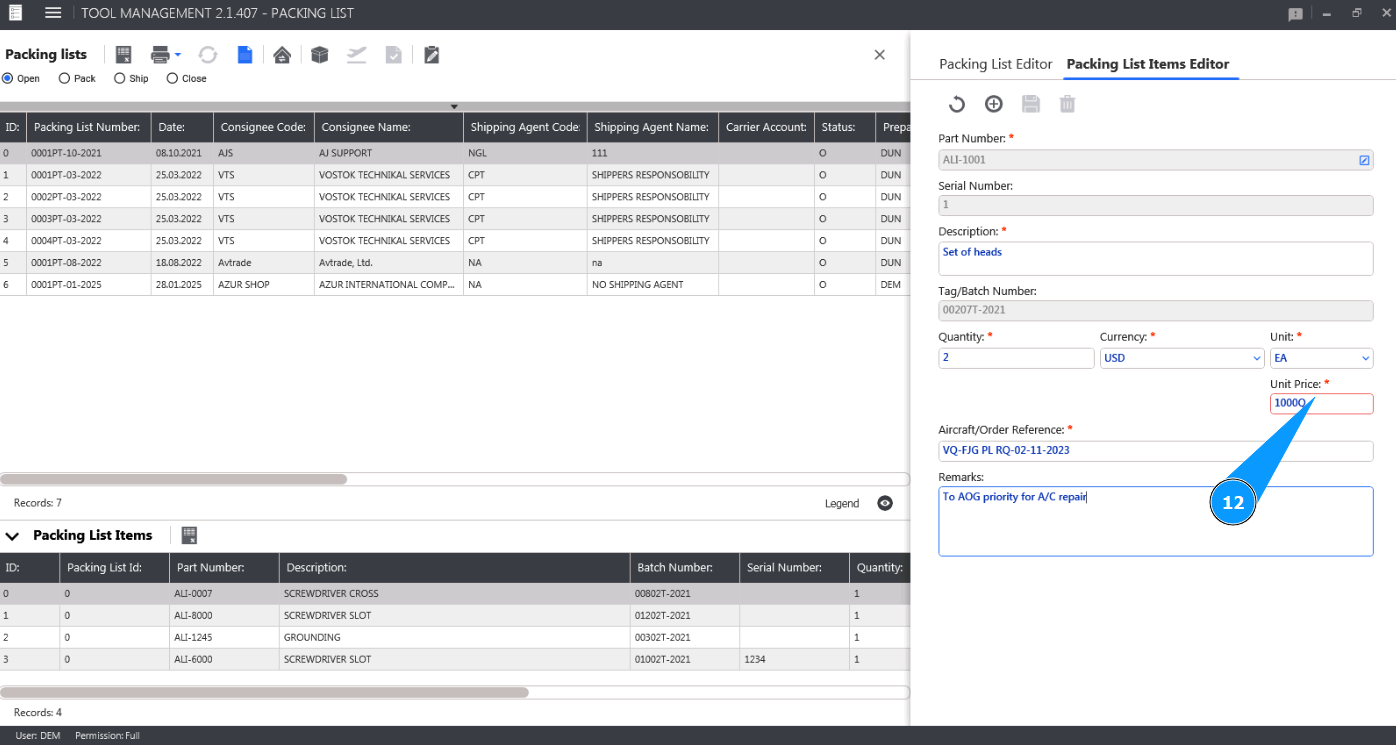
12. If necessary, enter the cost per unit of the tool in the "Unit Price".
13. Enter the aircraft tail number or order reference in the field "Aircraft/Order Reference".

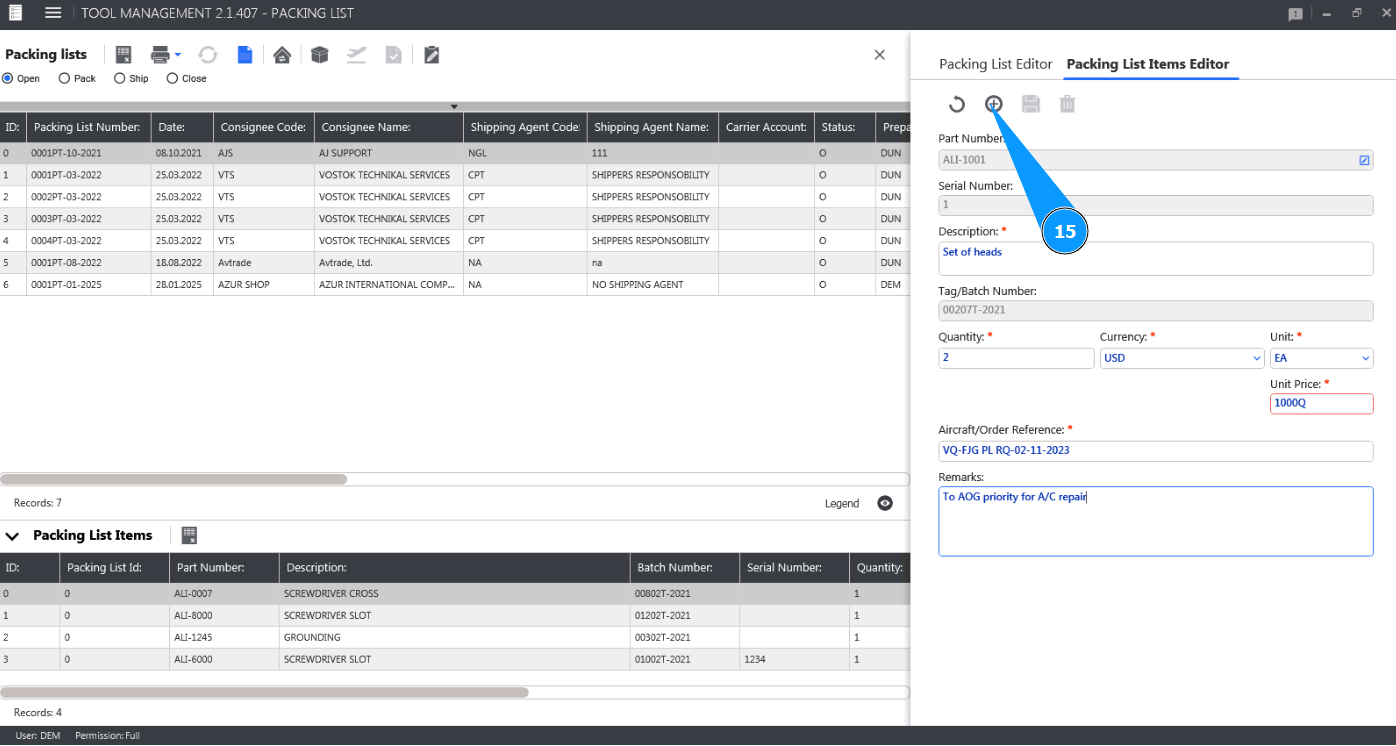
14. If necessary, enter any other information or remarks in the field "Remarks".

15. Click on the button "Add" to save the entered tool to the Packing List.
16. Click on the button "Yes" to confirm adding the new tool to the Packing List.

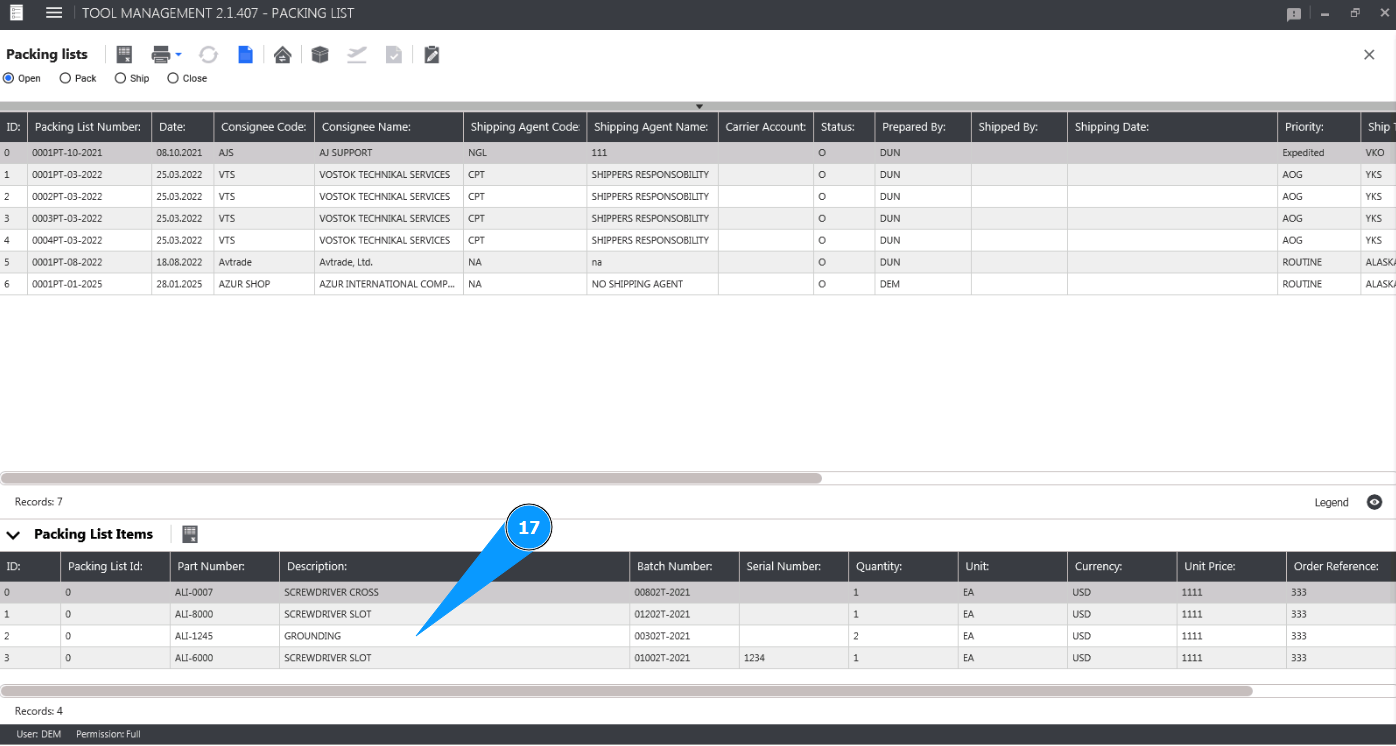
17. Check that the entry with your tool appears in the window "Packing List Items".