How to change data into request
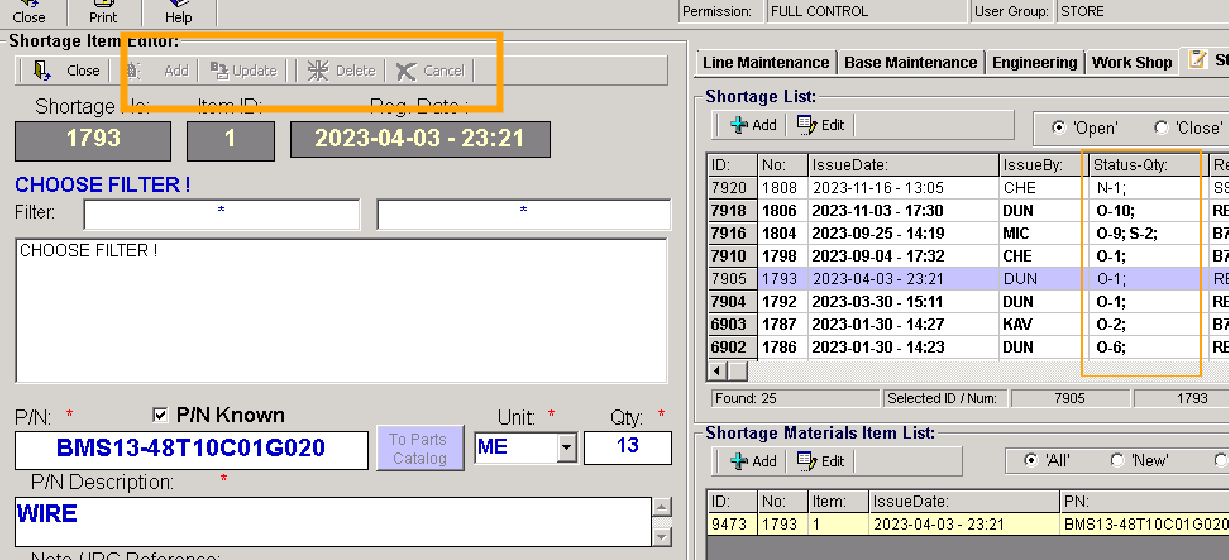
Attention: If the request status is "Ordered" or "In stock" in the POR and its data is not possible.
Editor fields "Add" or "Update" are not available!
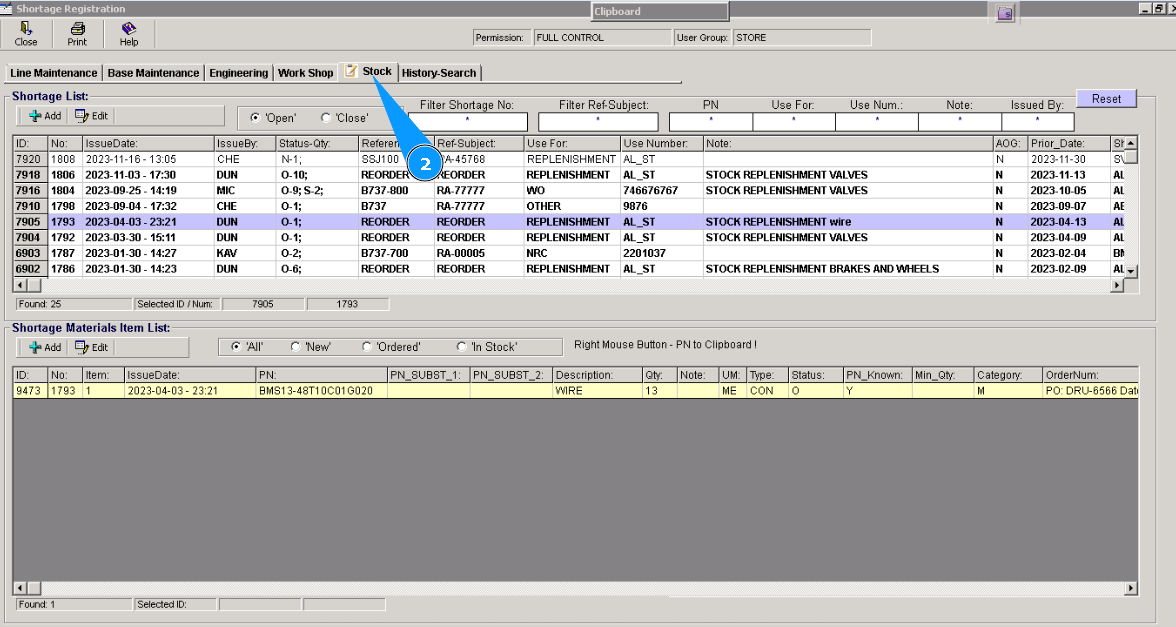
1. For correction of request on replenishment of store, go to submodule "POR (Part Order Request)".
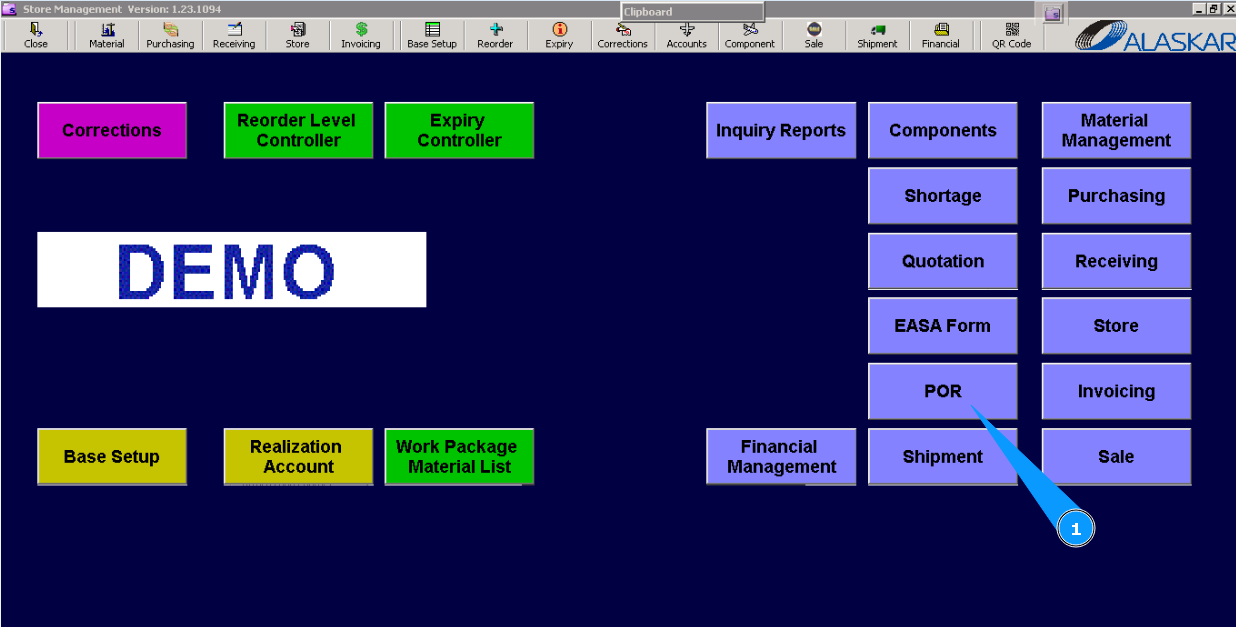
2. Then, go to the tab "Stock".
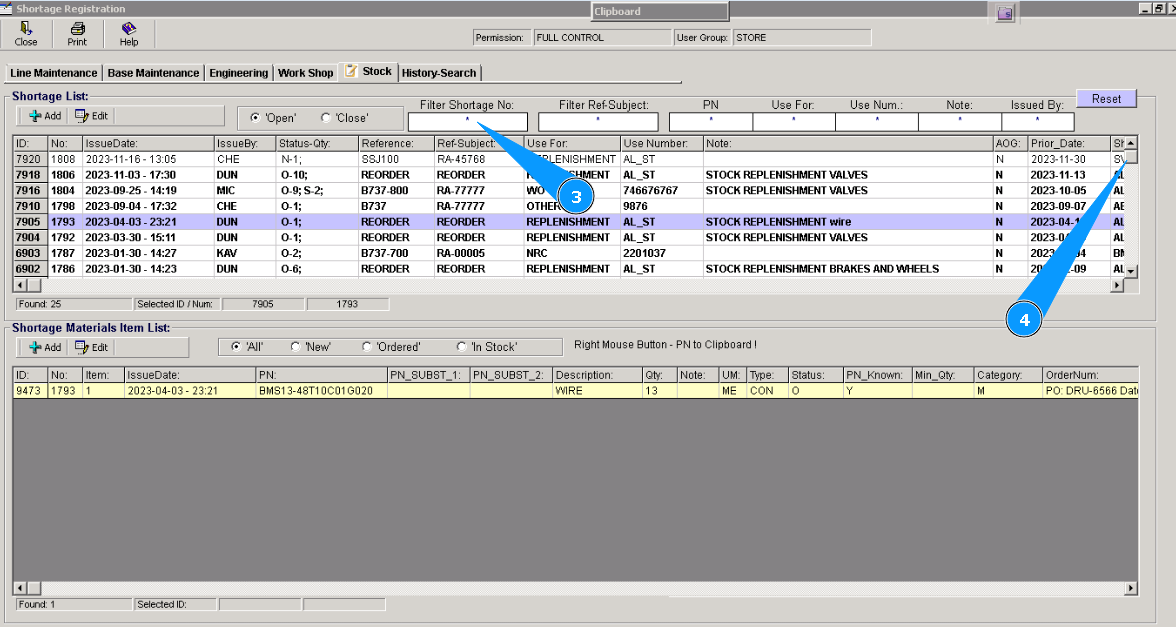
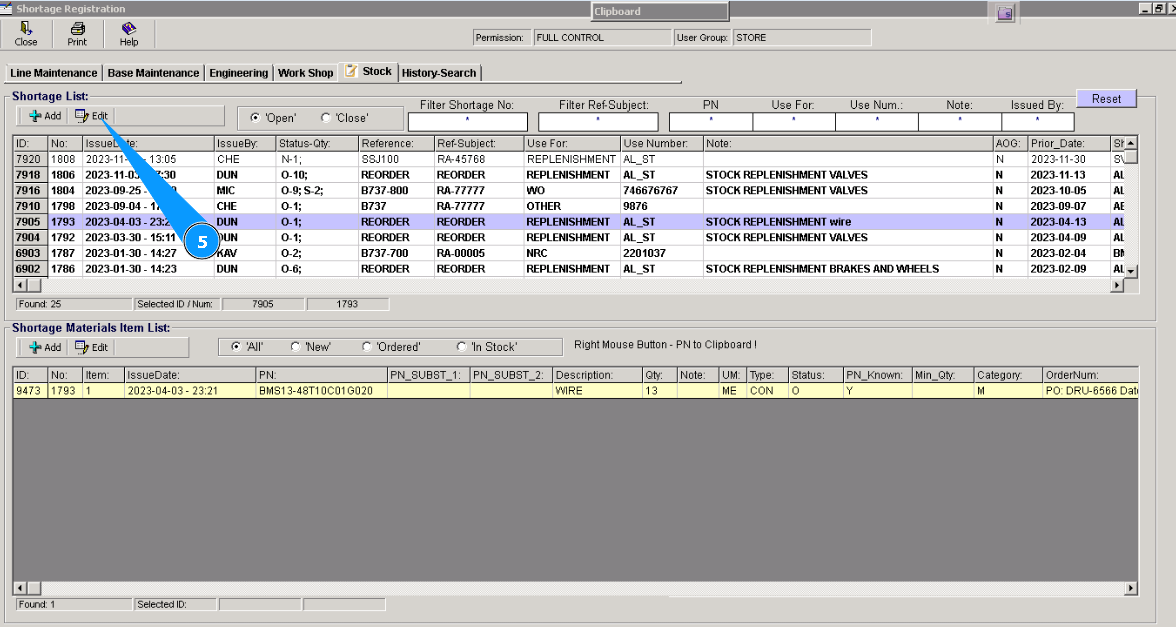
3. For using filters: "Filter Shortage Number", "PN", or others, find necessary POR. For this reason enter searching criteria in the filter field, for example, a POR number, and press the button "Enter" on your keyboard.
4. Alternatively, find the POR by scrolling. Select it by clicking on applicable line.
Note: For correction of the POR form and fields:
"A/C Type:", "A/C Reg:", "Use for", "Use Number", "Priority Date", "Issued by", "Ship to Code" or "Issued by", perform items 5-9 of this instruction.
.
Note: For correction materials (or tools) from POR and fields:
"PN", "Unit", "Qty", "Category", "Type",
perform items 10-14 of this instruction.
5. Click on the button "Edit" in the "Shortage List" window.
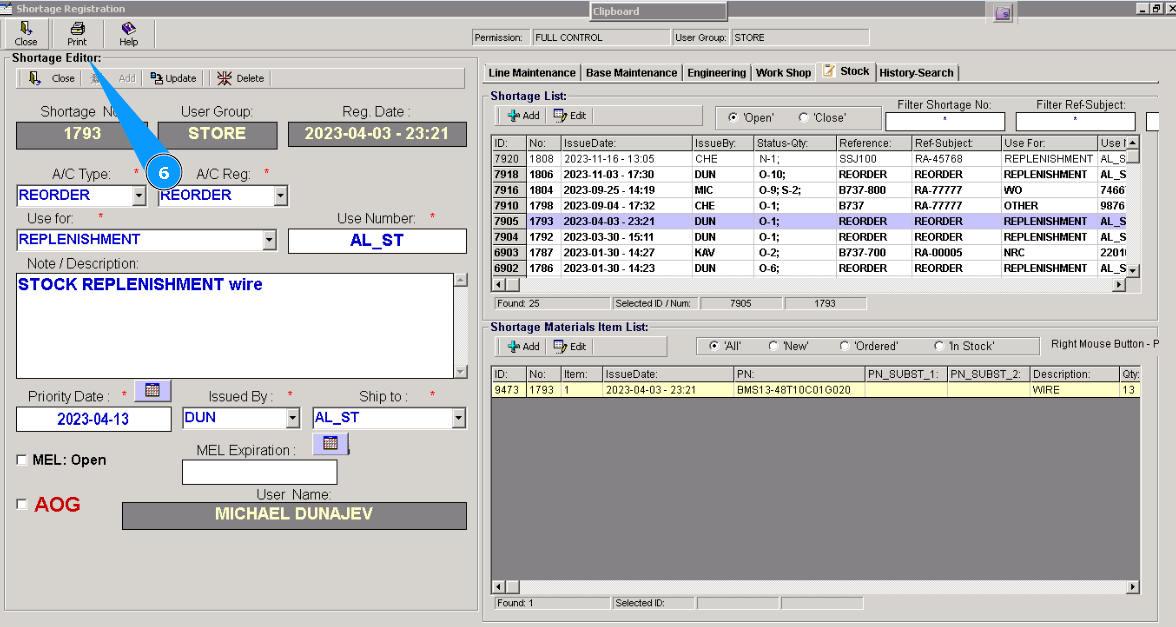
6. Check that the editor window "Shortage Editor" is opened. Enter necessary changes in its fields.
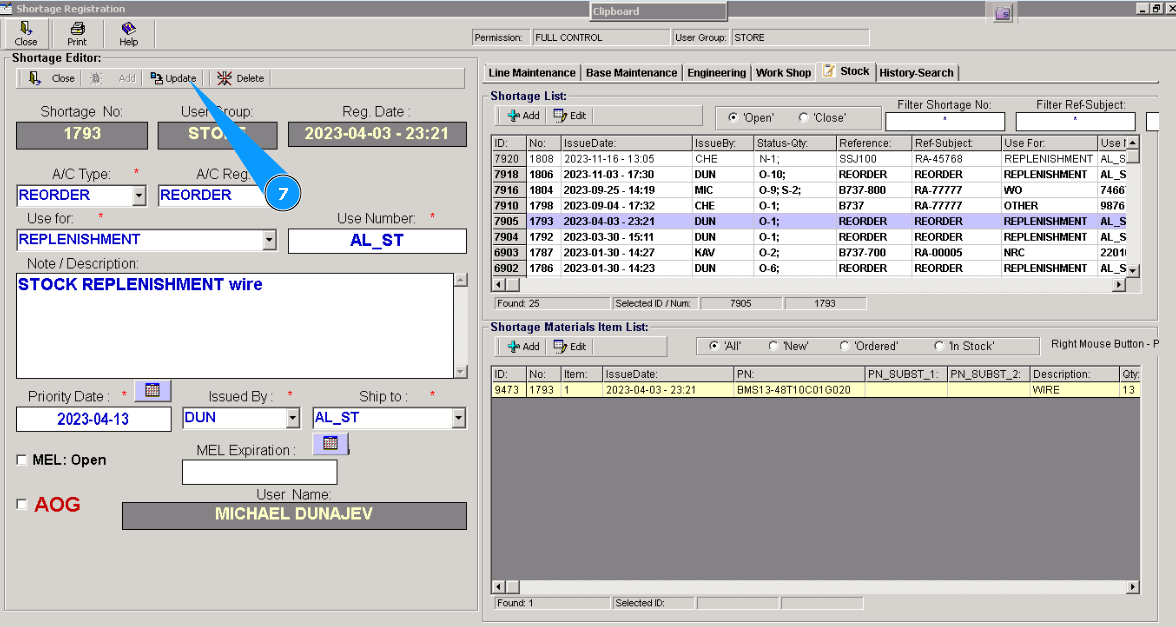
7. Click on the button "Update".
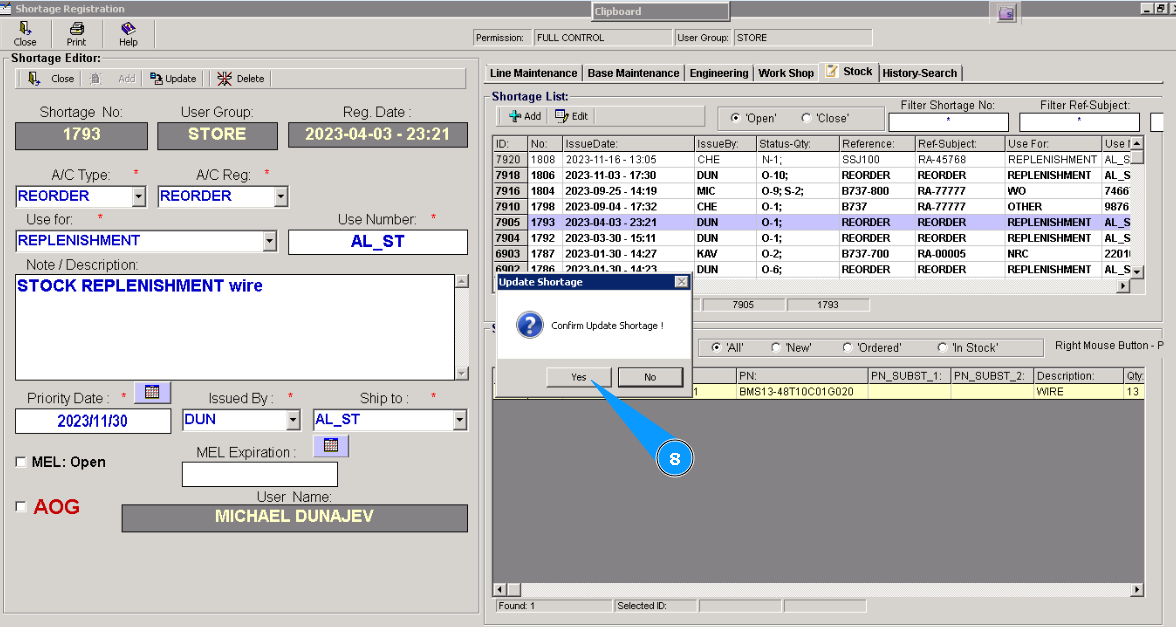
8. Click on the "Yes" button, to confirm updating your changes in the program.
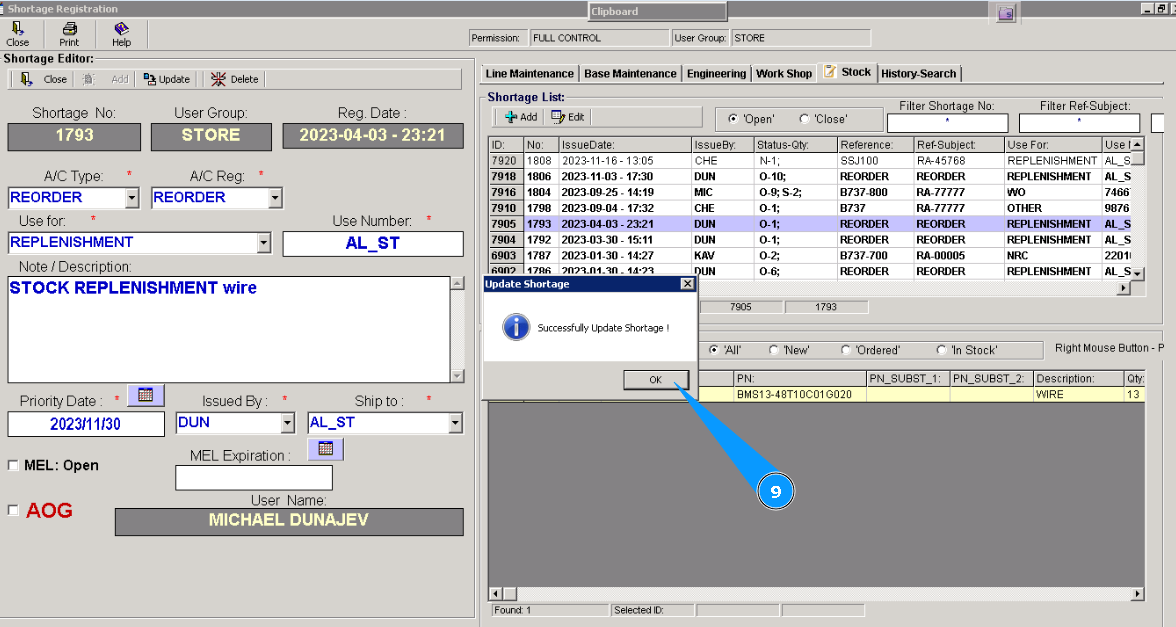
9. Click on the button "OK". Correction of POR is finished.
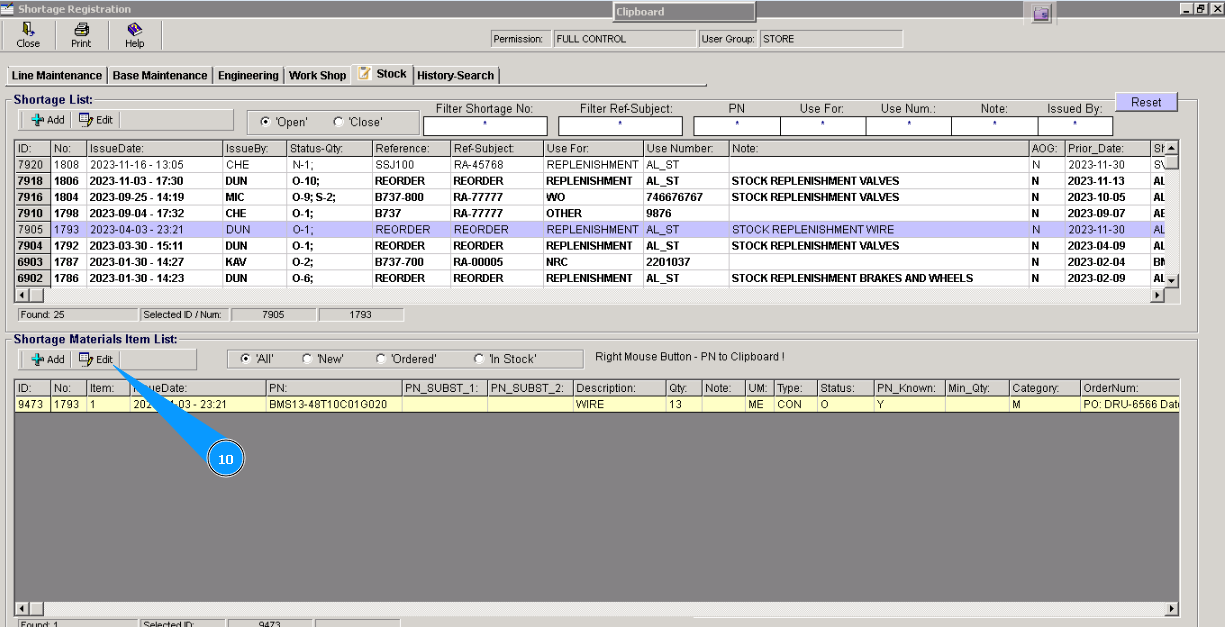
10. Select the material or component that is required to be corrected in the window "Shortage Material Item List", and click on the applicable line, than click on the button "Edit".
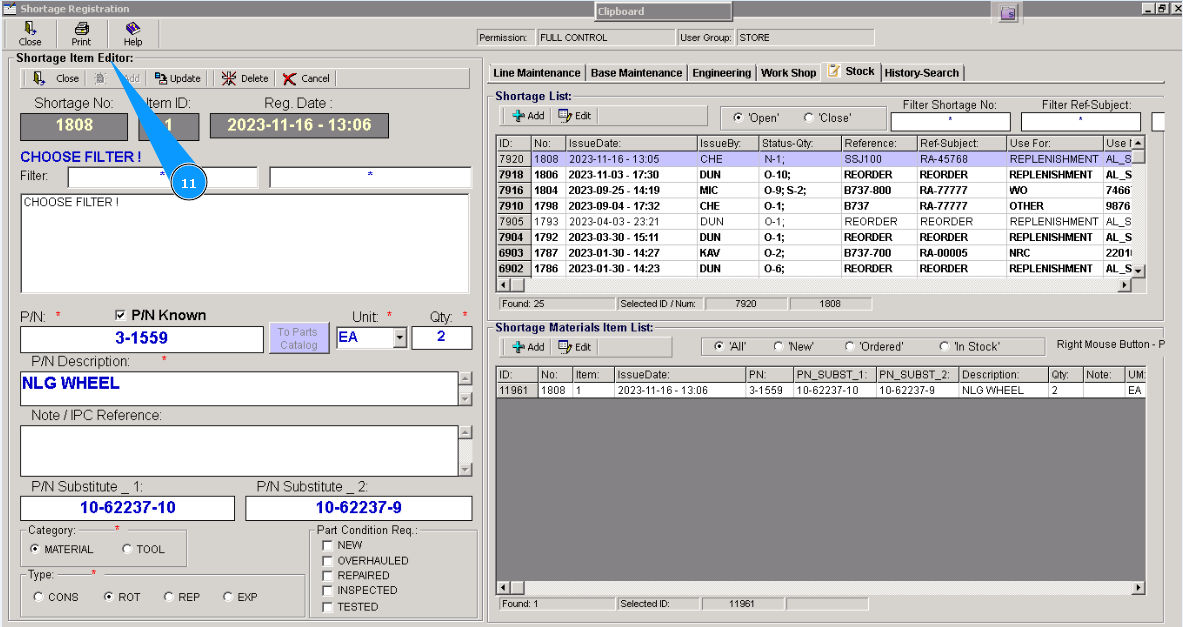
11. Check that editor window "Shortage Item Editor" is opened. Enter the required changes in its fields.
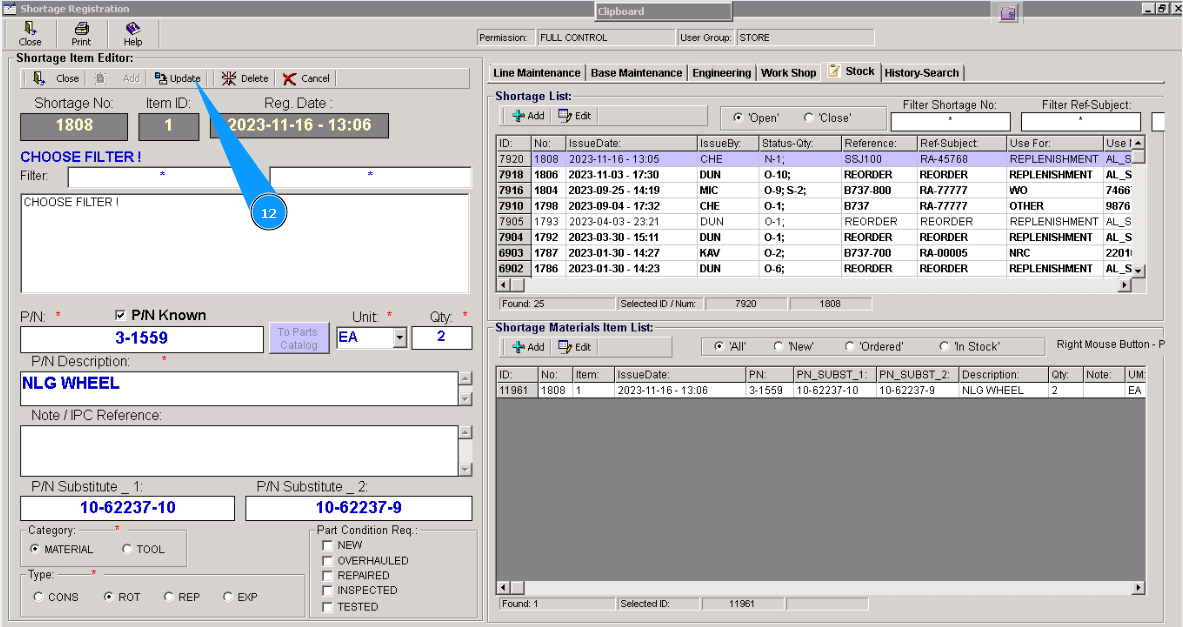
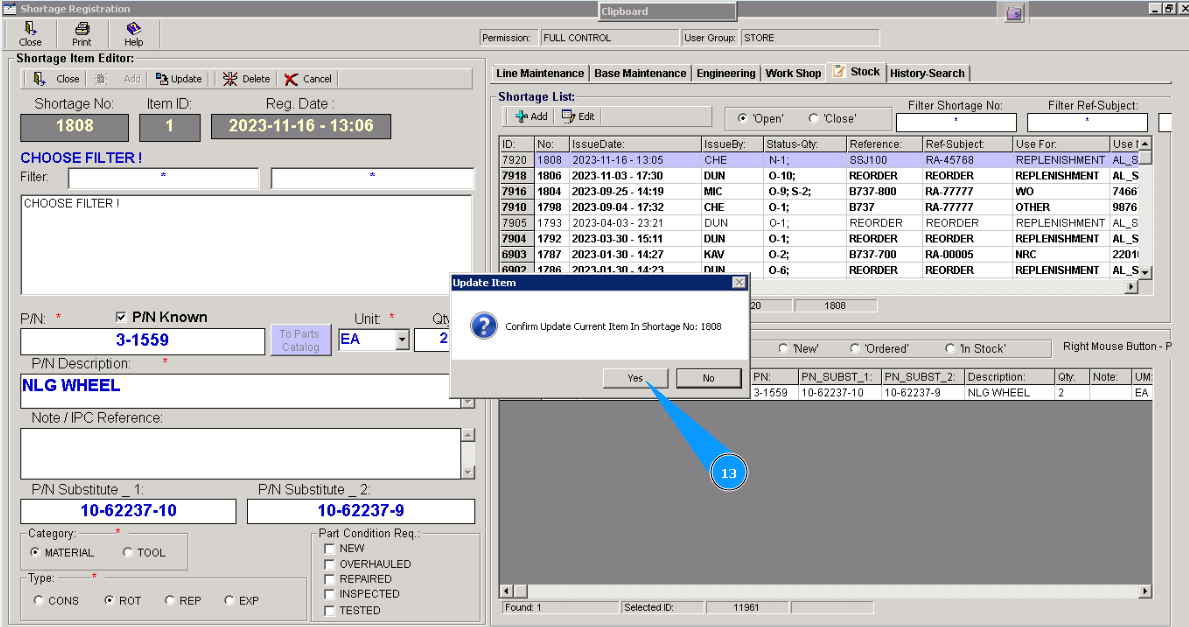
12. Click on the button "Update".
13. Click on the button "Yes", to confirm updating your changes in the program.
14. Click on the button "Ok". Correction data for POR is finished.
