How to change expire date of component
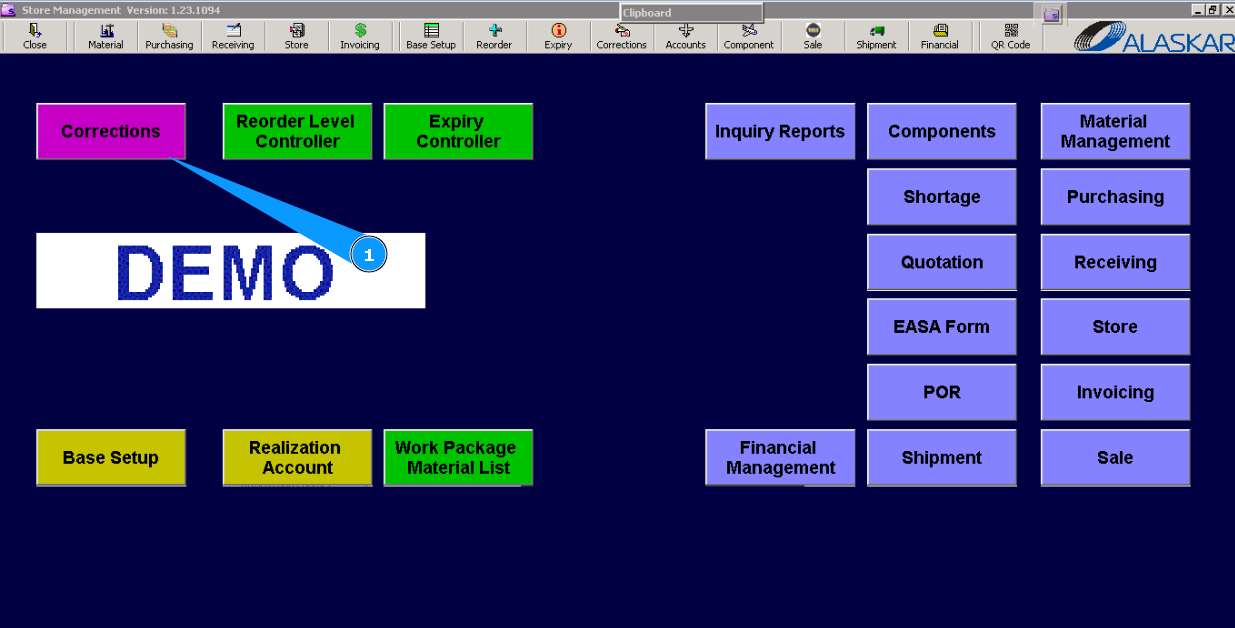
1. To change the expiry date of a component, go to the submodule called "Corrections".
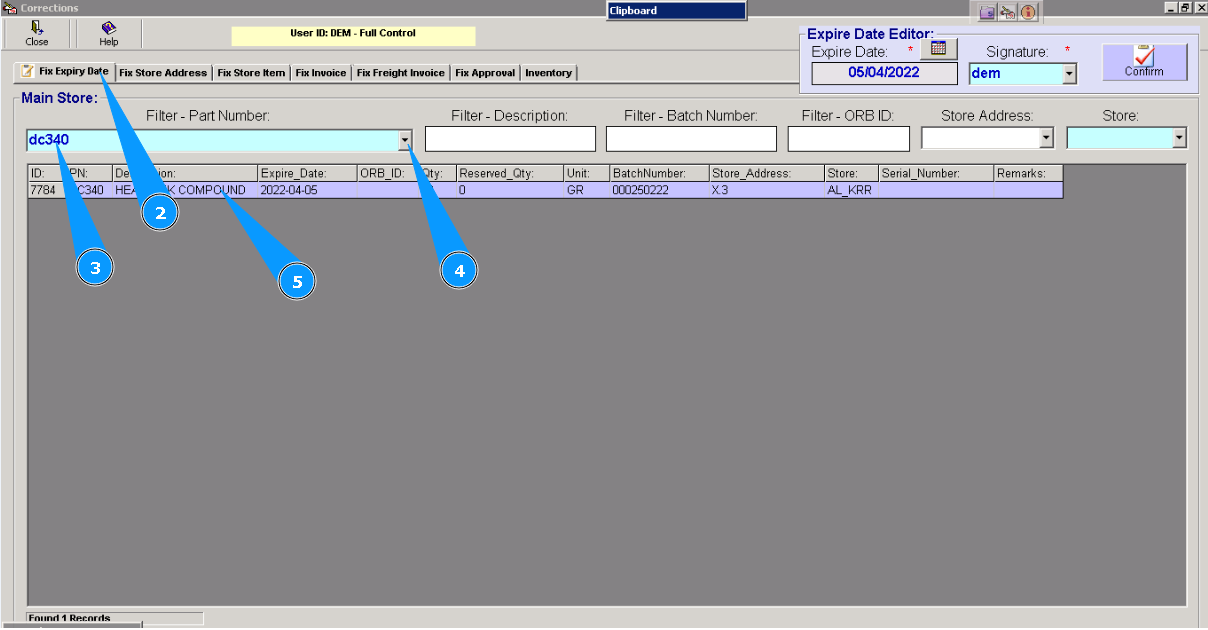
2. Then go to tab "Fix Expiry Date".
3. Enter part number of component in the searching field "Filter-Part Number" and press the knob "Enter" on your keyboard.
4. Or select from dropdown list.
5. Highlight necessary line with component which date should be changed.
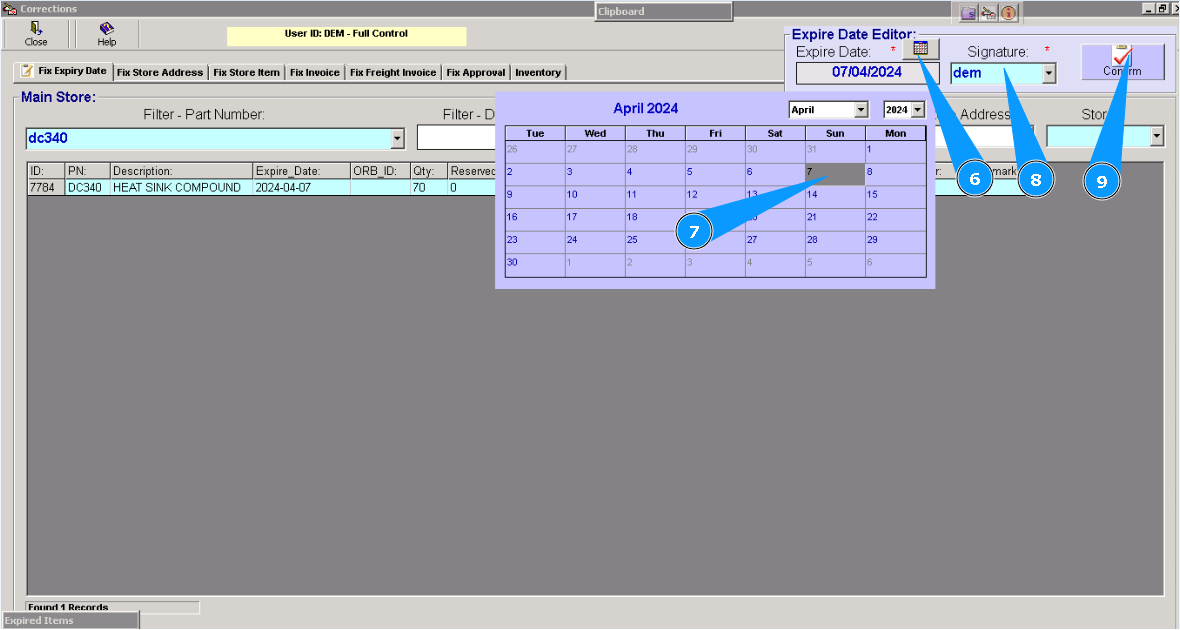
6. Click on the calendar symbol.
7. Select the relevant date.
8. Enter your login details from Alaskar.
9. Click on the "Confirm" button.
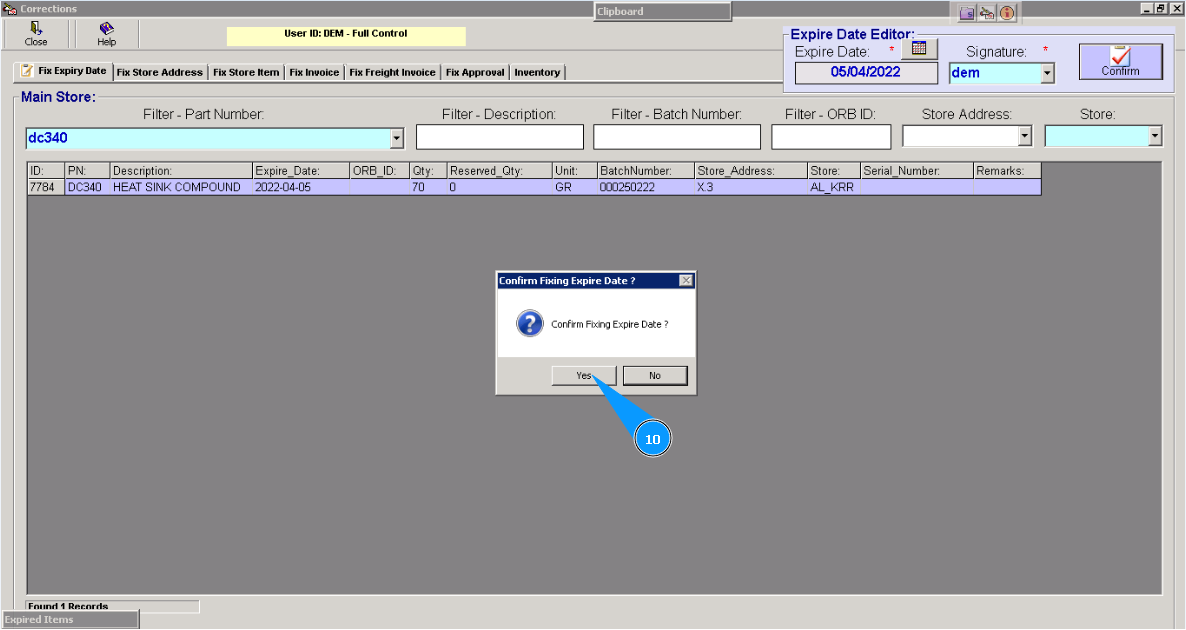
10. Click on the button "Yes", to confirm updating the new date.
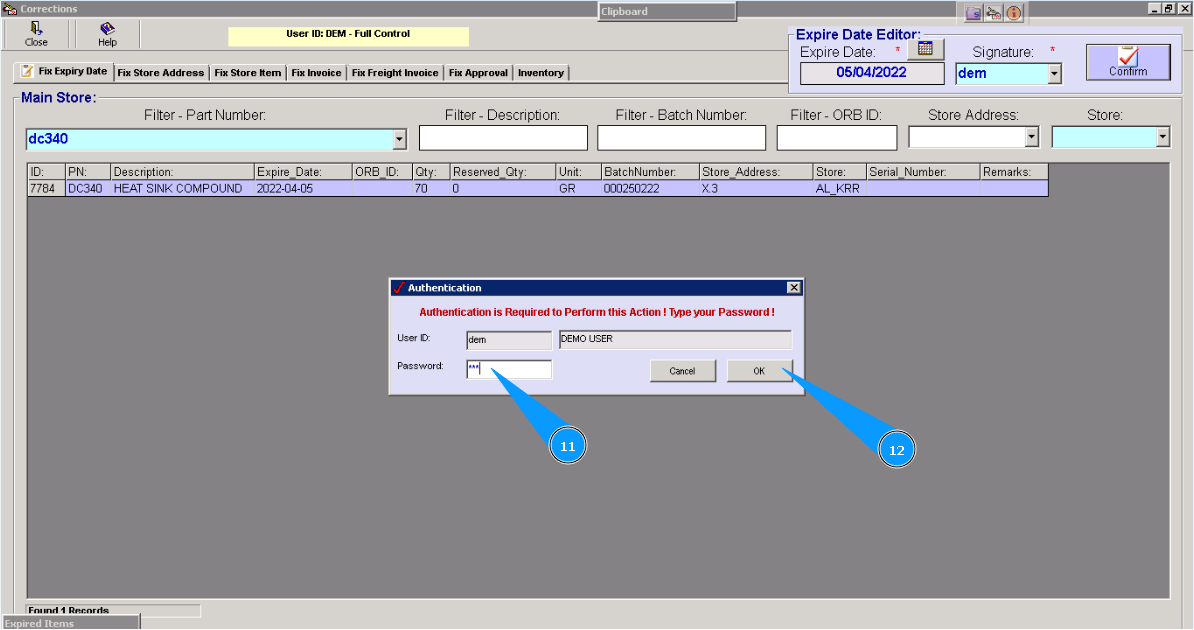
11. Enter your password for Alaskar.
12. Click on the button "OK".
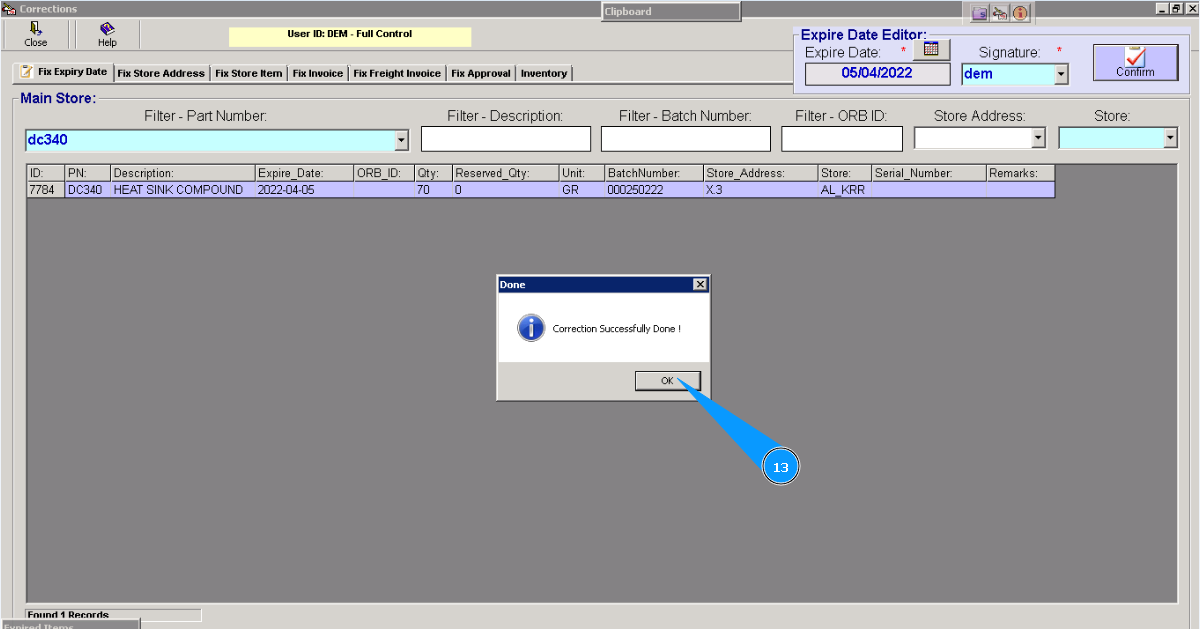
13. New expiry date is fully updated. Click on the button "OK".
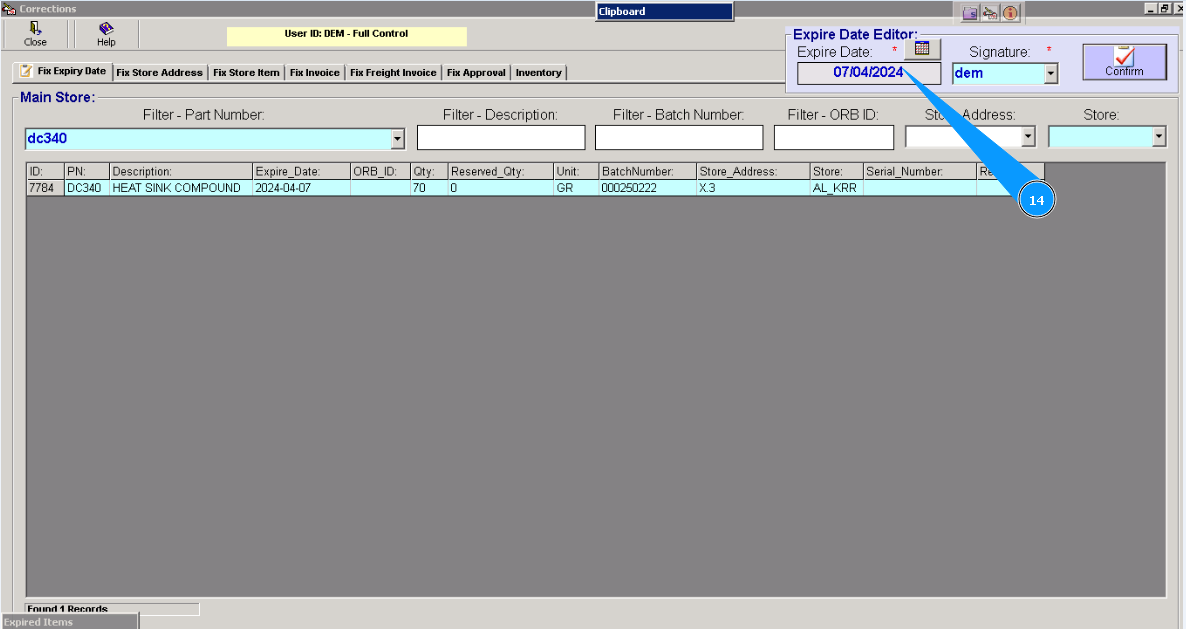
14. Check that the updated date is on the window named "Expire Date Editor".