How to create component assembly
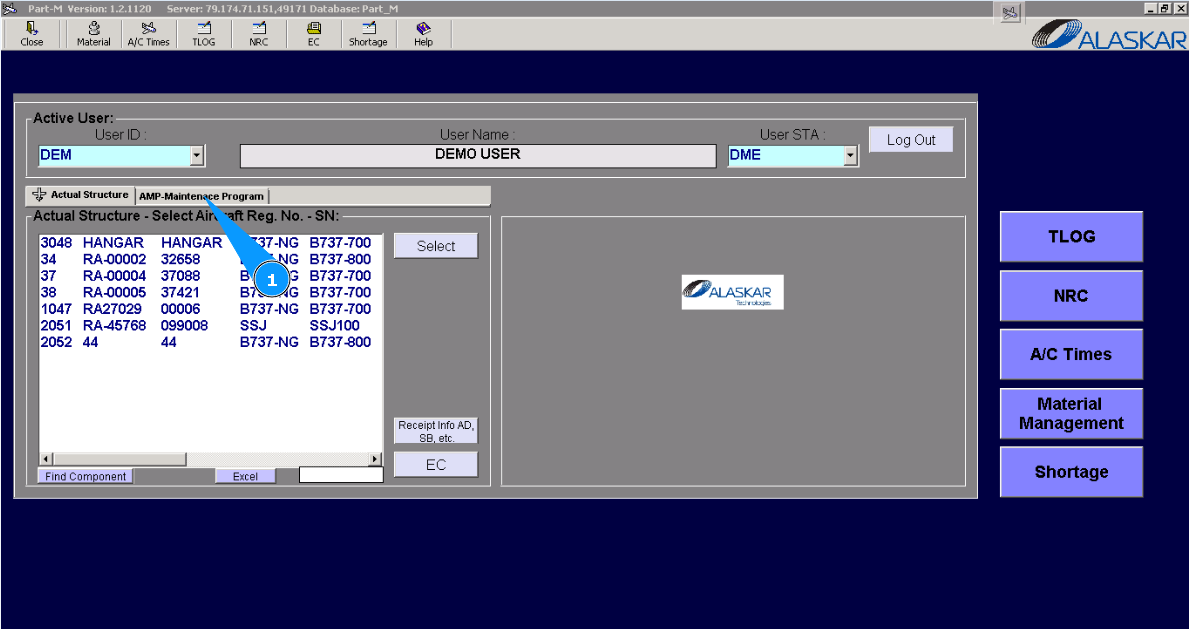
1. For creating a new component assembly, please go to the tab "AMP- Maintenance Program".
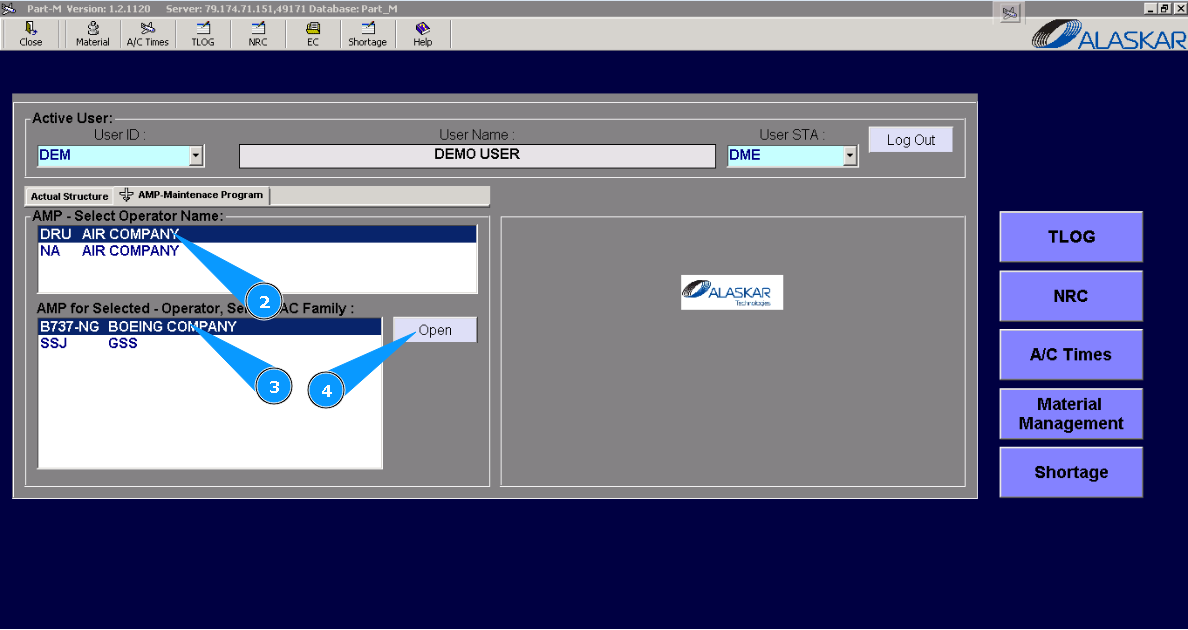
2. Select operator name in the list of window "AMP- Select Operator Name".
3. Select aircraft type in the list of window "AMP for Selected- Operator".
4. Click on the button "Open", to open the general menu of AMP.
5. Then go to the tab "AMP Pos Struct". Note: If necessary, you can use other search criteria in the fields: "Filter Description", "Filter Position ".
6. Enter the AIPC position number, which should be created as an assembly in the field "Filter IPC position" of the window "Positions" and click on the button "Enter" on your keyboard.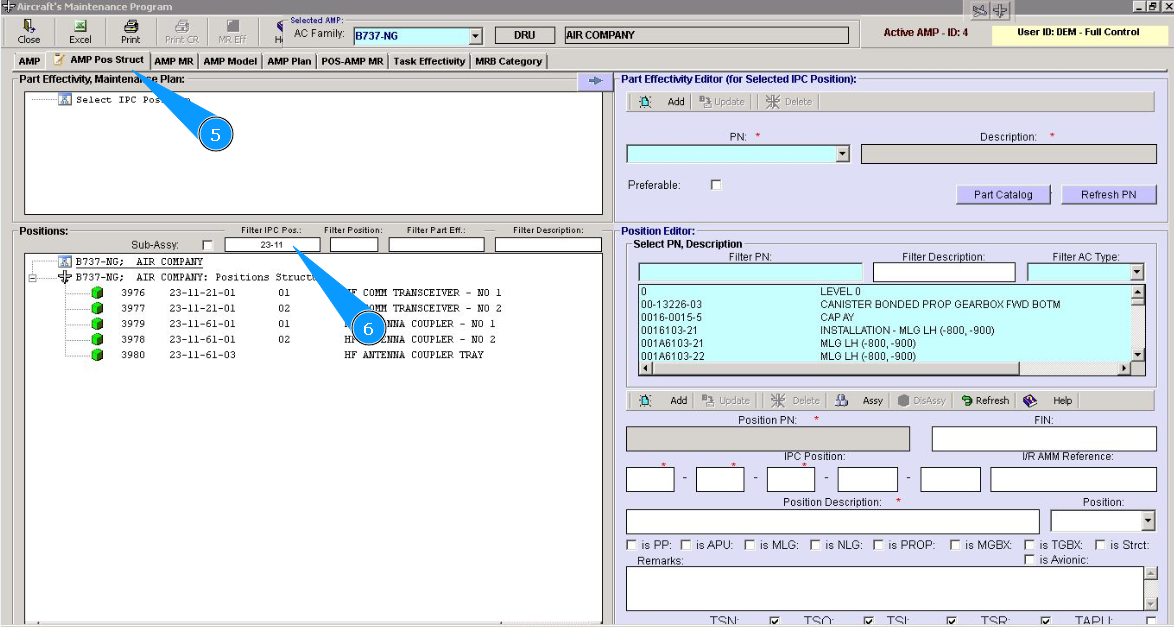
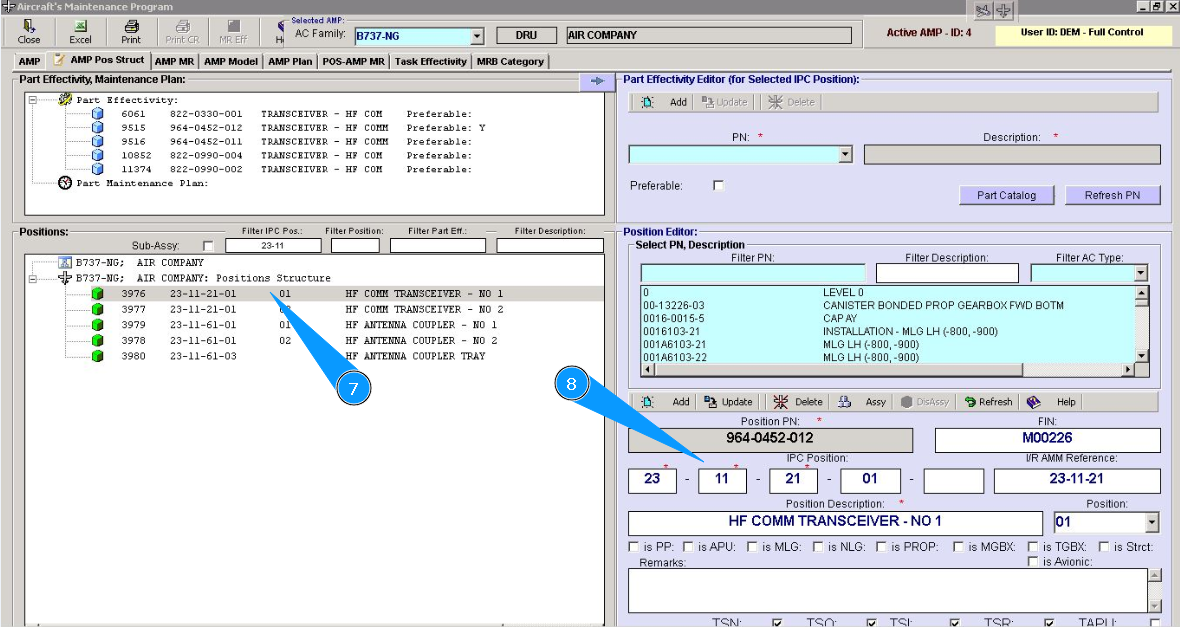
7. Select the required position from the list to do it as assy, click on the selected line in the window "Positions".
8. Check that the data for the selected position is displayed in the window "Position Editor".
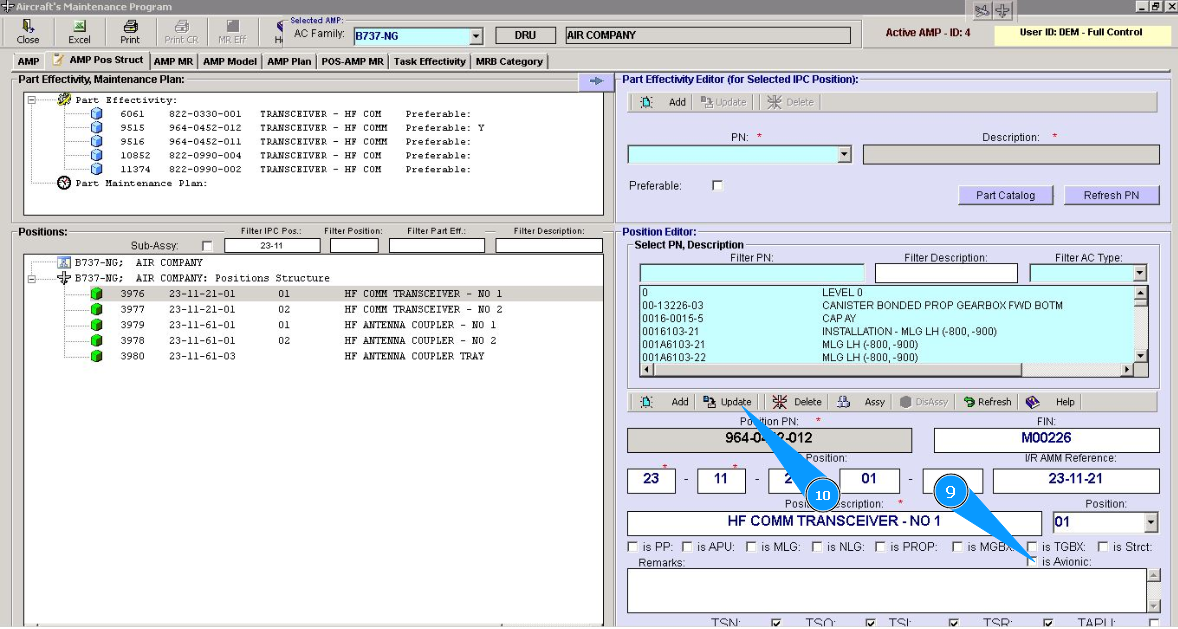
9. Select the assy criteria to which your created is related, click in the corresponding window.
10. Click on the button "Update", to add data to the program.
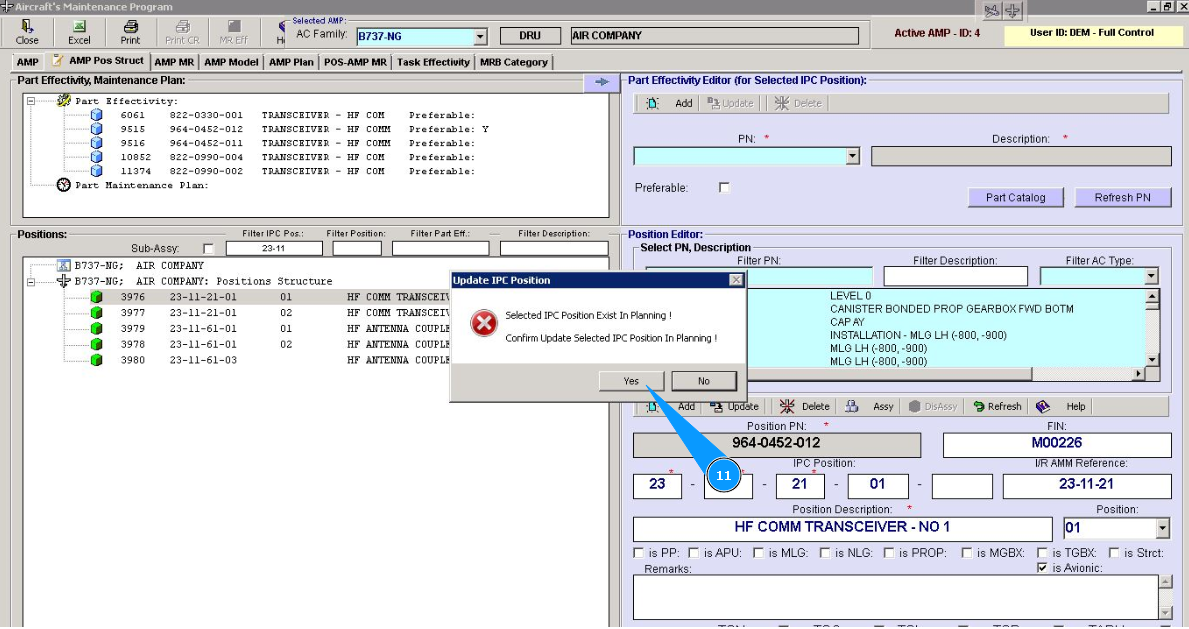
11. Click on the button "Yes", again, to confirm updating data in the planning module "Planing".
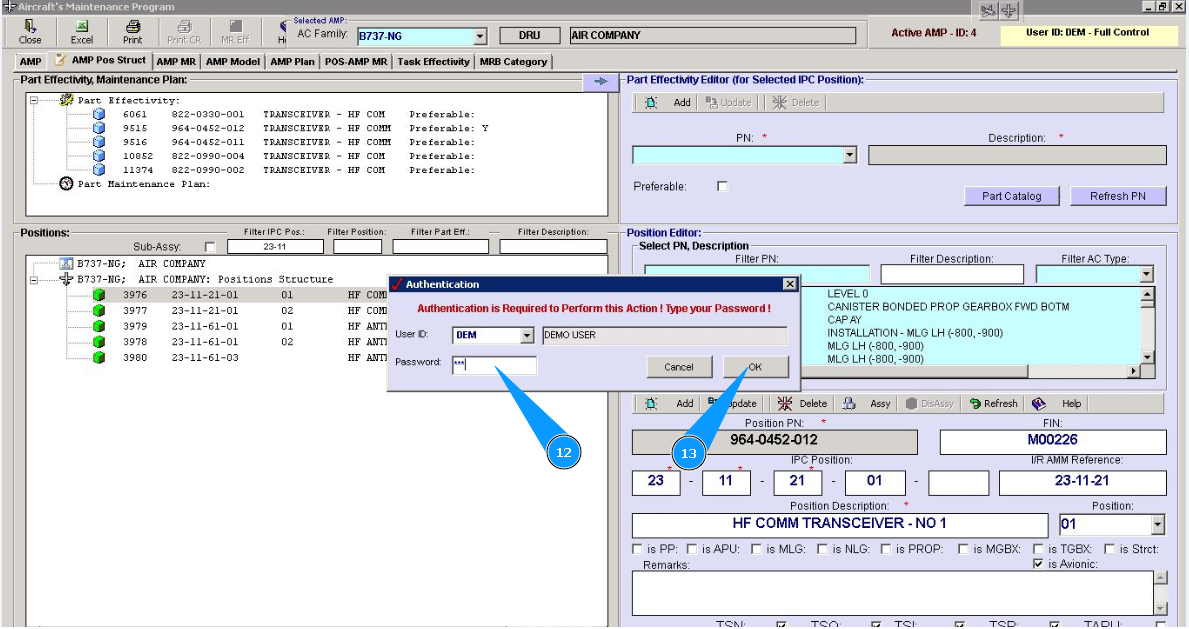
12. Enter a password from Alaskar in the field "Password".
13. Click on the button "Ok", to save data to the program.
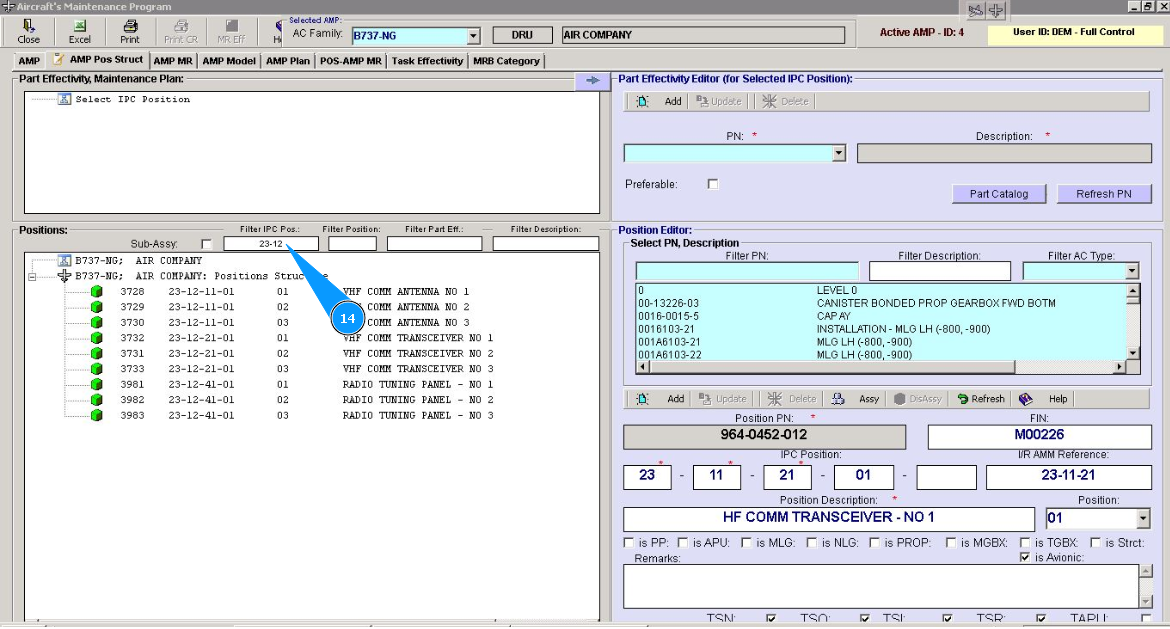
14. Enter the AIPC position number, which should be added to assy in the field "Filter IPC position" of the window "Positions" and click on the button "Enter" on your keyboard.
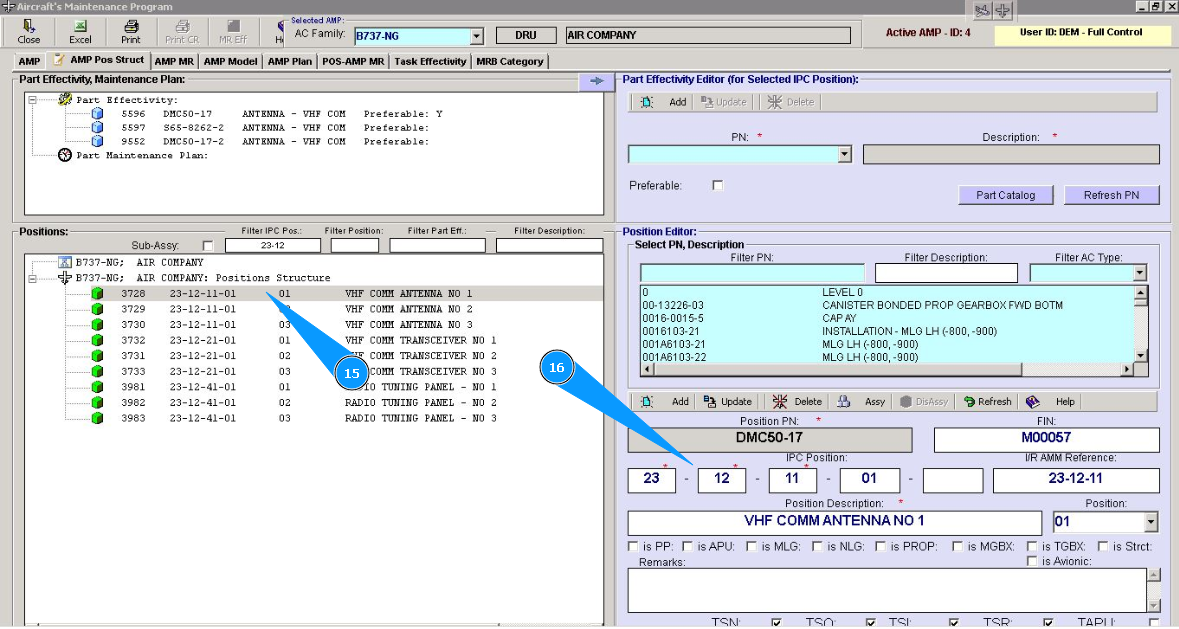
15. Select the required position from the list and click on the selected line in the window "Positions".
16. Check that data for selected position is displayed in the window "Position Editor".
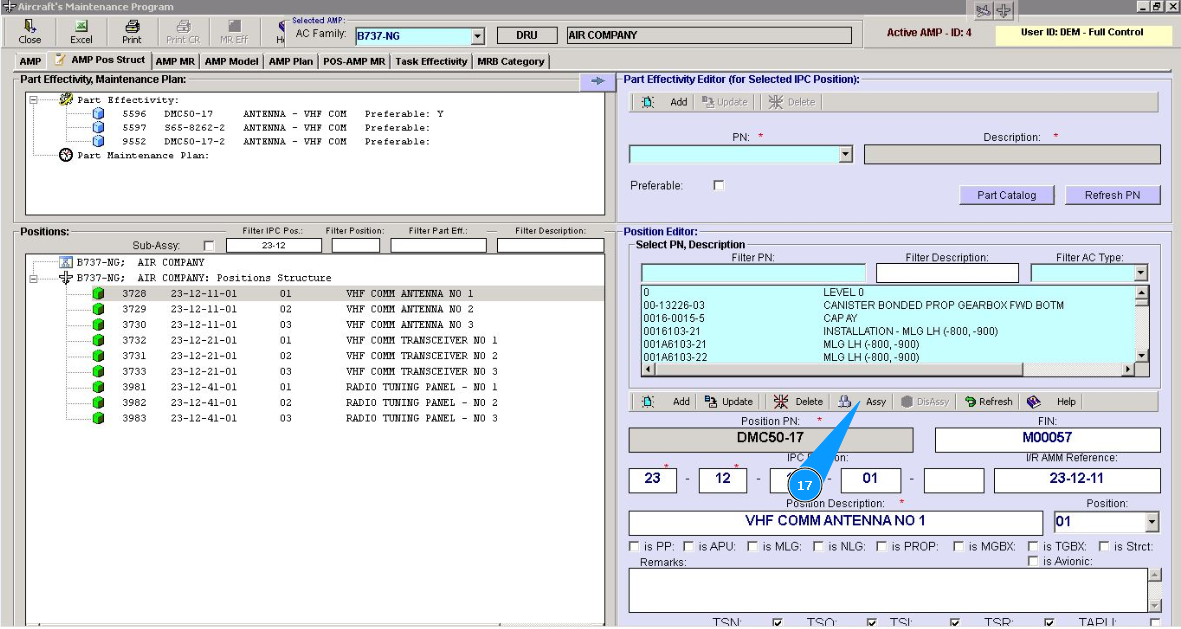
17. Click on the button "Assy", to start adding process.
18. If assembly is creating for the first time, it is required to click in the field "No Assy". Note: If assembly was created earlier, click in the field "Major Assy" and select the required assembly from the list. Click on the required line, and then click on the button "Add".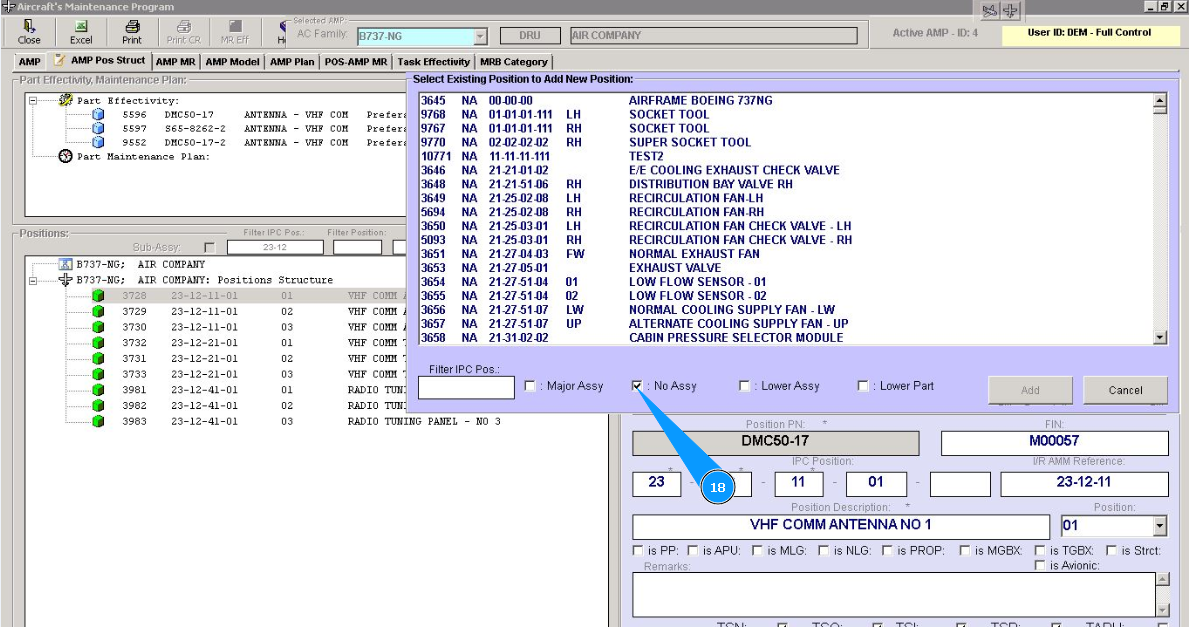
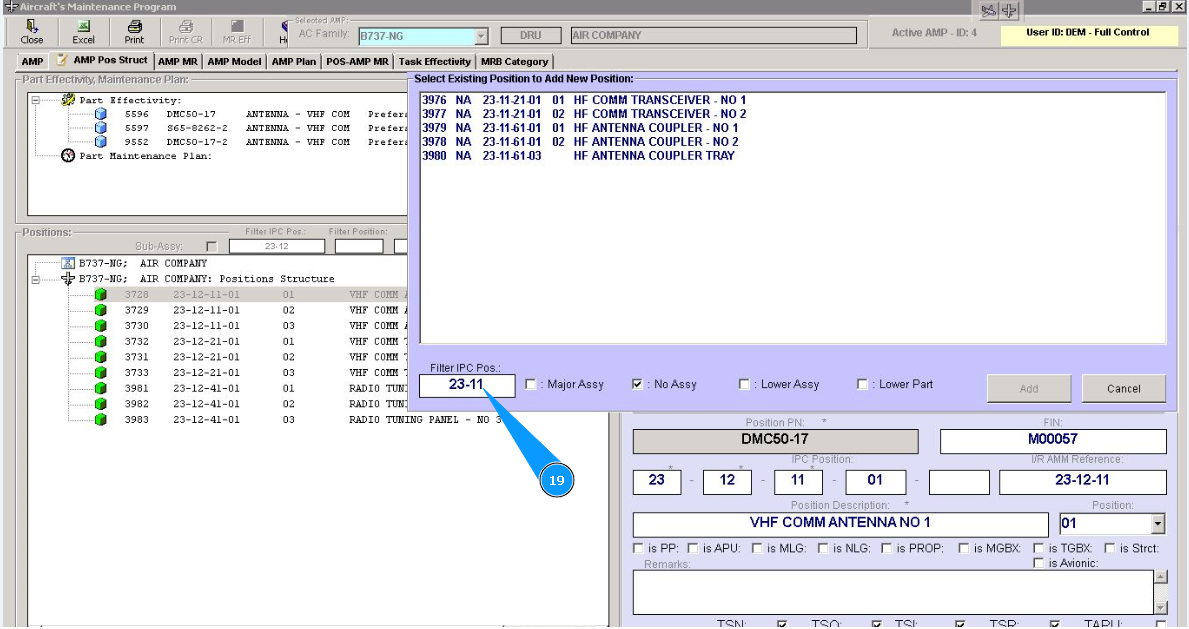
19. Enter AIPC position number, which is top assy and click on the button "Enter" on your keyboard.
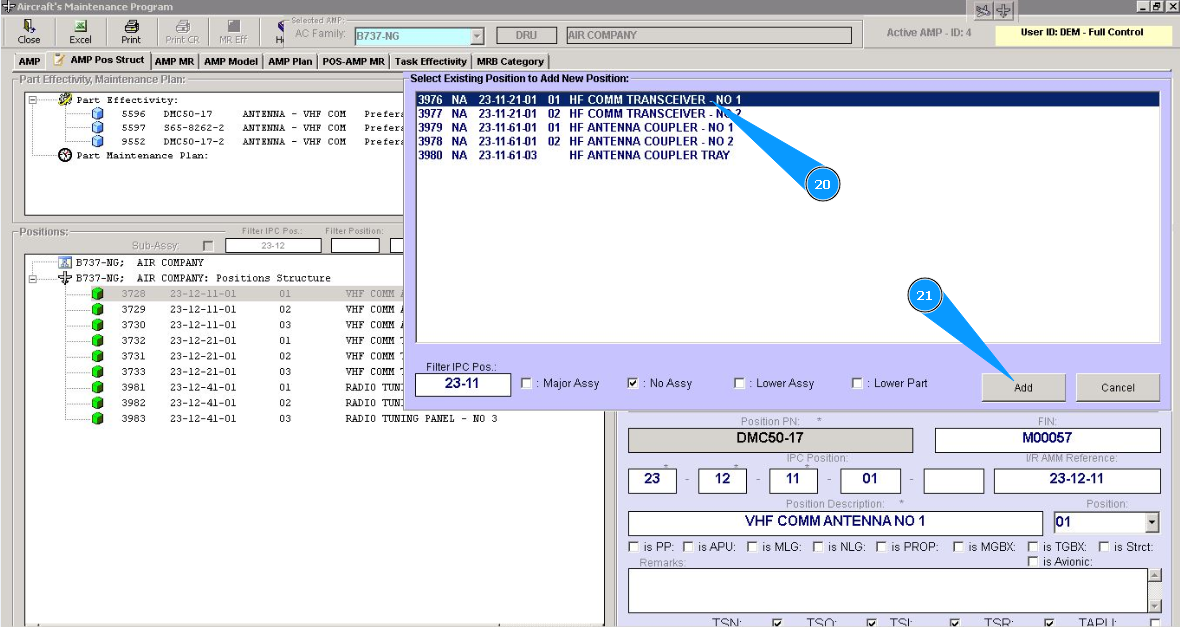
20. Or select the required assy from the list and click on the corresponding line.
21. Click on the button "Add".
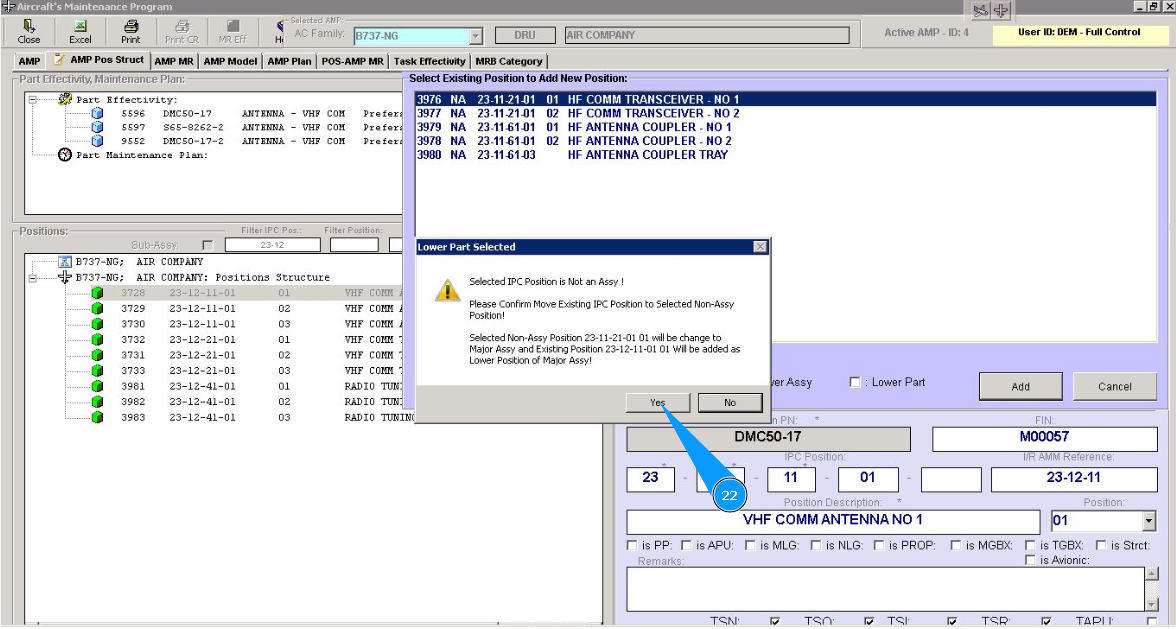
22. Click on the button "Yes", to confirm adding to assy.
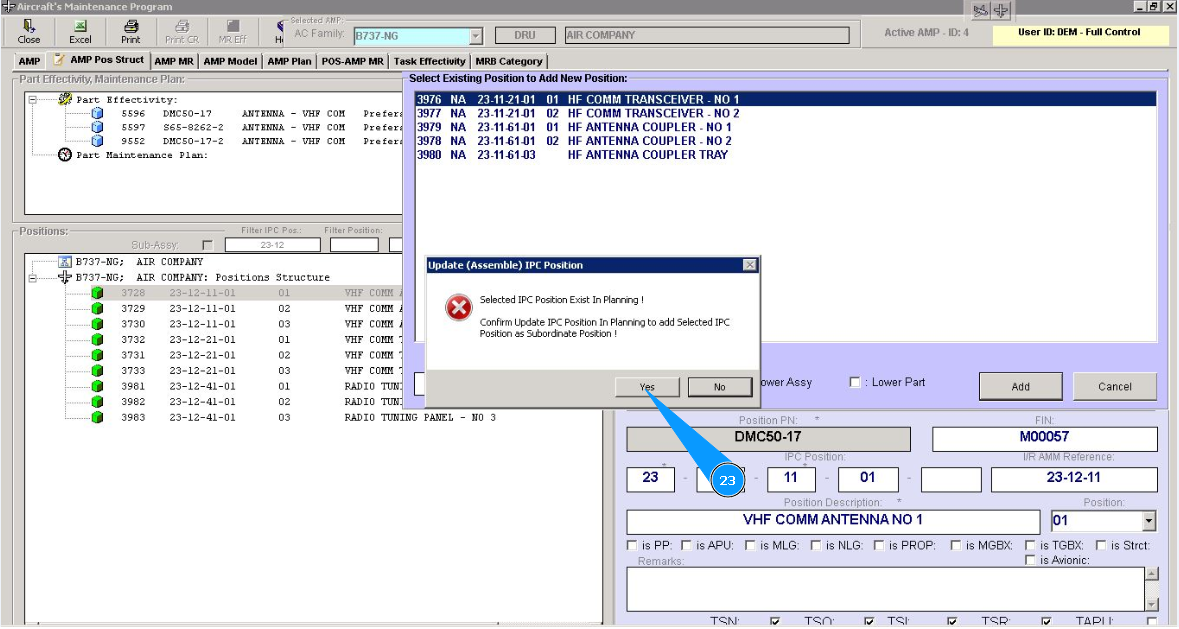
23. Click on the button "Yes", again, to confirm updating data in the planning module "Planing".
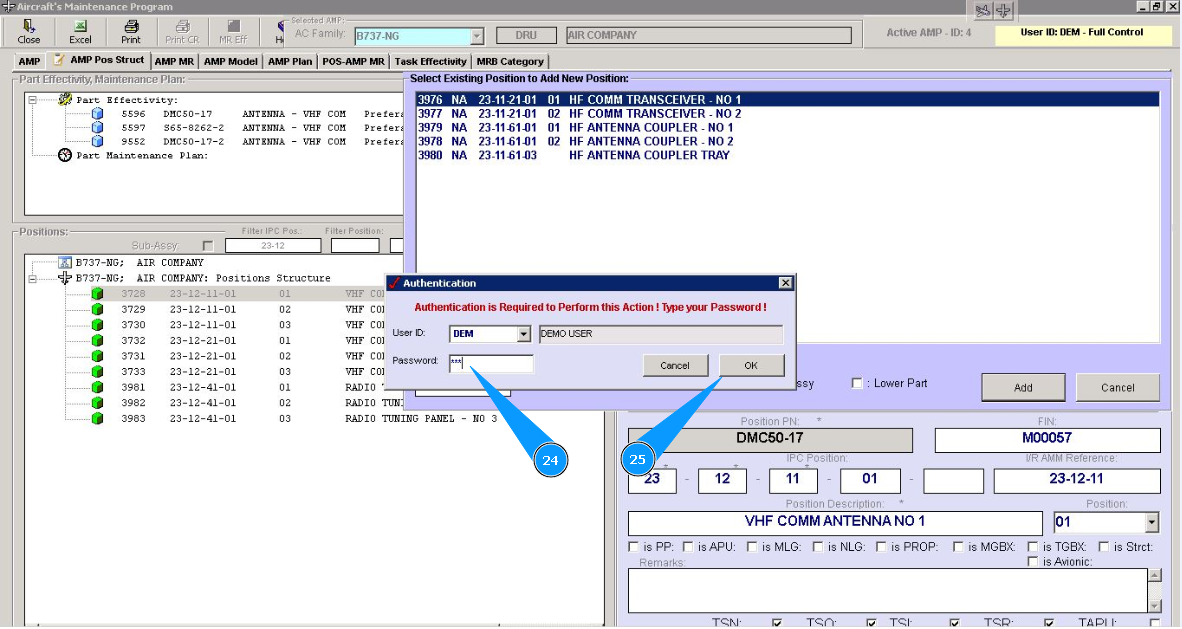
24. Enter a password from Alaskar in the field "Password".
25. Click on the button "Ok", to save data to the program.
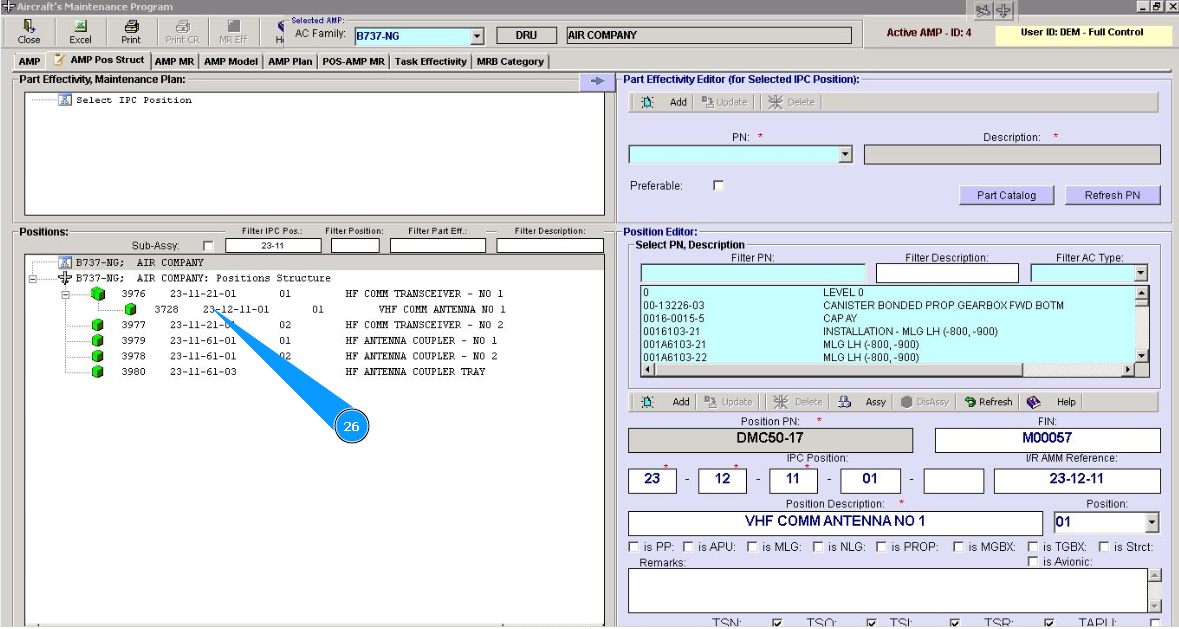
26. Check that corresponding assy was created and is displayed in the window "Positions".