How to close WP with component replacement
Note: For Work package closing with component replacement, it should be in condition "Executed.
1. For Work package closing with component replacement, please go to submodule "Actual Structure".
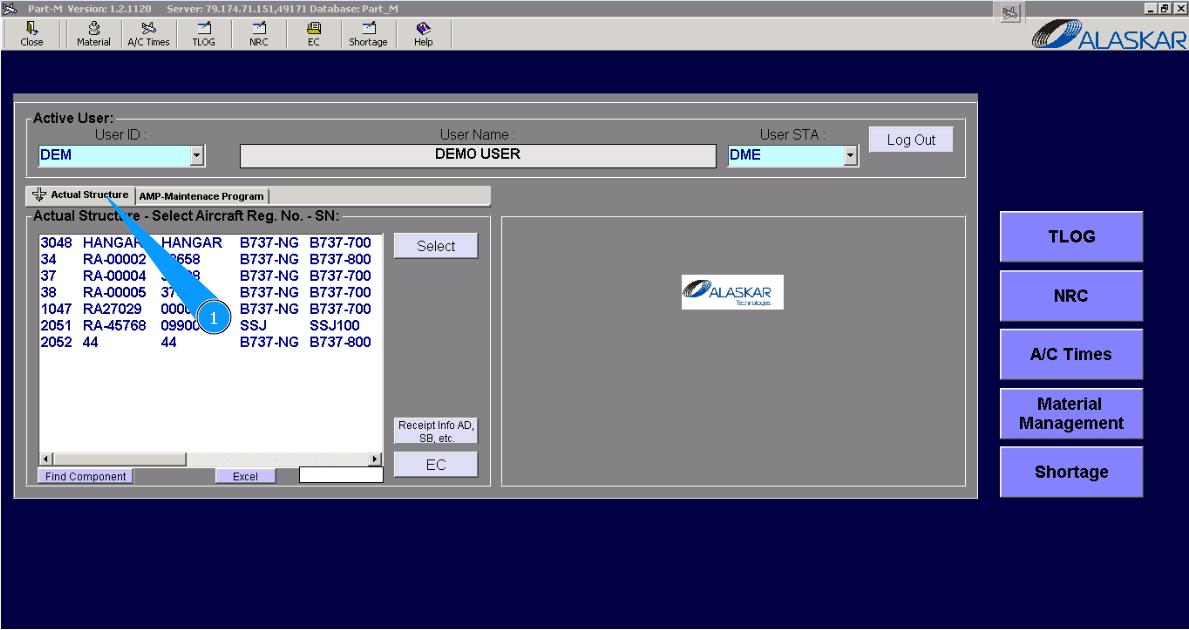
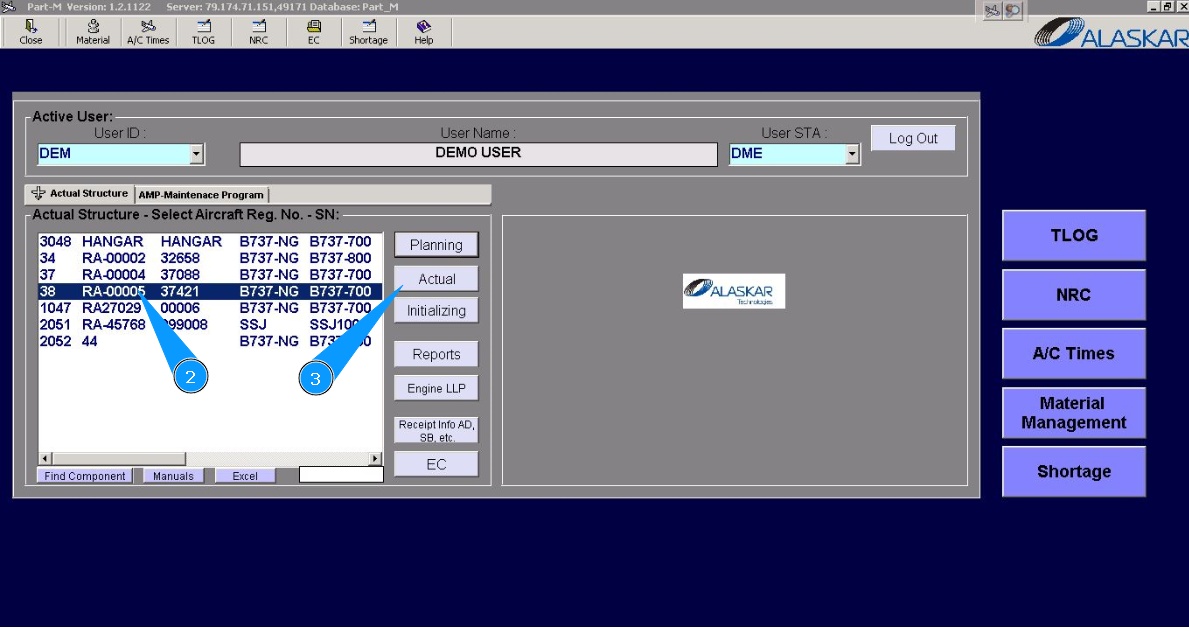
2. Enter the aircraft registration number in the list of window "Actual Structure-Select Aircraft Reg.-SN".
3. Click on the button "Actual", to open submodule.
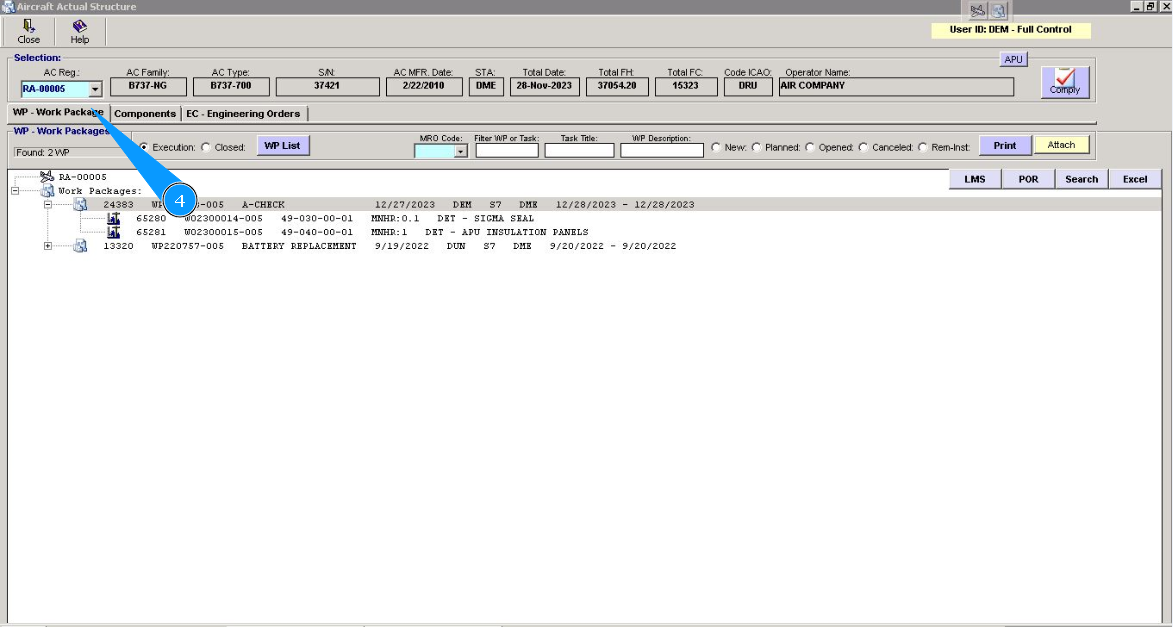
4. Then, go to the tab "WP-Work package".
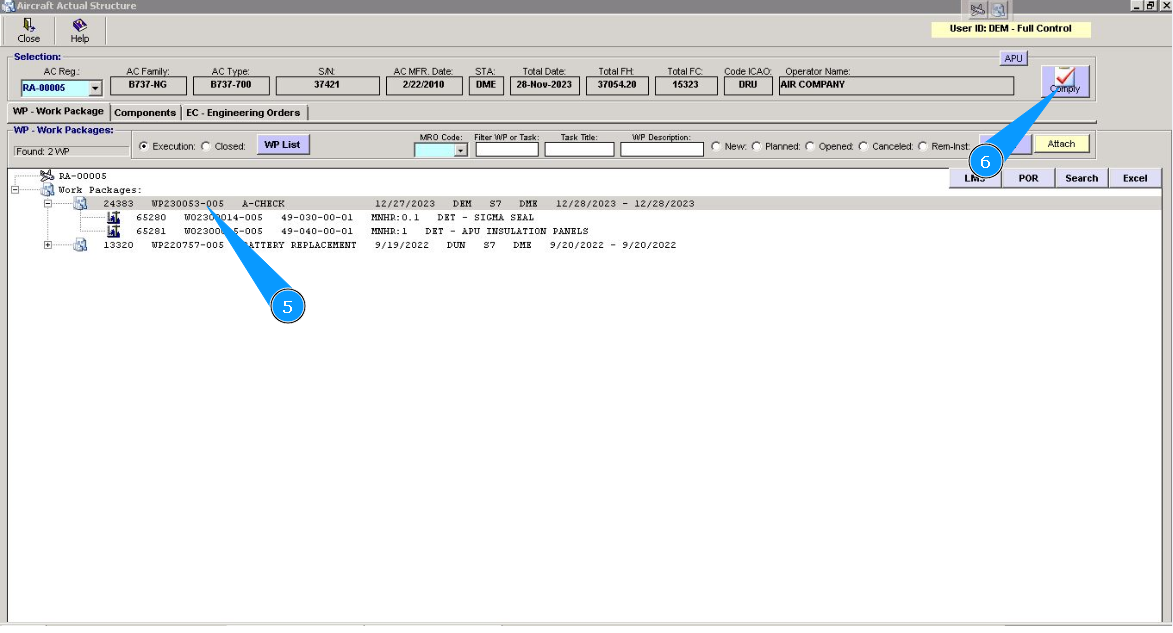
5. Select the necessary WP, highlight on the corresponding line.
6. Click on the button "Comply", to start the process of WP closing.
7. Select a line with a component that should be replaced and highlight the corresponding line. Note: For hardtime components, if it is necessary to update treatment only, tick in the window "Treatment Update".
8. Enter Alaskar login in the field "Mechanic ID" or select from dropdown list.
9. Tick in the window "Replacement".
10. Click on the button "Comply".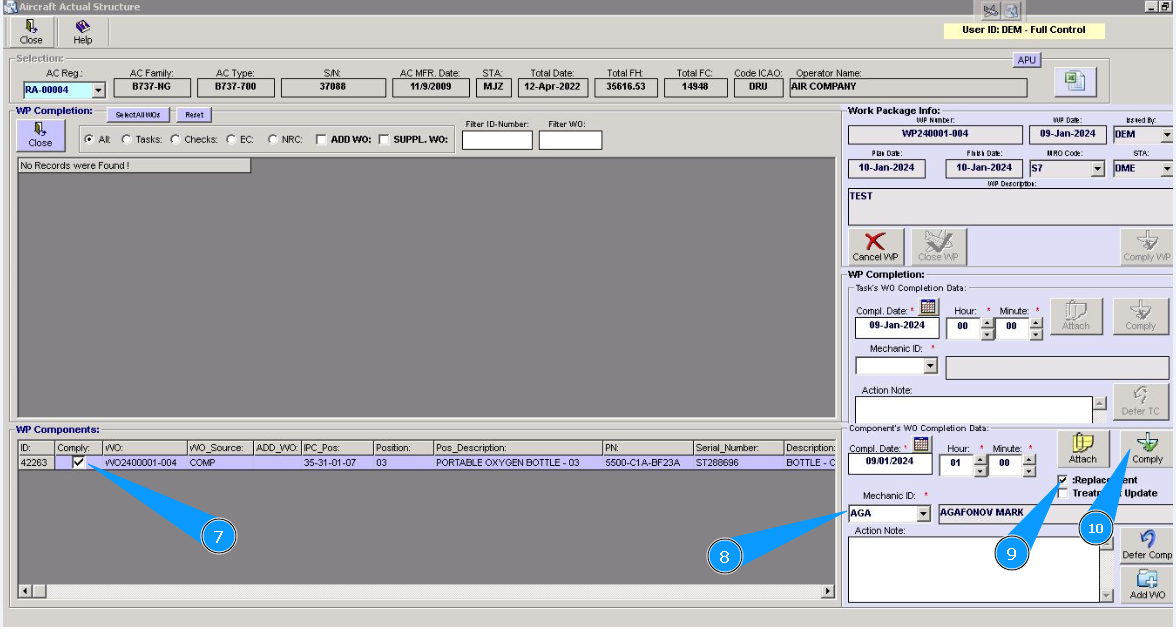
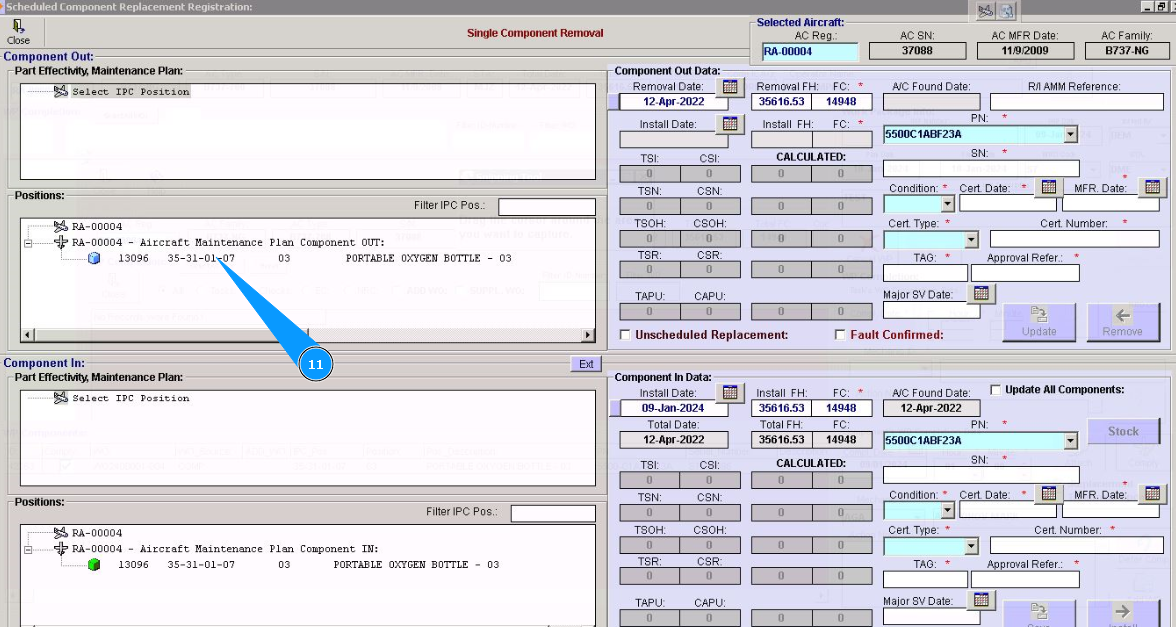
11. Click on the line of component in the window "Component Out".
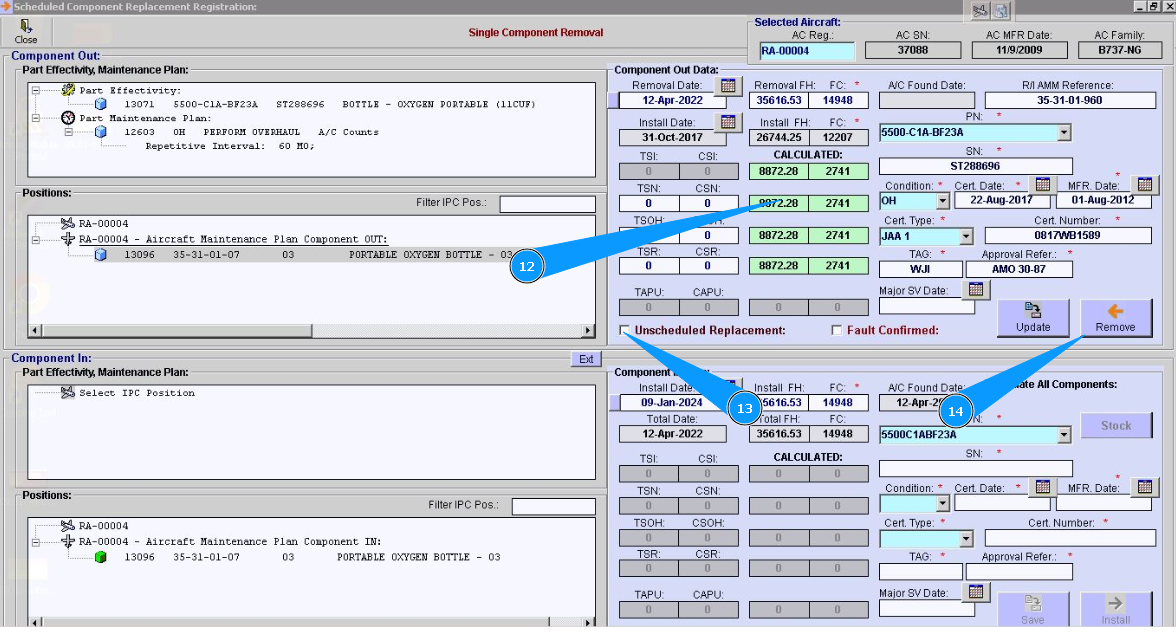
12. Highlight in the window "Unscheduled Replacement", if component replacement is performed under failure fixing.
13. Check that the data for the selected position of component is presented in the window "Component Out Data".
14. Click on the button "Remove".
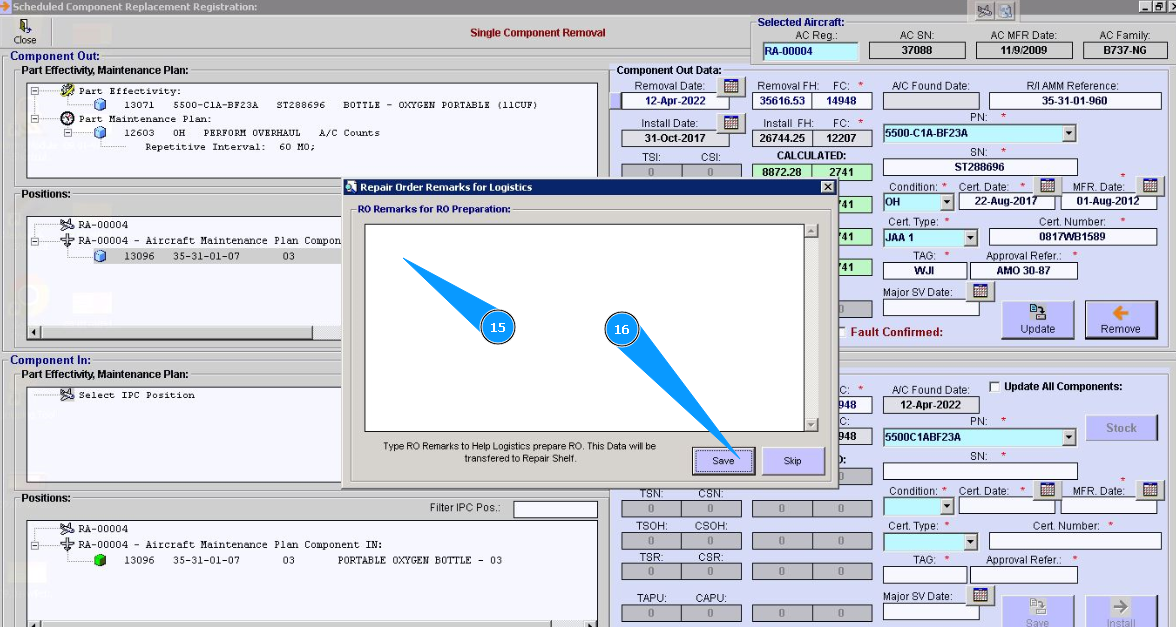
15. Enter additional information about removing and repairing order preparation, if necessary, in the window "Repair Remarks for RO preparation".
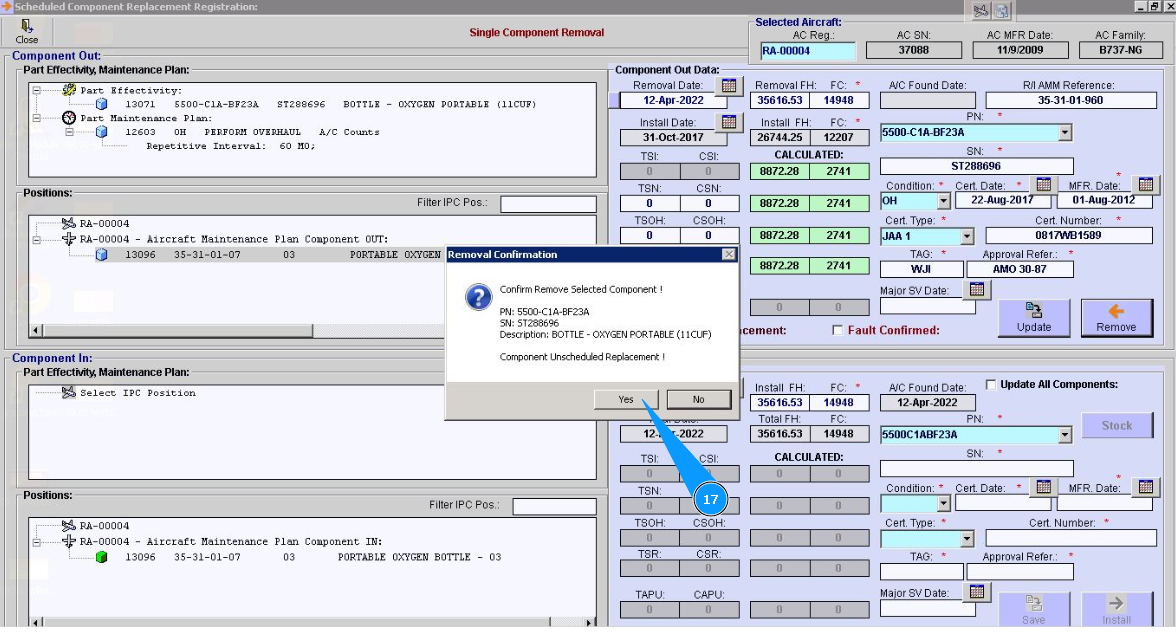
16. Click on the button "Save".
17. Click on the button "Yes", to confirm component removal from this position.
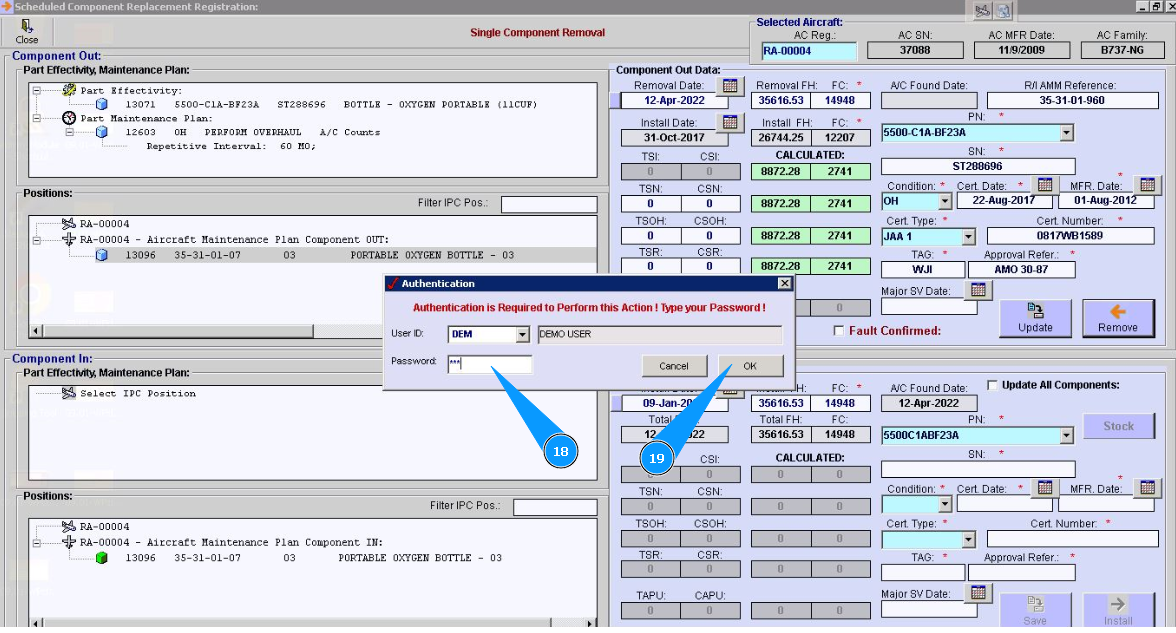
18. Enter Alaskar password in the field "Password".
19. Click on the button **"Ok" to save the component to the program.
20. Check that the symbol for the selected component line is changed to an arrow in the window "Component Out".
21. Click on the line for the component in the window "Component In".

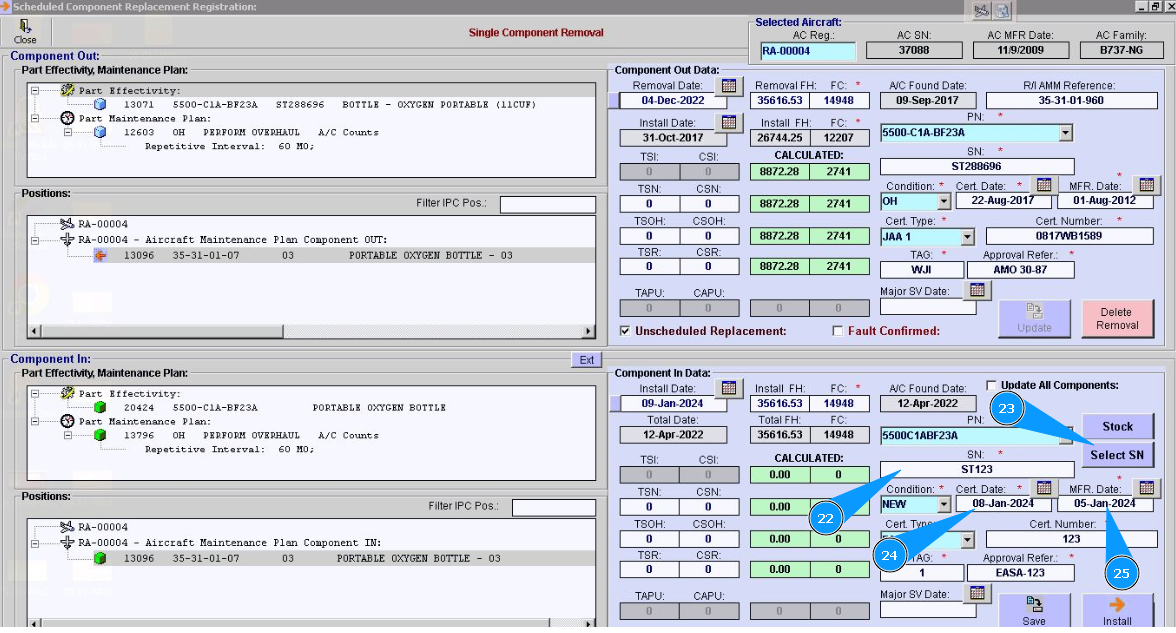
22. Enter the serial number of the component that should be installed in the field "SN".
23. Or select an existing serial number in the field "Stock" or "Select SN".
24. Enter the certification date of the component or select it in the calendar of the field "Cert.Date".
25. Enter the manufactured date of the component or select in the calendar of the field "Mfr.Date".
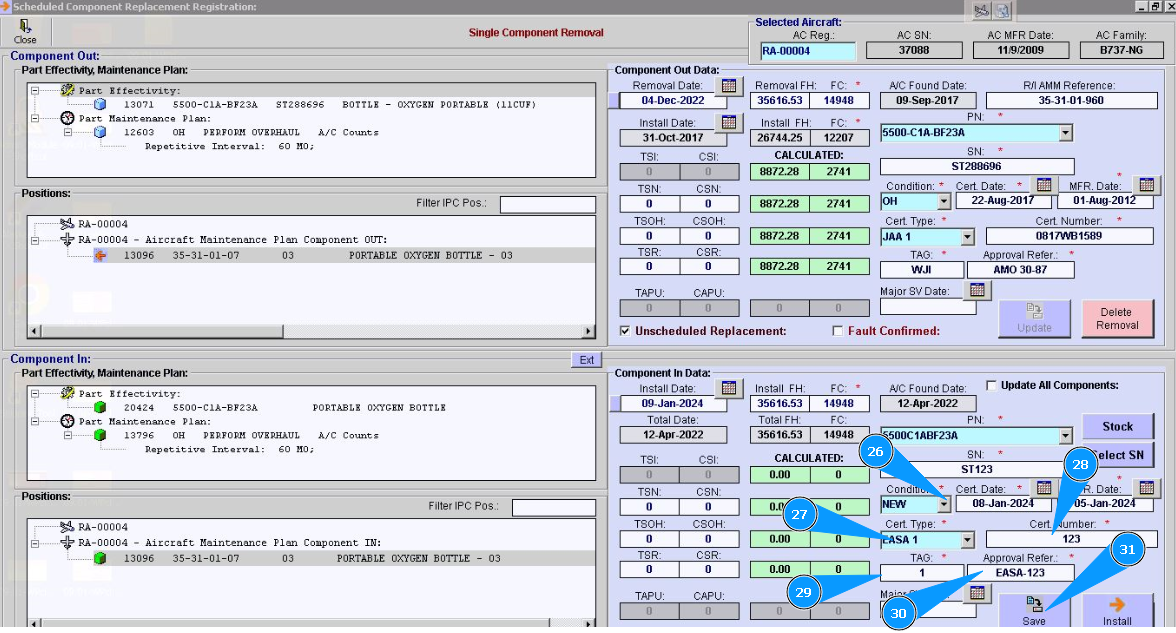
26. Select from dropdown list component conditions in the field "Condition".
27. Select from dropdown list certificate types in the field "Cert.Type".
28. Enter the certificate number in the field "Cert.Number".
29. Enter a tag number in the field "Tag".
30. Enter the organization's approval number in the field "Approval Refer".
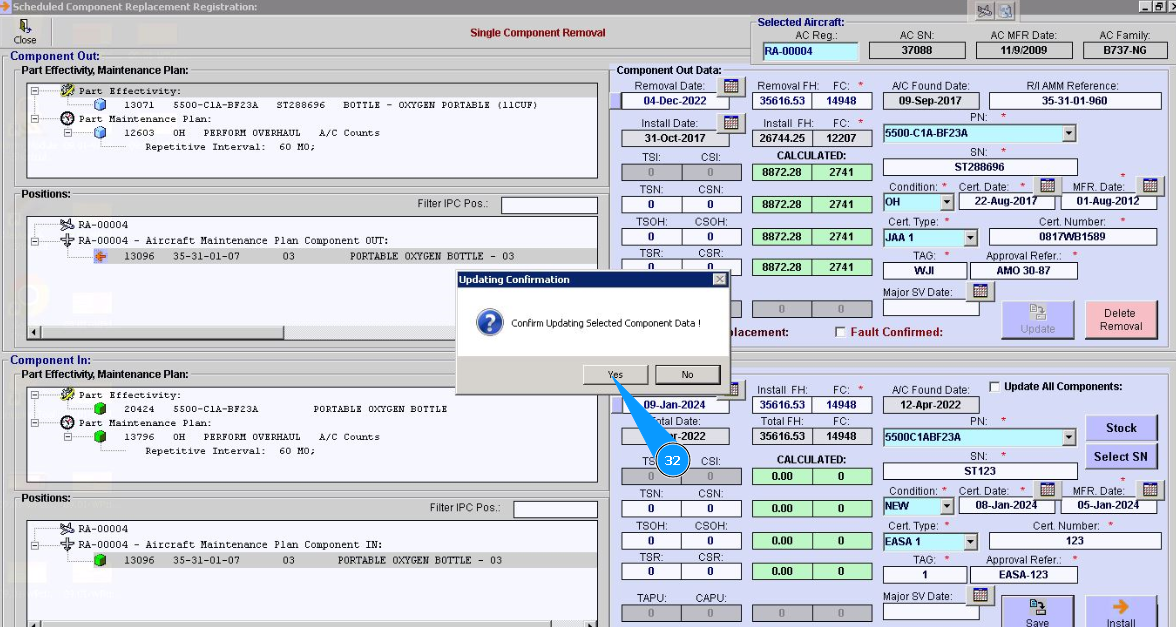
31. Click on the button "Save".
32. Click on the button **"Yes" to save the data of the component to the program.
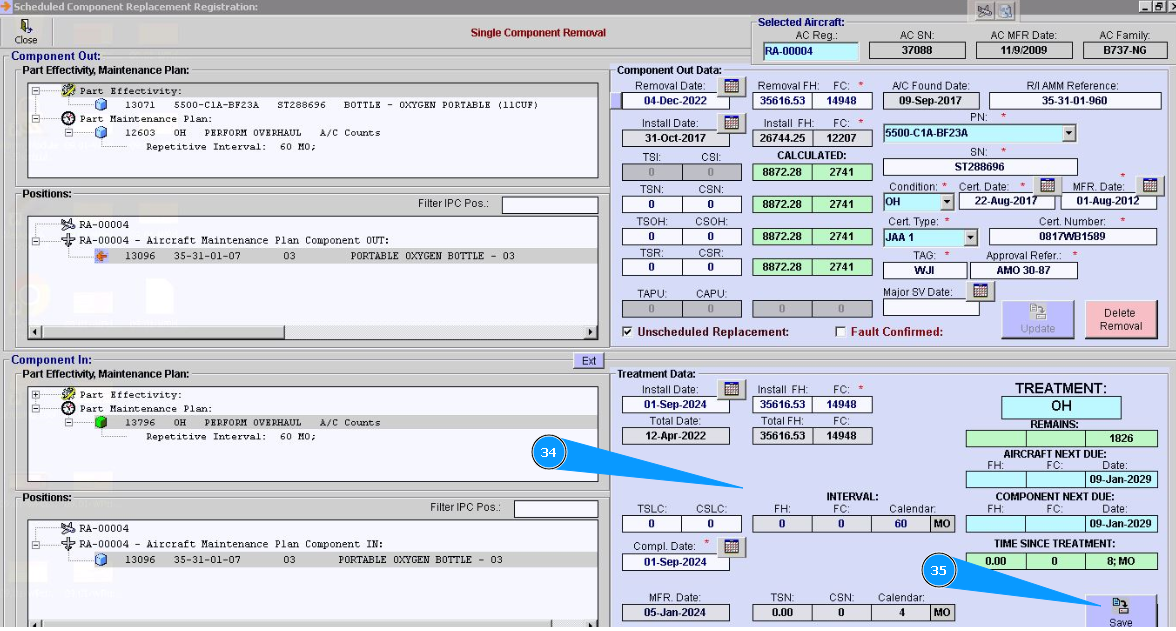
33. Click on the corresponding line of treatment, in the window "Component In". Note: Repeat items from 33 to 35 for all lines with treatments.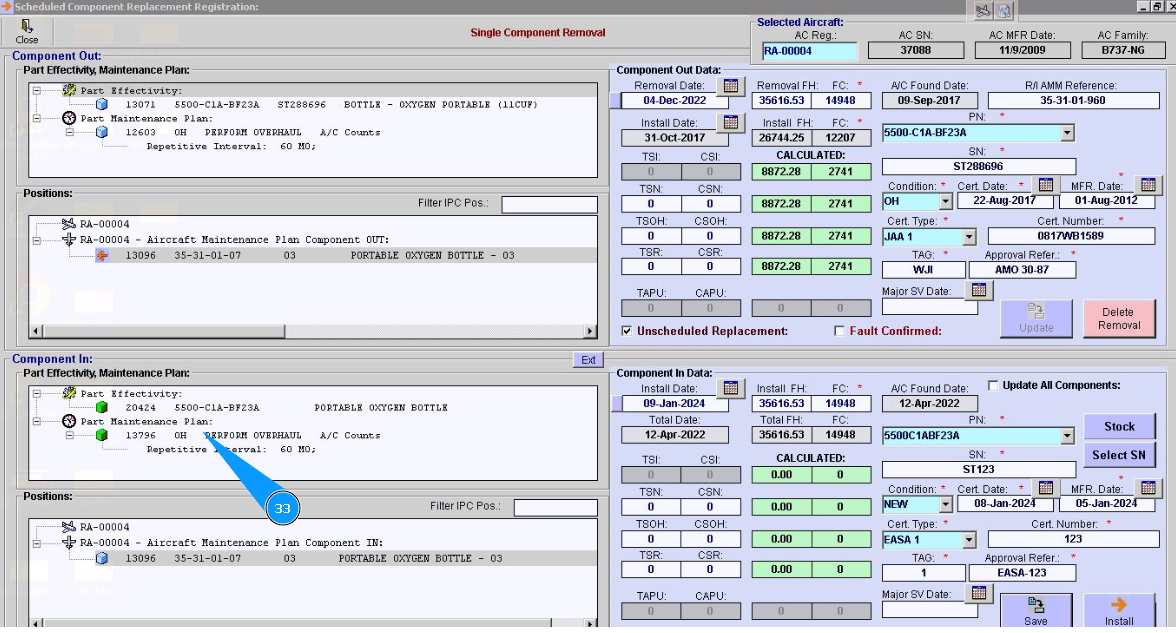
34. Enter the necessary changed data in the window "Treatment Data".
35. Click on the button "Save".
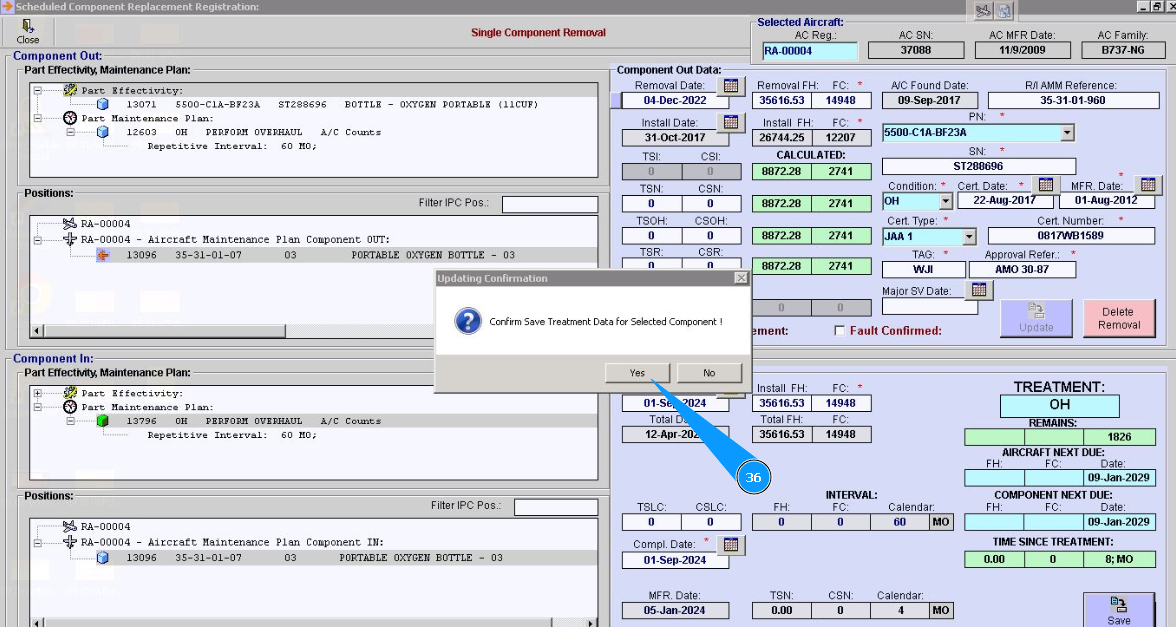
36. Click on the button **"Yes" to save the data of the component to the program.
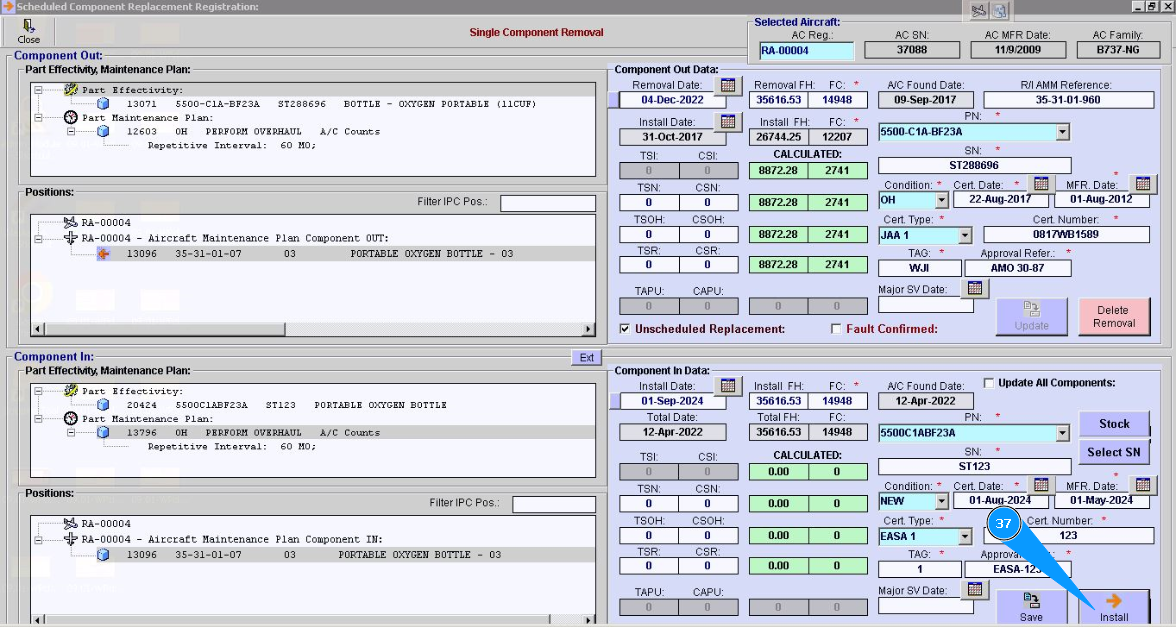
 37. Click on the button "Install", to install the component on board.
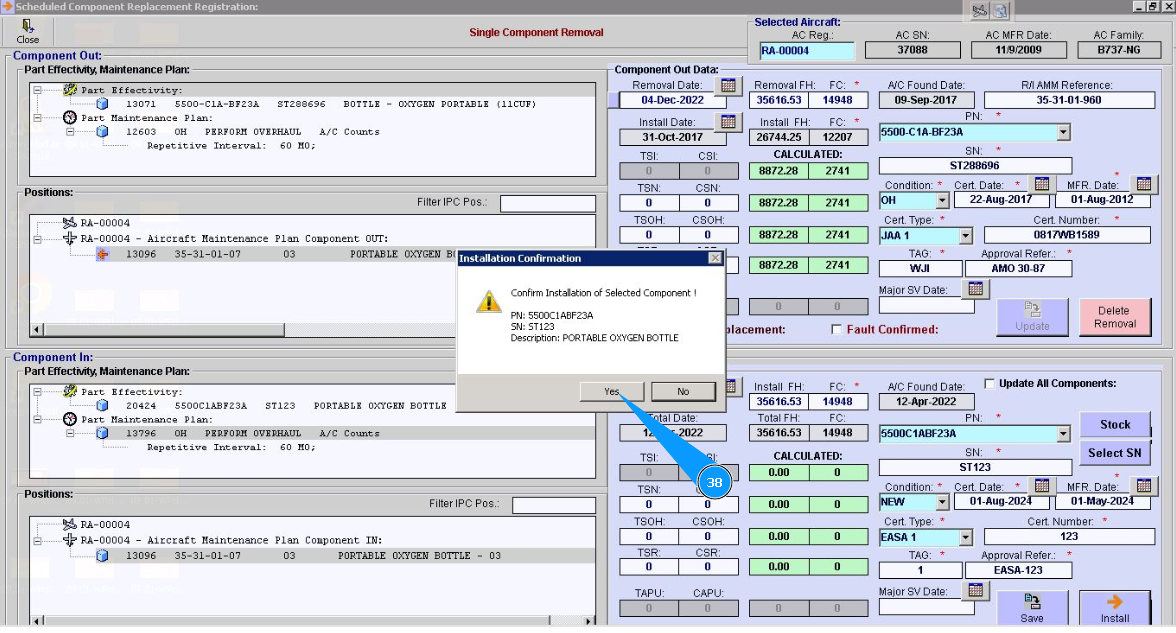
 38. Click on the button "Yes", for confirmation of component installation.
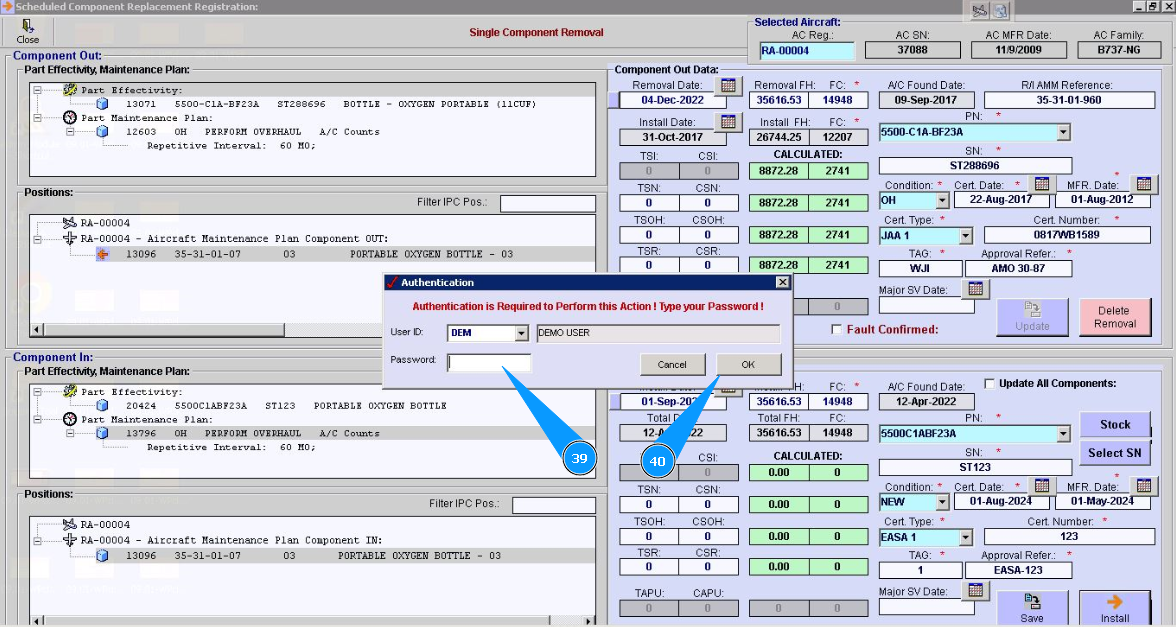
39. Enter Alaskar password in the field "Password".
40. Click on the button **"Ok" to save the component installation to the program.
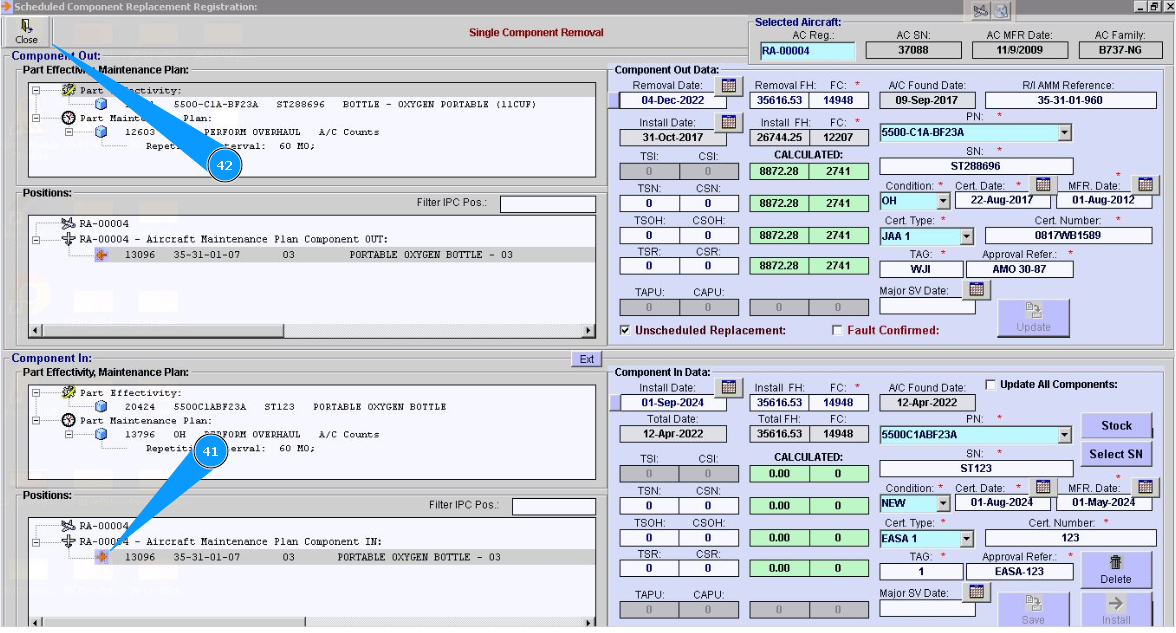
 41. Check that symbol for selected position of component is changed to arrow in the window "Component In".
42. Click on the button "Close", to exit from the component replacement editor.
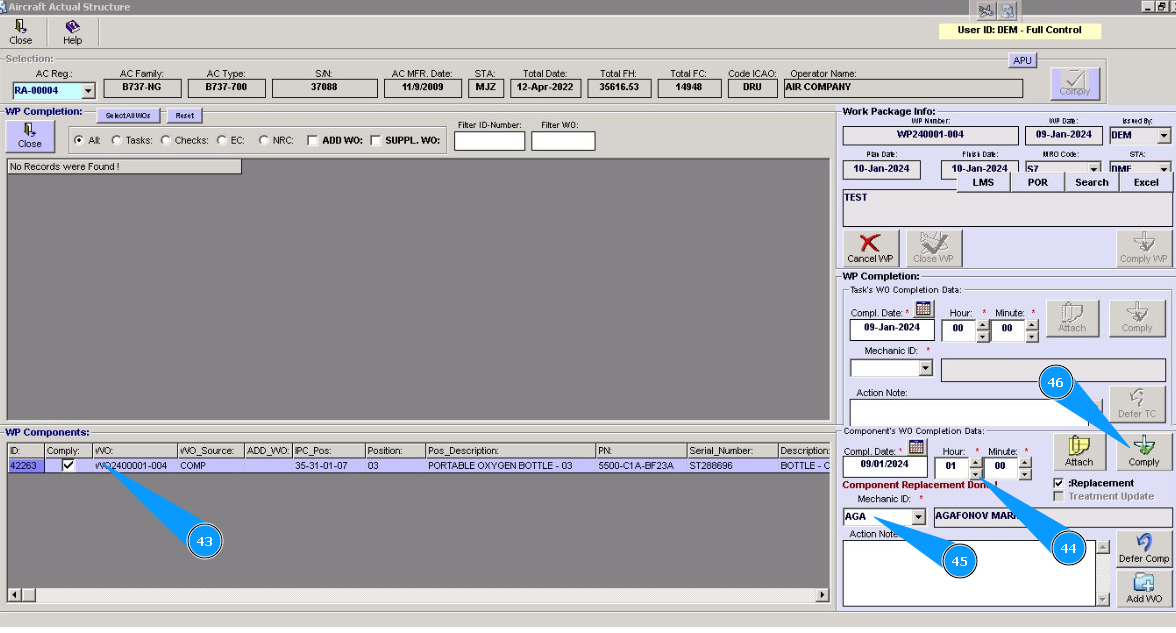
43. Click on the line of component in the window "Components WP".
44. Enter WP completion timely UTC in the fields "Hour" and "Minute".
45. Enter Alaskar login for mechanics in the field "Mechanic ID" or select from the dropdown list.
46. Click on the button "Comply".
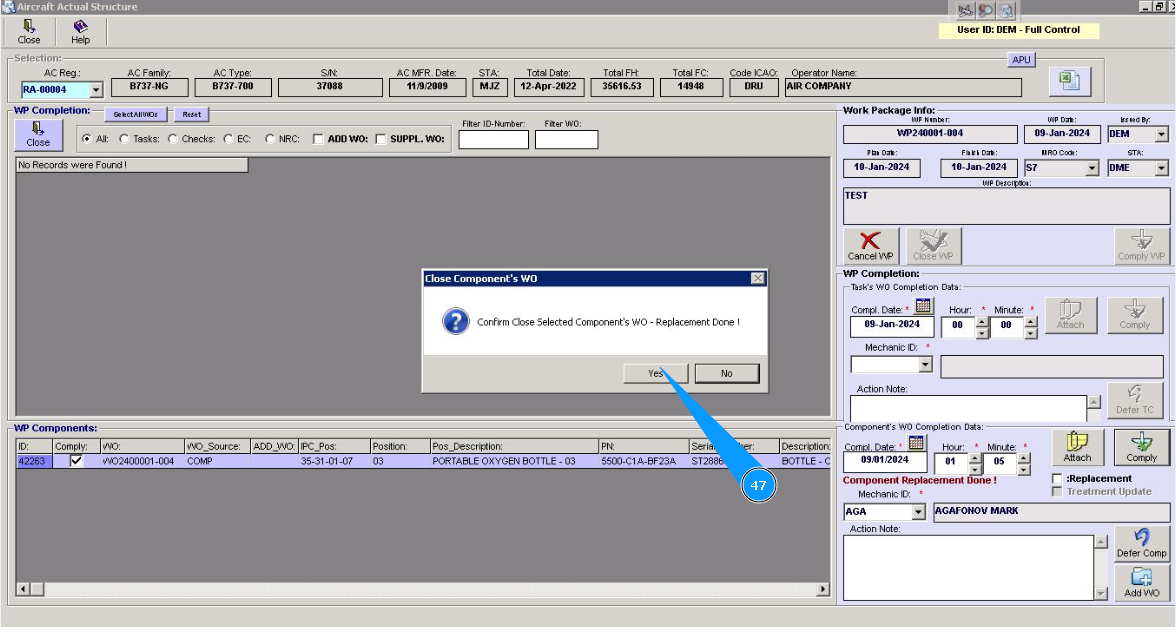
 47. Click on the button "Yes". Replacement is well done.
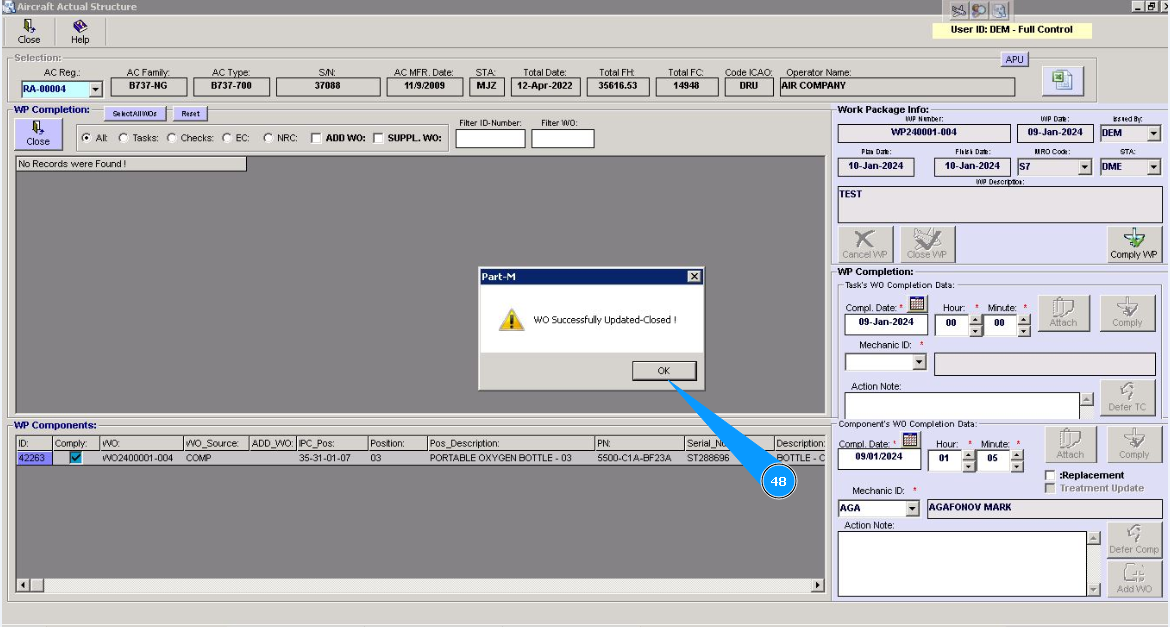
 48. Click on the button **"Ok" to go to the process of WP closing.
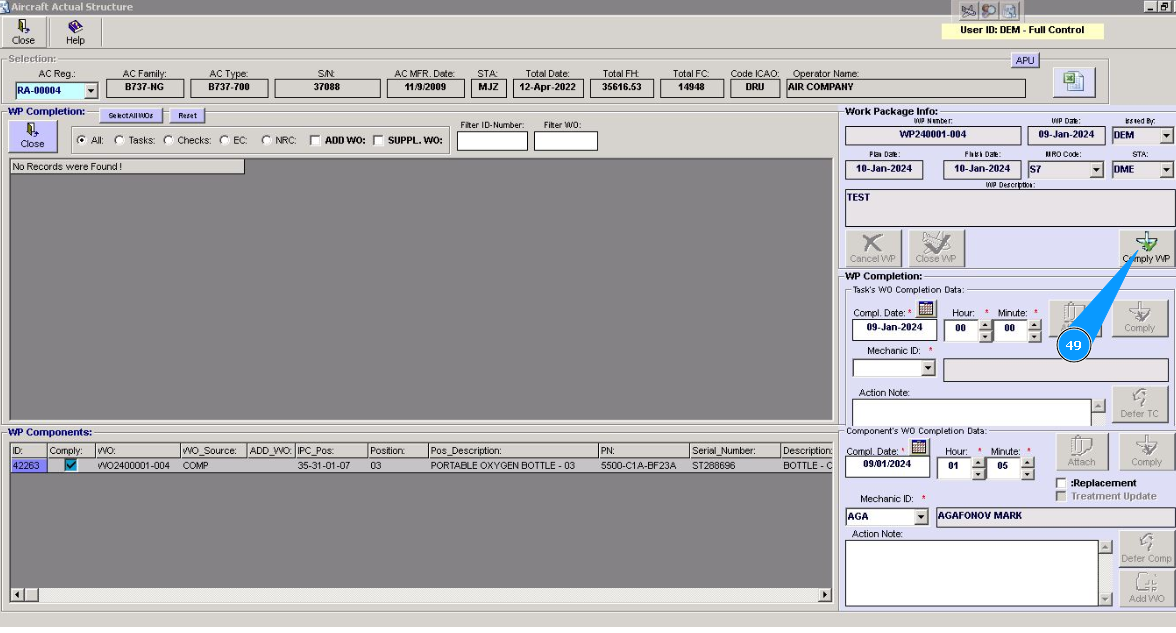
 49. Click on the button "Comply WP".
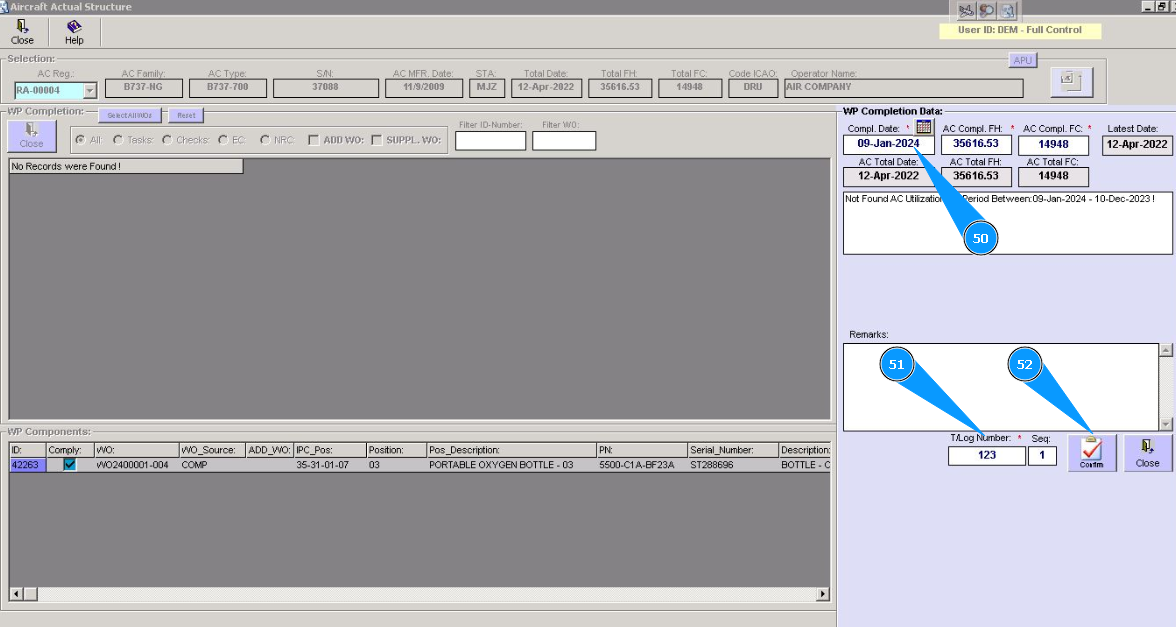
 50. Enter WP closing date in the field "Coml.Date".
51. Enter aircraft TLB number and page of it in the field "Tlog Number/Seq".
52. Click on the button "Confirm".
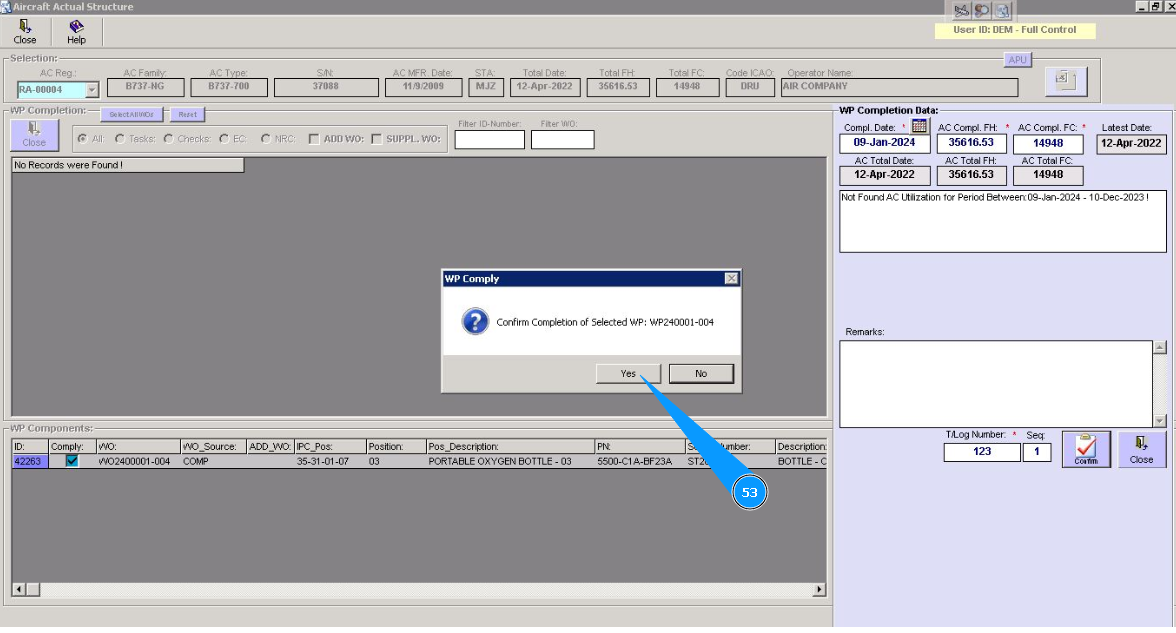
 53. Click on the button "Yes", for confirmation of saving data to program.
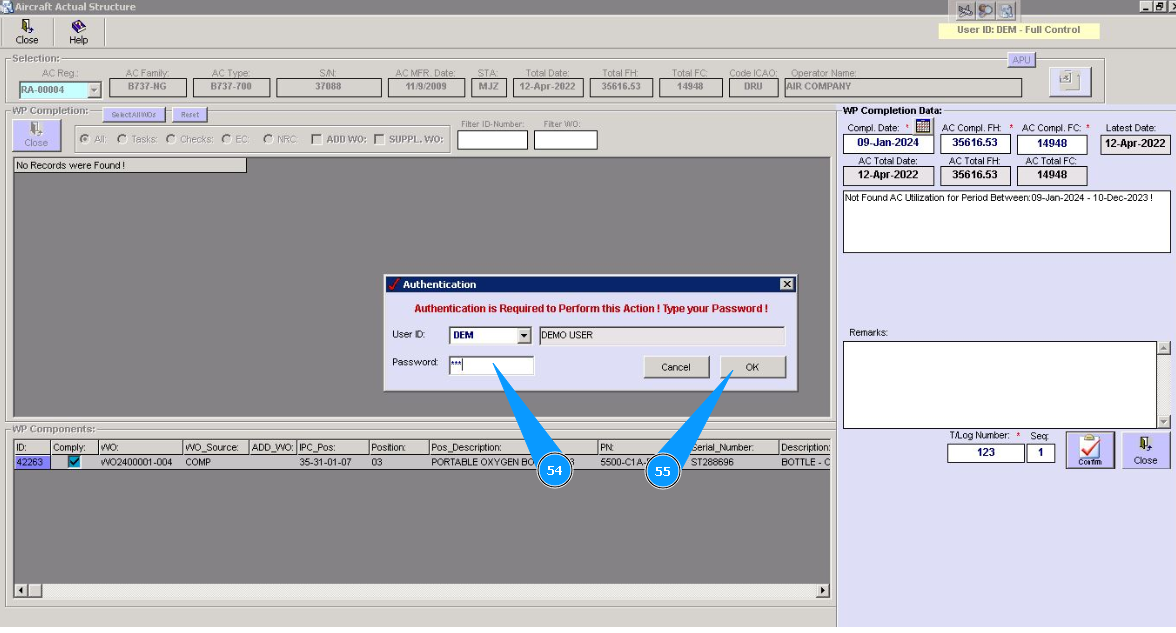
 54. Enter Alaskar password in the field "Password".
55. Click on the button "Ok", for saving component replacement to the program.
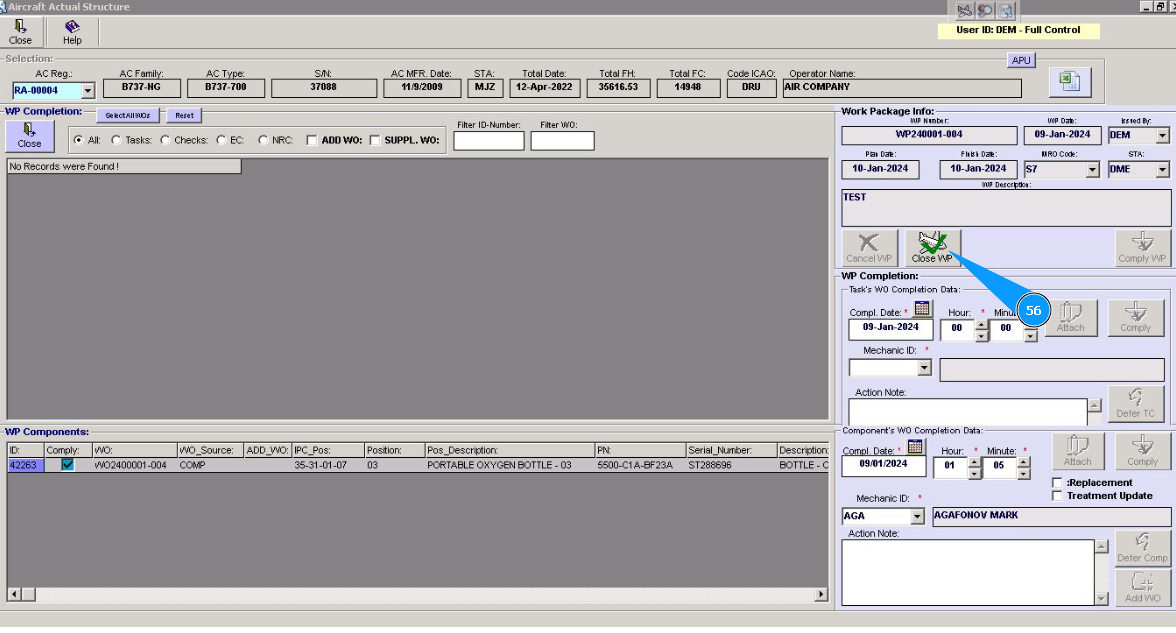
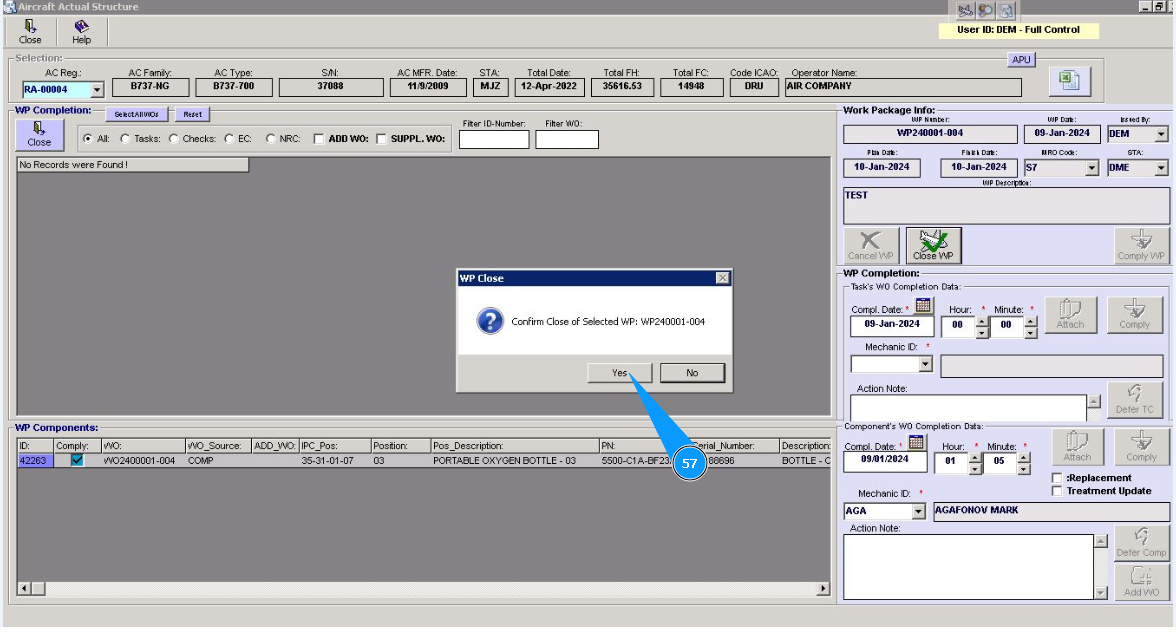
56. Click on the button "Close WP".
57. Click on the button "Yes", to confirm WP closing.
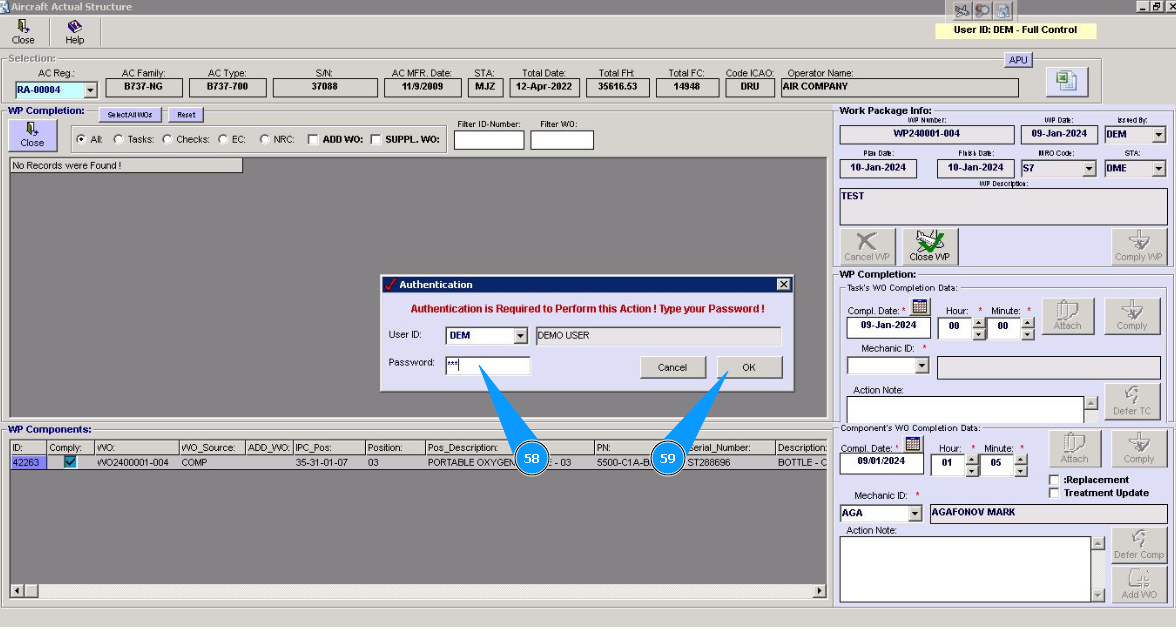
58. Enter Alaskar password in the field "Password".
59. Click on the button "Ok", for saving WP closing to program.
60. Check, that line with work package is disappeared in the window "WP-Work Package".
