How to create Work Package
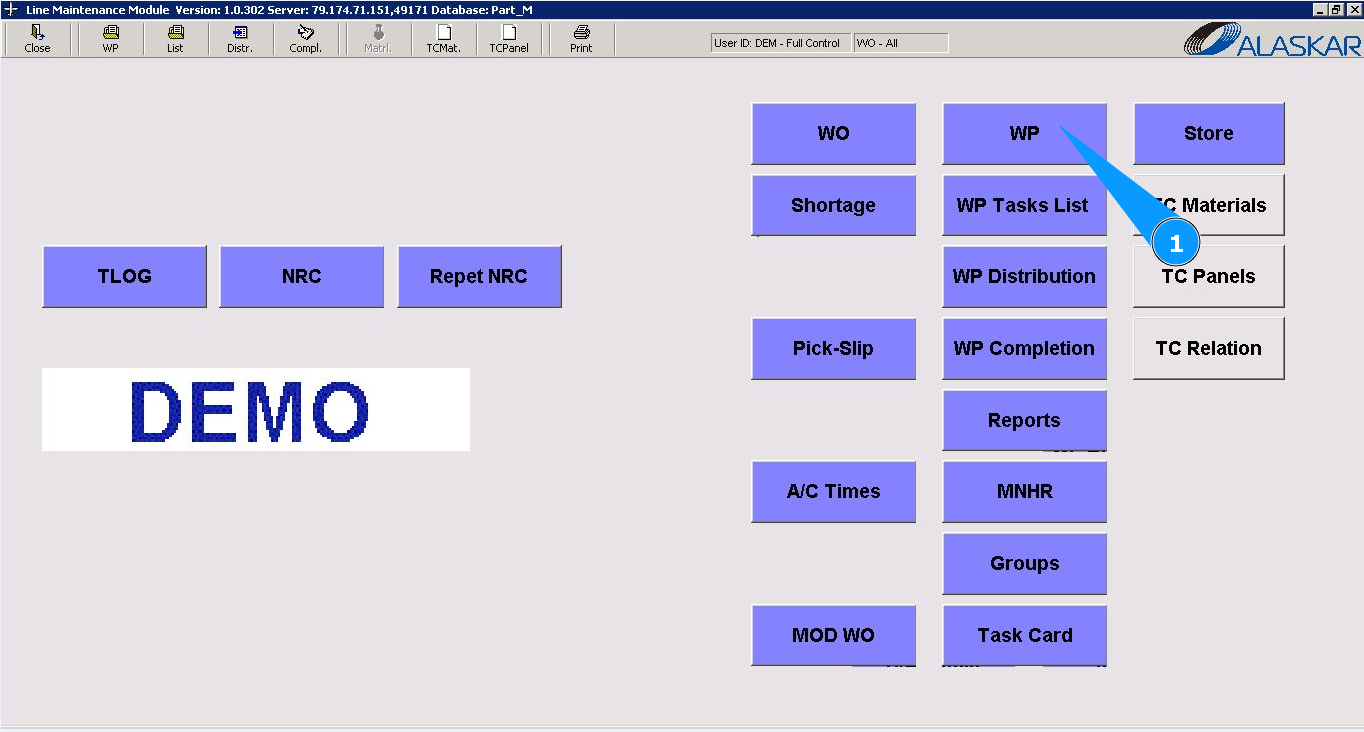
1. To create the Work Package, go to the submodule "WP".
2. Click on the button "New", to start creating WP.

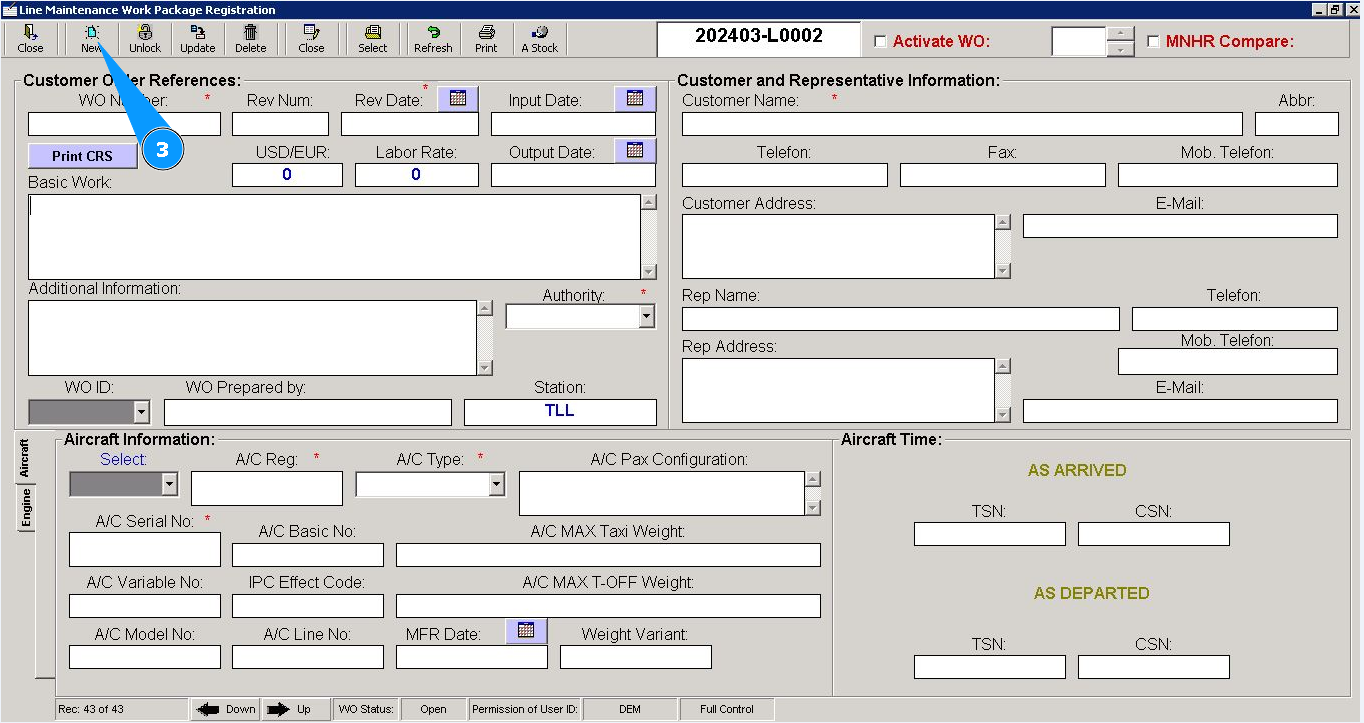
3. Click on the button "New", to open the WP editor.
4. Enter the WO number in the field "WO Number". Note: If necessary, add additional information to non-mandatory fields: "Input Date", "Output Date", "Labor Rate" etc.
5. Enter the revision number in the field "Rev.Date:" or select the required date in the calendar.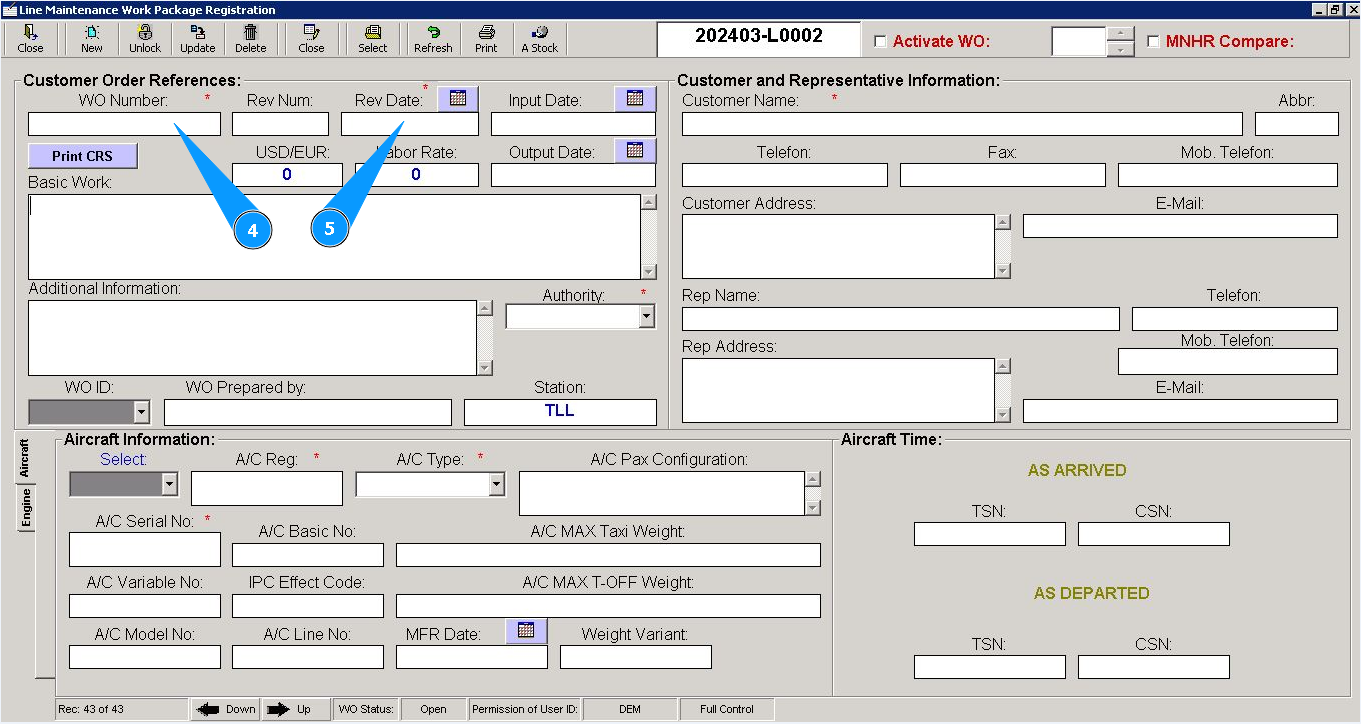
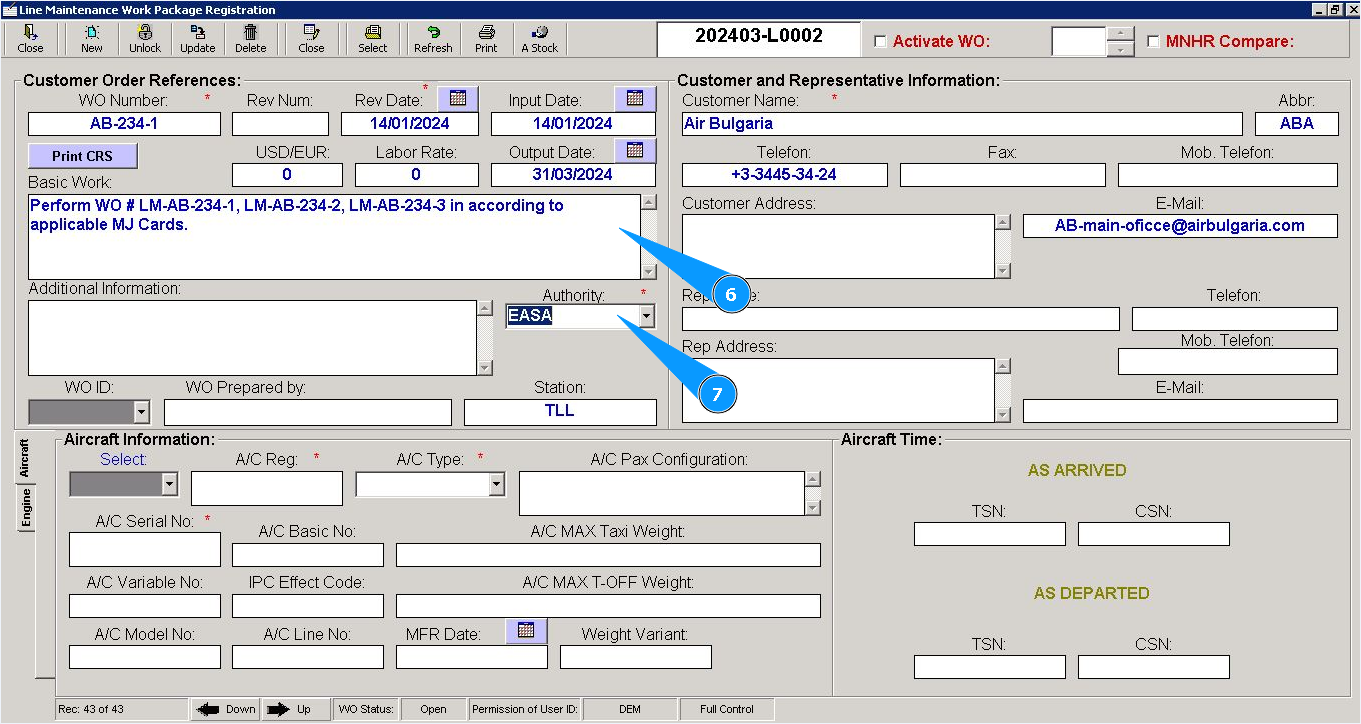
6. Enter information about the work performed in the field "Basic Work".
7. Enter the name of the aviation authorities in the field "Authority" or select from the dropdown list.
8. Enter a specialist login who opens WO in the field "WO ID" or select from the dropdown list. Note: Field "WO Prepared by" will be filled in automatically.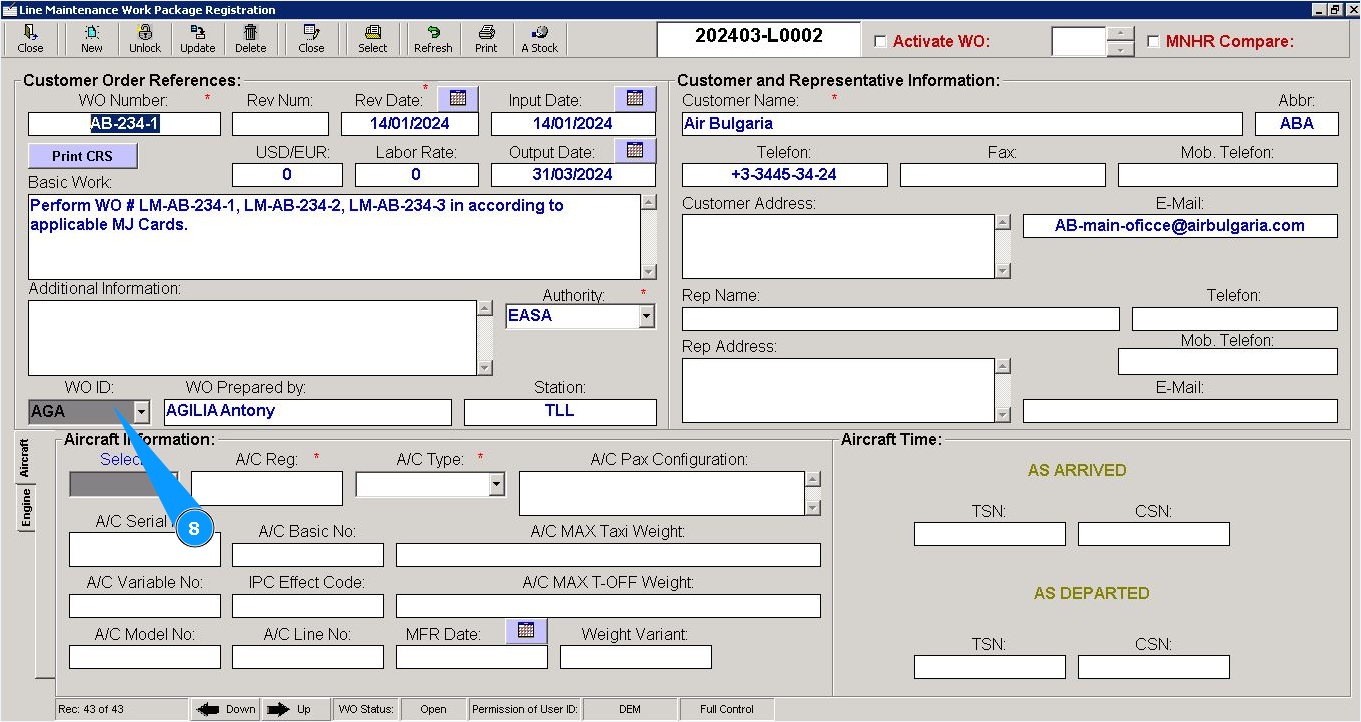
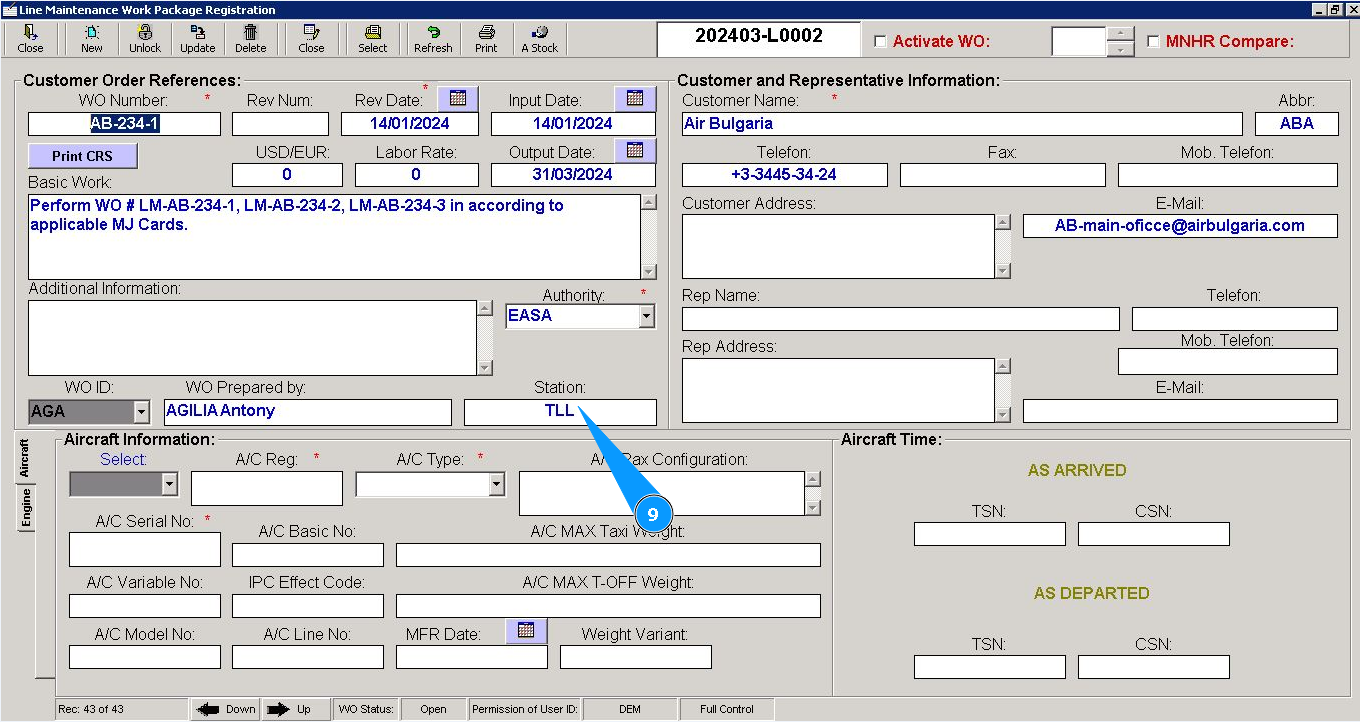
9. Enter the abbreviation of WO performing station WO in the field "Station".
10. Enter the customer name in the field "Customer Name". Note: If necessary, enter detailed customer and contact information in the fields: "Abbr", "Telefon", "E-Mail" etc. in the window "Customer and Representative Information".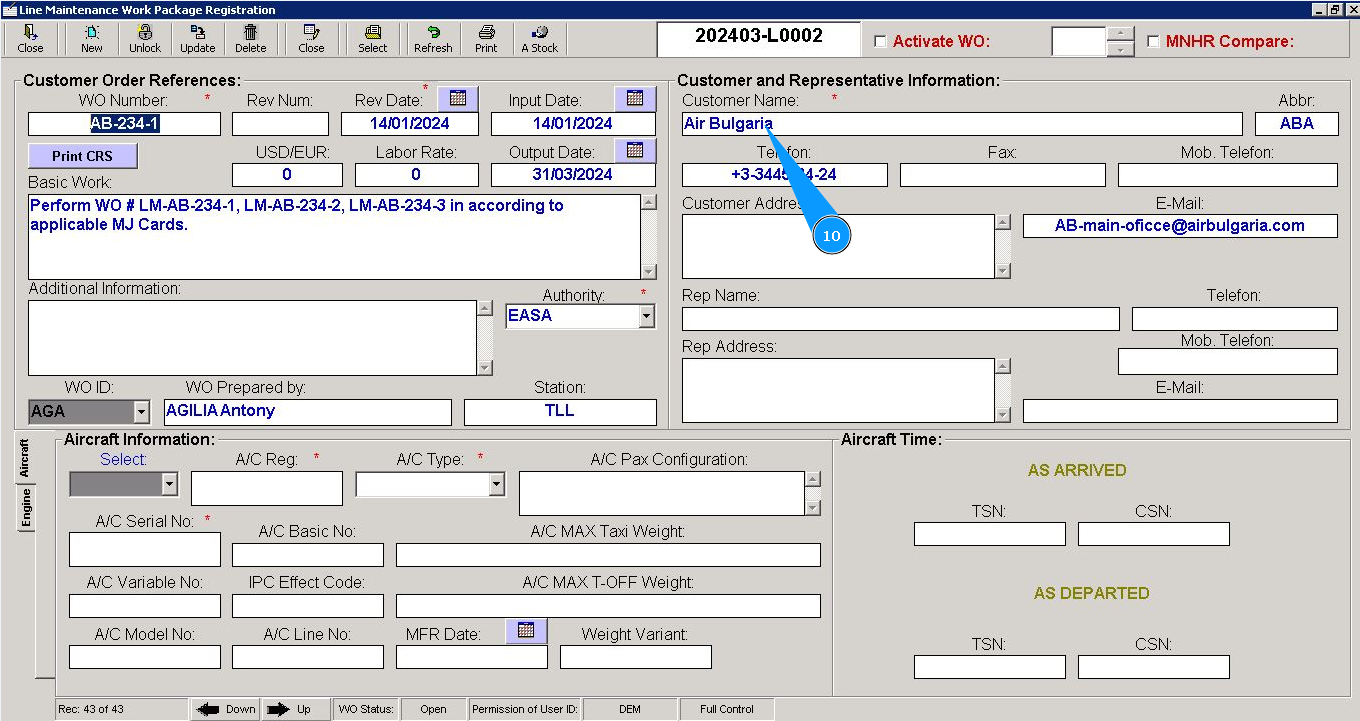
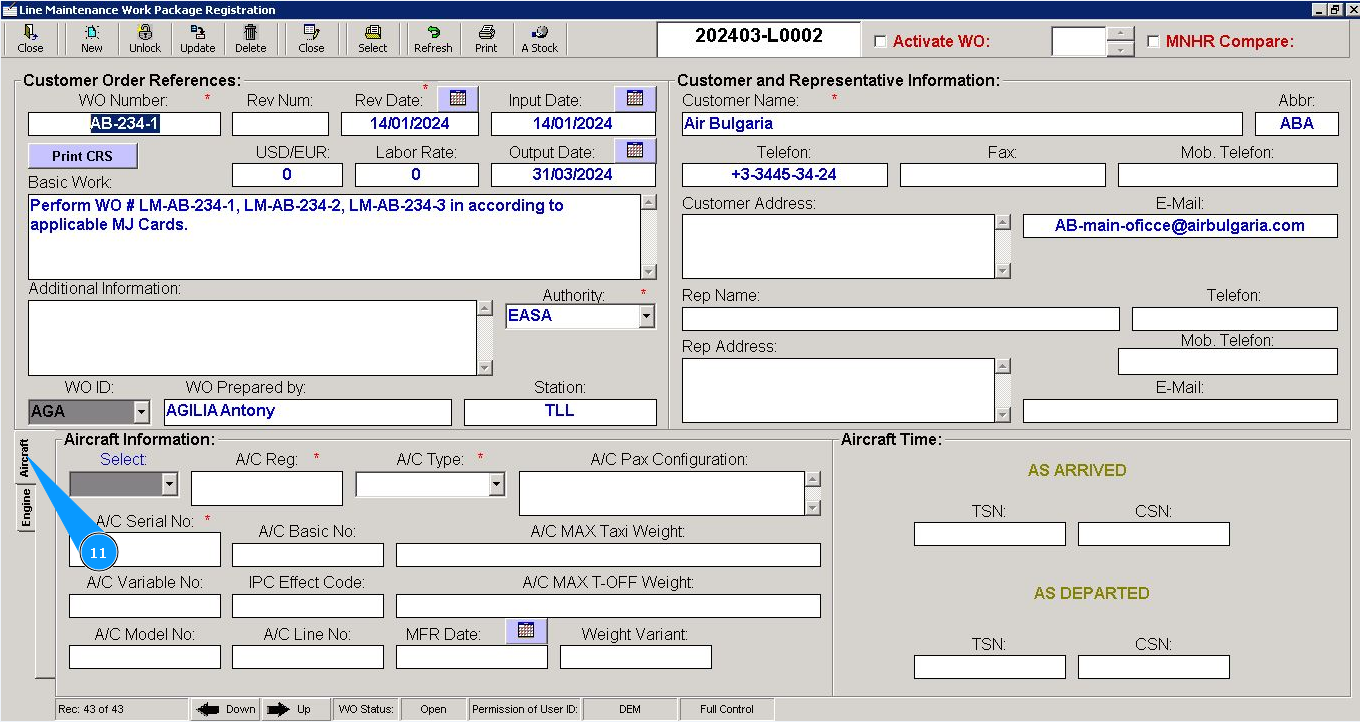
11. Then go to the tab "Aircraft".
12. Select the A/C registration number in the dropdown list in the field "Select". Note: Fields: "A/C Reg.", "A/C Type", "A/V Serial №" will be filled in automatically.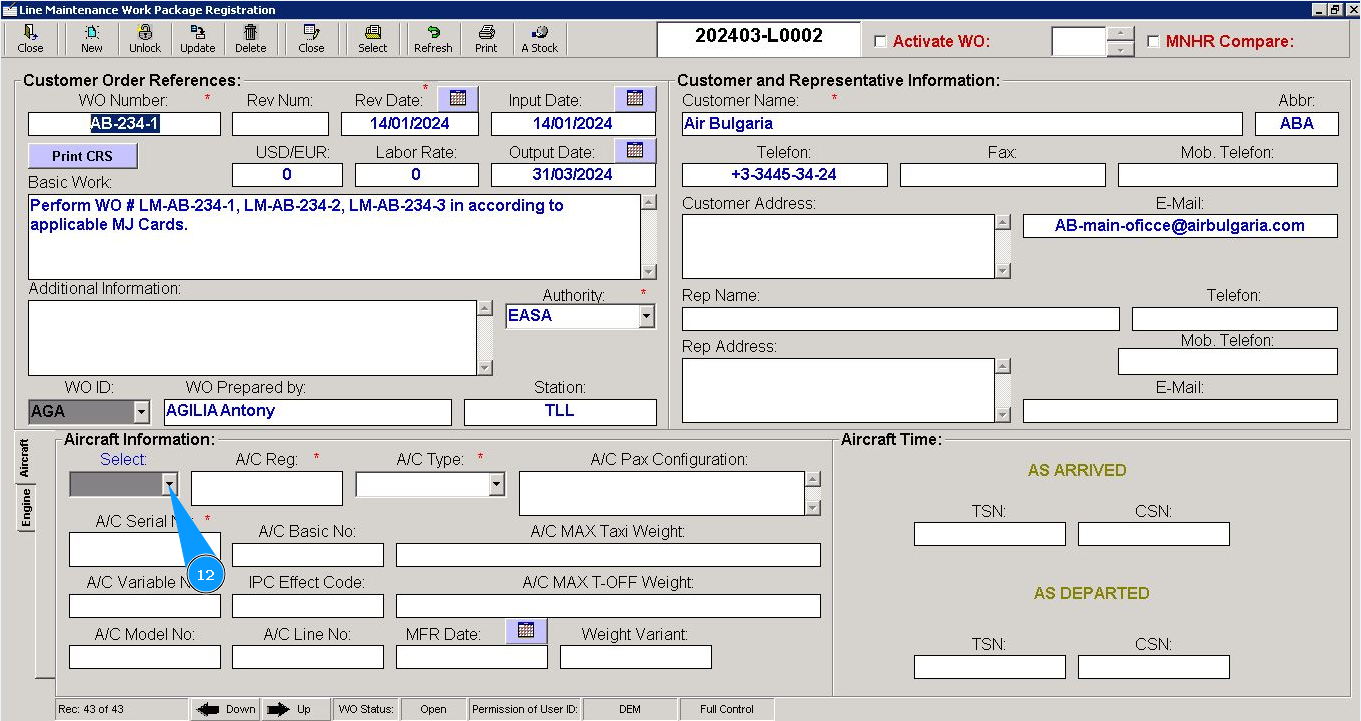
Note: If necessary, enter additional information about aircraft in the window "Aircraft Information".
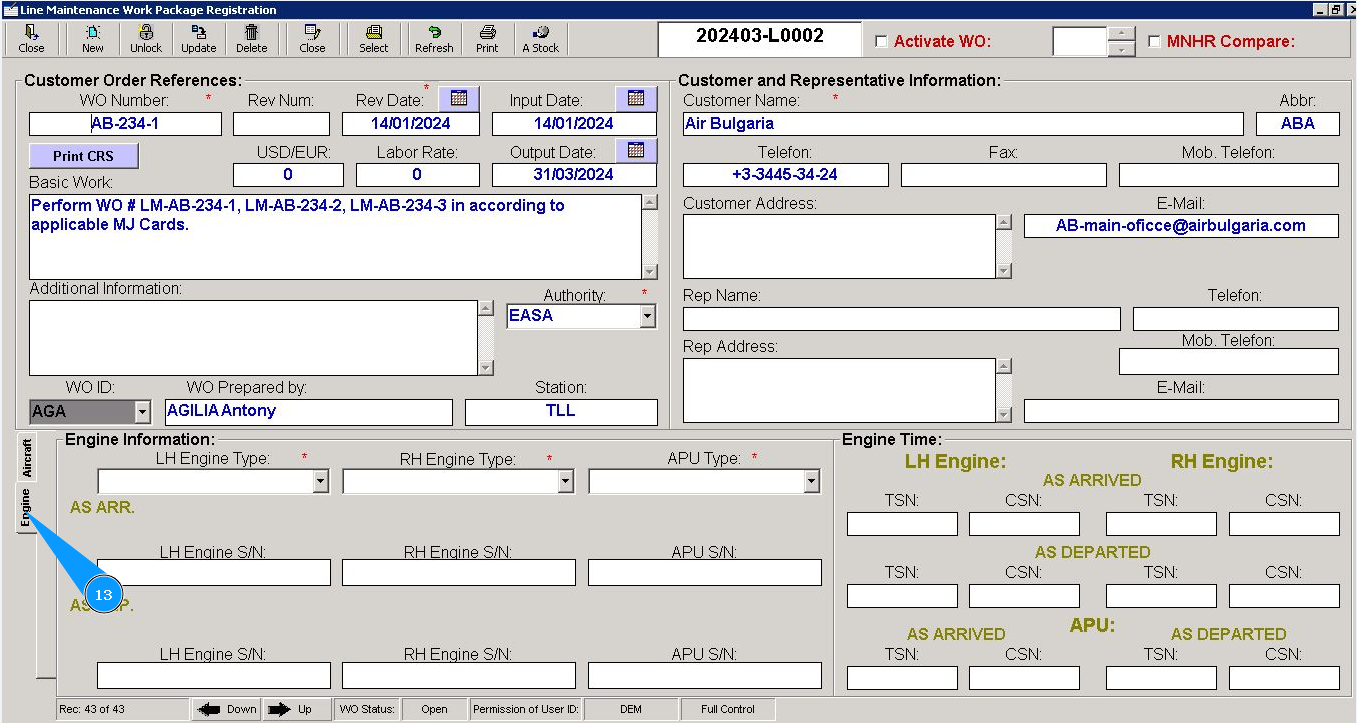
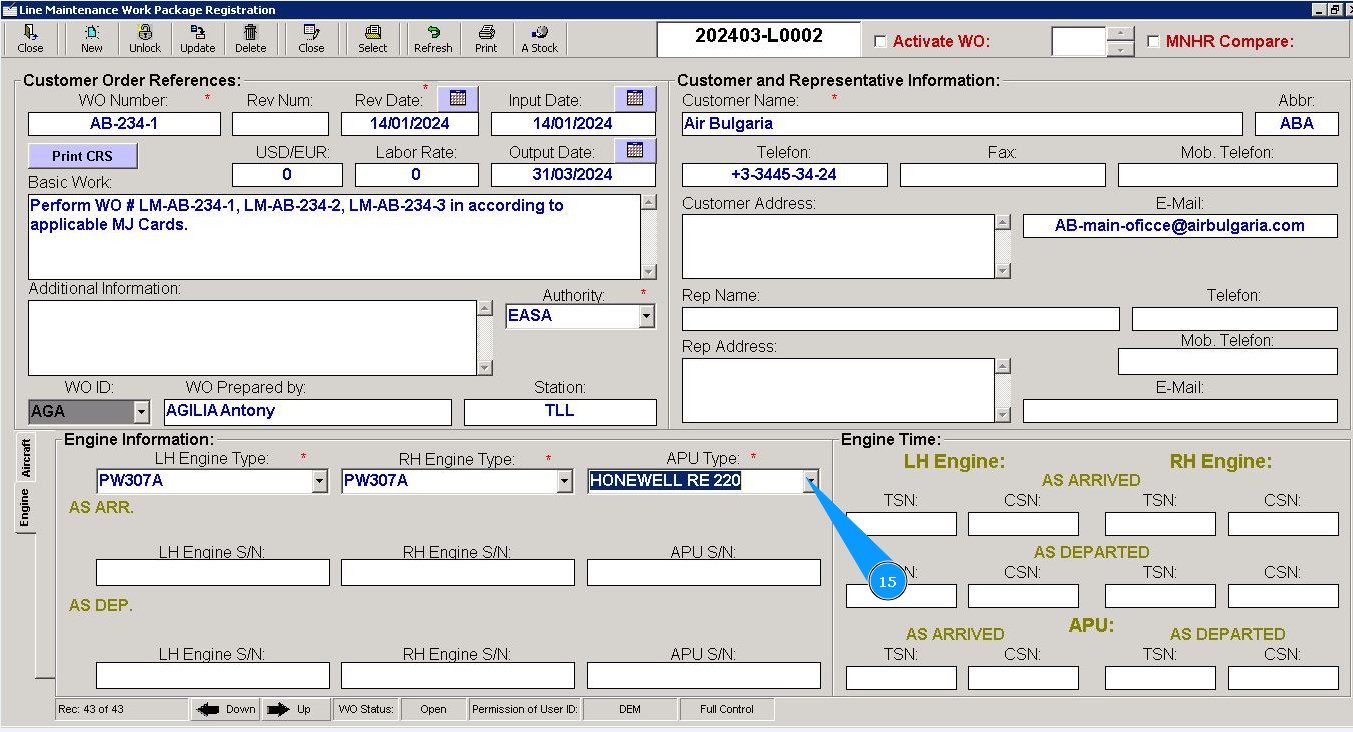
13. Then go to the tab "Engine".
14. Select the type of left engine from the dropdown list in the field "LH Engine Type". Note: The right engine type in the field "RH Engine Type" will be filled in automatically.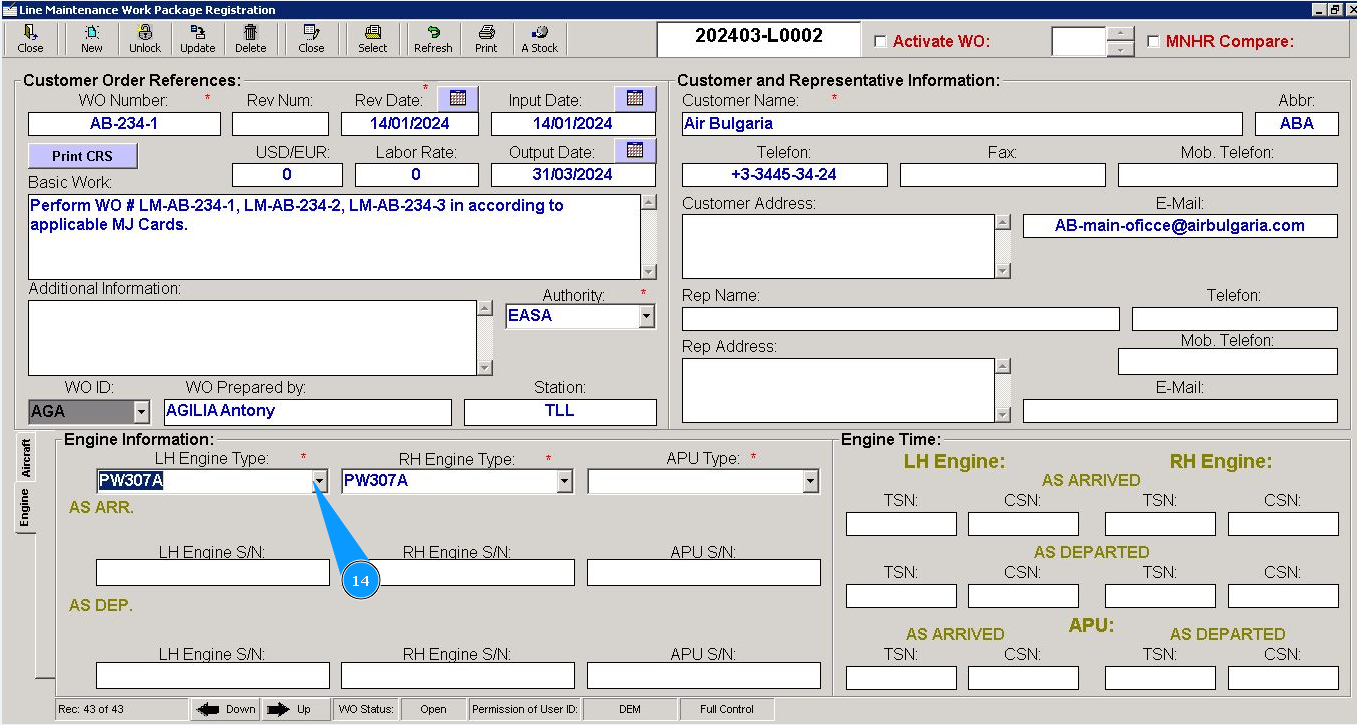
15. Select the APU type from the dropdown list in the field "APU Type".
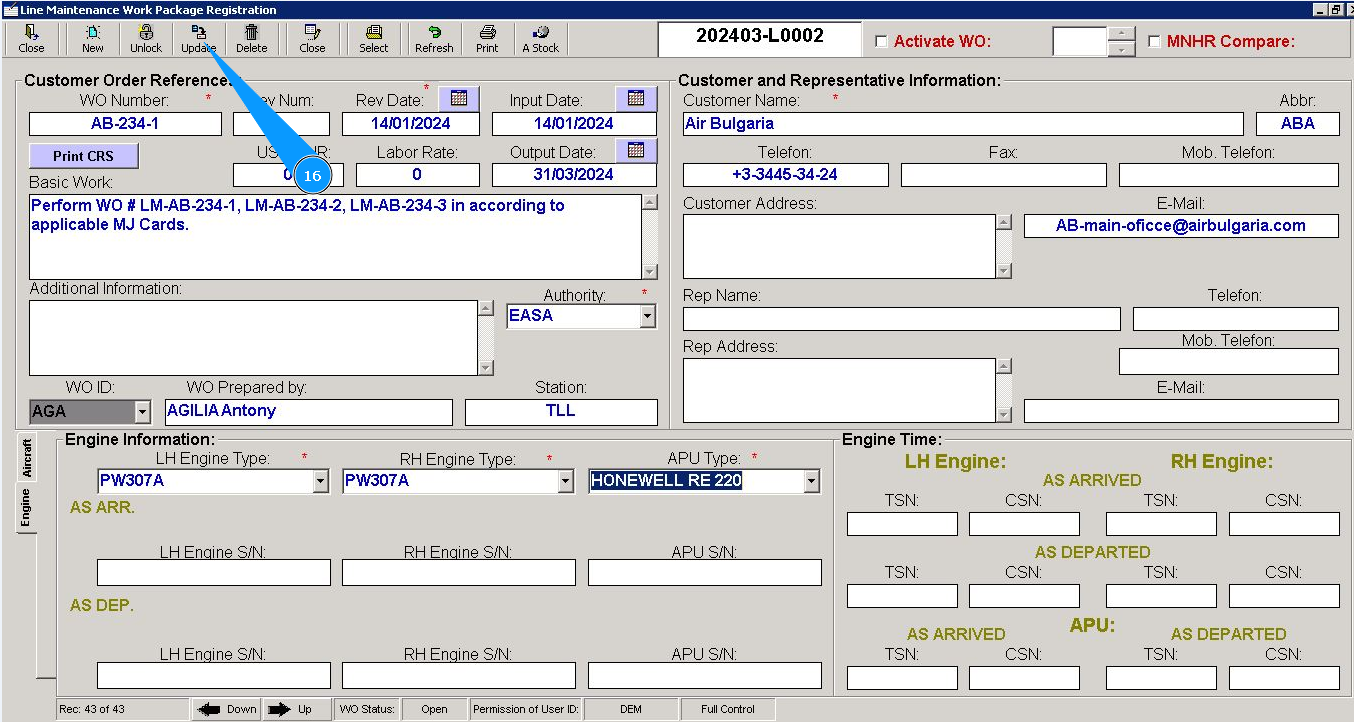
16. Click on the button "Update", to enter data into the program.
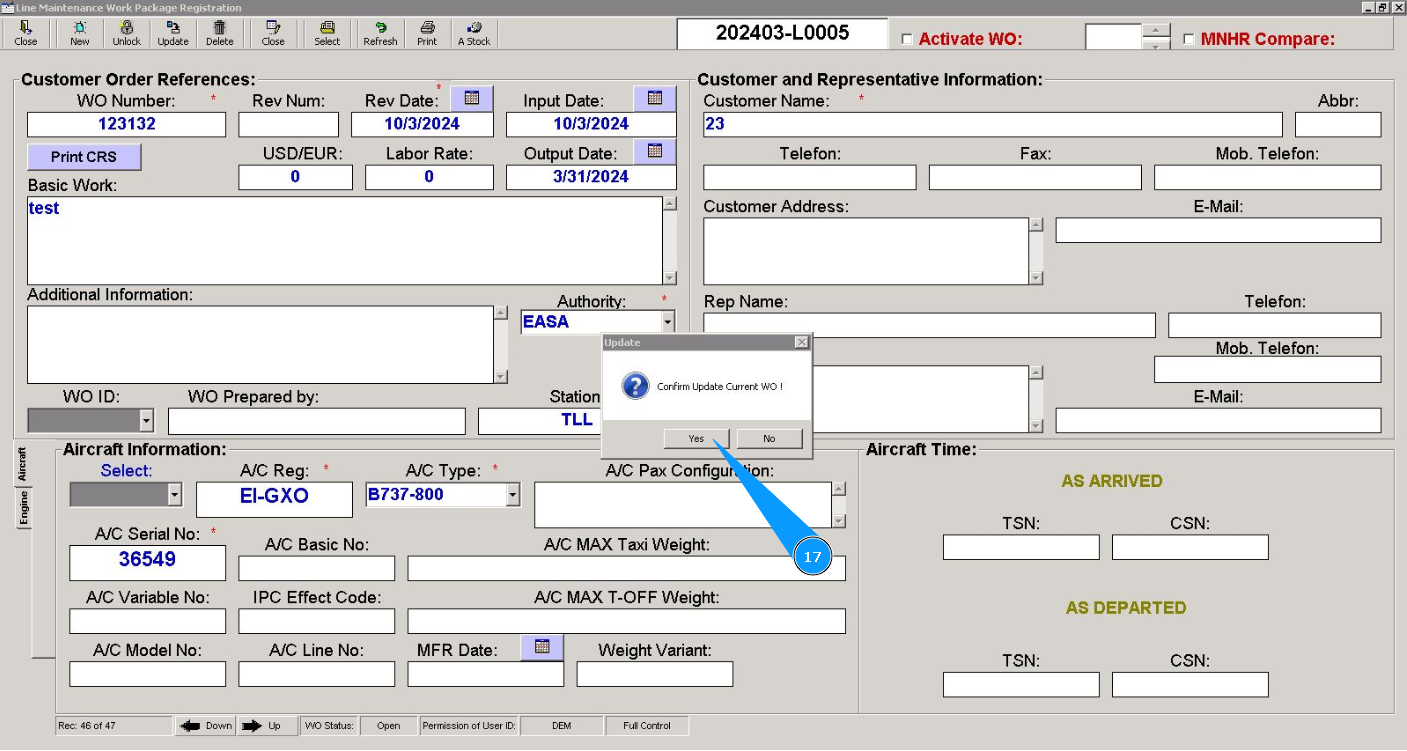
17. Click on the button "Yes", to confirm adding WO to the program.
18. Click on the button "Close", to exit from the WO editor.

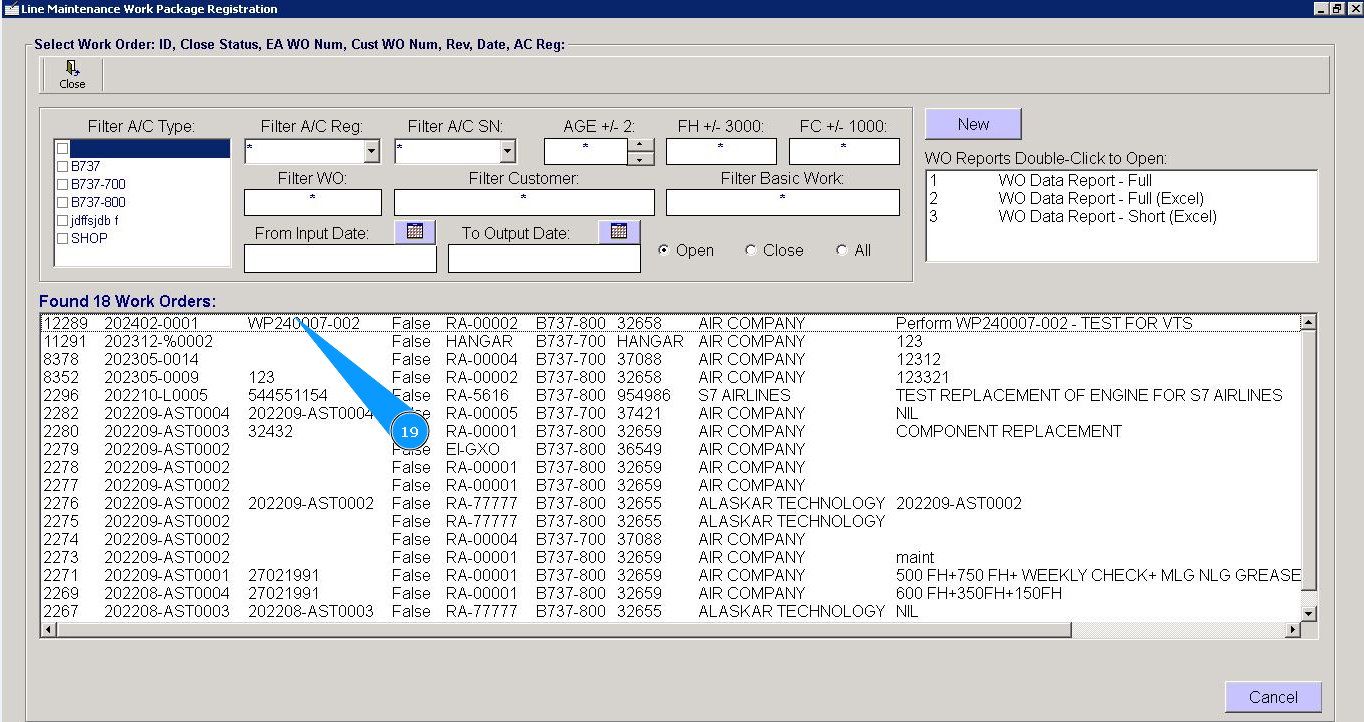
19. Make sure that a record about the newly created Work Order appears in the window "Work Orders".