How to create and print certificate of release to servise (CRS)
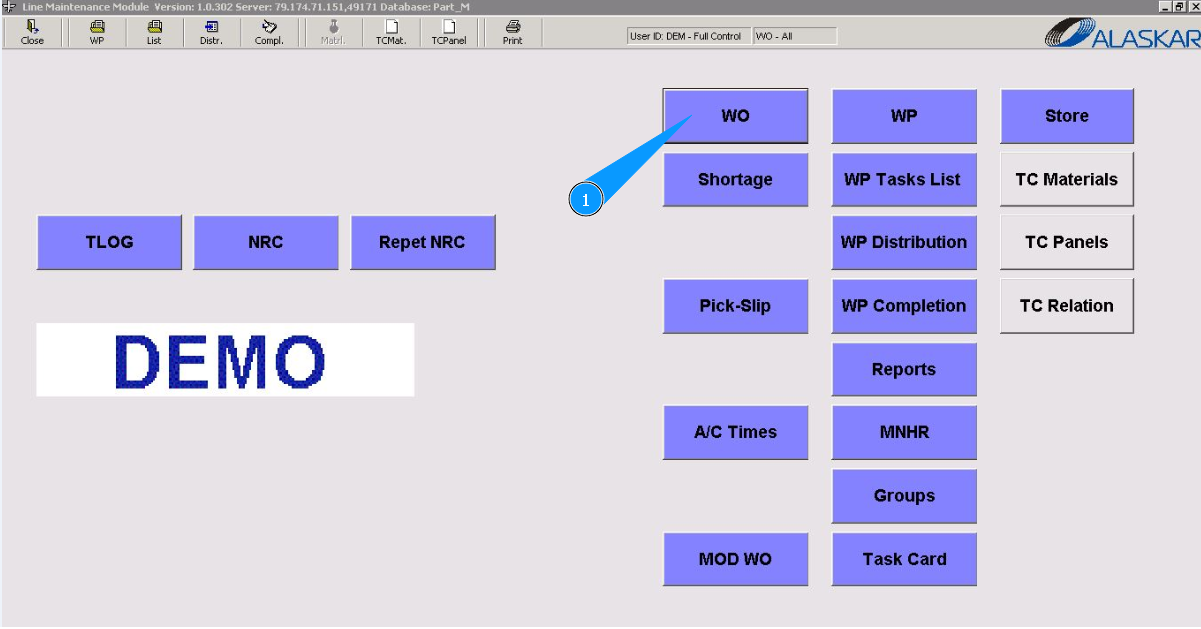
1. To create and print certificate of release to servise (CRS), go to the submodule "WO".
2. Then go to the tab "Completion".
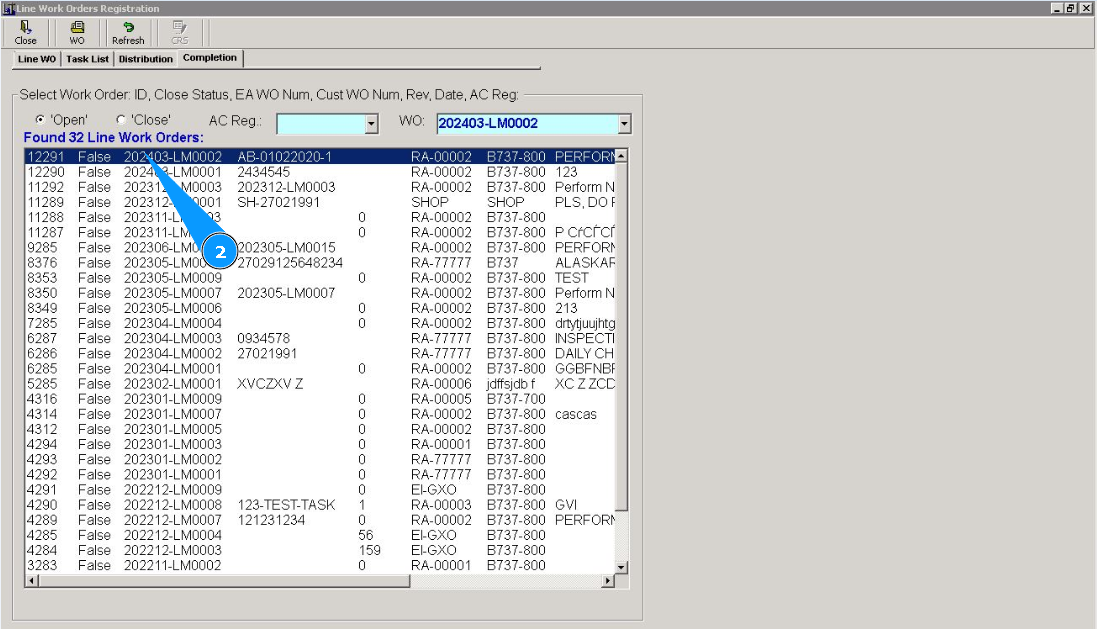
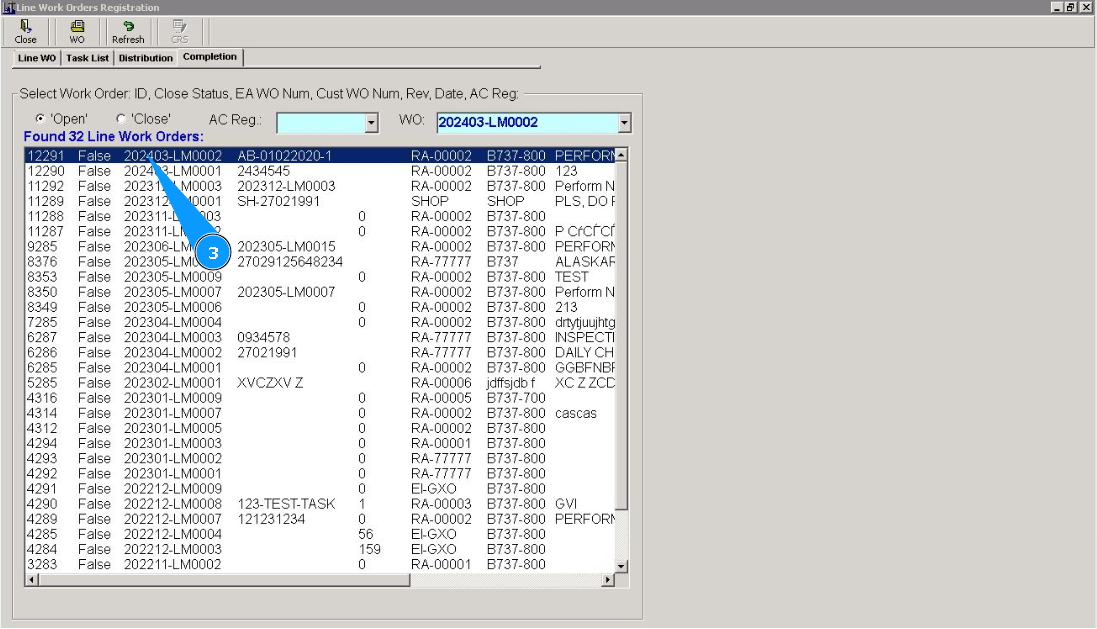
3. Select the WO for which you want to release CRS and click on the corresponding line.
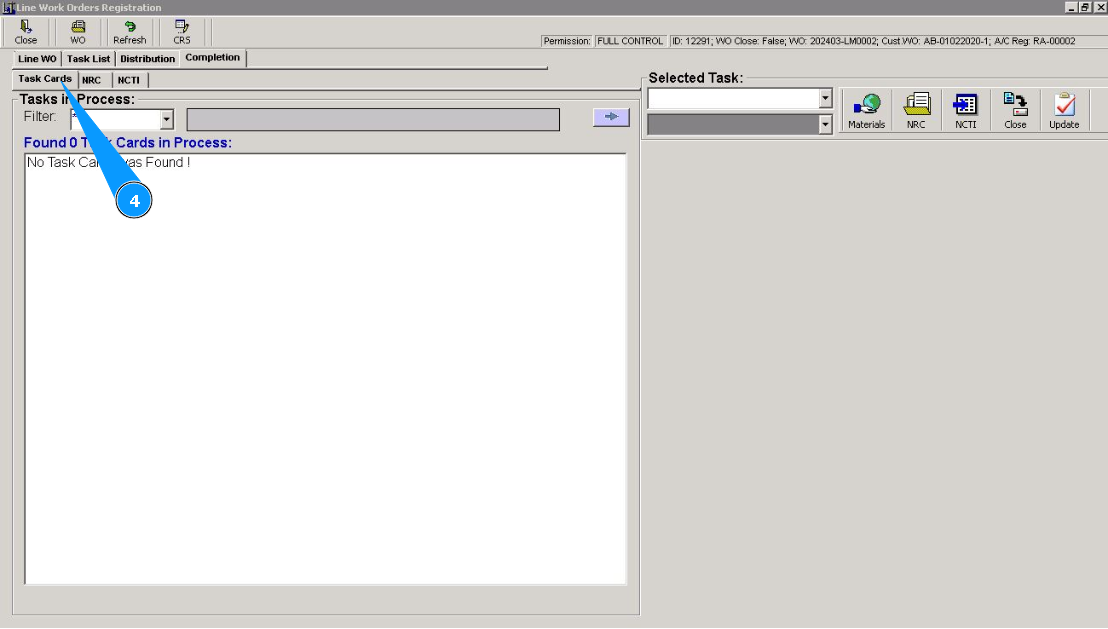
4. Then go to the tab "Task Card".
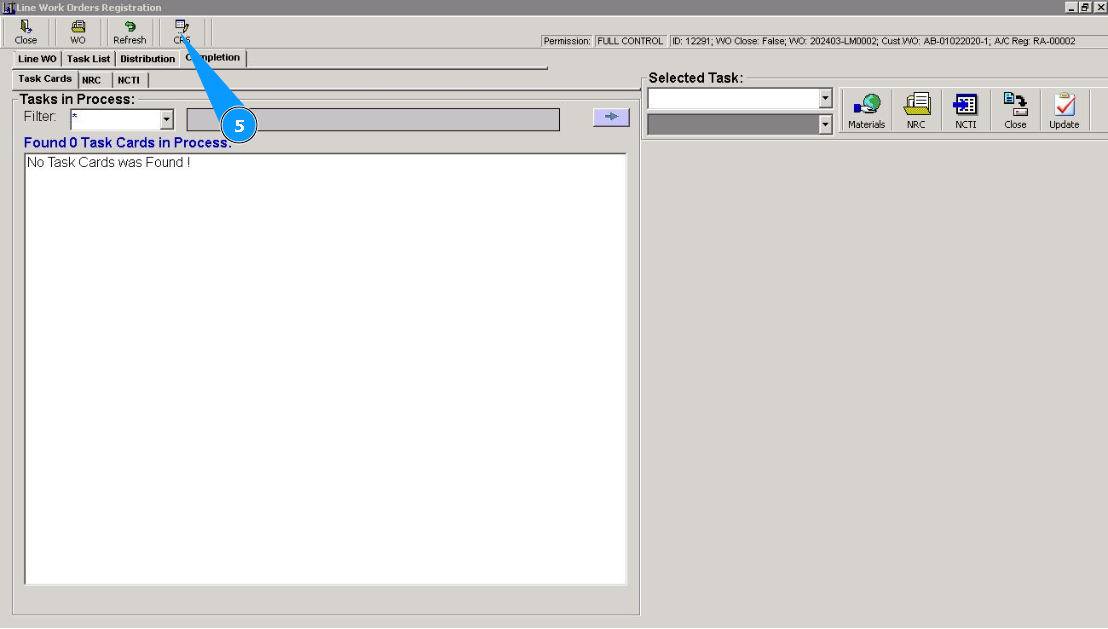
5. Click on the button "CRS", to open CRS editor.
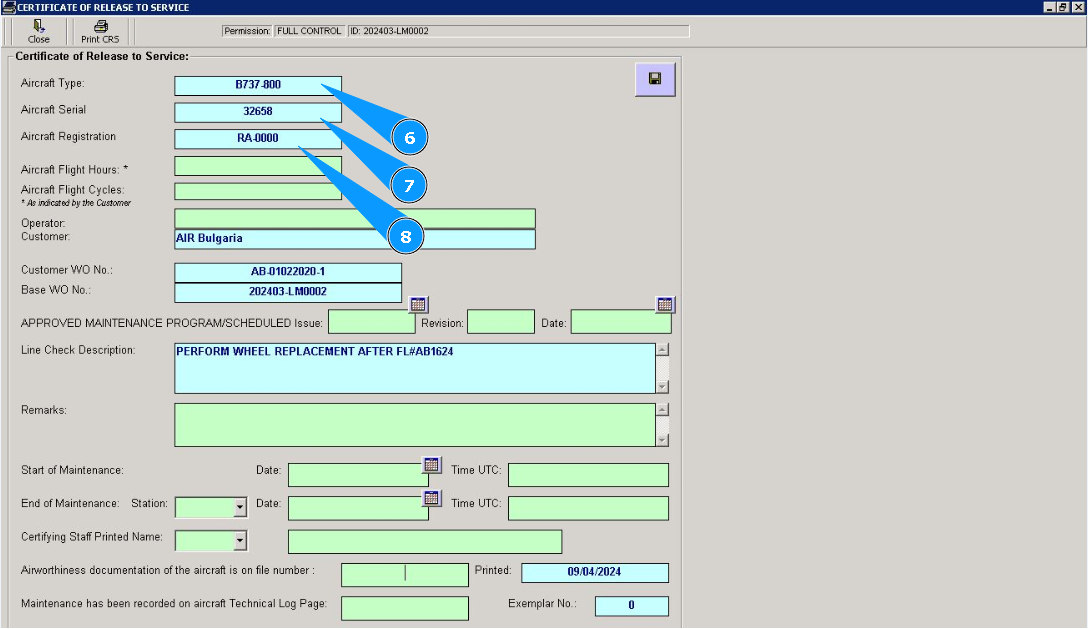
6. Enter aircraft type in the field "Aircraft Type".
7. Enter aircraft serial number in the field "Aircraft Serial".
8. Enter aircraft registration in the field "Aircraft Registration".
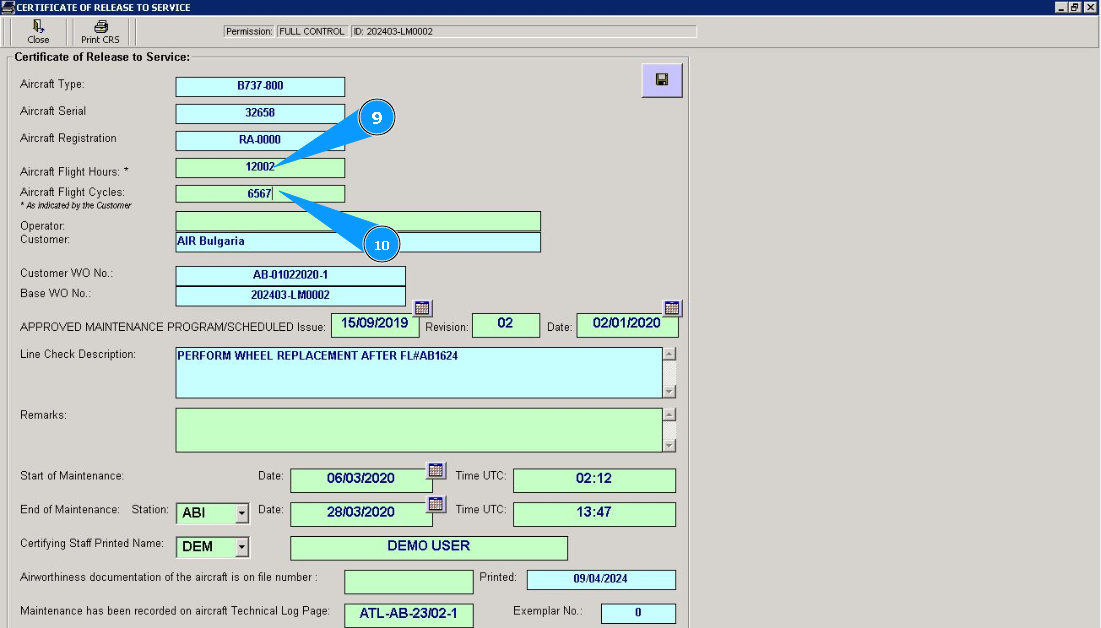
9. If necessary, enter the aircraft operating time in hours in the field "Aircraft Flight Hours".
10. If necessary, enter the aircraft operating time in cycles in the field "Aircraft Flight Cycles".
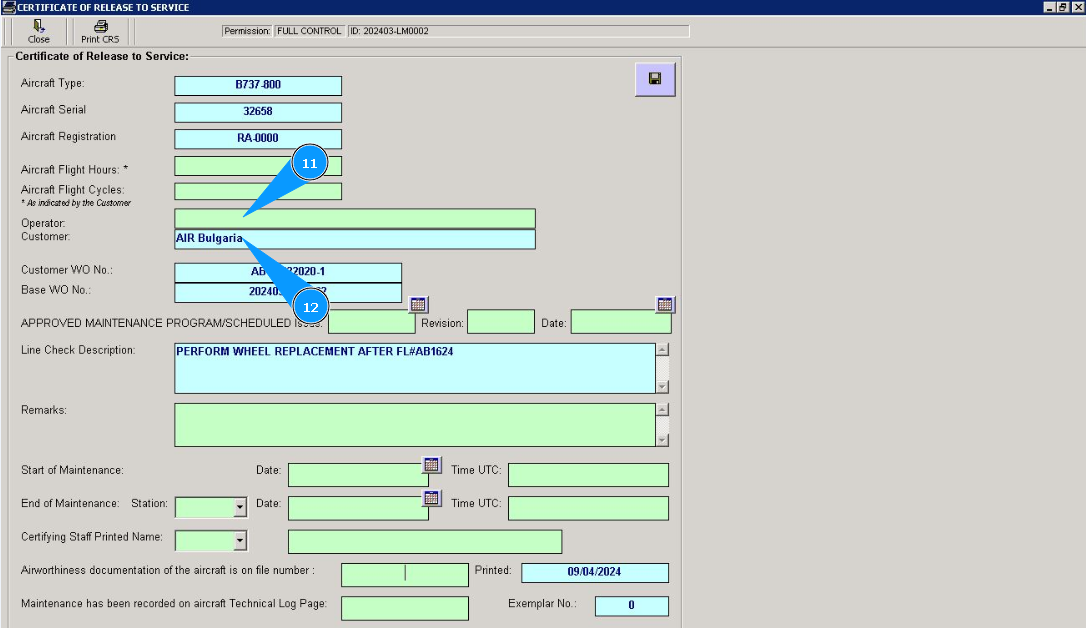
11. If necessary, enter the name of the Operator in the field "Operator".
12. If necessary, enter the name of the Customer in the field "Customer".
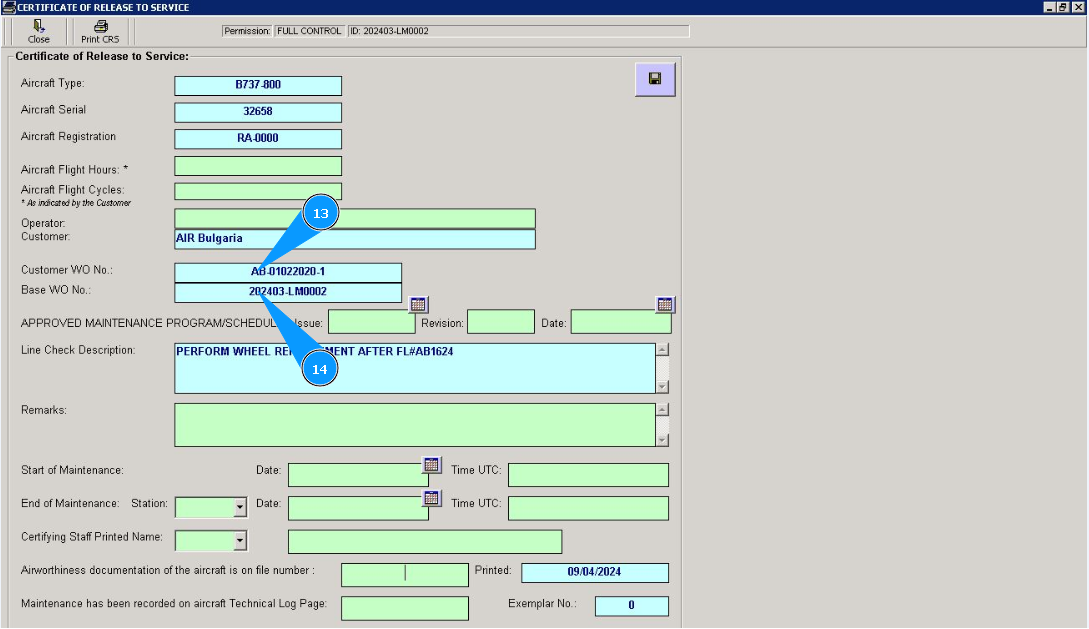
13. Enter work order number in the field "Customer WO #".
14. Enter base WO number in the field "Base WO #".
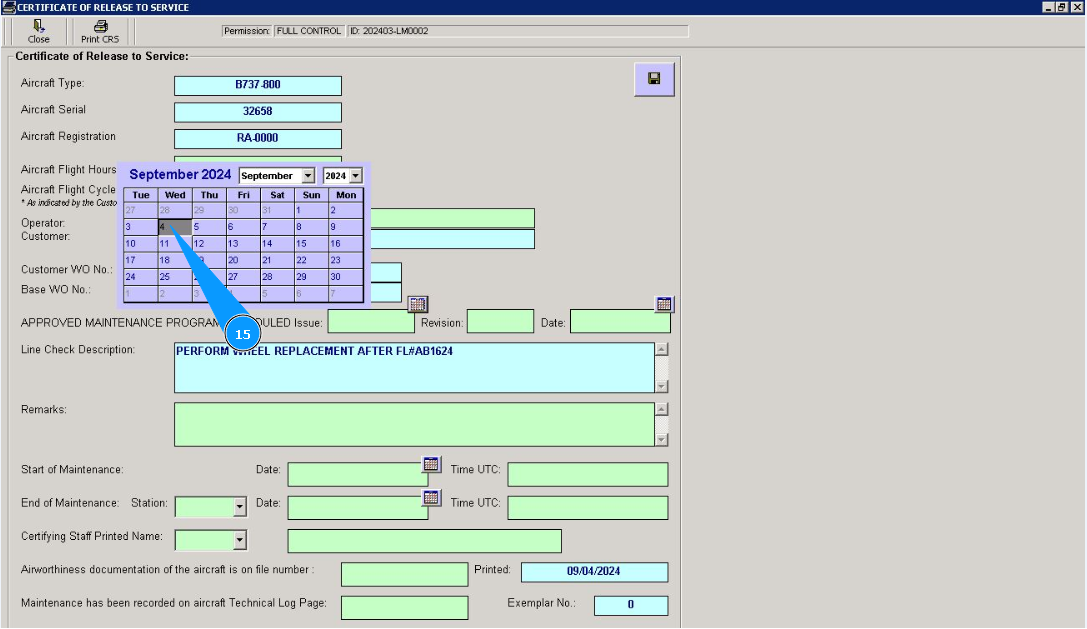
15. Click the calendar symbol and select the release date of the maintenance program in the field "Approved Maintenance Program issue".
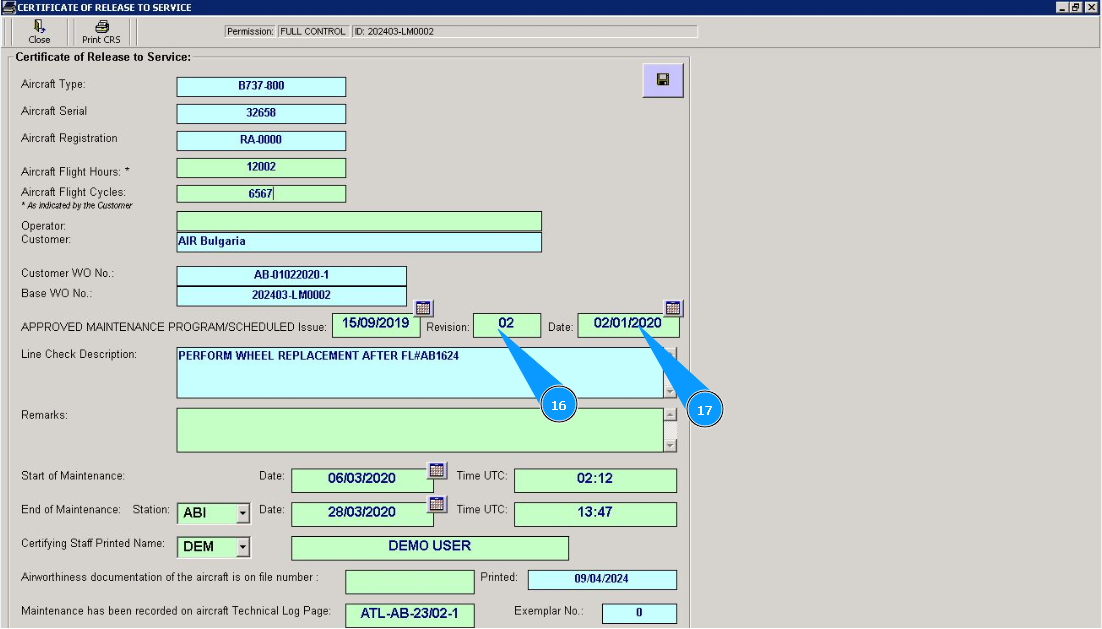
16. Enter maintenance program revision number in the field "Revision".
17. Click the calendar symbol and select the revision date of the maintenance program in the field "Date".
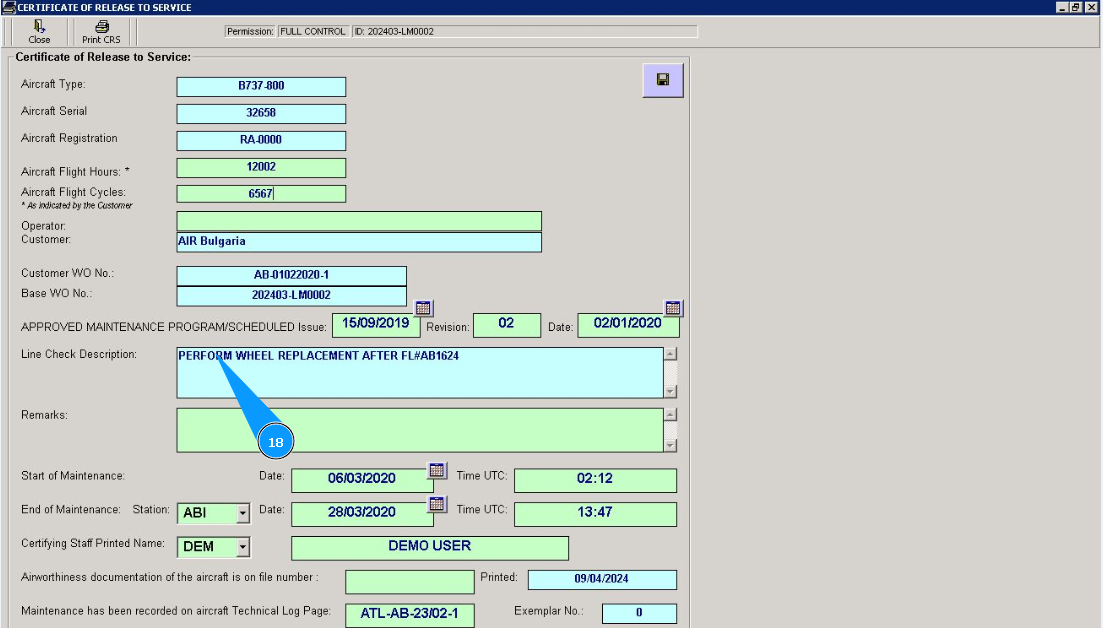
18. Enter a description of the type of performed work in the field "Line Check Description".
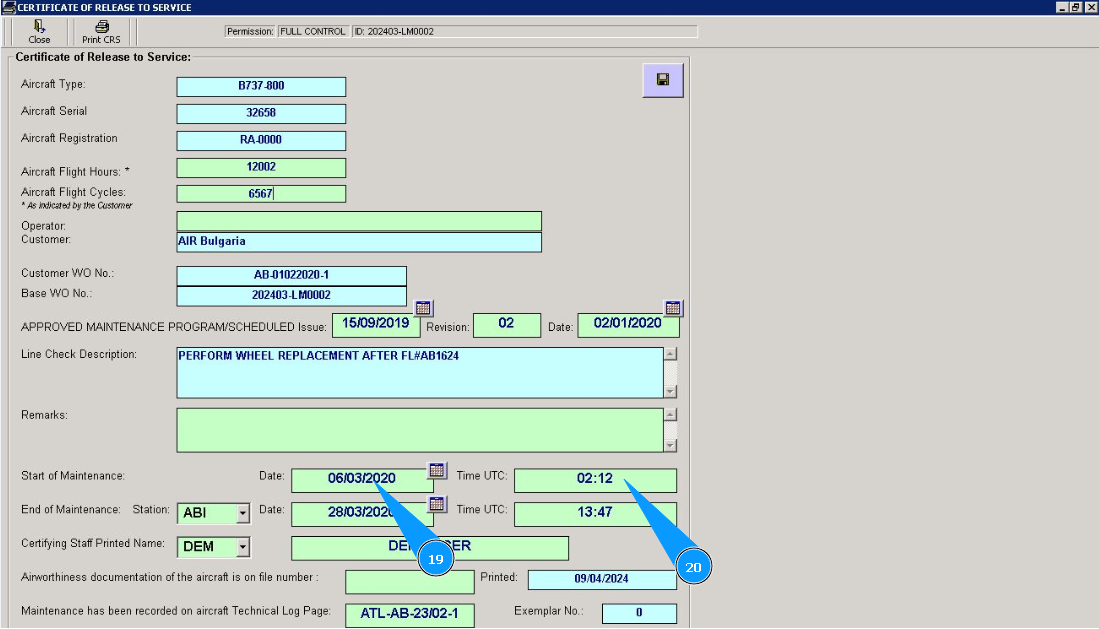
19. If necessary, click on the calendar symbol and select the maintenance start date in the field "Start of Maintenance".
20. If necessary, enter the work start time in the field "Time UTC".
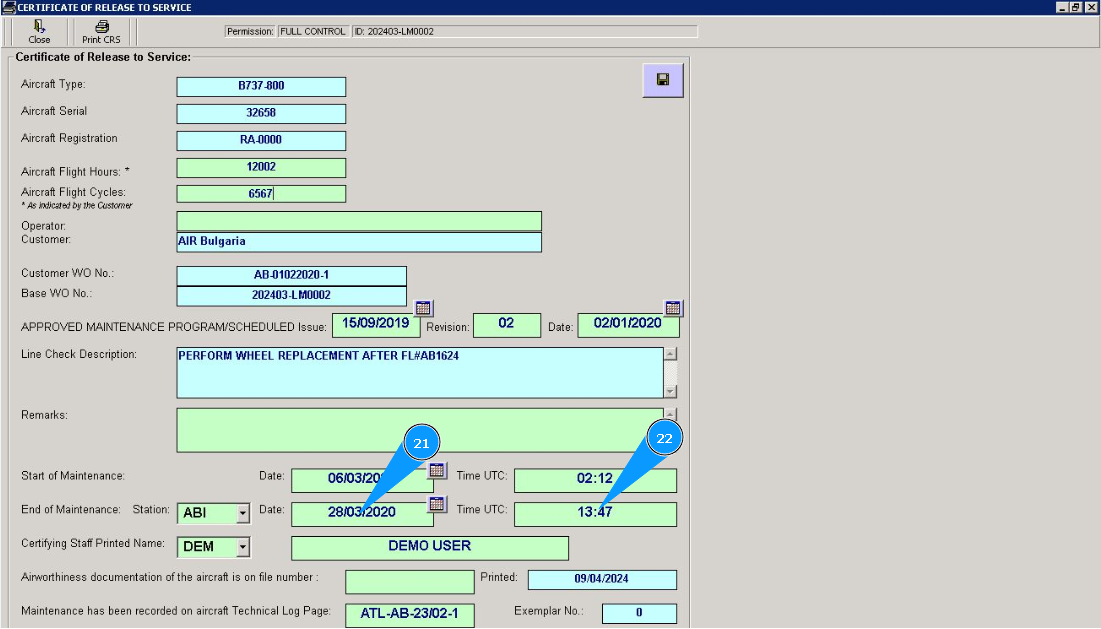
21. If necessary, click on the calendar symbol and select the maintenance finish date in the field "End of Maintenance".
22. If necessary, enter the work finish time in the field "Time UTC".
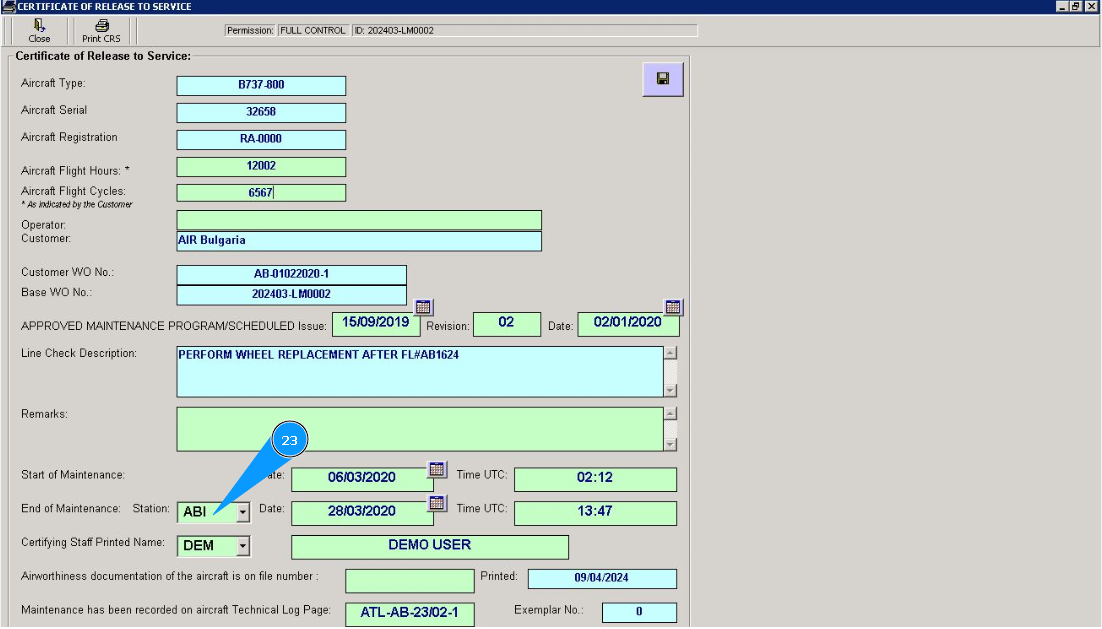
23. Enter station where work was performed from dropdown list in the field "Station".
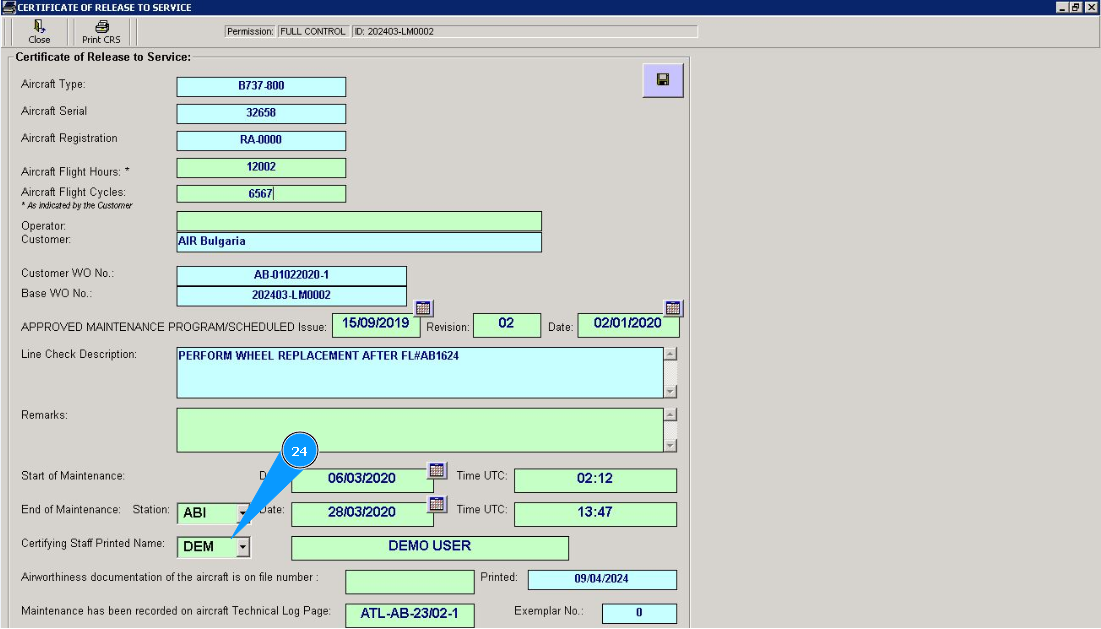
24. Enter the specialist who issued the certificate from dropdown list in the field "Certifying Staff Printed Name".
25. Enter the number and page of aircraft logbook in the field "Technical Log Page". Note: If necessary, fill in other CRS fields depending on your internal procedures.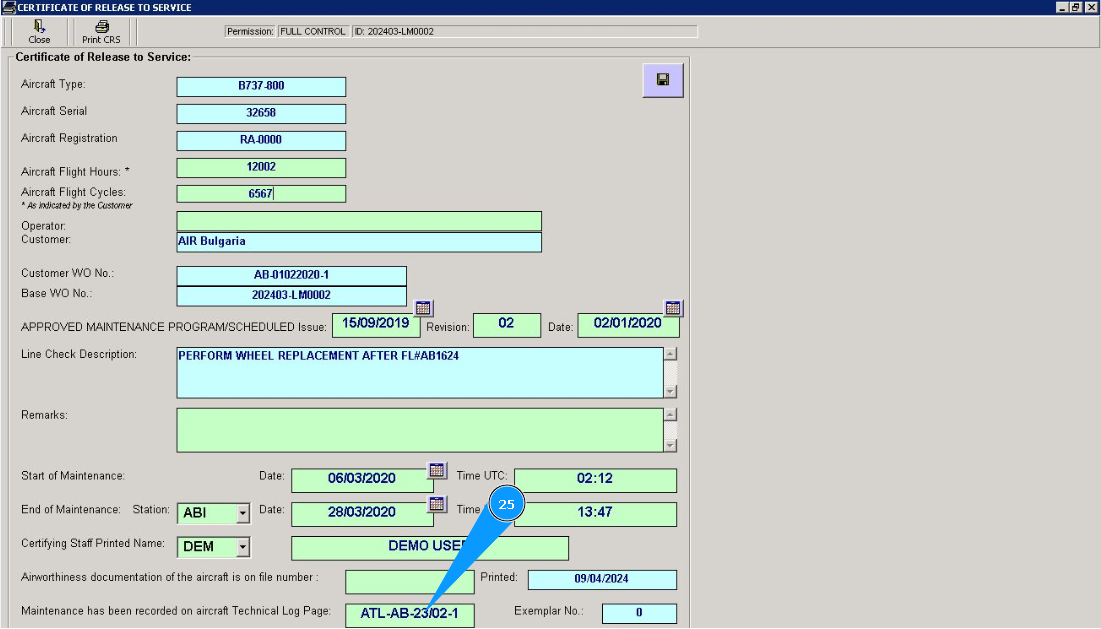
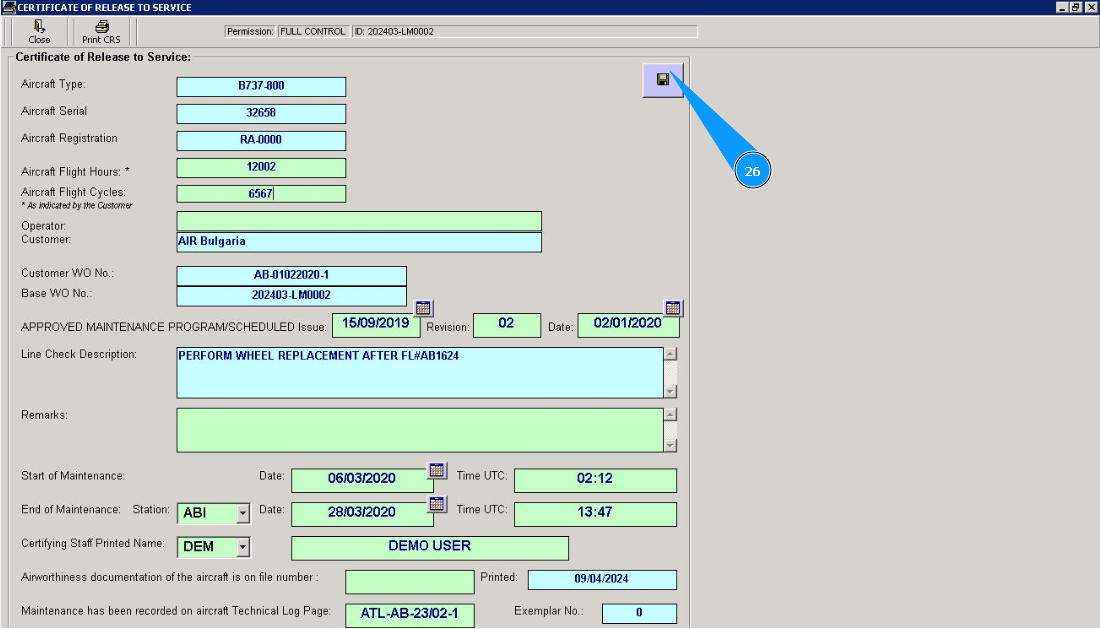
26. Click on the button with the floppy symbol to save the filled CRS data to the program.
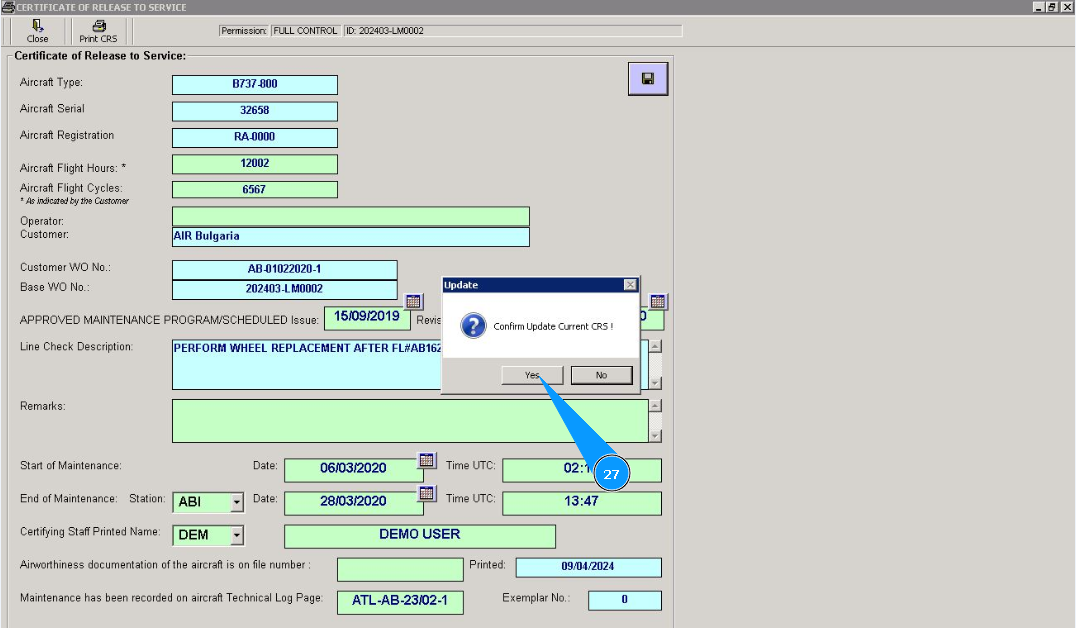
27. Click on the button "Yes", to confirm adding CRS to program.
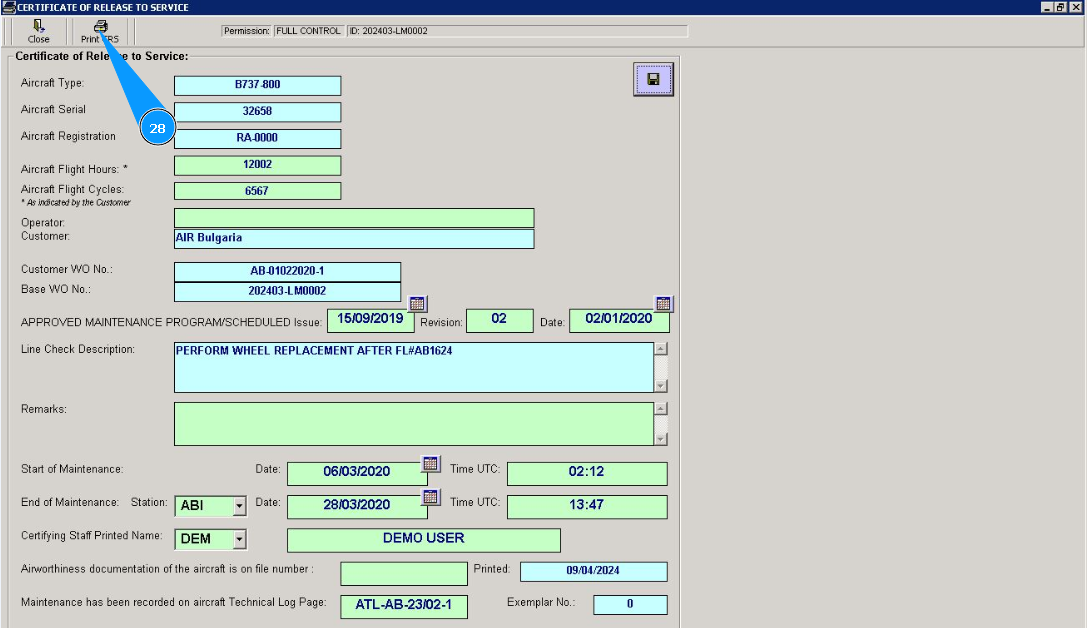
28. If necessary, print a paper form of CRS, click on the button "Print CRS".
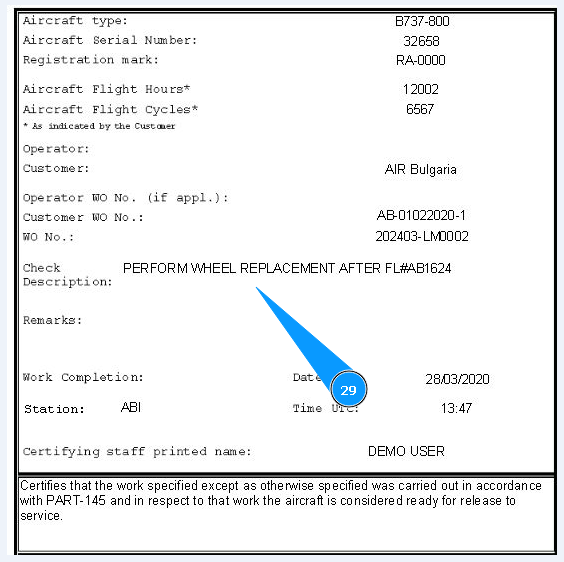
29. Check the generation of the CRS report and print it.