How to complete an additional job in the Work Package
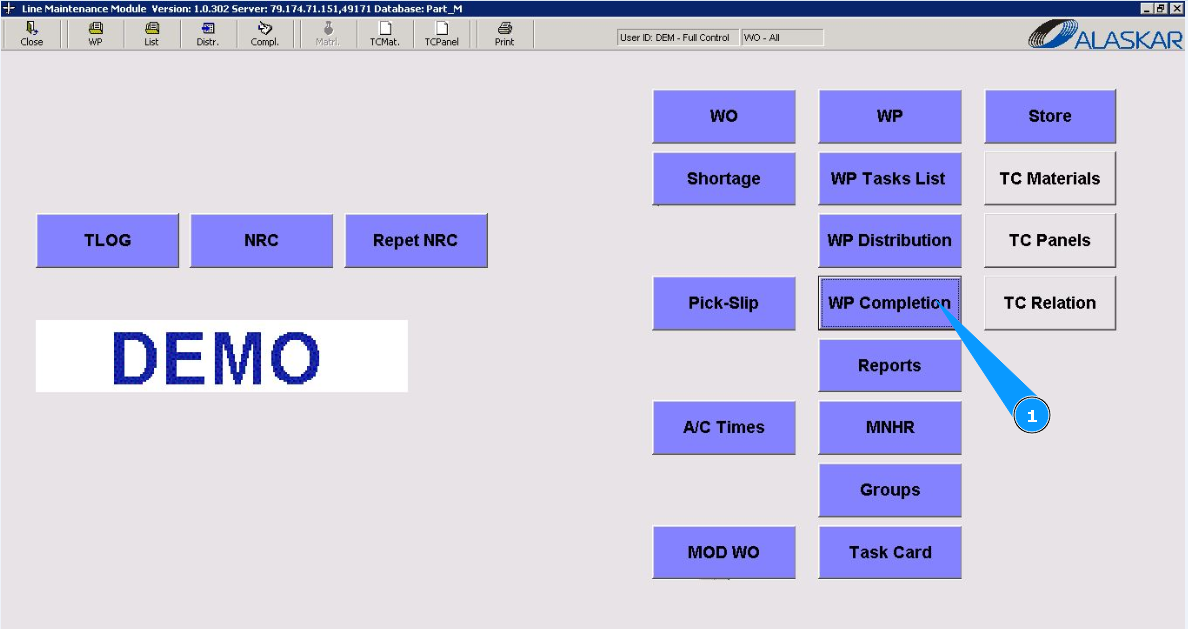
1. In order to close the WP additional job after completion, go to the submodule "WP Completion".
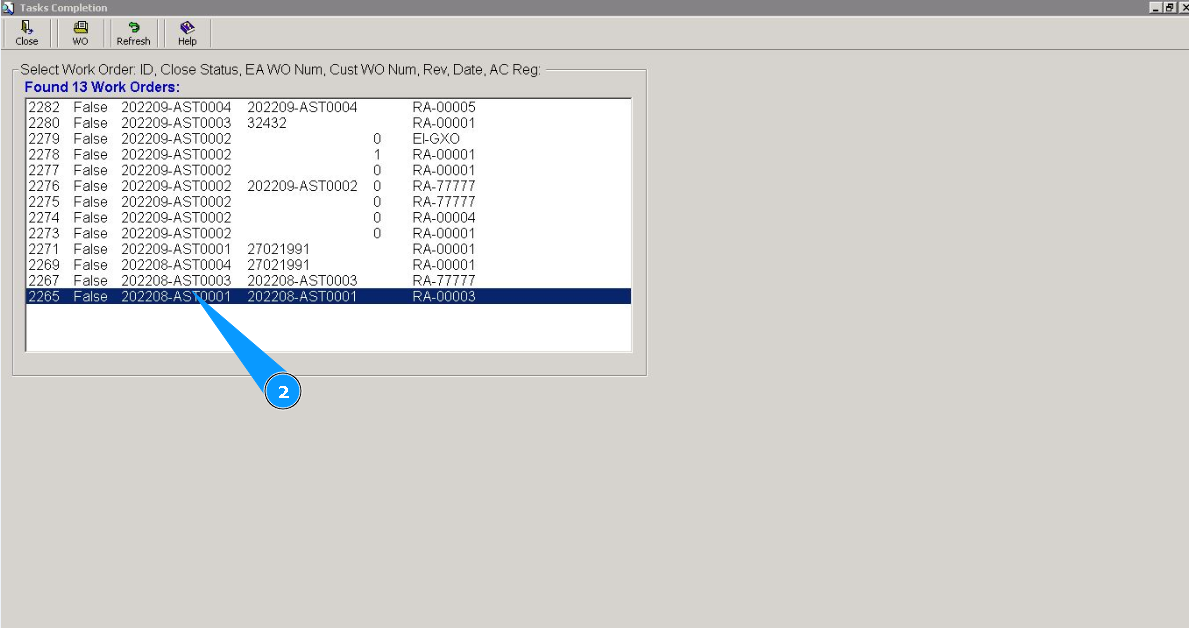
2. Select your required WP from the list for distribution and click on the corresponding line.
3. Then go to the tab "Add. Jobs". Note: If necessary, it is possible to mark the completion in the tab "All".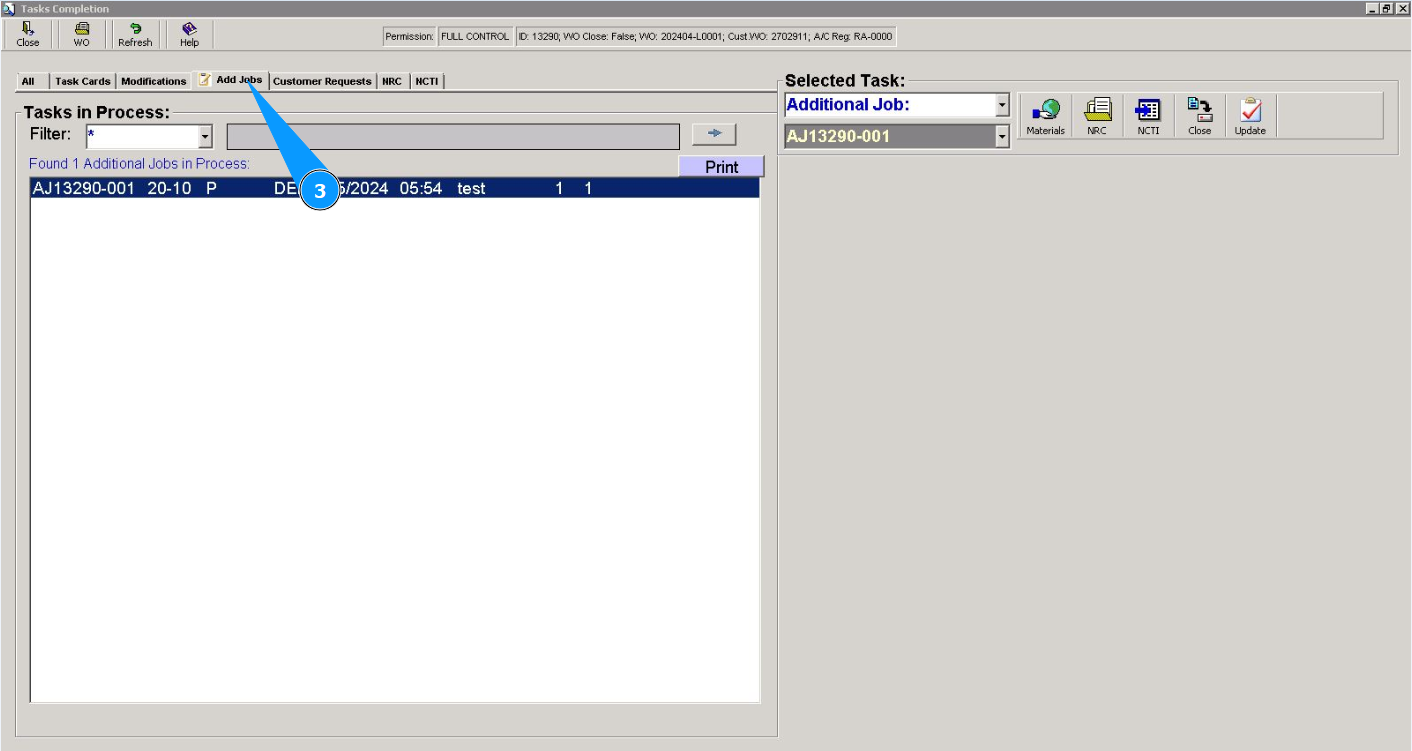
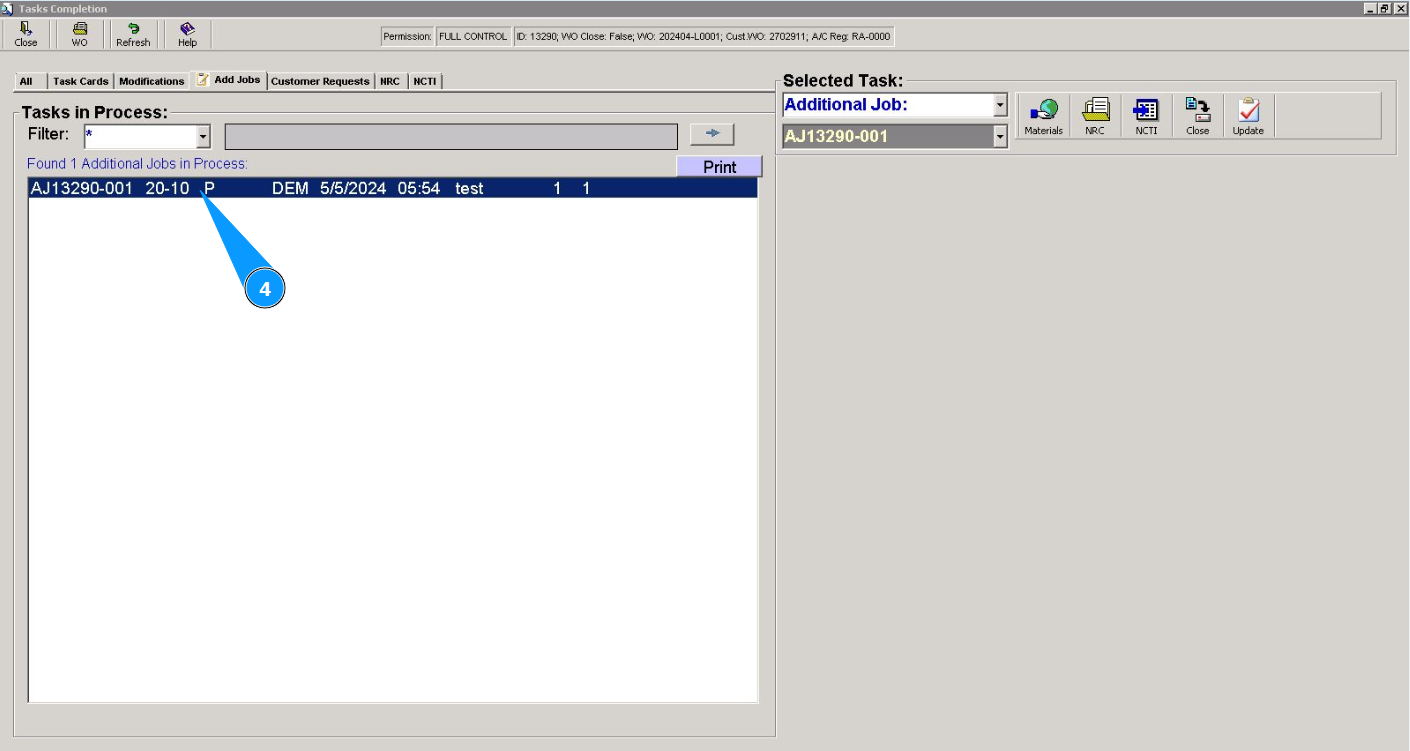
4. Select the additional job to distribute from the list in the window "Addional Jobs in proccess". Click on the line with additional job.
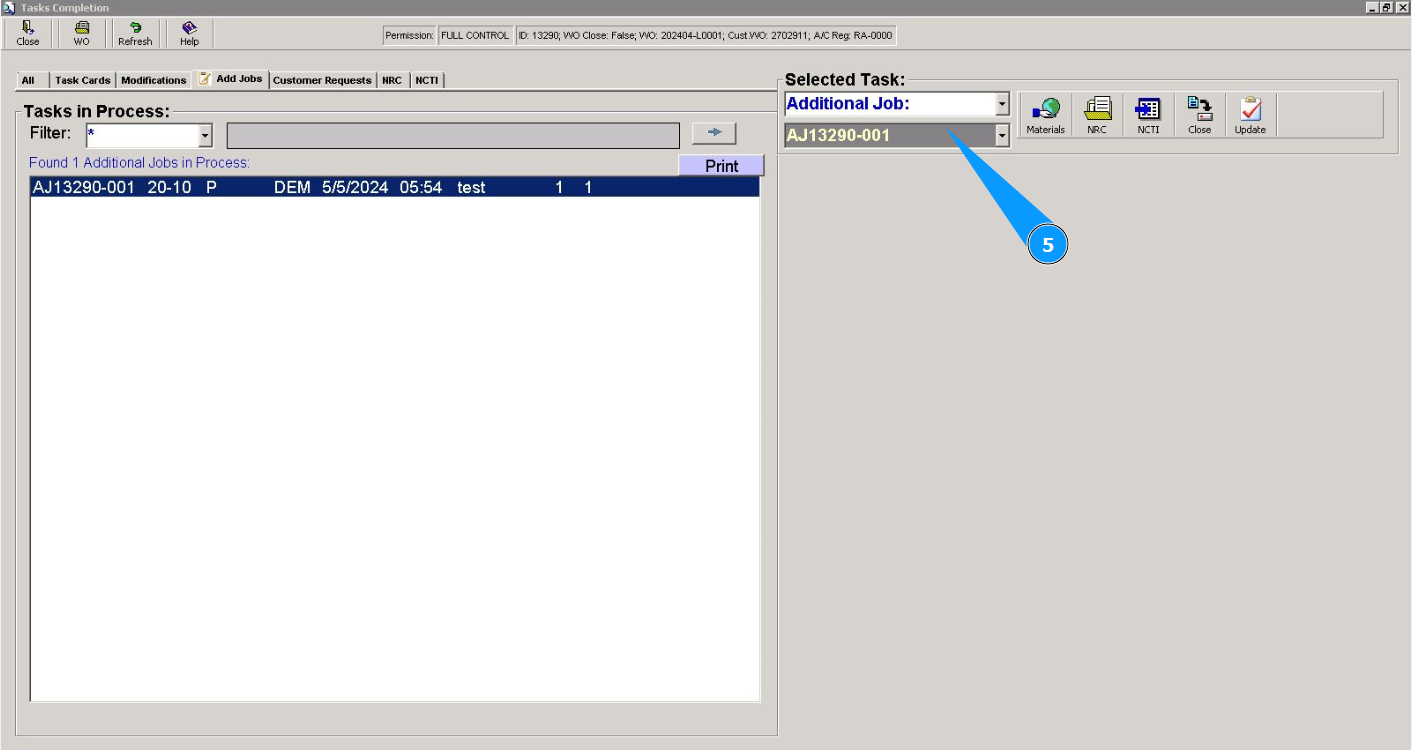
5. Check that the additional job number is displayed in the field "Selected Tasks".
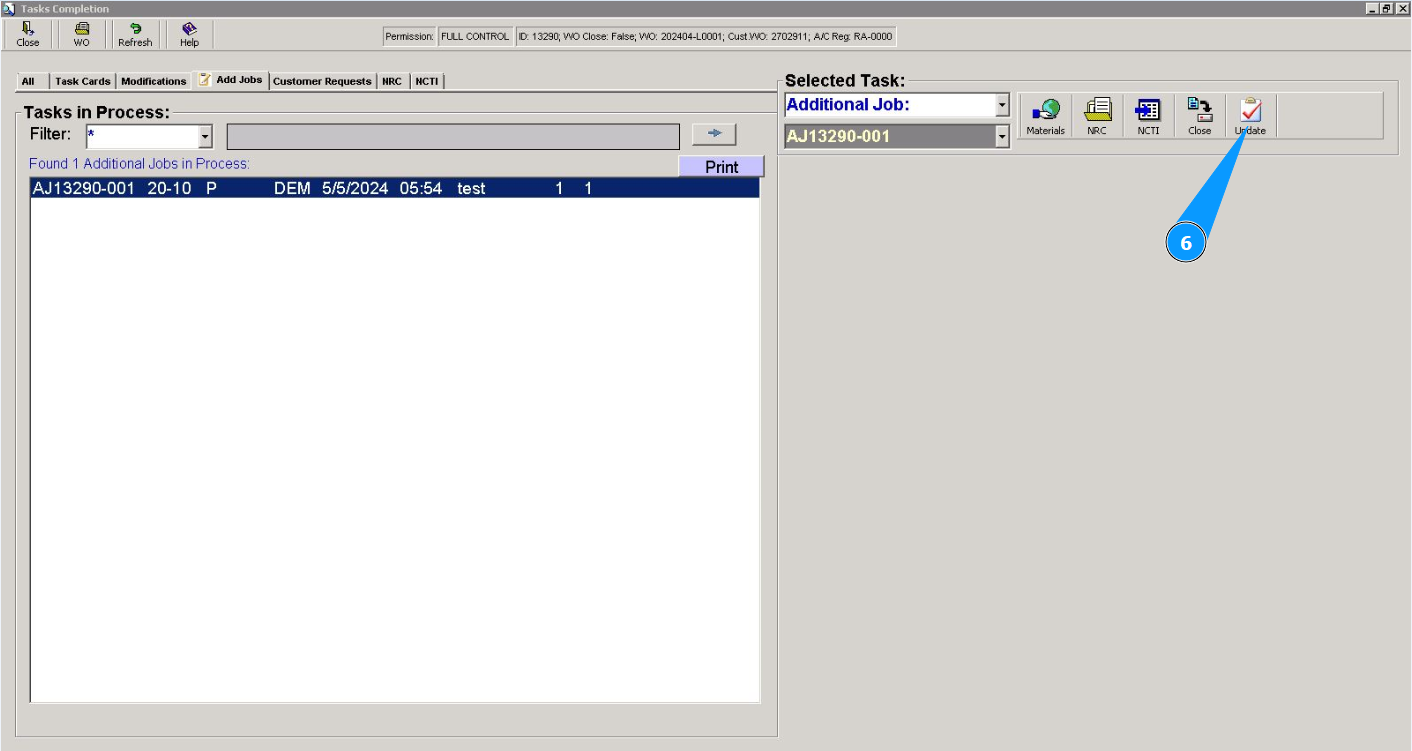
6. Click on the button "Close", to open the additional job editor.
7. Check that the additional job editor is open and accessible in the field "Completion Data".
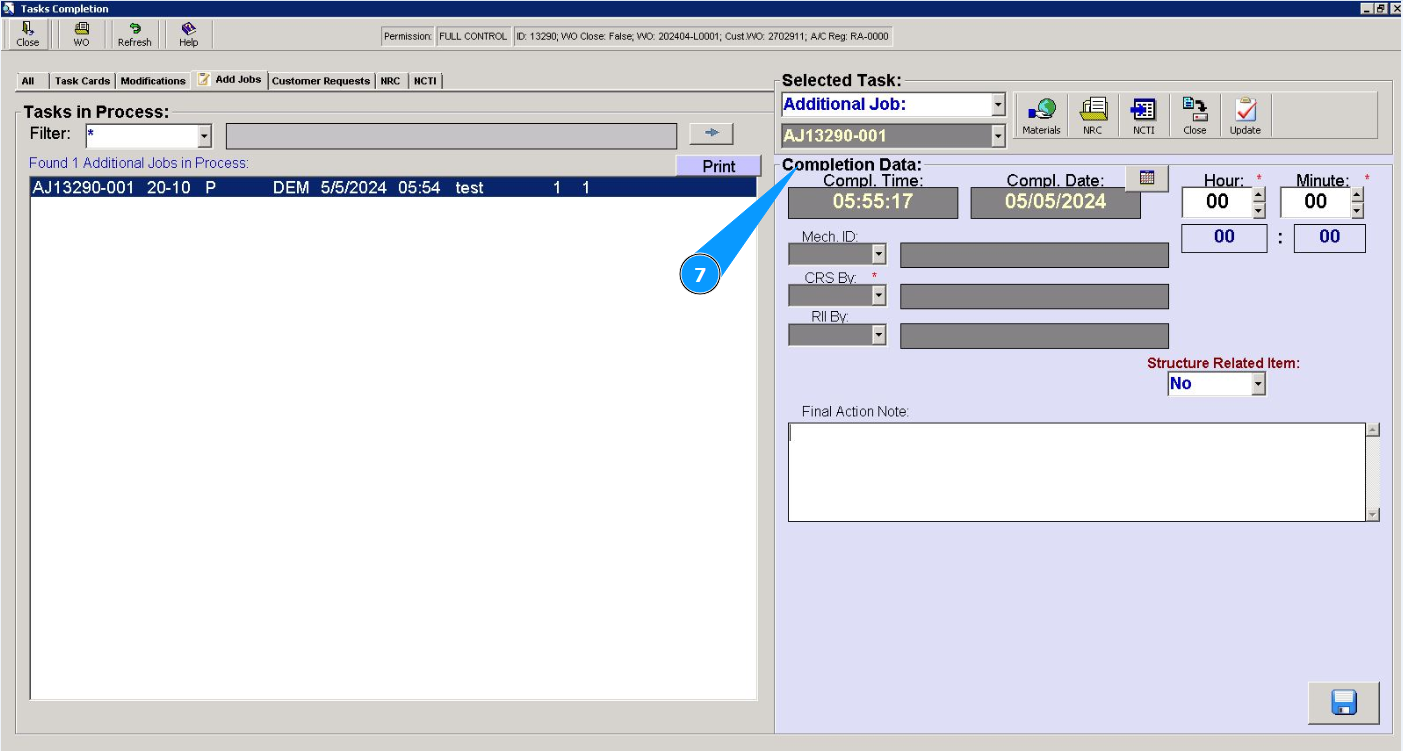
8. Enter the number of spent man-hours in hours in the field "Hour". Note: The time and date fields are filled in automatically when you work with the editor. But if necessary, you can change the current date.
9. Enter the number of spent man-hours in minutes in the field "Minute".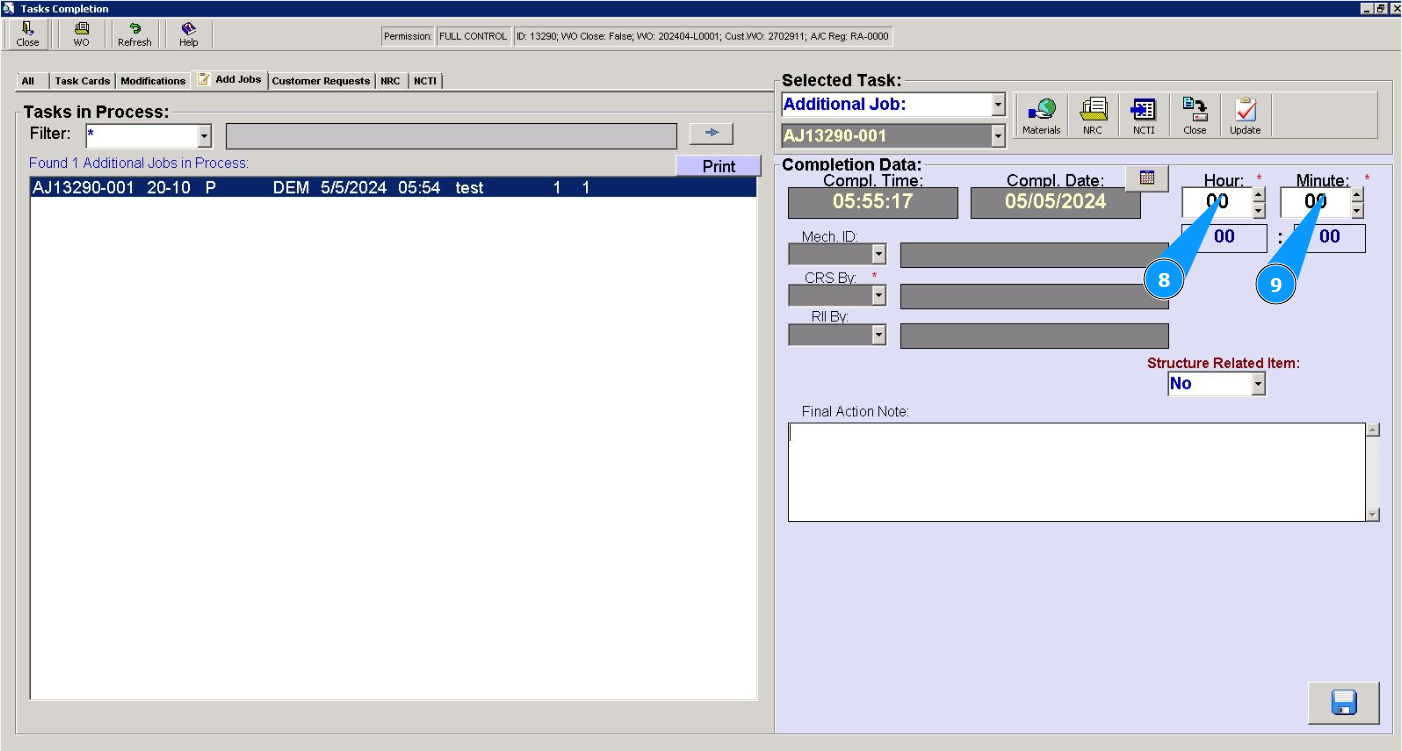
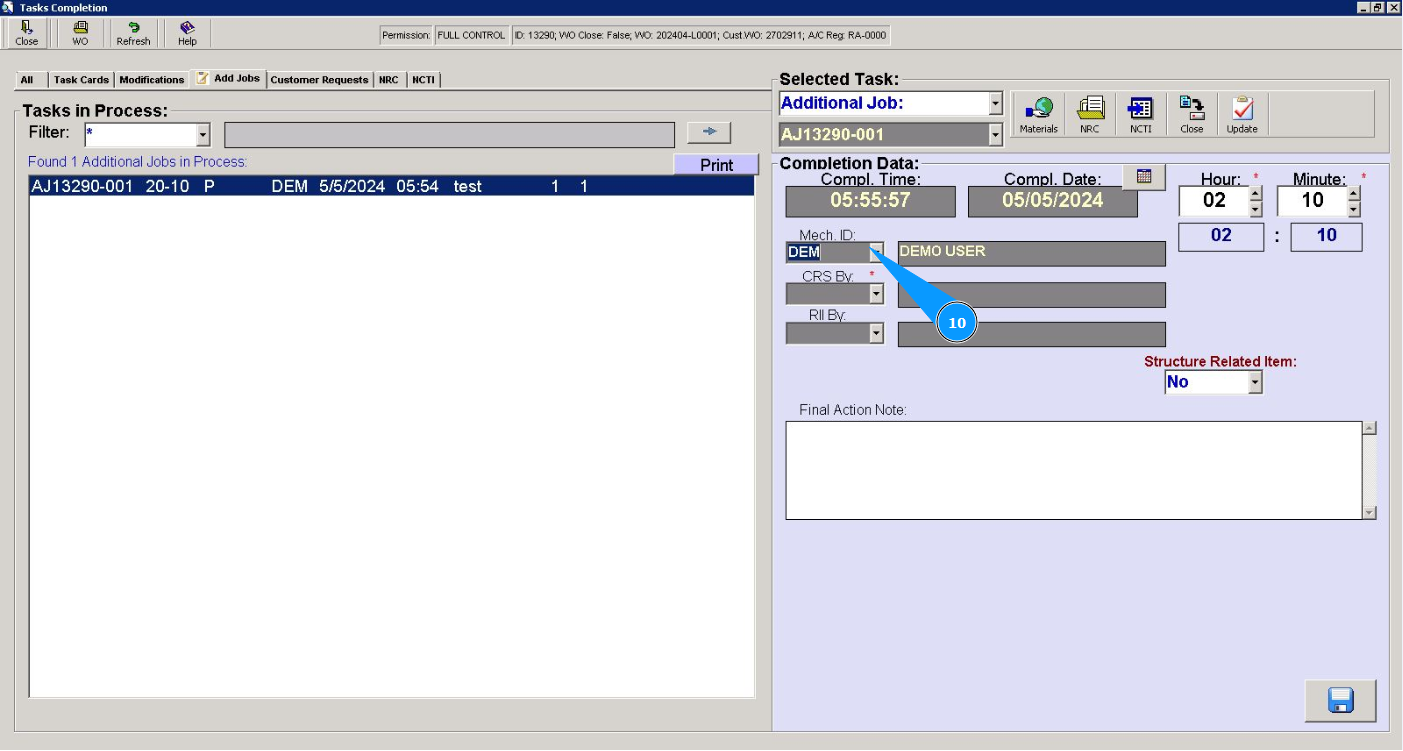
10. Select from dropdown list ID of staff who have performed this additional job in the field "Mech.ID".
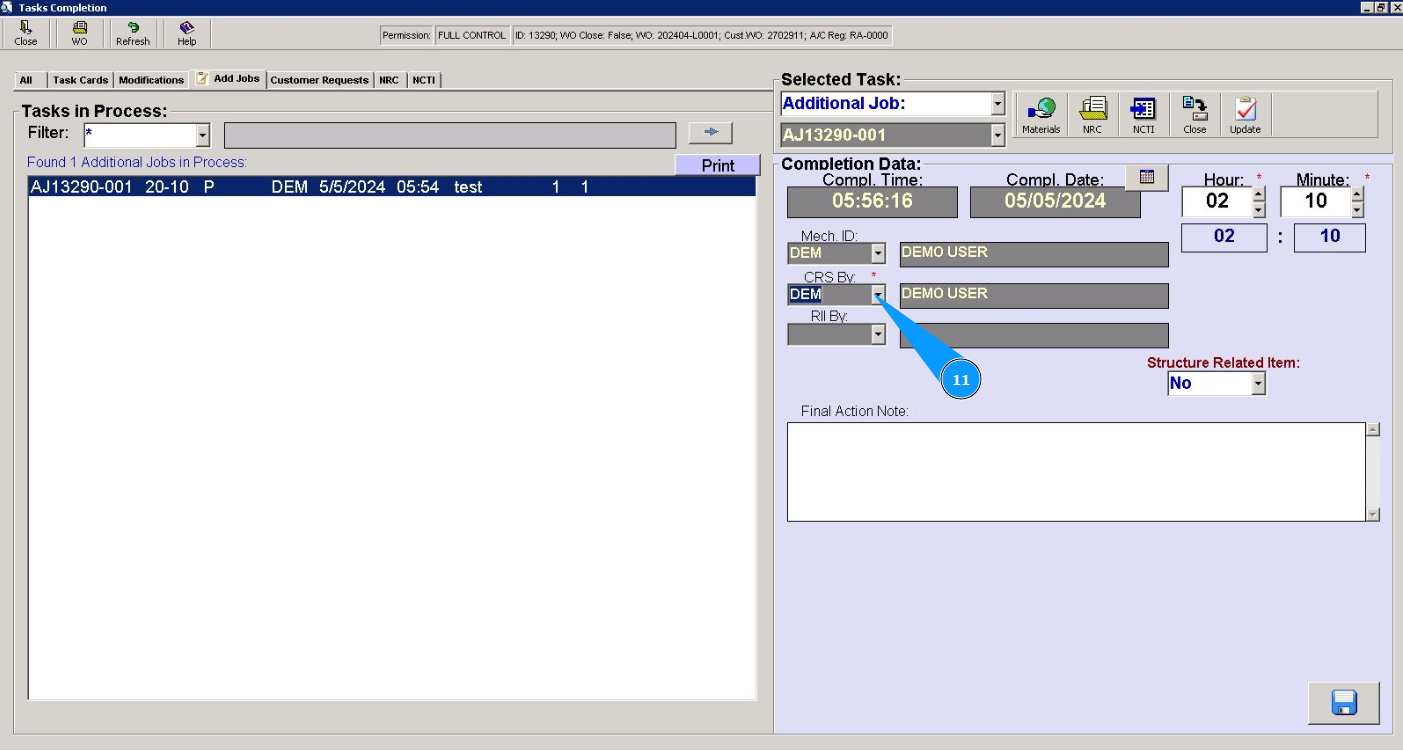
11. Select from dropdown list ID of the certifying staff who has issued CRS in the field "CRS By"
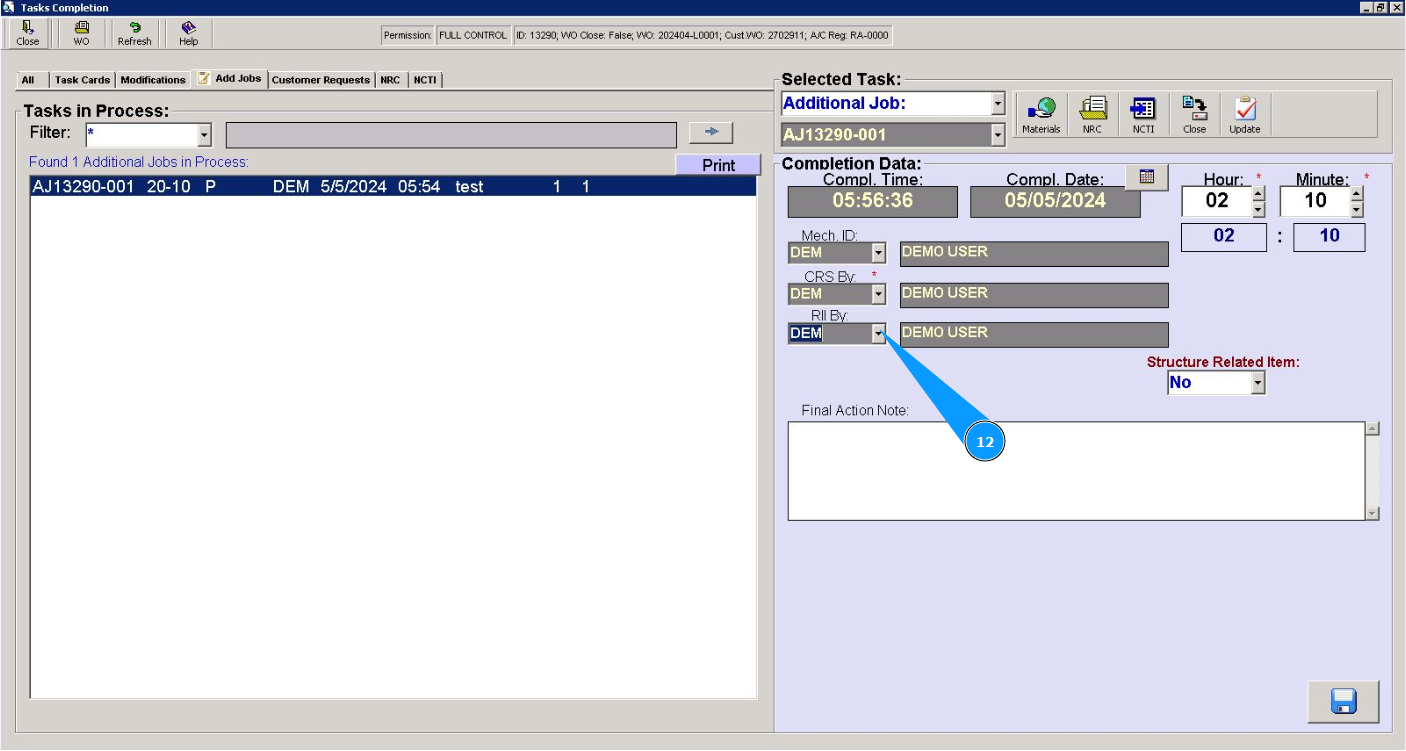
12. If necessary, select from dropdown list ID of the certifying staff who has inspected the performed additional job in the field "RII By".
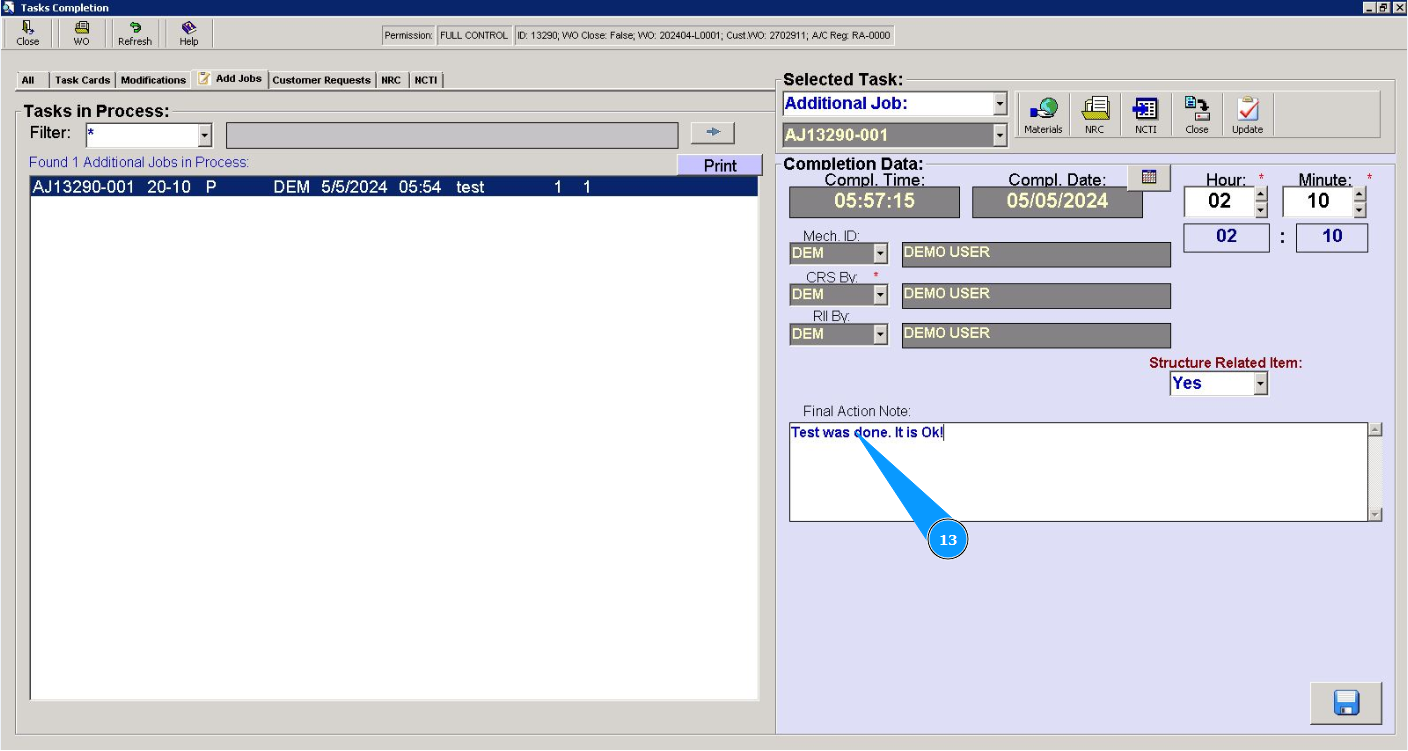
13. If necessary, enter information about possible final comments in the field "Final Action Note".
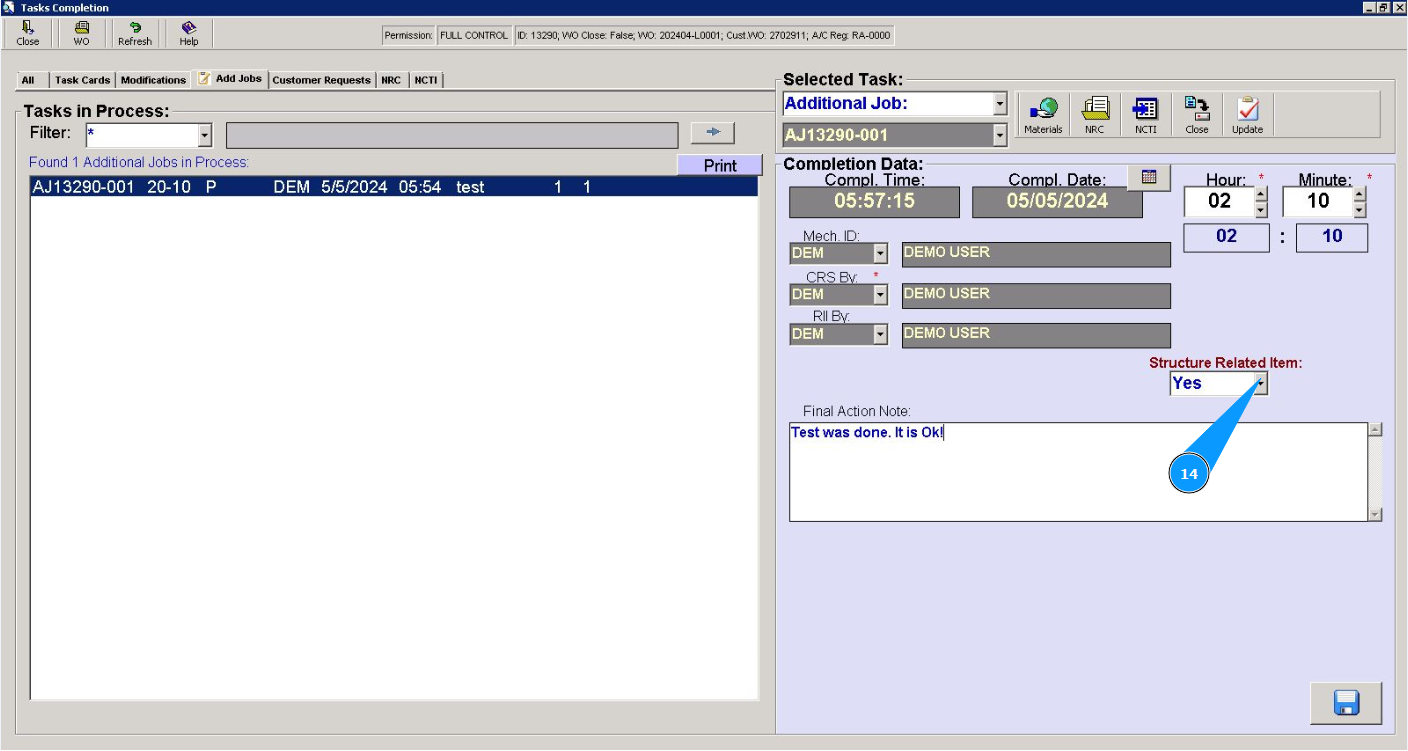
14. If necessary, select "Yes" from the dropdown list if the additional work involves structural repairs in the field "Structure Related Item".
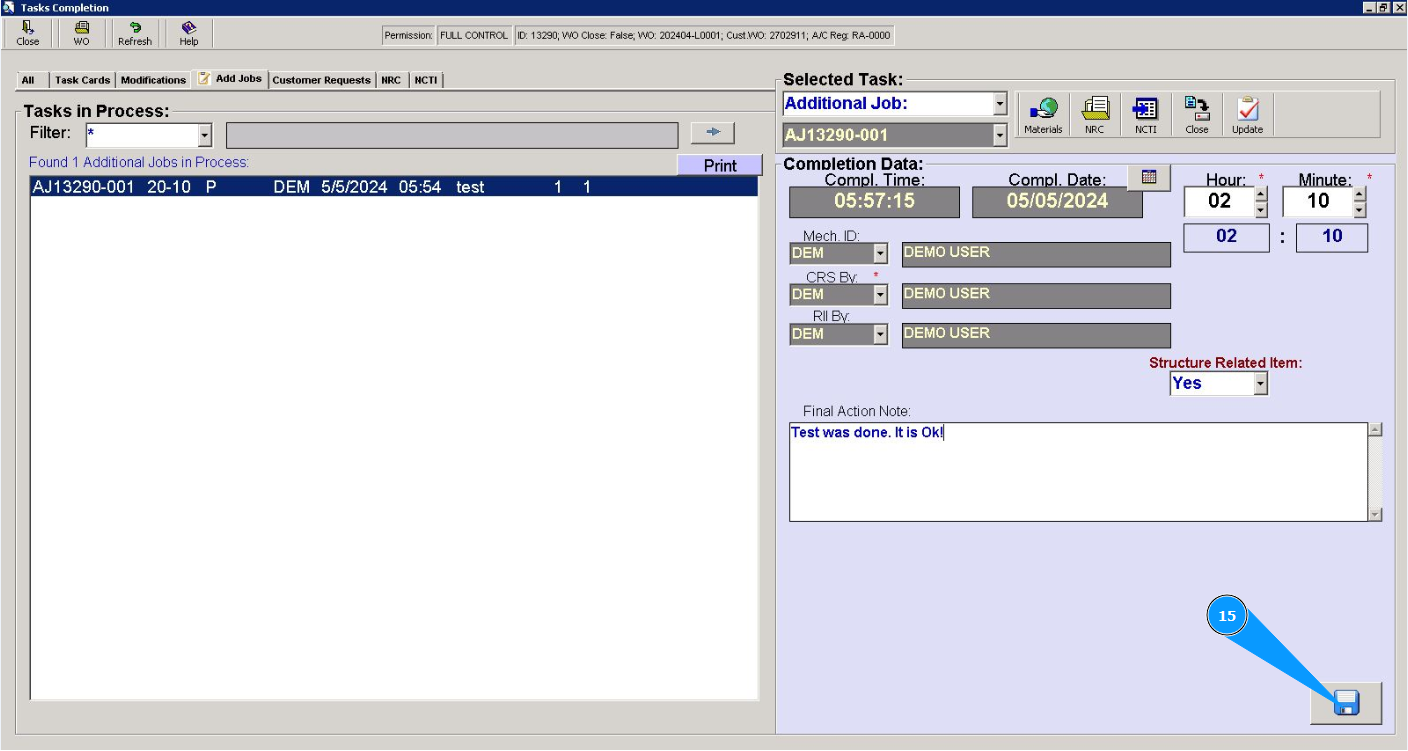
15. Click on the button with a floppy disk symbol to save the completed additional job to the program.
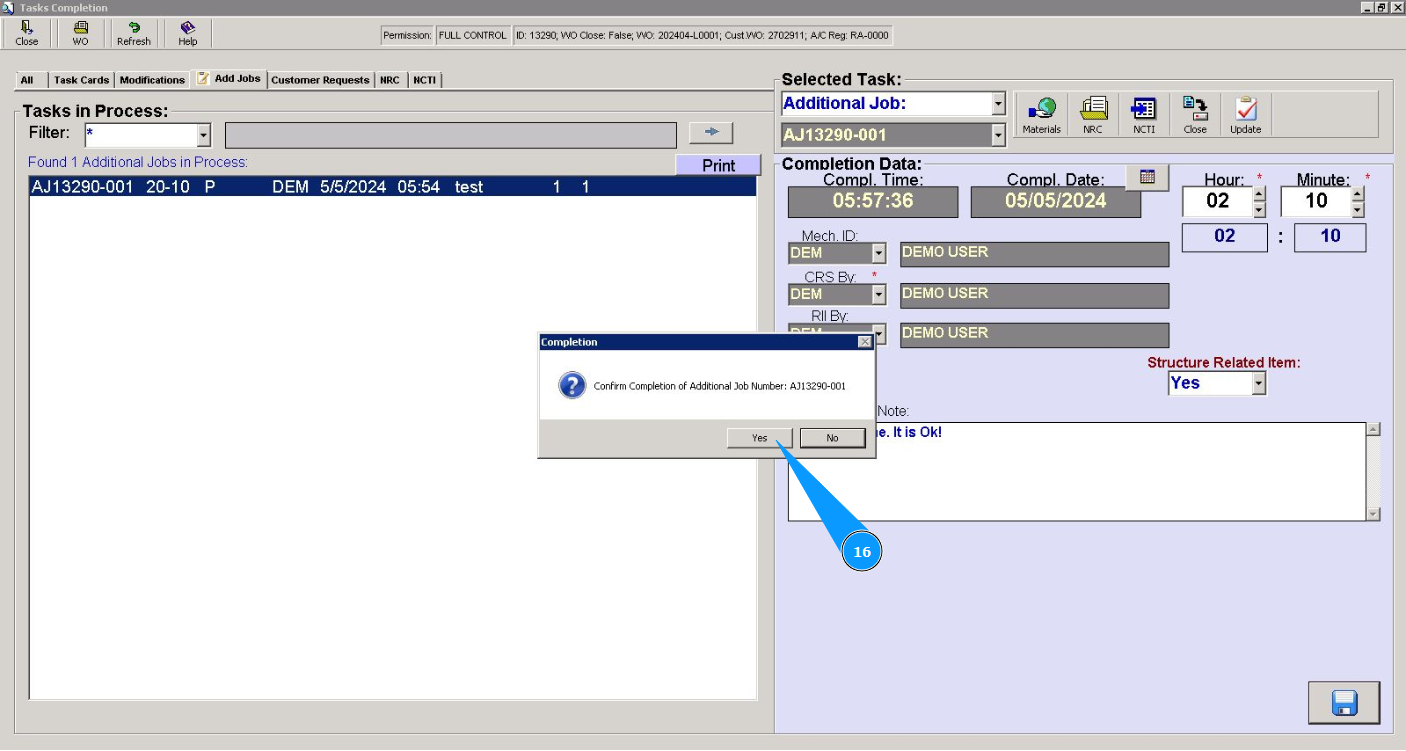
16. Click on the button "Yes", to confirm the completion of the additional job.
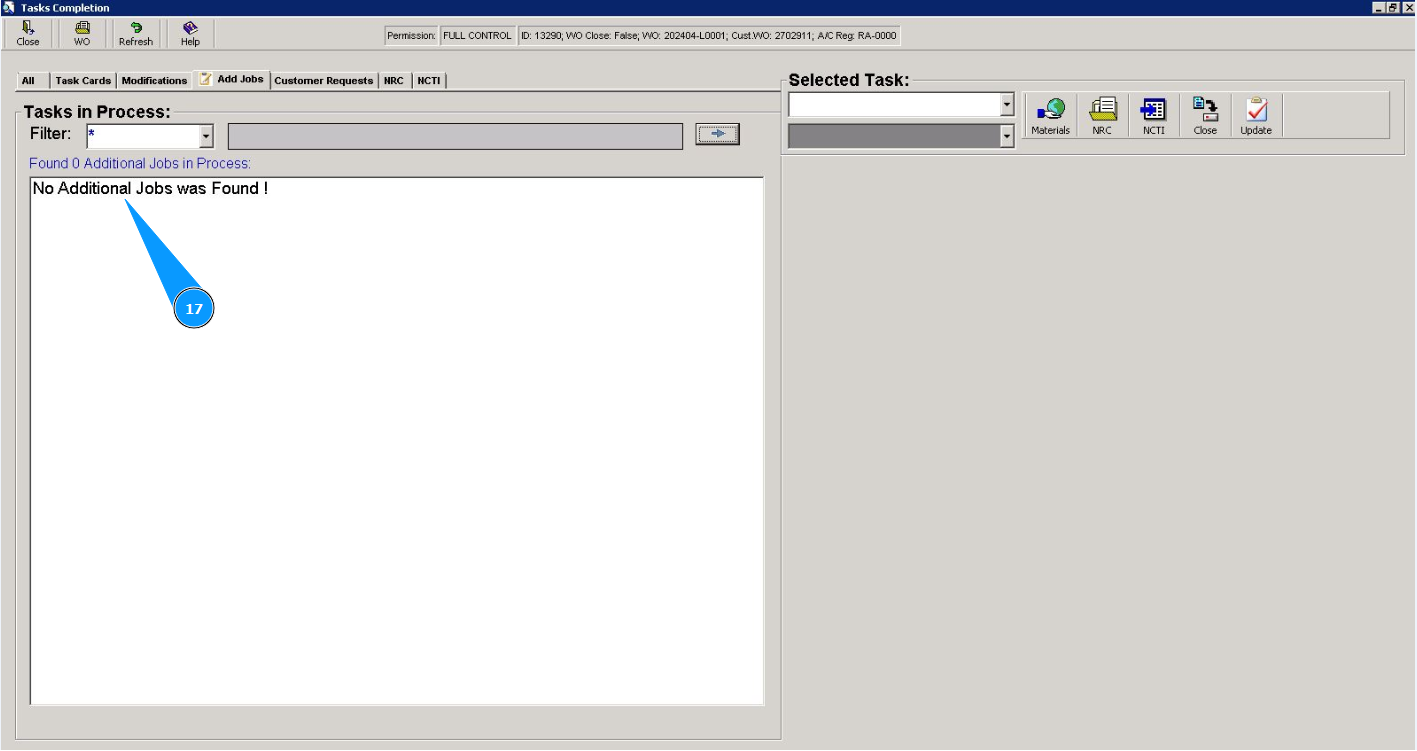
17. Check that the required additional job has disappeared from the list in the window "Addional Jobs in proccess".