How to create a NRC for damage
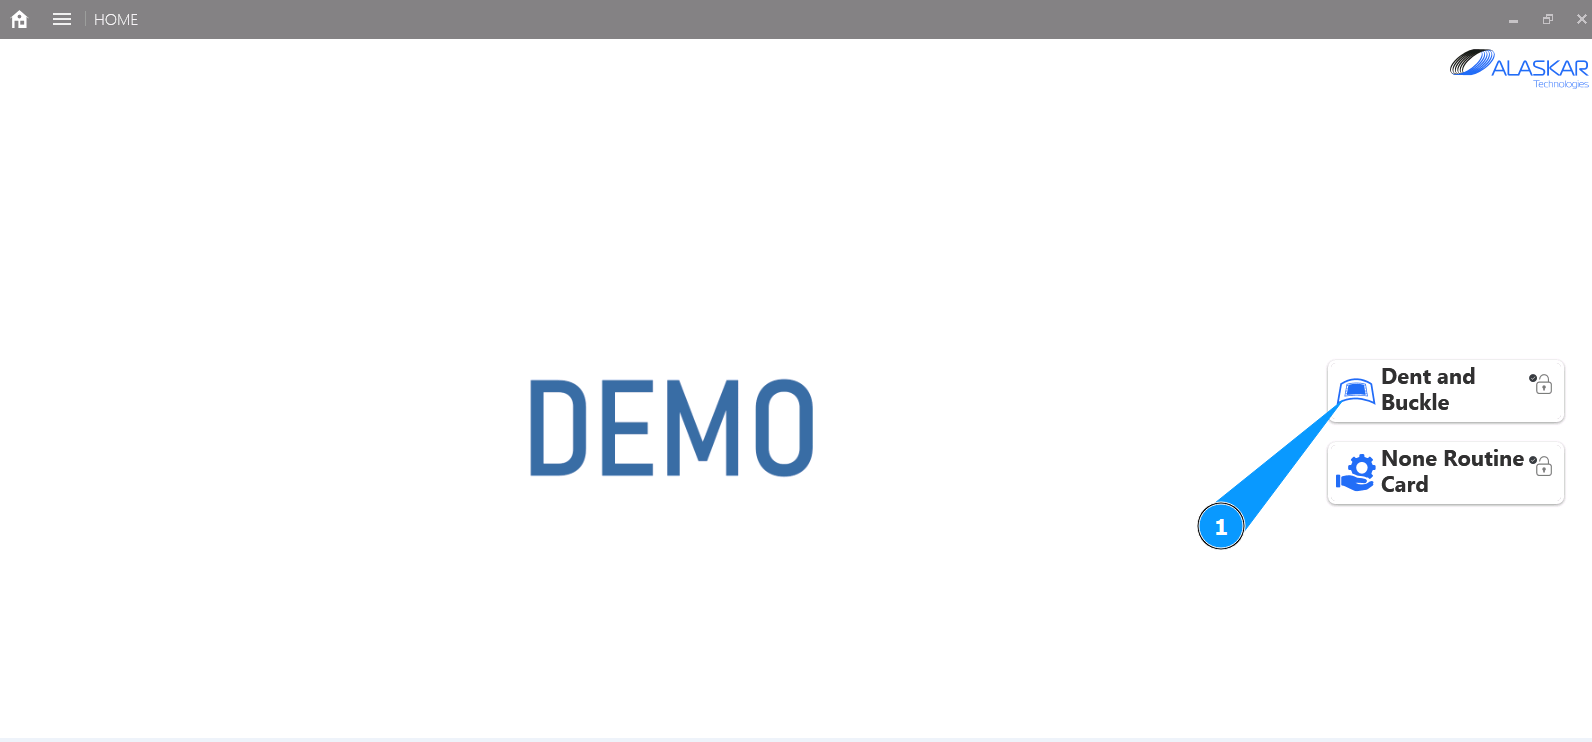
1. In order to create a NRC for damage, go to the submodule "Dent and Buckle".
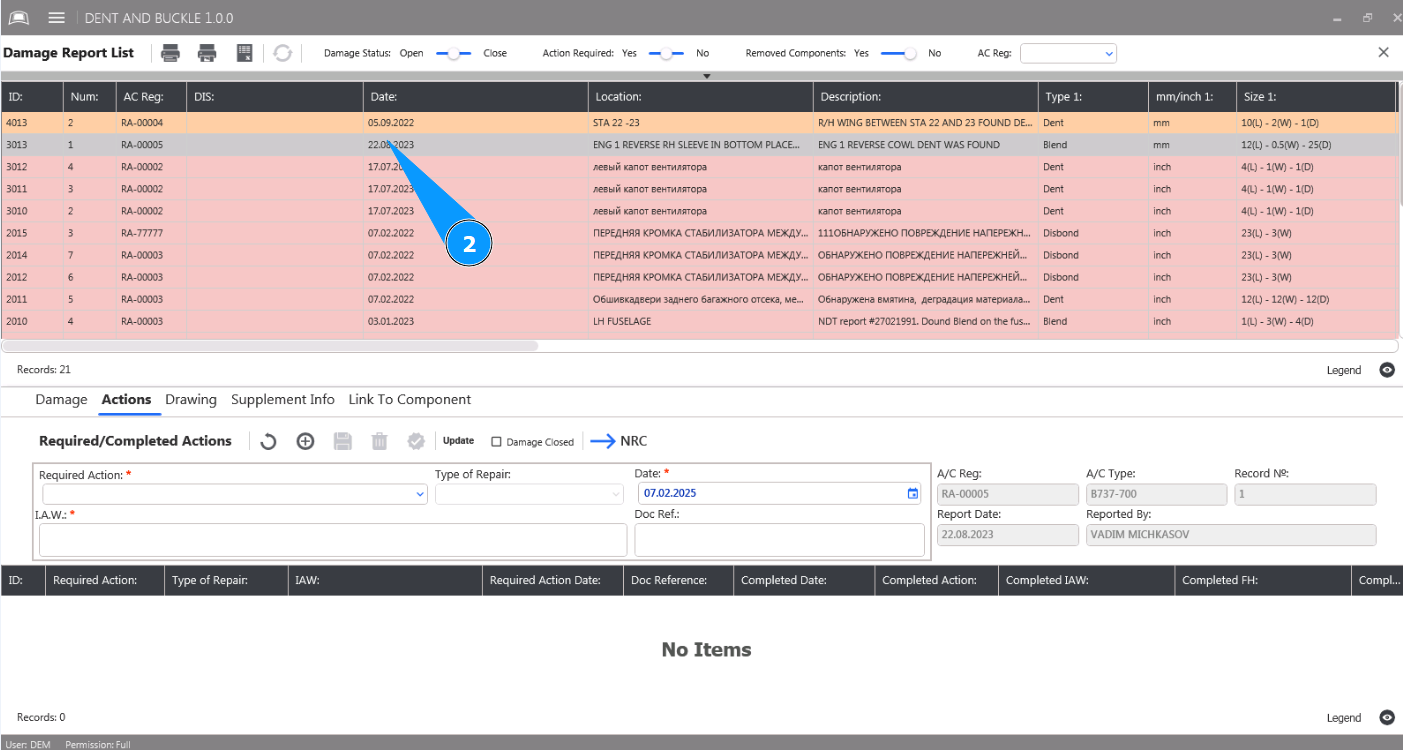
2. Select damage from the list to create an NRC and click on the corresponding line in the window "Damage Report List".
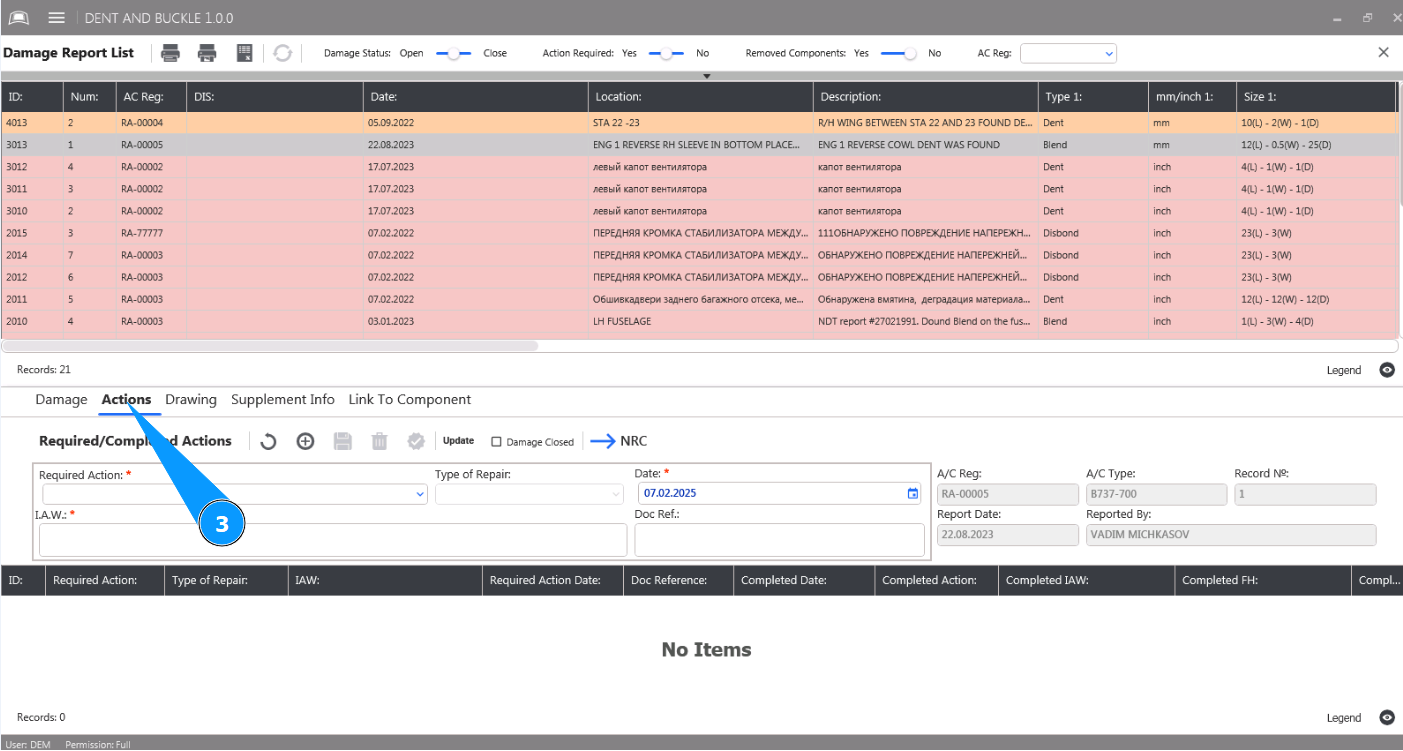
3. Then go to the tab "Actions".
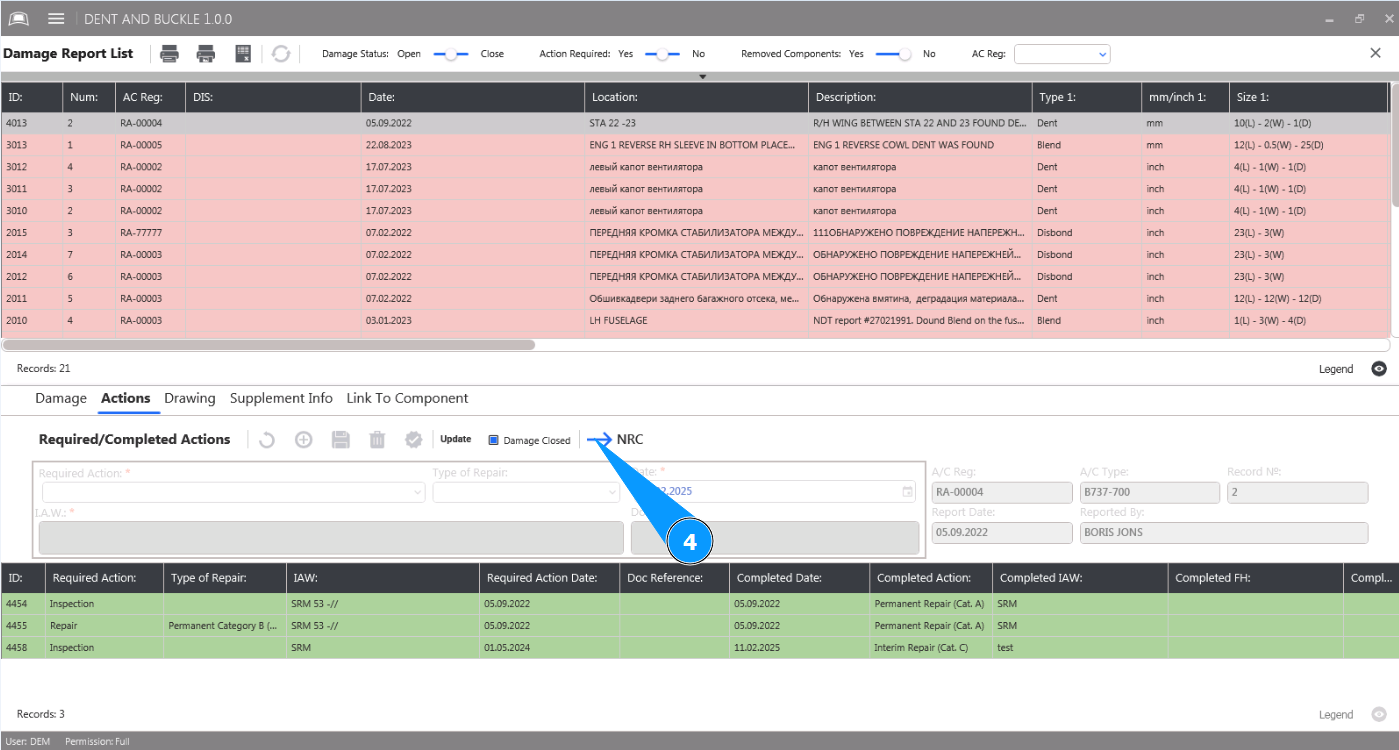
4. Click on the button "NRC Editor Open".
5. Enter the aircraft registration number in the field "A/C Reg." or select from the dropdown list. Note: The registered NRC number in the field "Non-Routine Card " is assigned automatically. The first digits indicate the year and month the NRC was created, followed by the serial number as it was created.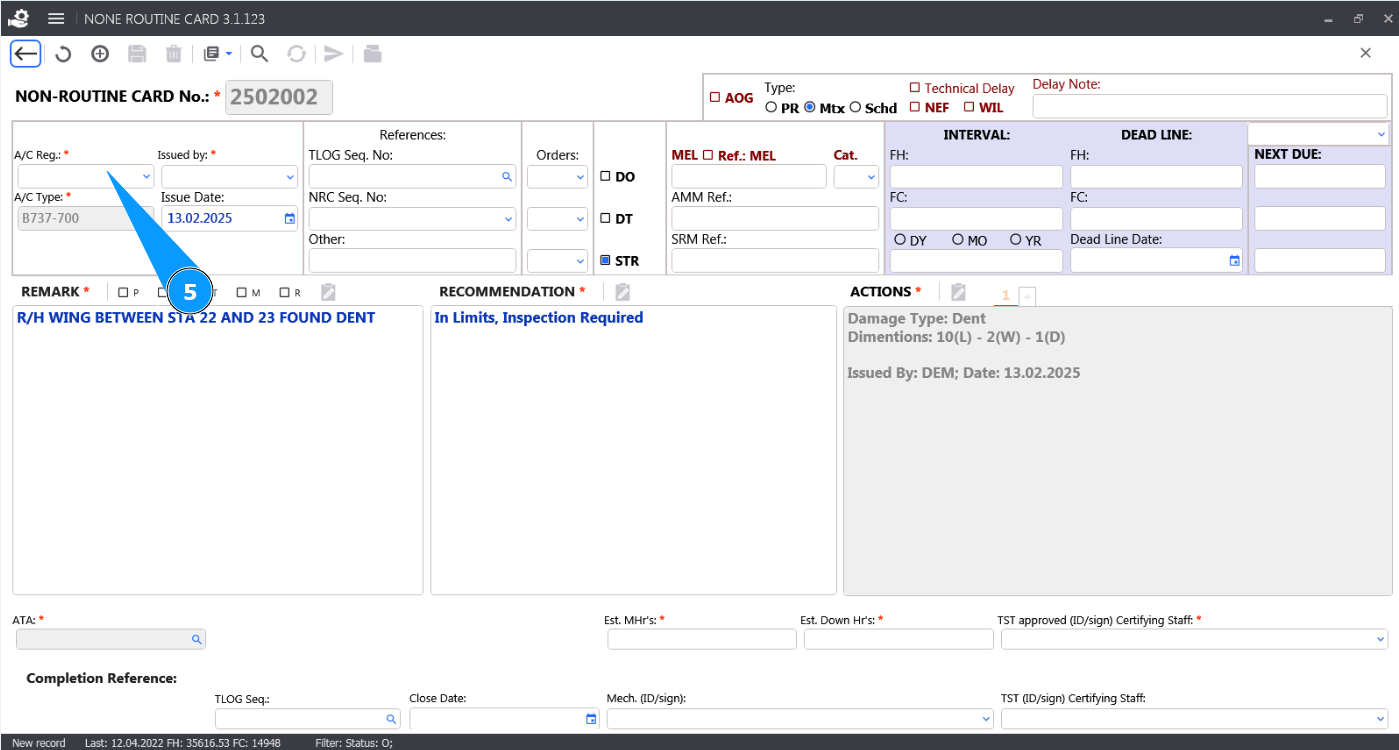
6. Enter the initials of the NRC performer or creator (as appropriate for your company) in the field "Issued by" or select from the dropdown list. Note: The aircraft type in the field "A/C Type" is assigned automatically by the program.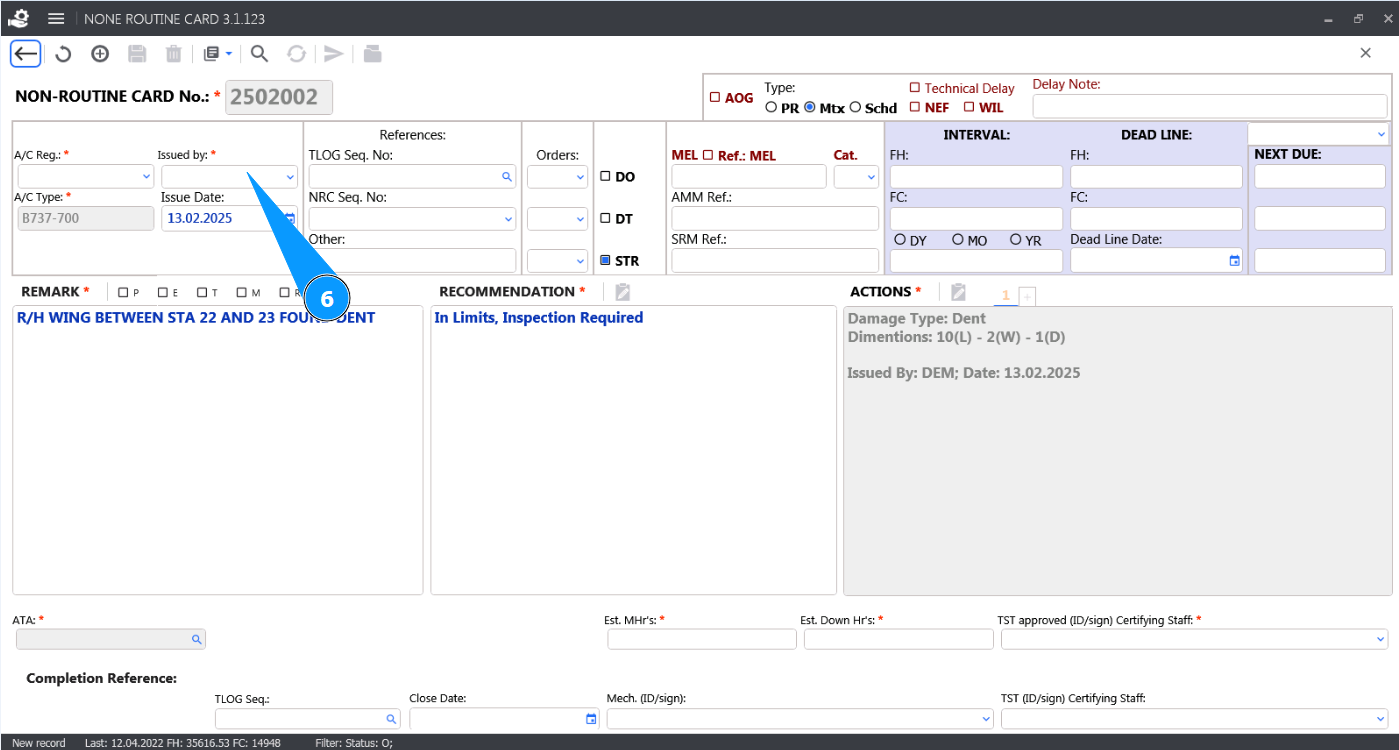
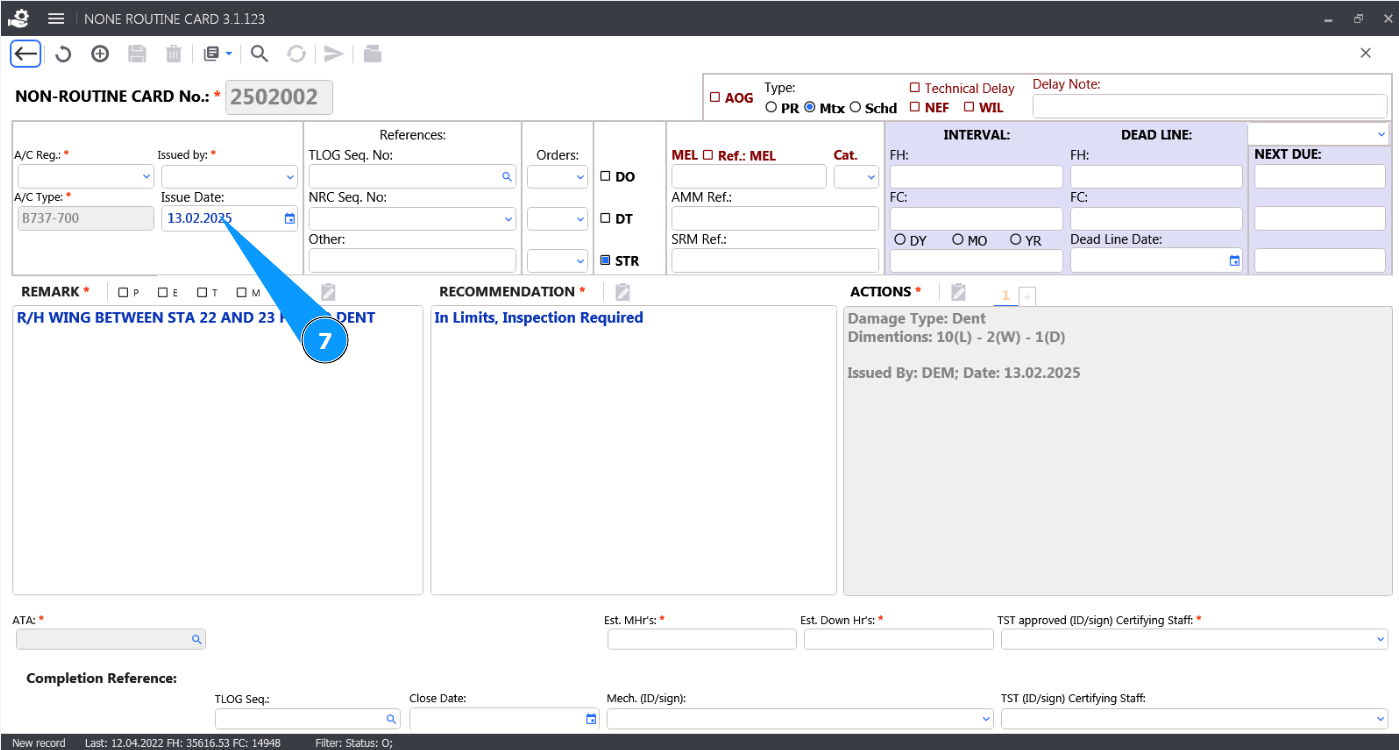
7. Enter the date the NRC was created in the field "Issue Date" or select from the calendar.
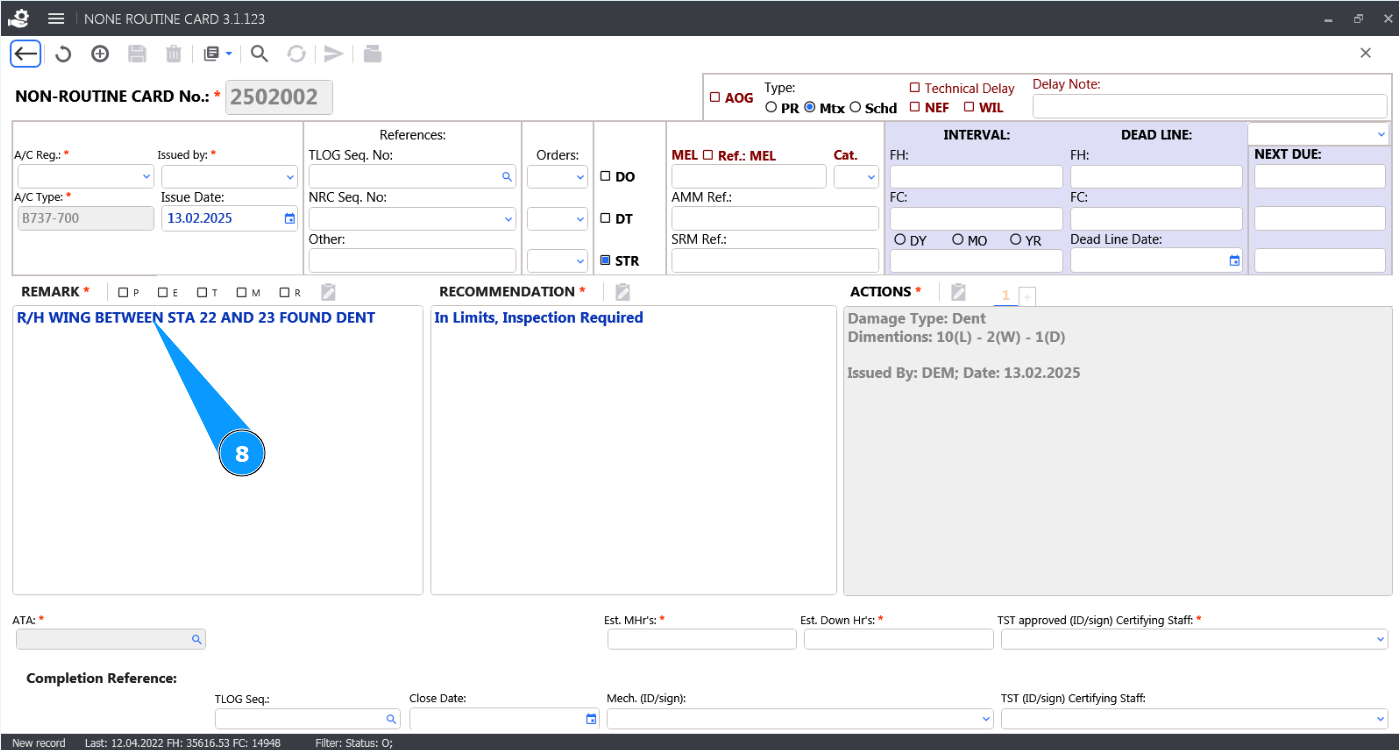
8. If necessary, correct the description of the damage in the field "Remark", click on the button "Open Correction".
9. If necessary, correct the recommended actions on damage in the field "Recommendation", click on the button "Open Correction".

10. If necessary, correct the descriptive part of the actions performed on damage in the field "Actions", click on the button "Open Correction".

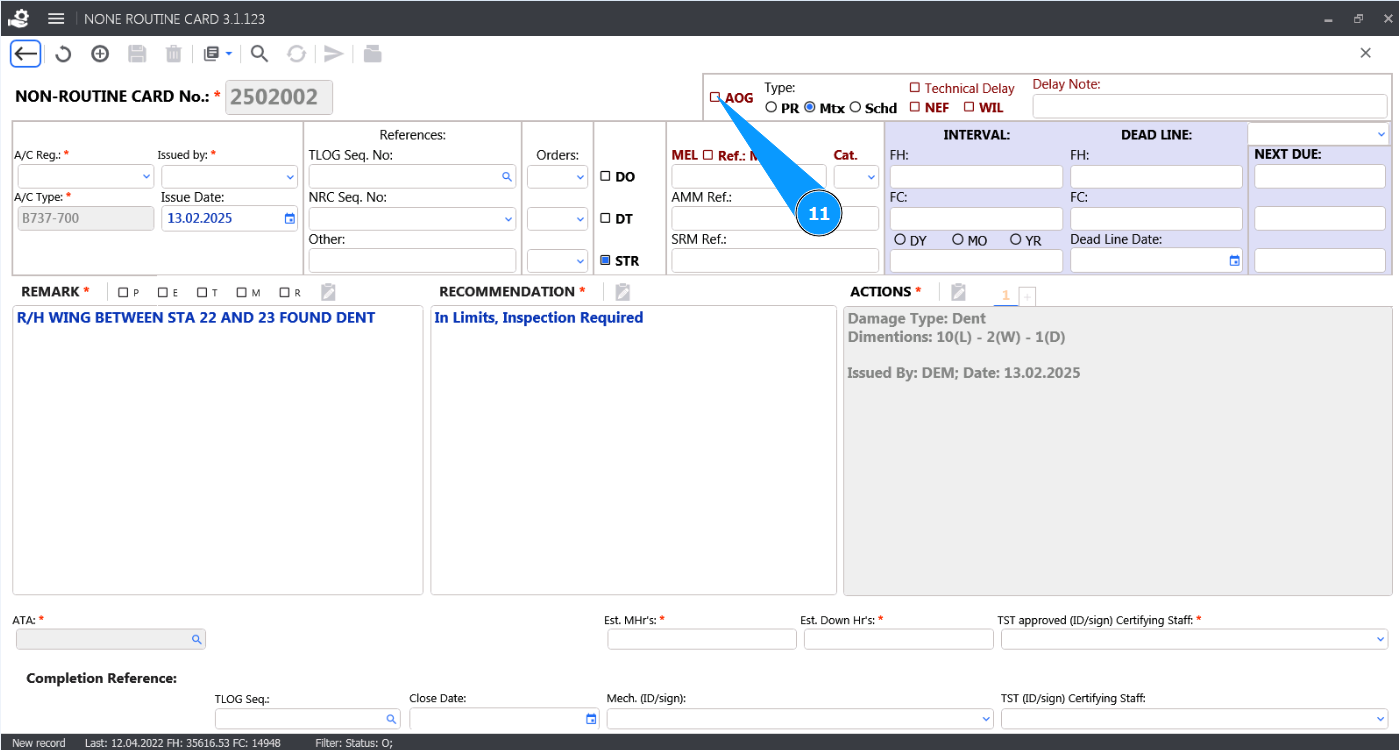
11. If the aircraft is on the ground and cannot take off, click in the field "AOG" to determine the "Aircraft on the ground" status.
12. If necessary, enter the damage record marker in the fields: "Pr.", "Mtx" "Schd", "NEF", "WIL".

13. If necessary, enter the flight delay marker in the field "Technical Delay".

14. Enter the flight delay reason or code in the field "Delay Note".

15. If necessary, enter the NRC repeatability criteria in the fields "Inspection Interval", "Deadline", "Next Due".

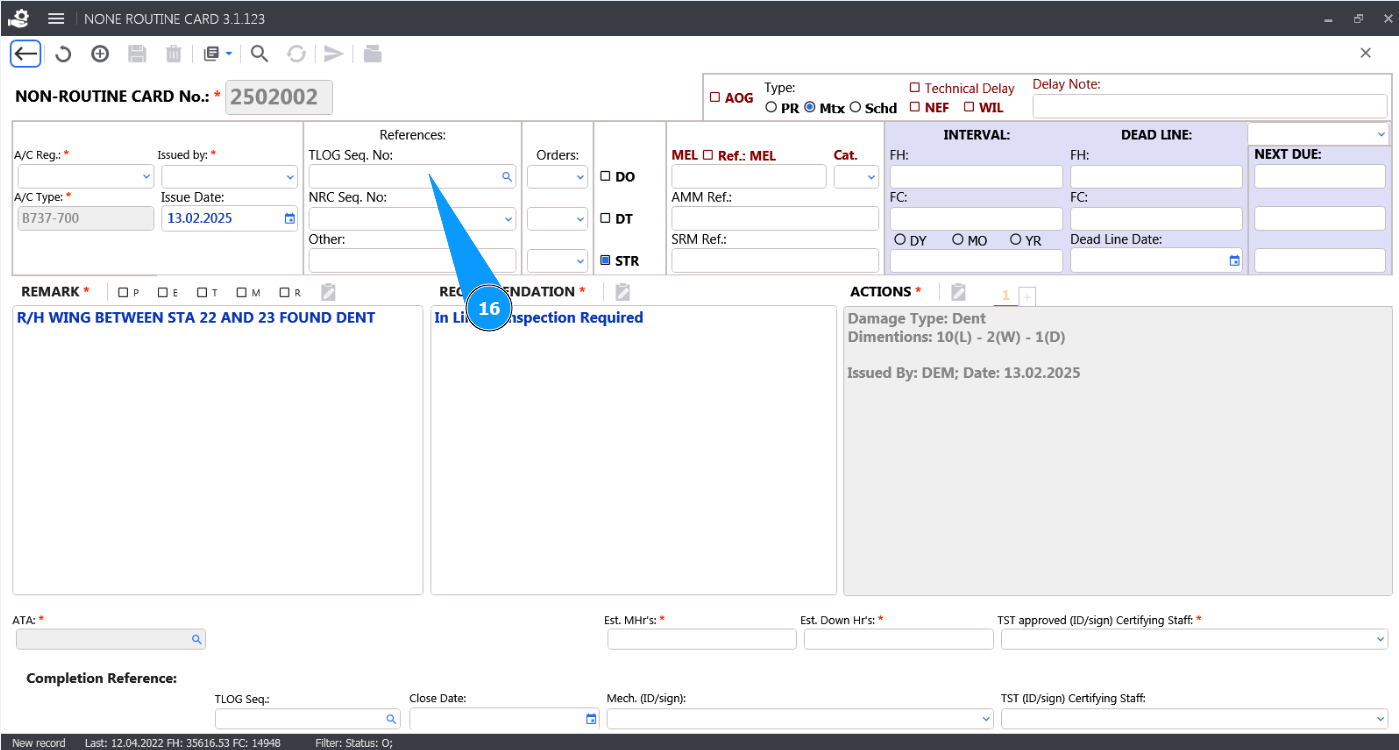
16. If necessary, fill in the reference fields in the window: "References", including the logbook number.
17. If the malfunction was postponed by MEL, fill in the corresponding fields in the window: "MEL".

18. To enter the ATA number, click on the field of the same name "ATA".

19. Select the required line with ATA from the drop-down list by scrolling and clicking on the corresponding line.

20. Click on the button "Select" to add the ATA data to the program.

21. Enter the estimated man-hours in the field "Est.MHr's".
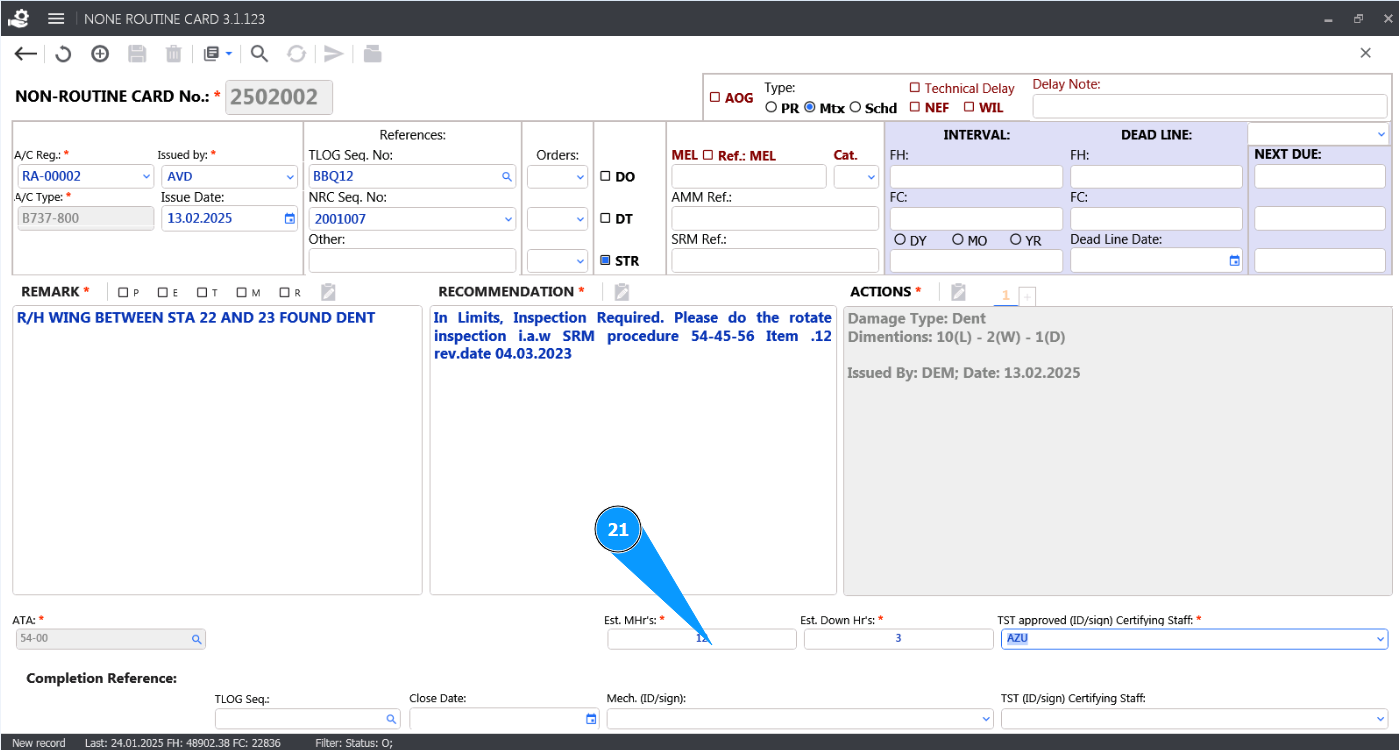
22. Enter the estimated aircraft downtime in the field "Down Hr's".

23. Enter the initials of the NRC performer or creator (as per your company policy) in the field "TST approved (ID/Sign) Certifying Staff" or select from the dropdown list.

24. Click on the button "Add" to add the NRC to the program.

25. Click on the button "Yes" to confirm entering the data into the program.

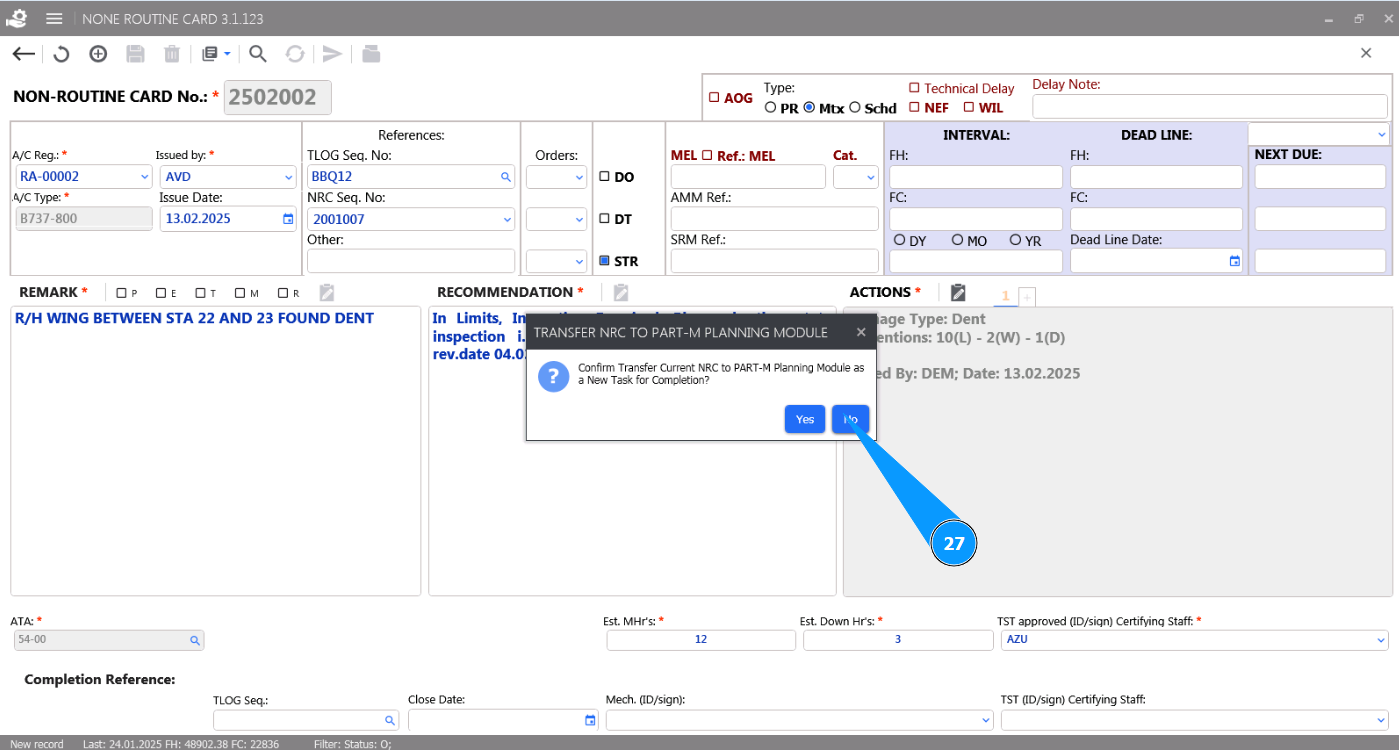
26. Click on the button "Yes" if you want your NRC to be included in the "Planning" section so that planners can track the due dates.

27. Click on the button "No" if you do not want your NRC to be planned and included in the "Planning" section.
28. Check for the newly created NRC to appear in the submodule "NRC Card".
