How to enter damages of engine blades
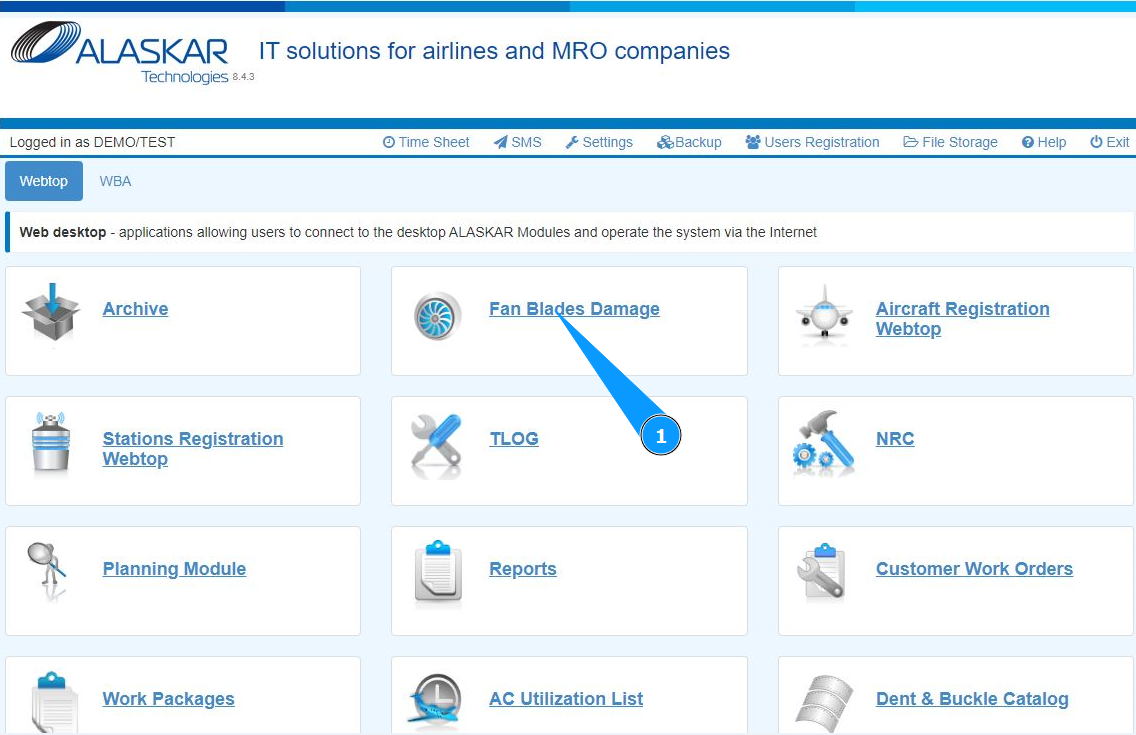
1. In order to enter damages of engine blades, go to the submodule "Fan Blades Damages".
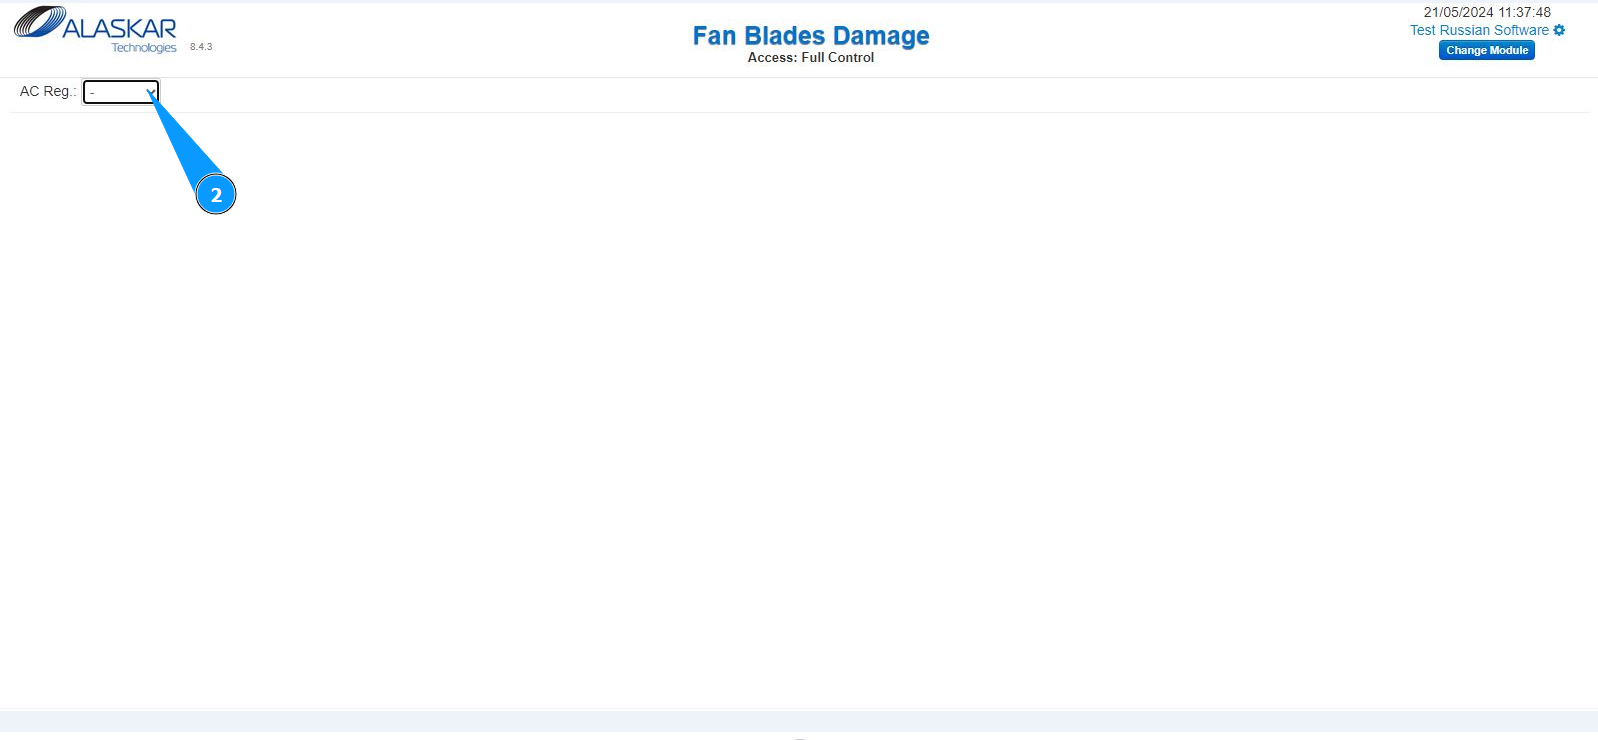
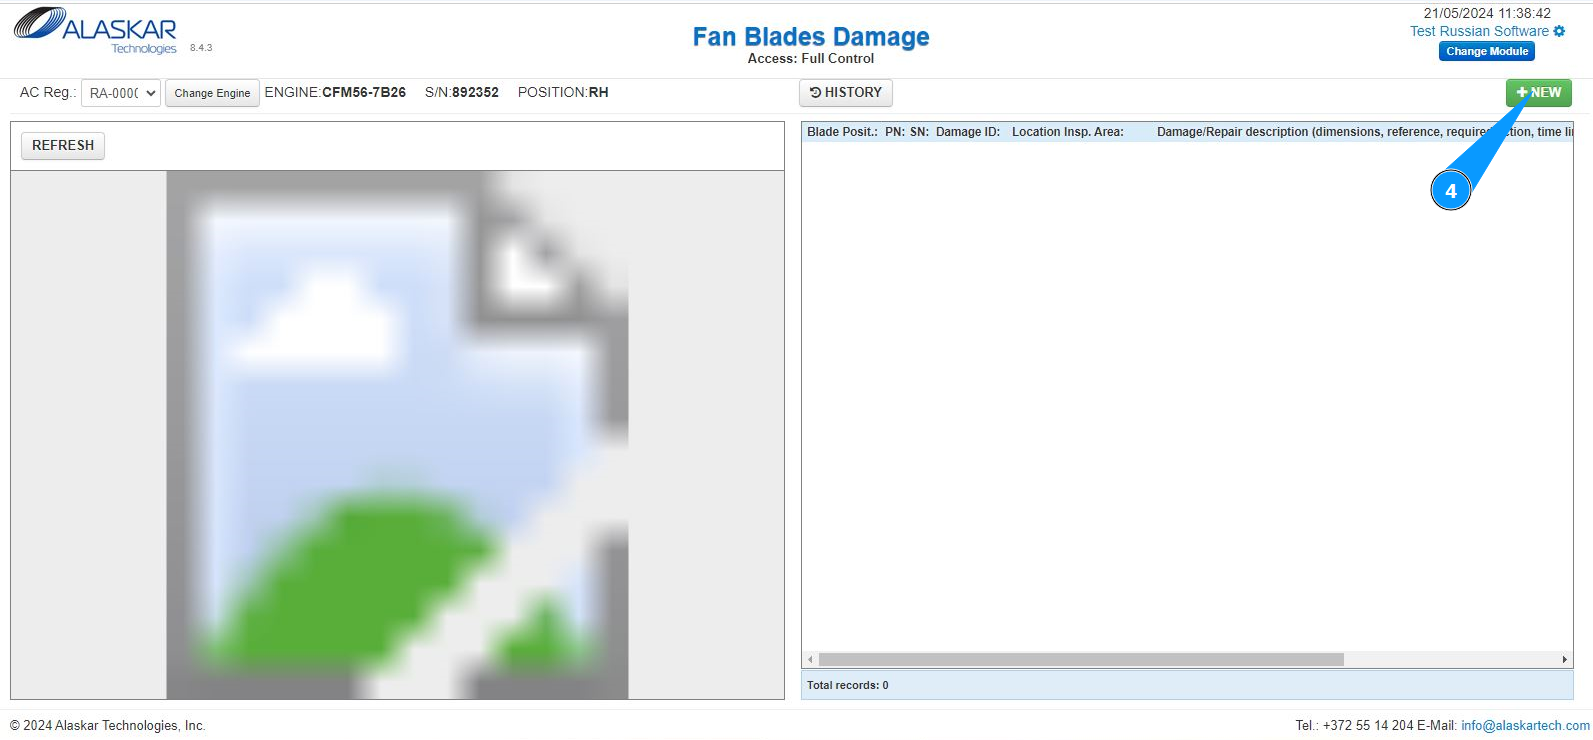
2. Select the aircraft registration number from the dropdown list, in the field "AC reg.".
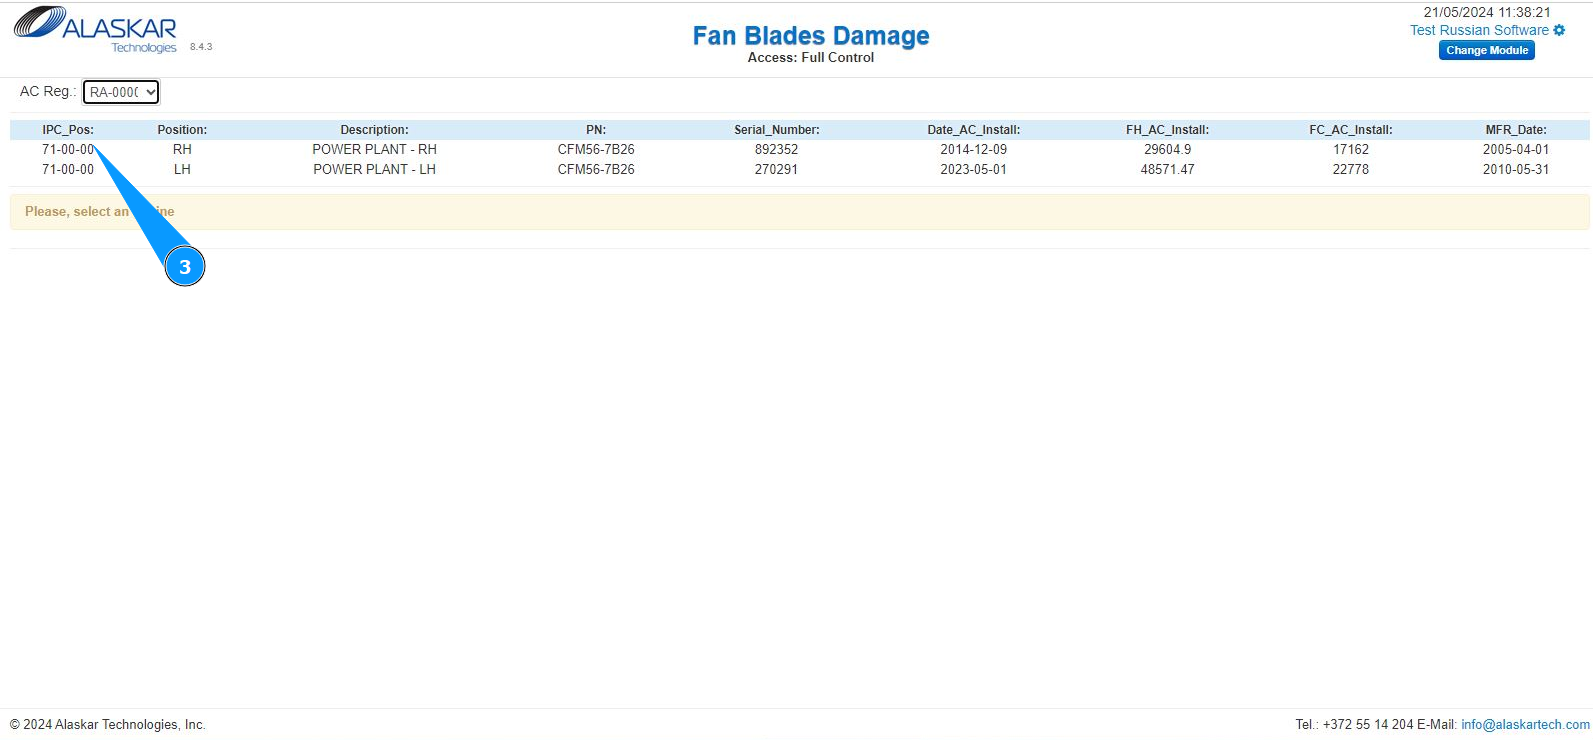
3. Select the required engine to enter information about damage of blades and click on the corresponding line.
4. Click on the button "New", to begin entering damage data.
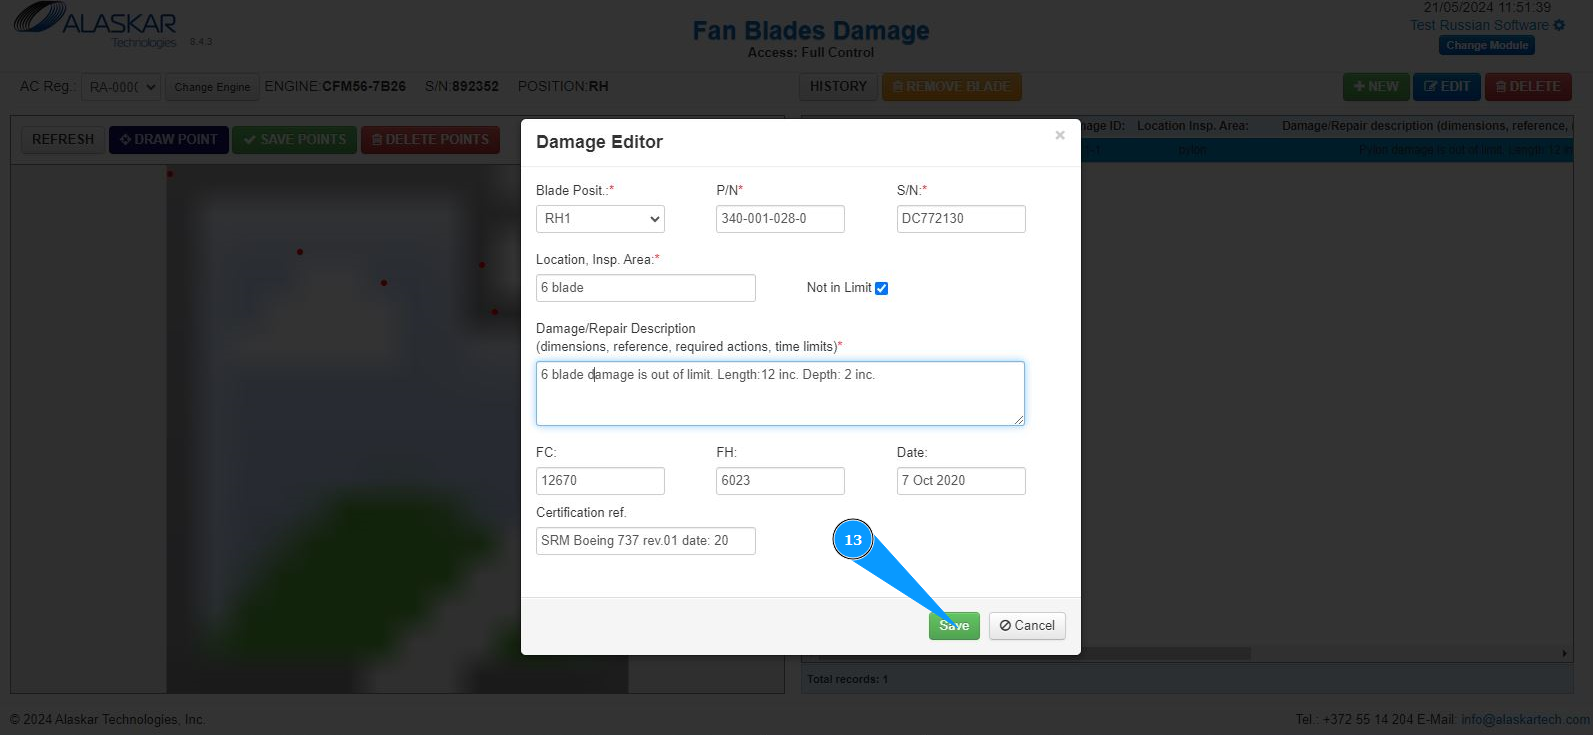
5. Make sure that the damage editor is open and accessible in the window "Damage Editor".
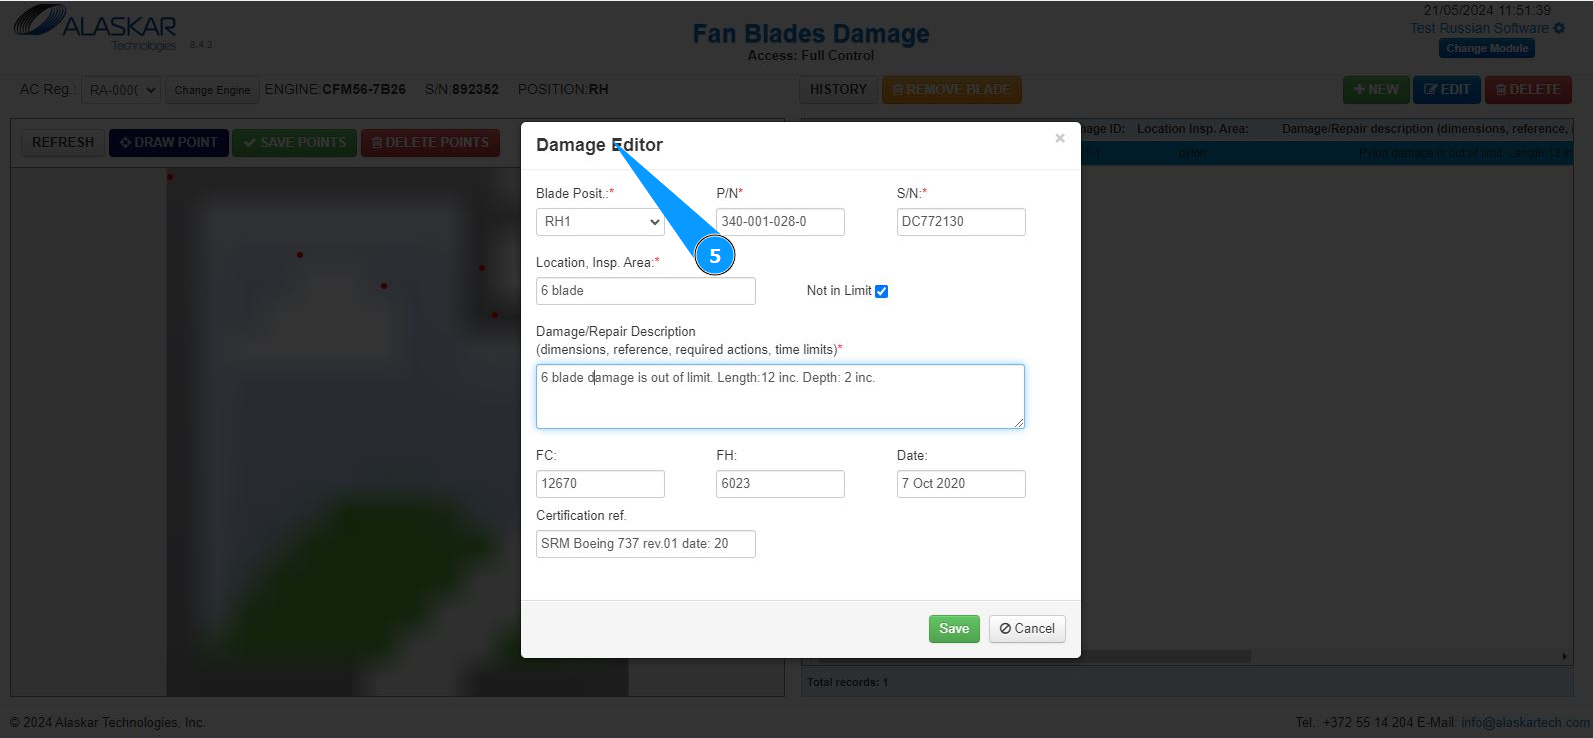
6. Enter the location of the damage and the required inspection in the field "Location, Insp.Area".
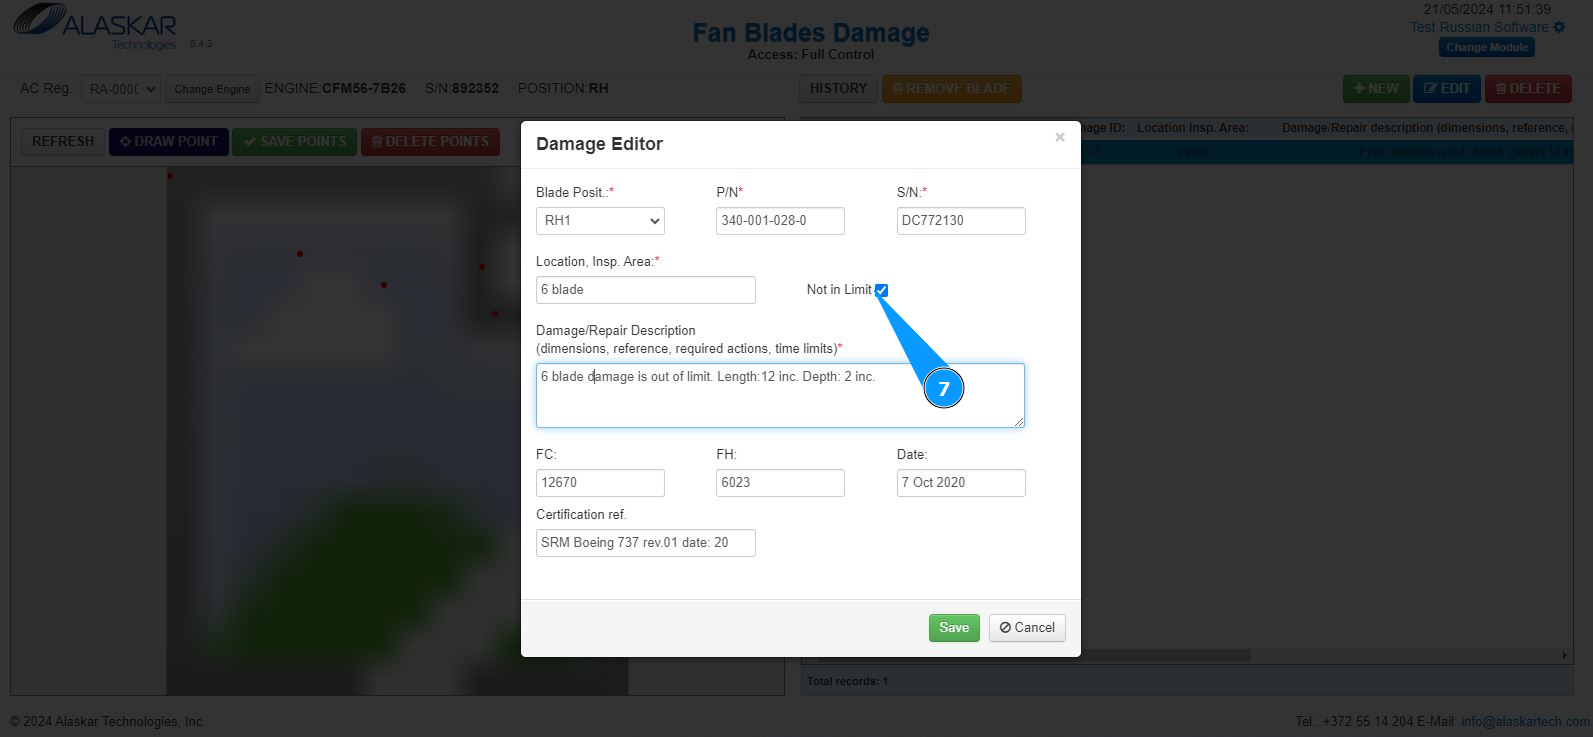
7. If the damage is out of the limits specified in the documentation, tick in the field "Not in Limit".
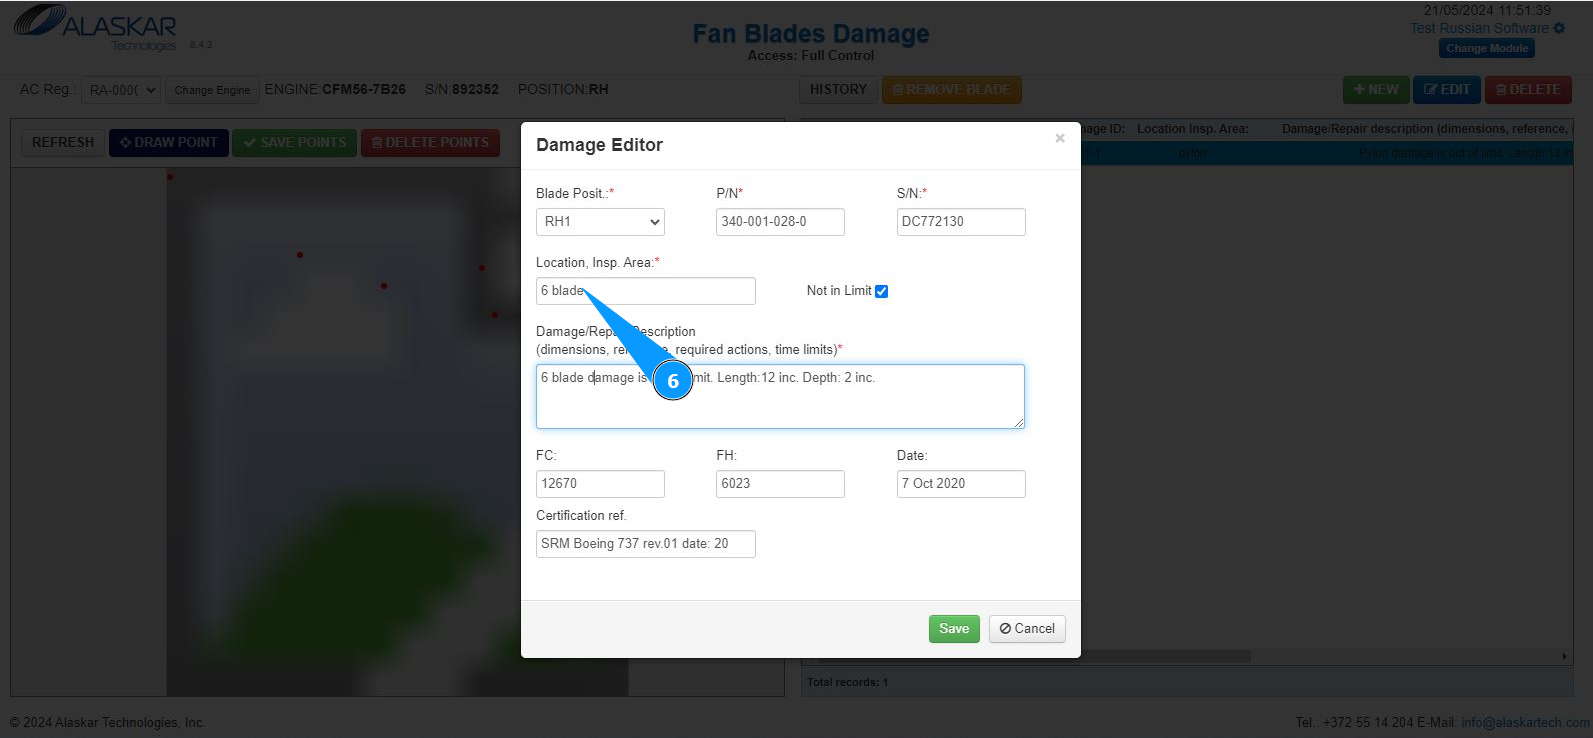
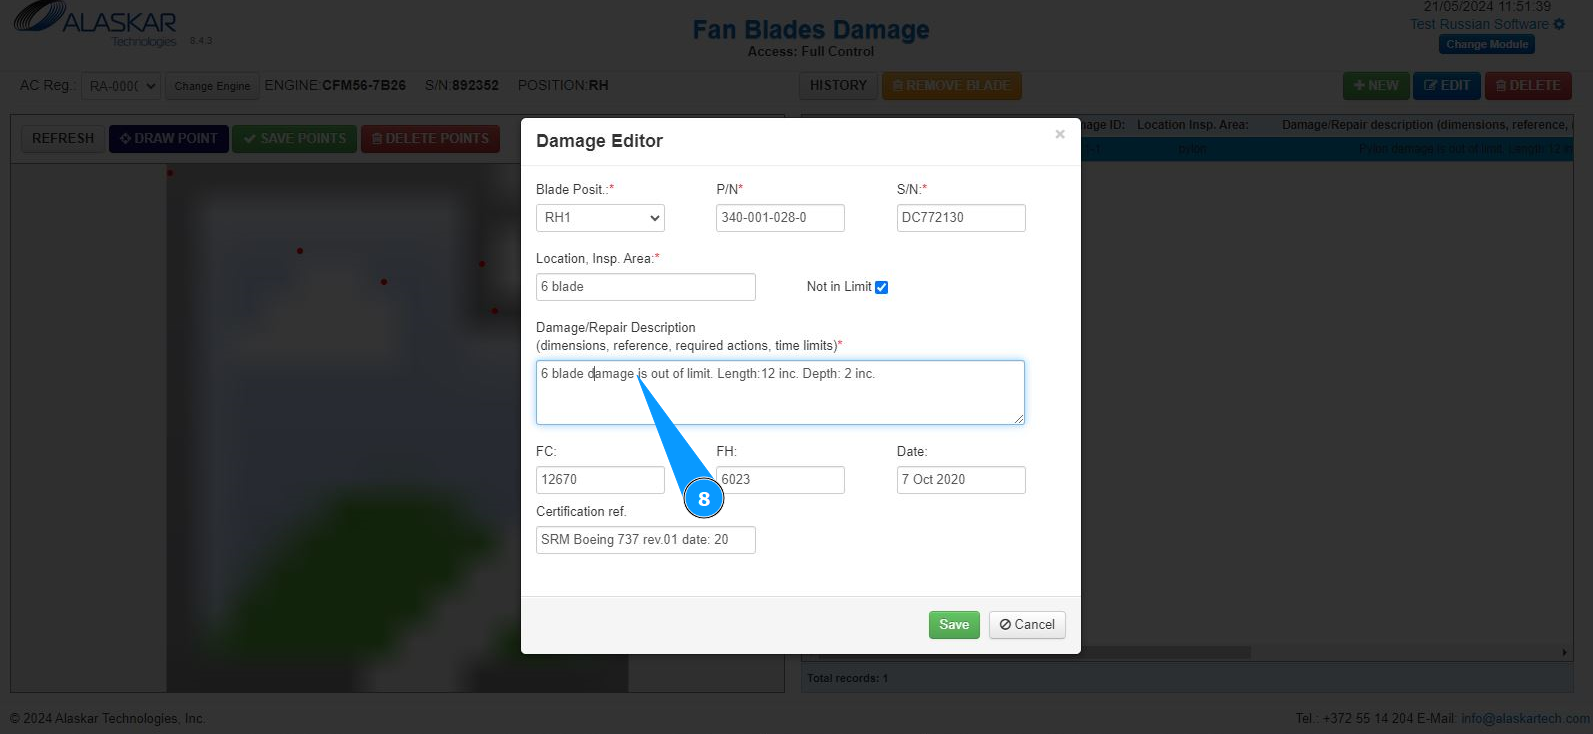
8. Enter a description of the damage and its size in the field "Damage/Repair Description".
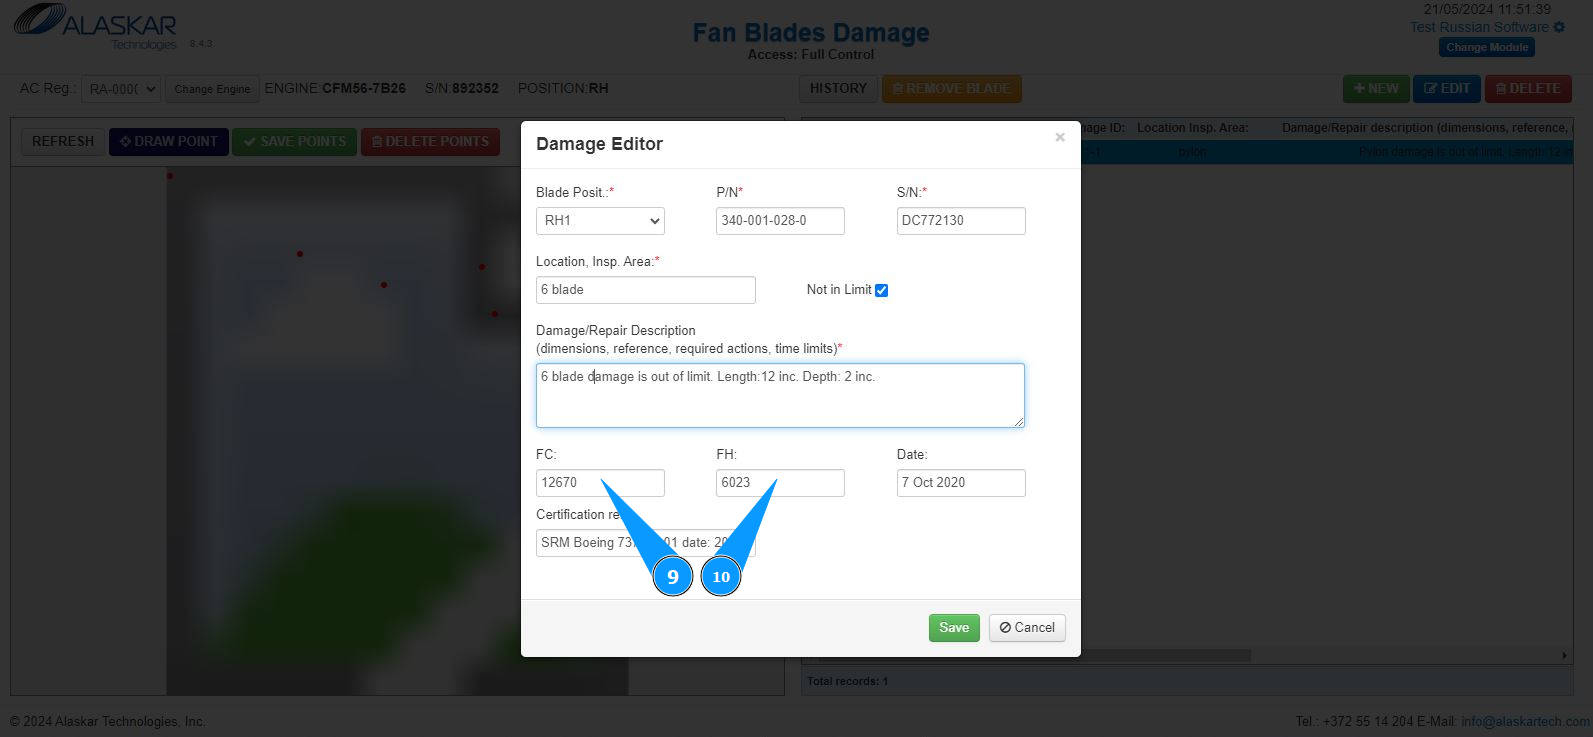
9. If necessary, enter information about the flight hours in which the damage has been identified in the field: "FH".
10. If necessary, enter information about the flight cycles in which the damage has been identified in the field: "FC".
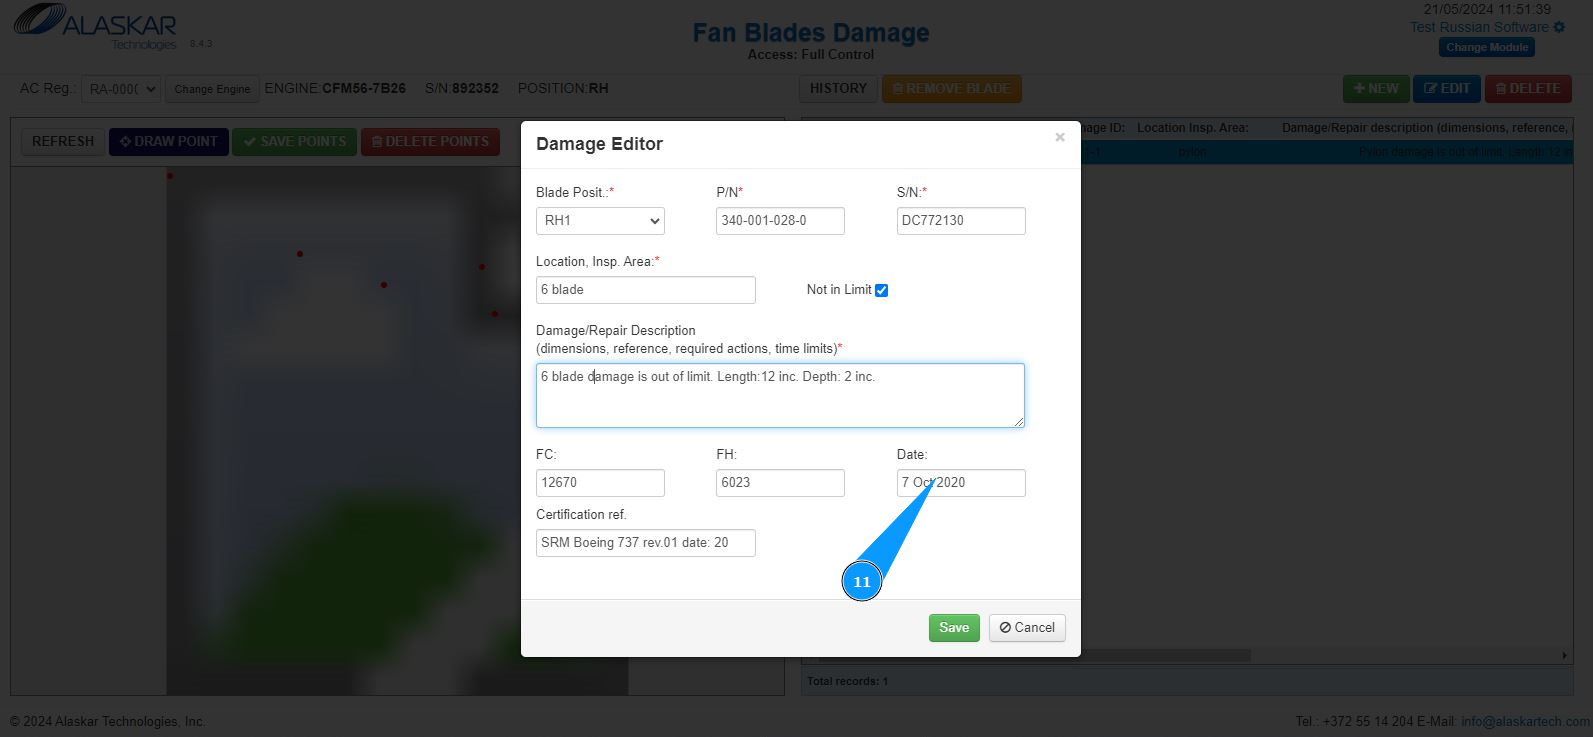
11. If necessary, enter the date on which the damage has been identified in the field: "Date".
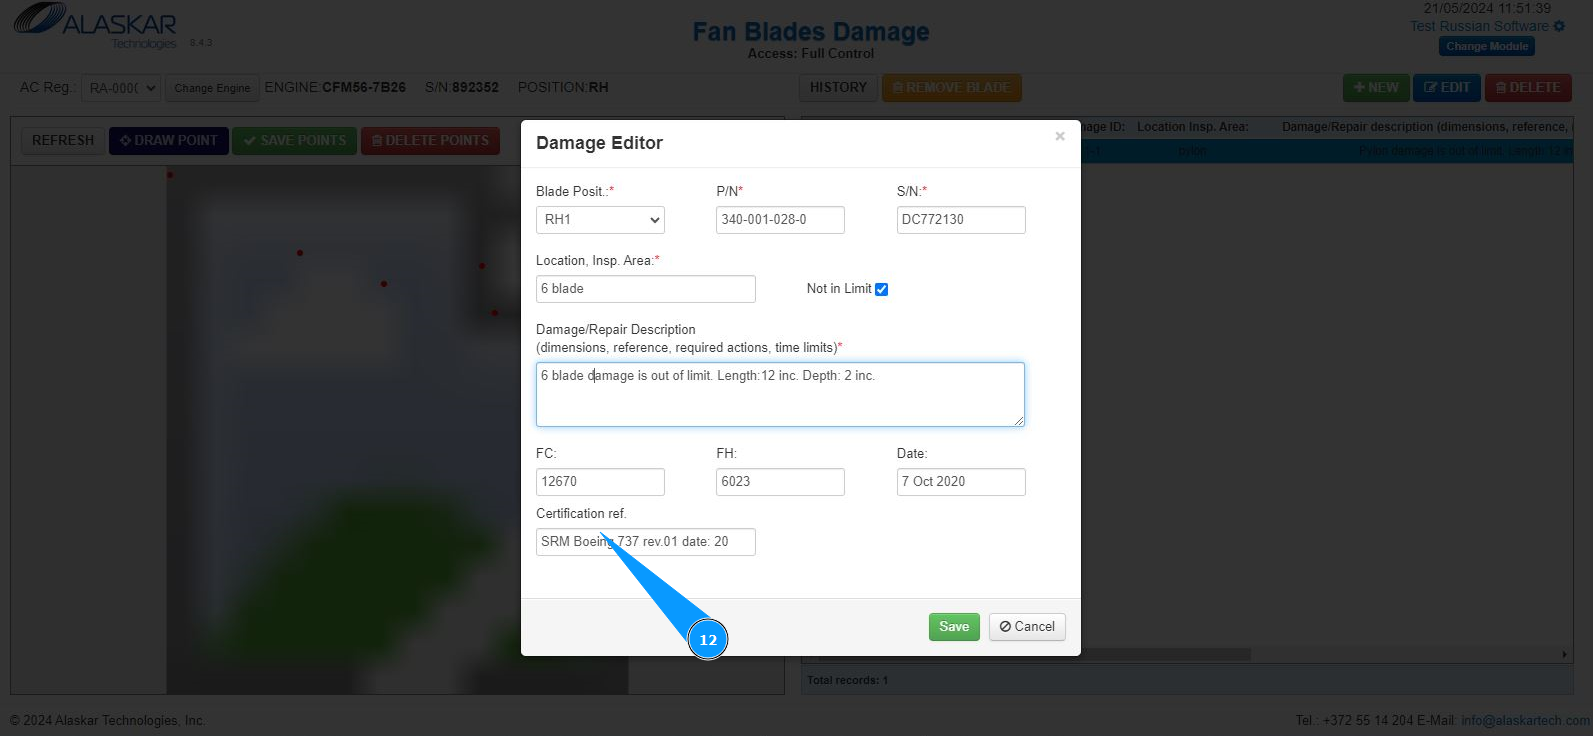
12. Enter information about the name of the technical documentation and its revision in the field "Certification ref.".
13. Click on the button "Save", to save the record of the damage data into the program.
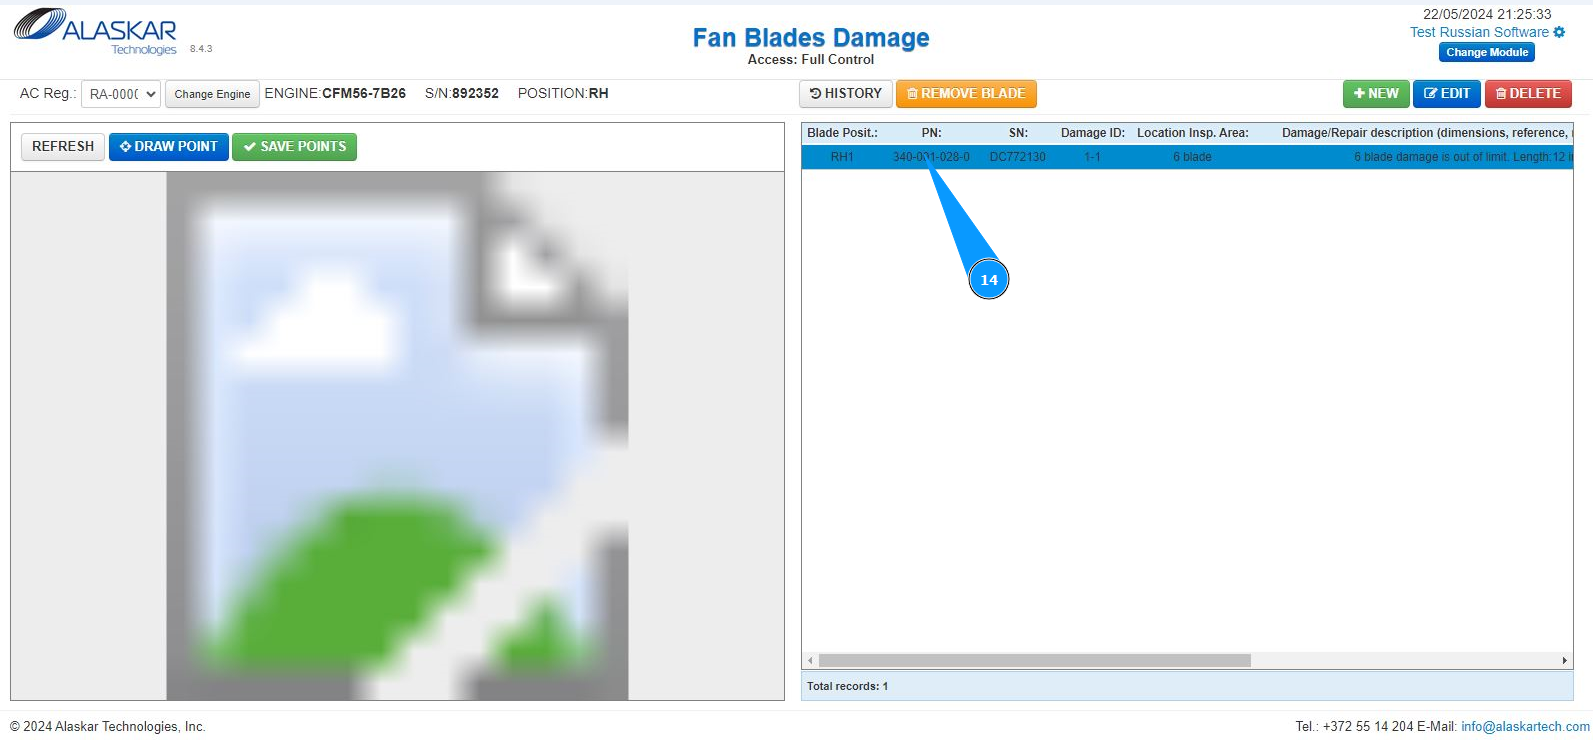
14. Check that the record of the damage is displayed in the appropriate window.
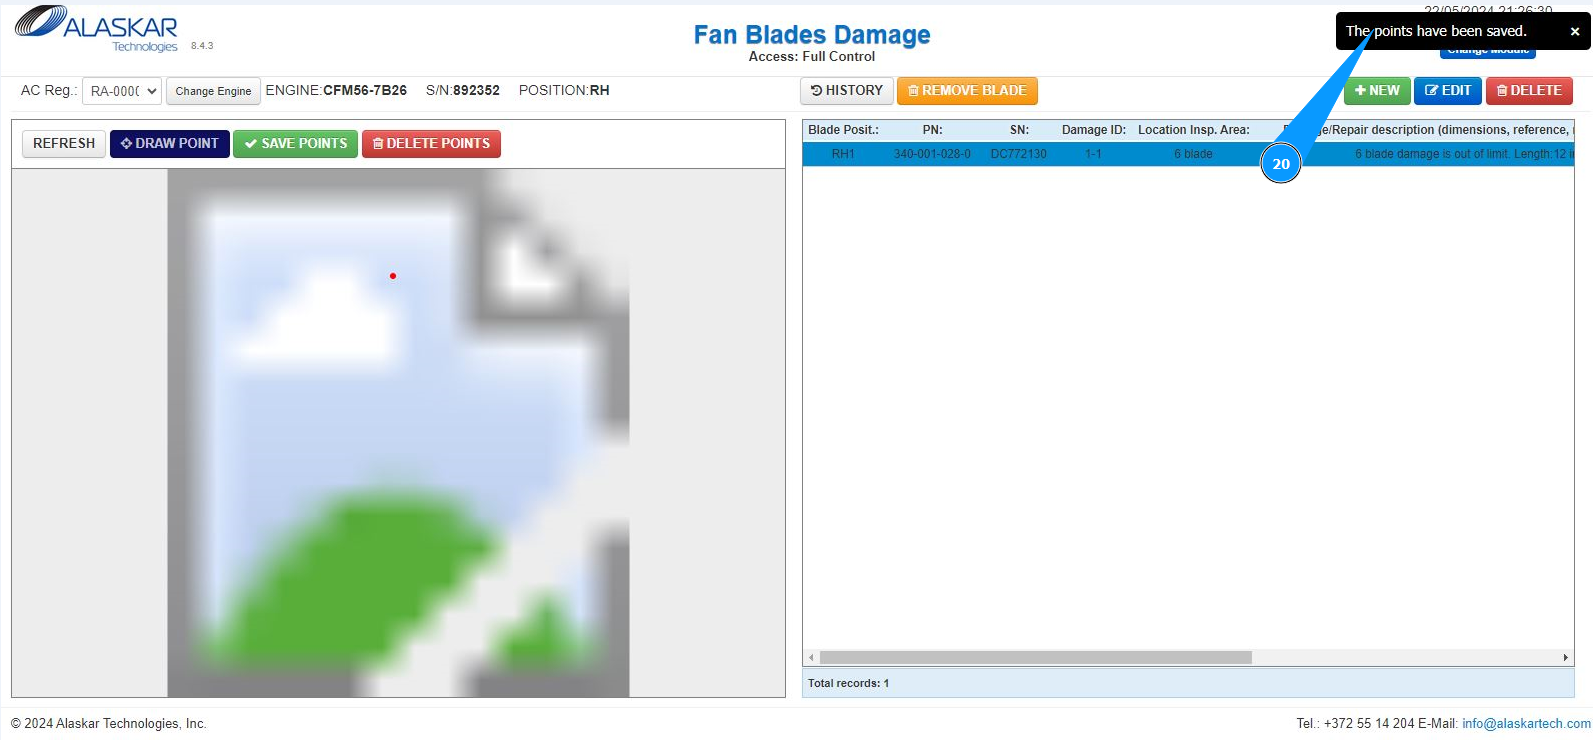
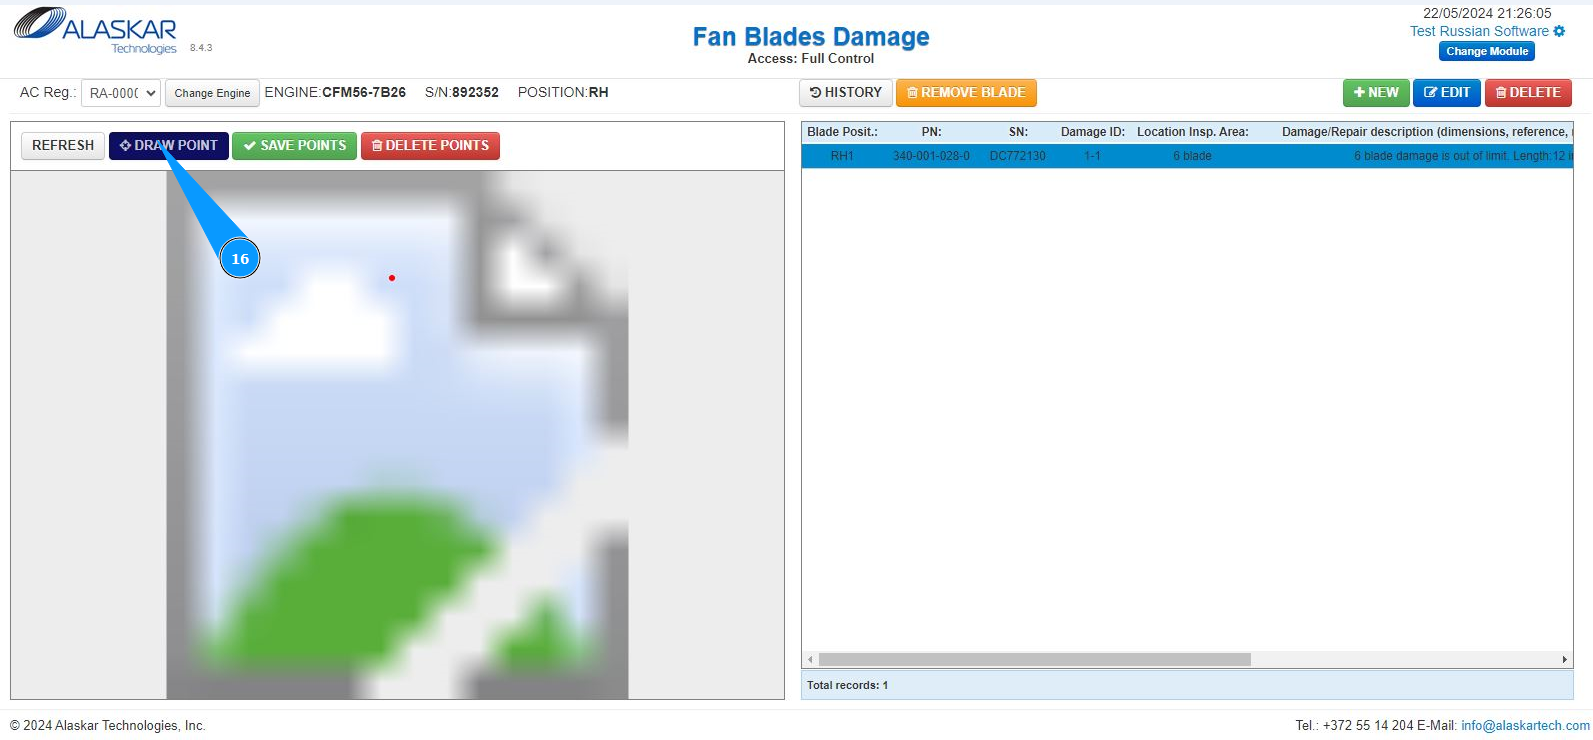
15. In order to make a mark and indicate the location of the damage, highlight the line with the damage record.

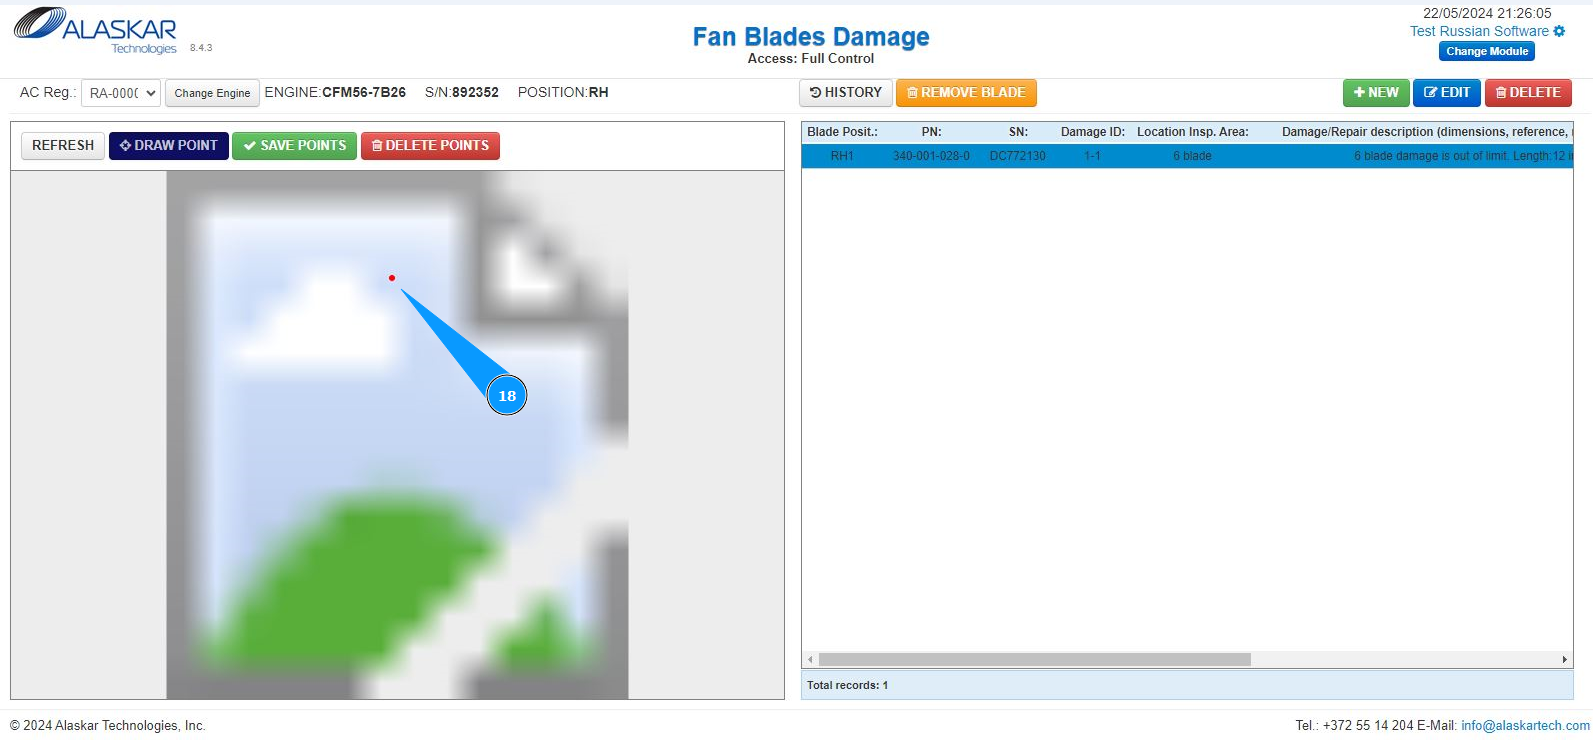
16. Click on the button "Draw Point", to mark the location of the damage on the drawing of the blade.
17. Mark the required location of damage, click on the picture with the left mouse button.
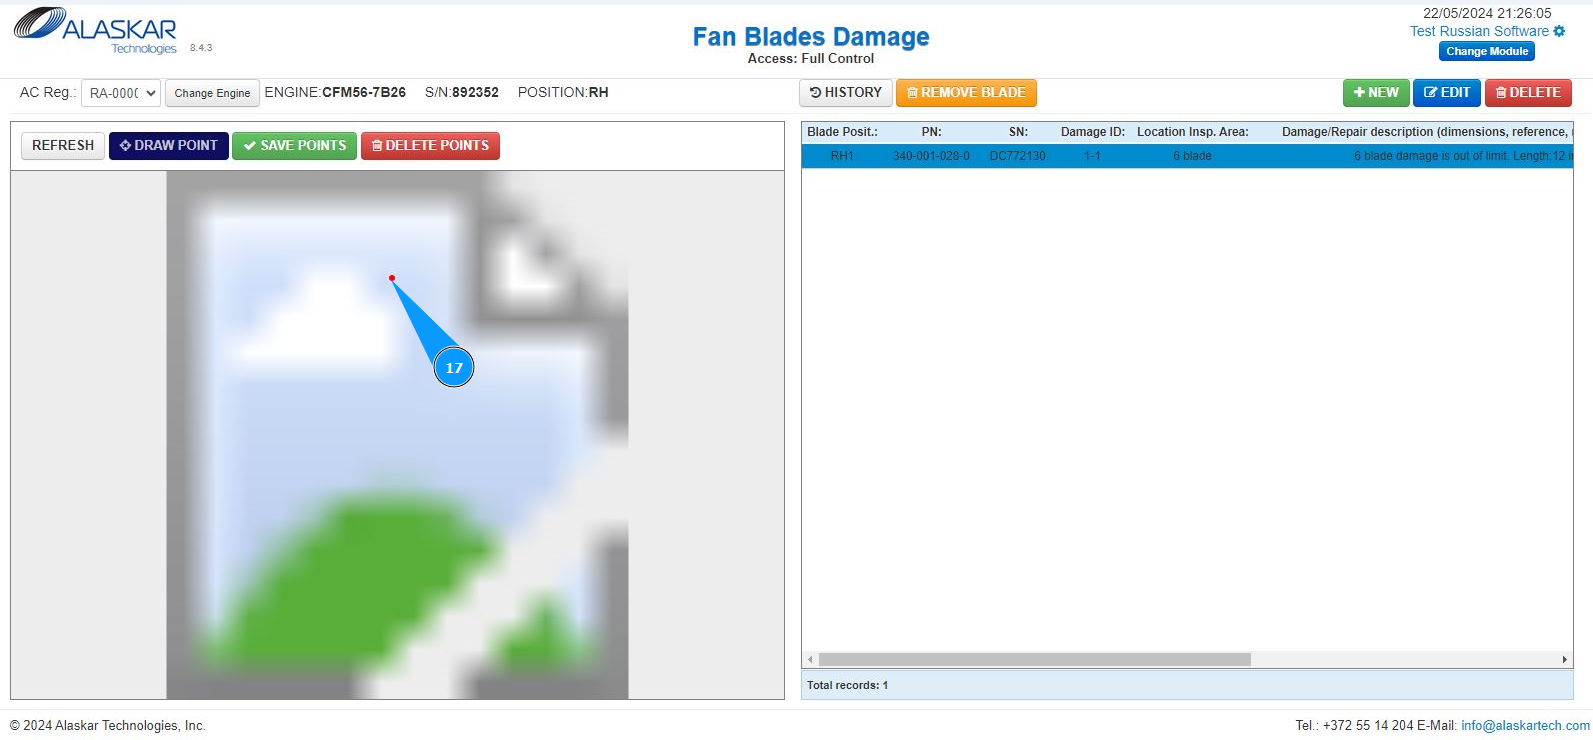
18. Check that a red dot is displayred on the picture with the location of the damage.
19. Click on the button "Save Points", to save the mark of the location of the damage.
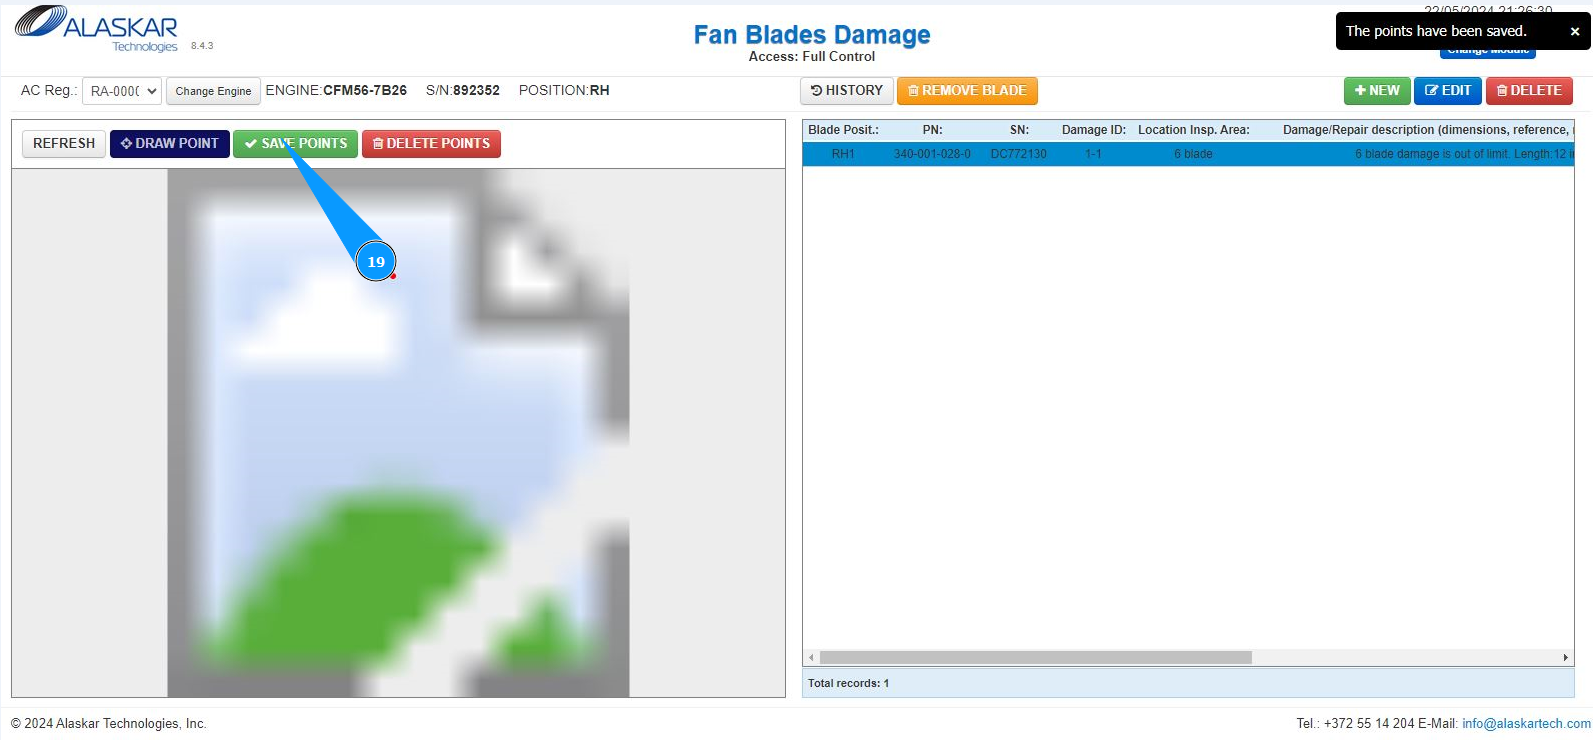
20. Check that a pop-up window appears in the upper right corner it means that the damage location record has been successfully saved.