How to receive a tool into the store
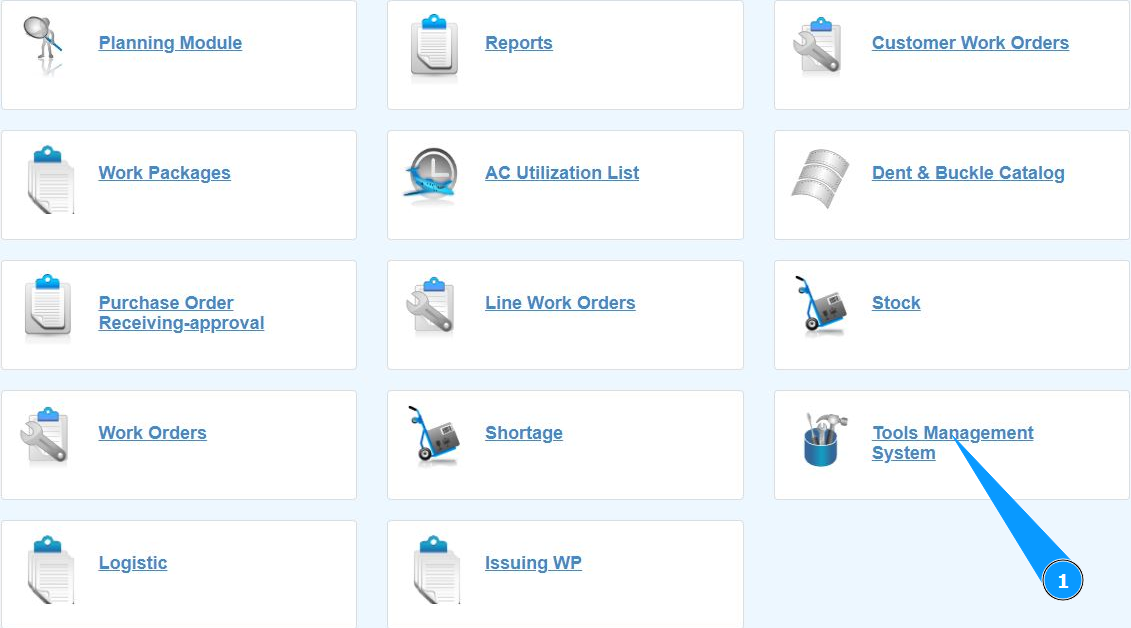
1. In order to receive a tool into the store, go to the submodule "Tools Management System".
2. Make sure that the window for working with the tool is open and accessible in the window "Tools Management System".

3. Click on the button "Add" to open the store receiving editor.

4. Make sure that the tool receiving editor is open and available in the window "TMS Editor".

5. Enter the part number of the tool in the field "Tool PN".

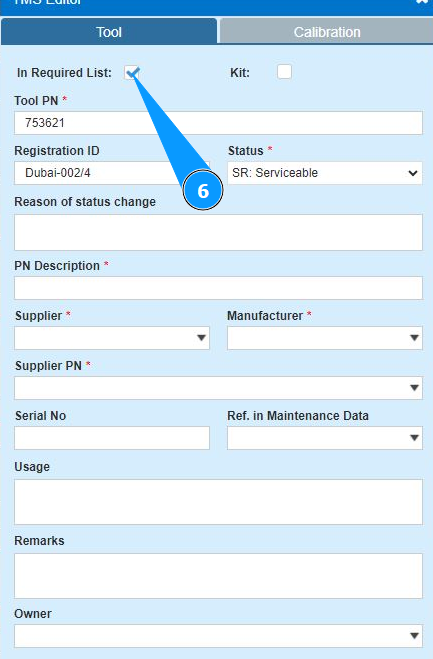
6. If necessary, enter the criterion for adding a tool to the list of required ones (in accordance with your company's policy) in the field "In Required List".
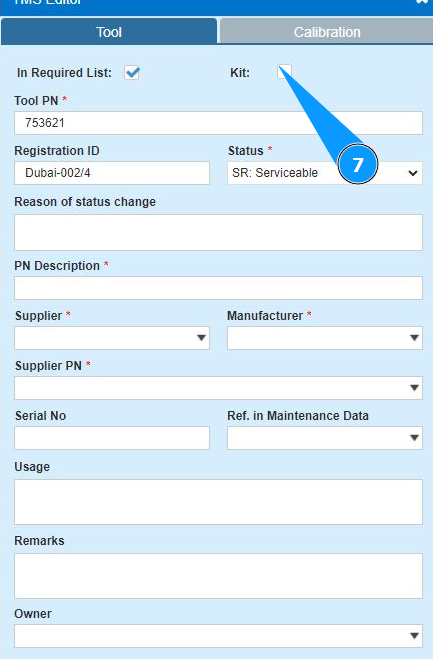
7. If necessary, enter the criterion for including a tool in the tool kit (in accordance with your company's policy) in the field "Kit".
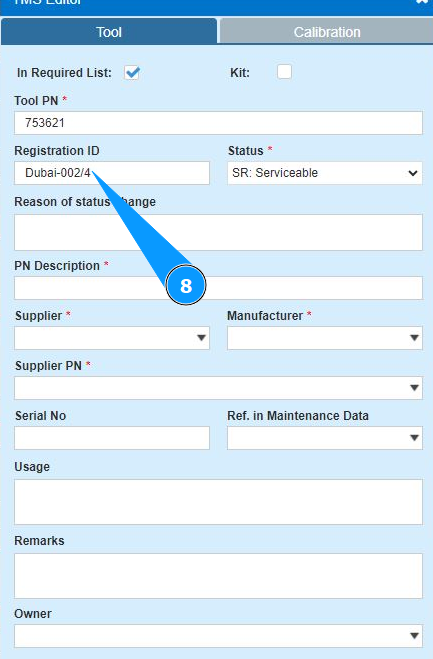
8. If necessary, enter the individual tool identification number (in accordance with your company policy) in the field "Registration ID".
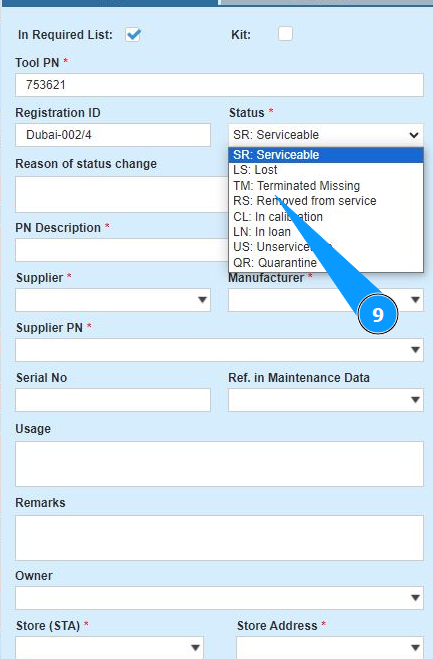
9. Select the tool status from the dropdown list in the field "Status".
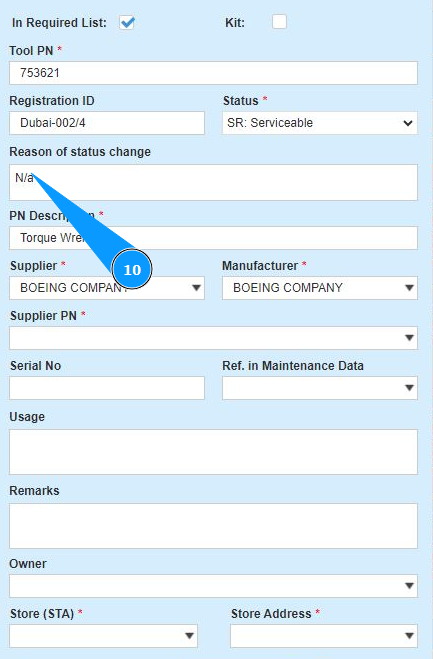
10. If necessary, enter the reason for changing the status of the tool in the field "Reason for status change".
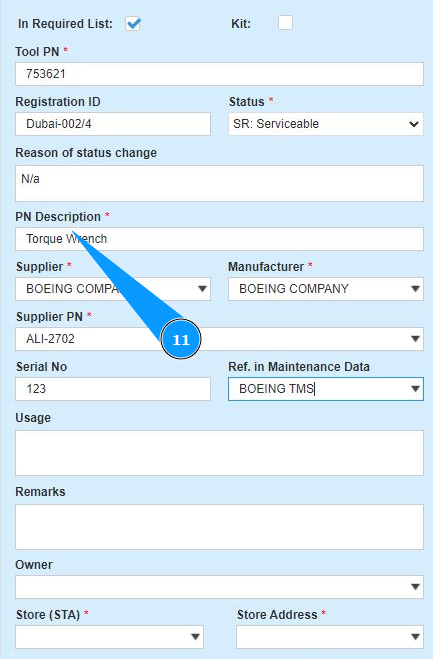
11. Enter a description of the tool in the field "PN Description".
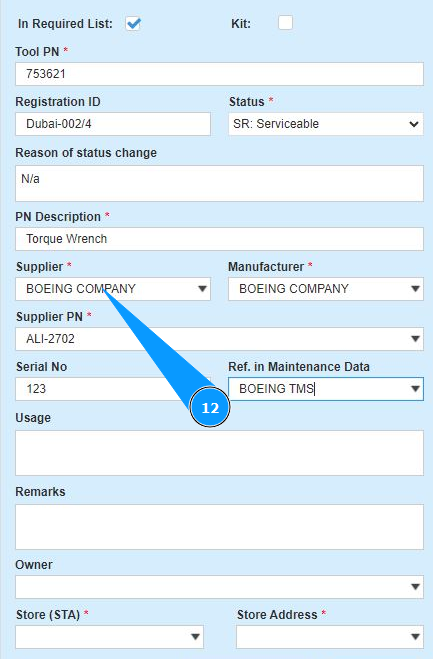
12. Select the tool supplier from the dropdown list in the field "Supplier".
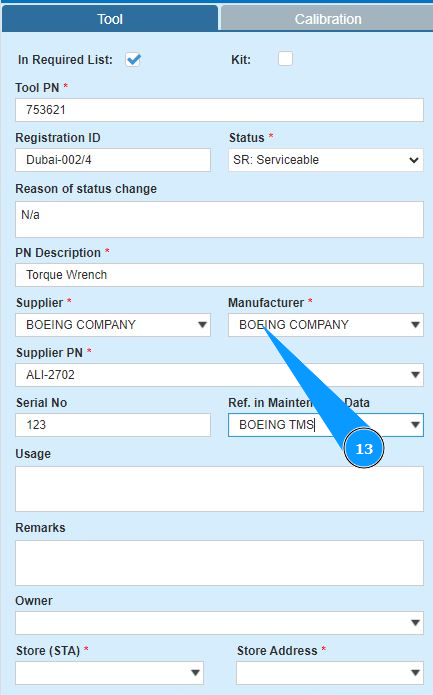
13. Select the tool manufacturer from the dropdown list in the field "Manufacturer".
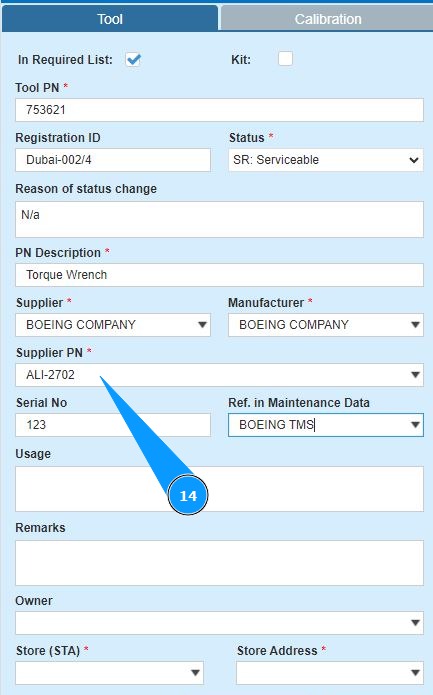
14. Enter or select from the dropdown list the part number of the tool supplier in the field "Supplier PN".
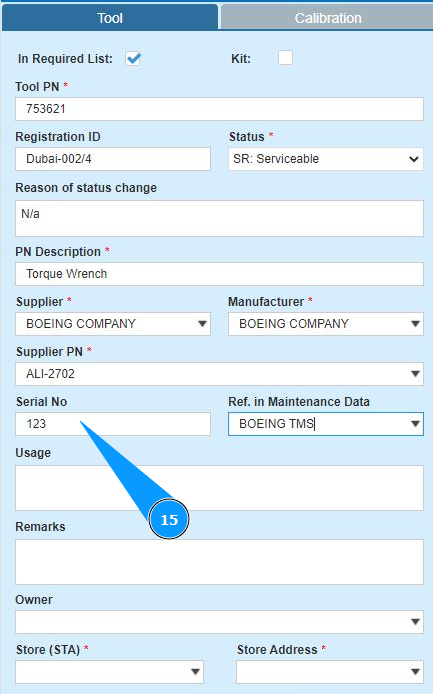
15. Enter the serial number of the tool in the field "Serial No.".
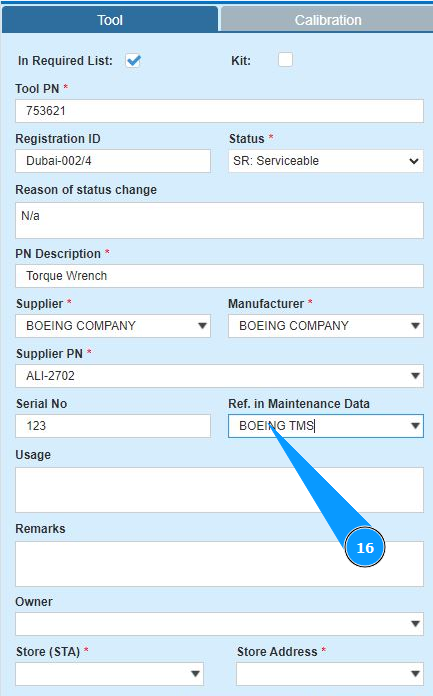
16. If necessary, enter a reference to the tool manufacturer documents in the field "Ref.in Maintenance Data".
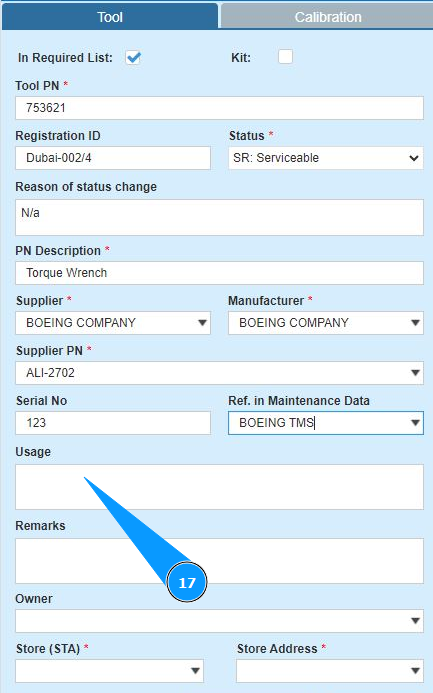
17. If necessary, enter a comment on the use of the tool in the field "Usage".
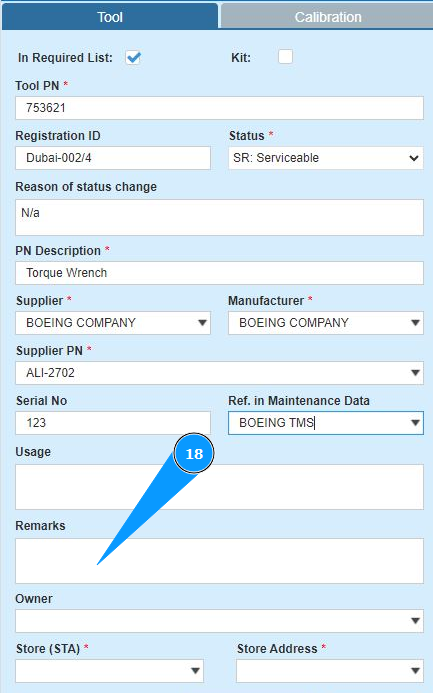
18. If necessary, add any other comments in the field "Remarks".
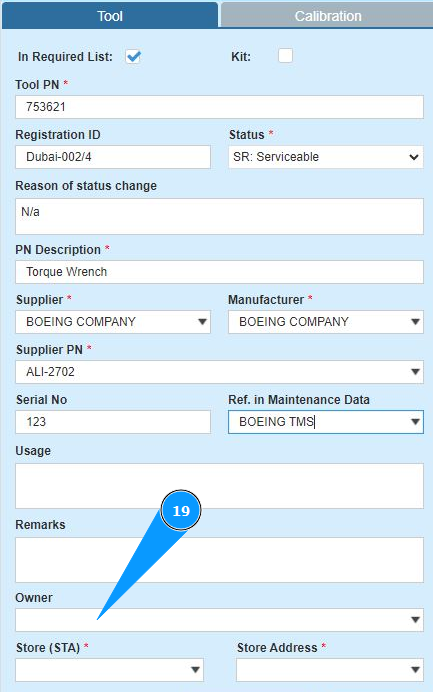
19. Enter or select from the dropdown list the owner of the tool in the field "Owner".
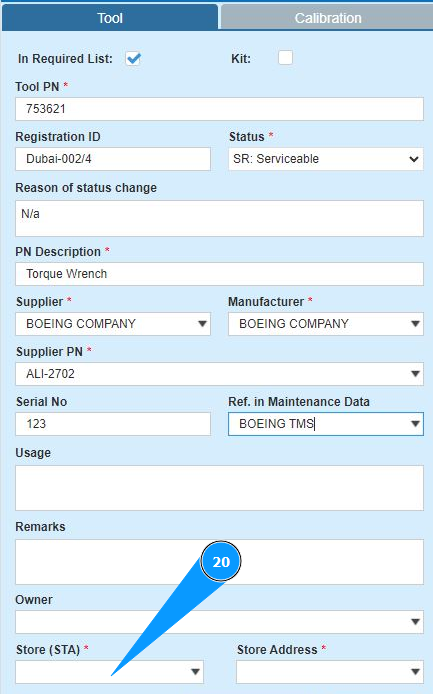
20. Enter or select from the dropdown list the name of the store for tool receiving in the field "Store(STA)".
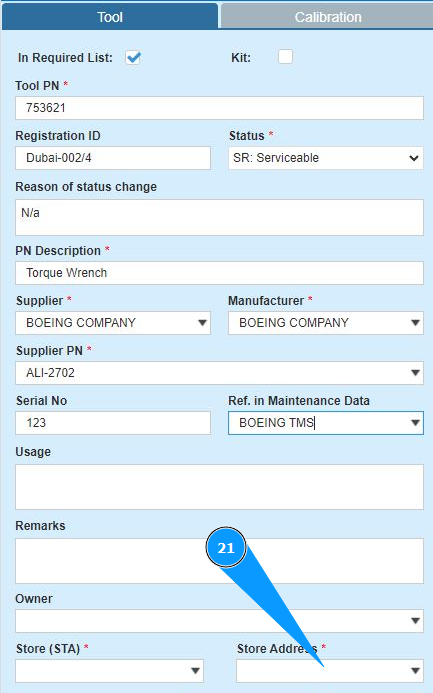
21. Enter the tool storage shelf number in the field "Store Address".
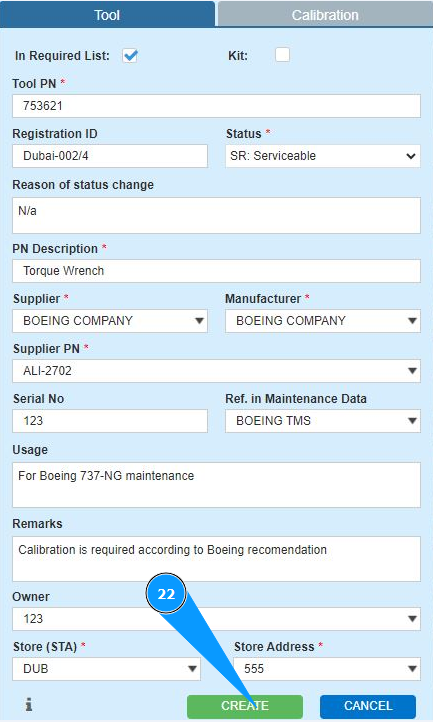
22. Click on the button "Create" to add tool receiving data to the program.
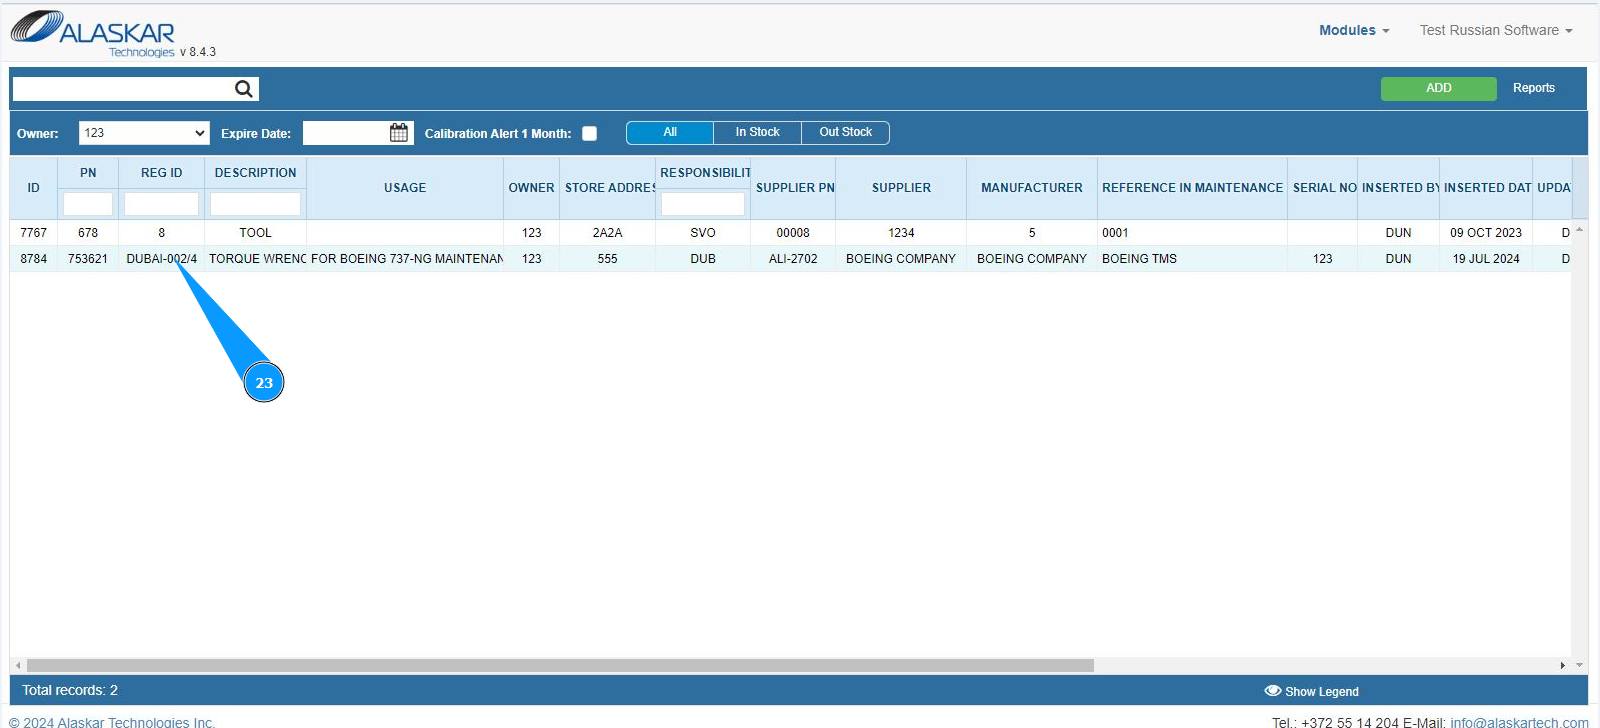
23. Check that the record with the tool is in stock. The tool has been well received into the store.