How to receive a component on the repair shelf of the store
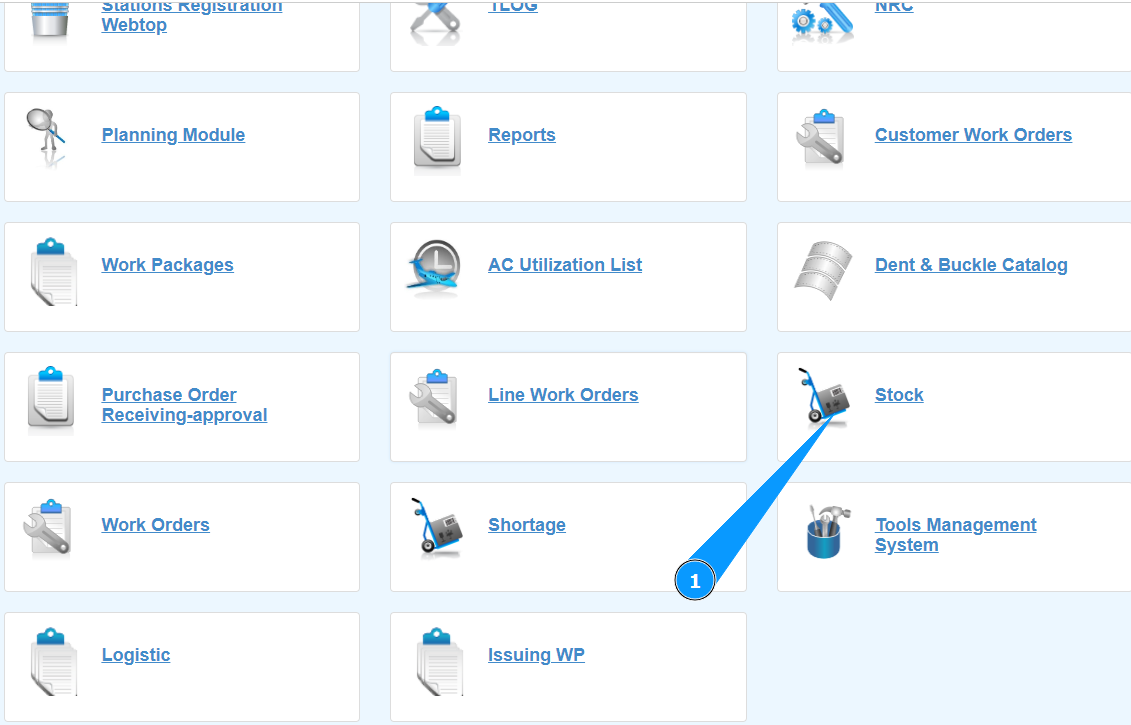
1. In order to receive a component on the repair shelf of the store, go to the submodule "Stock".
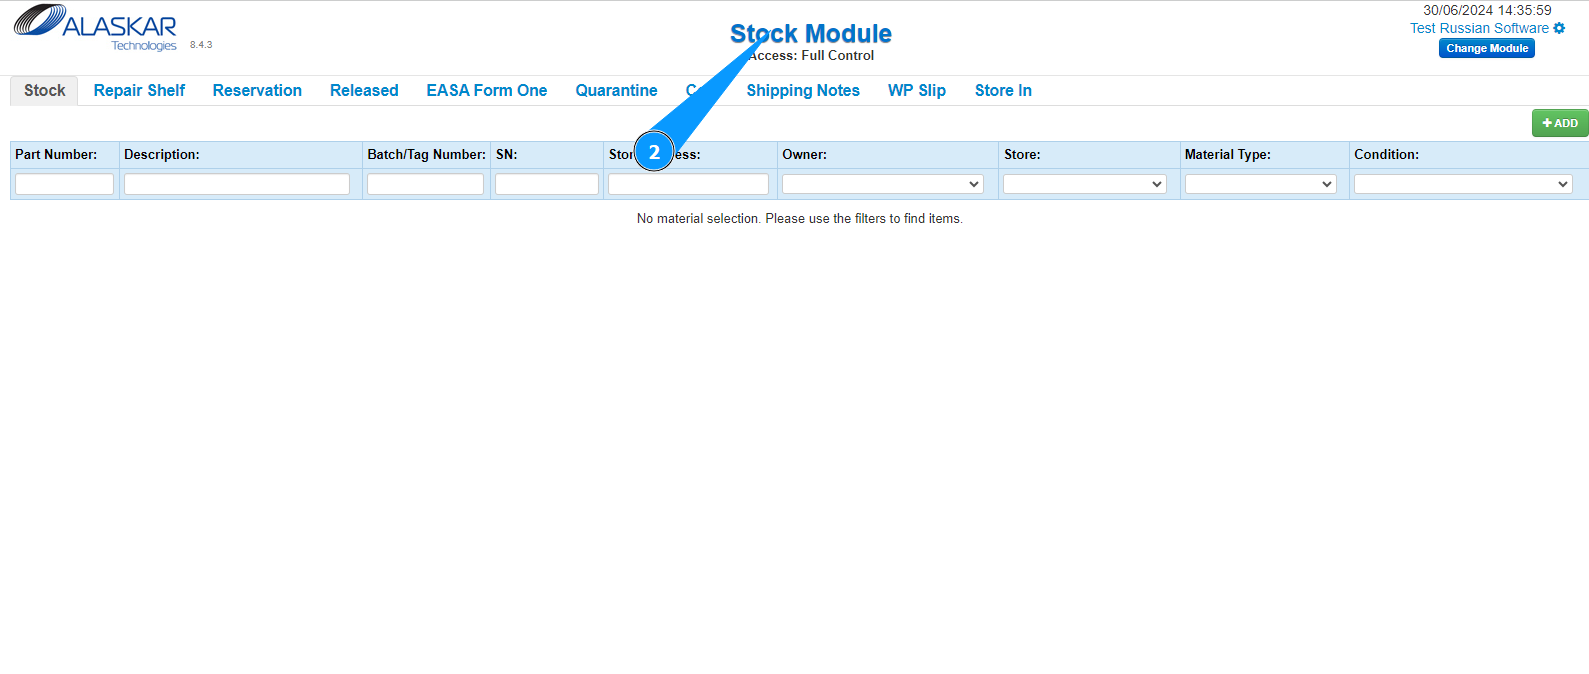
2. Make sure that the window for working with the store has opened and is available in the window "Stock Module".
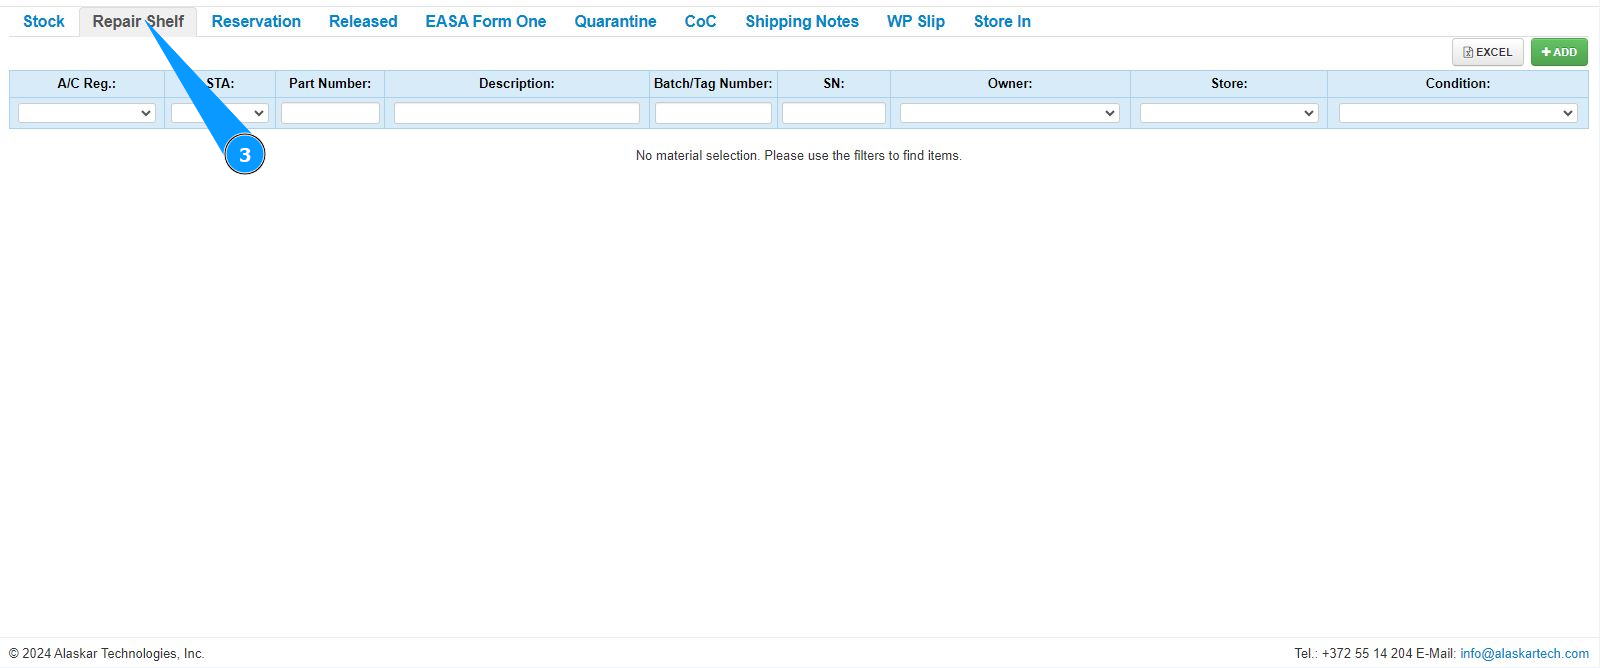
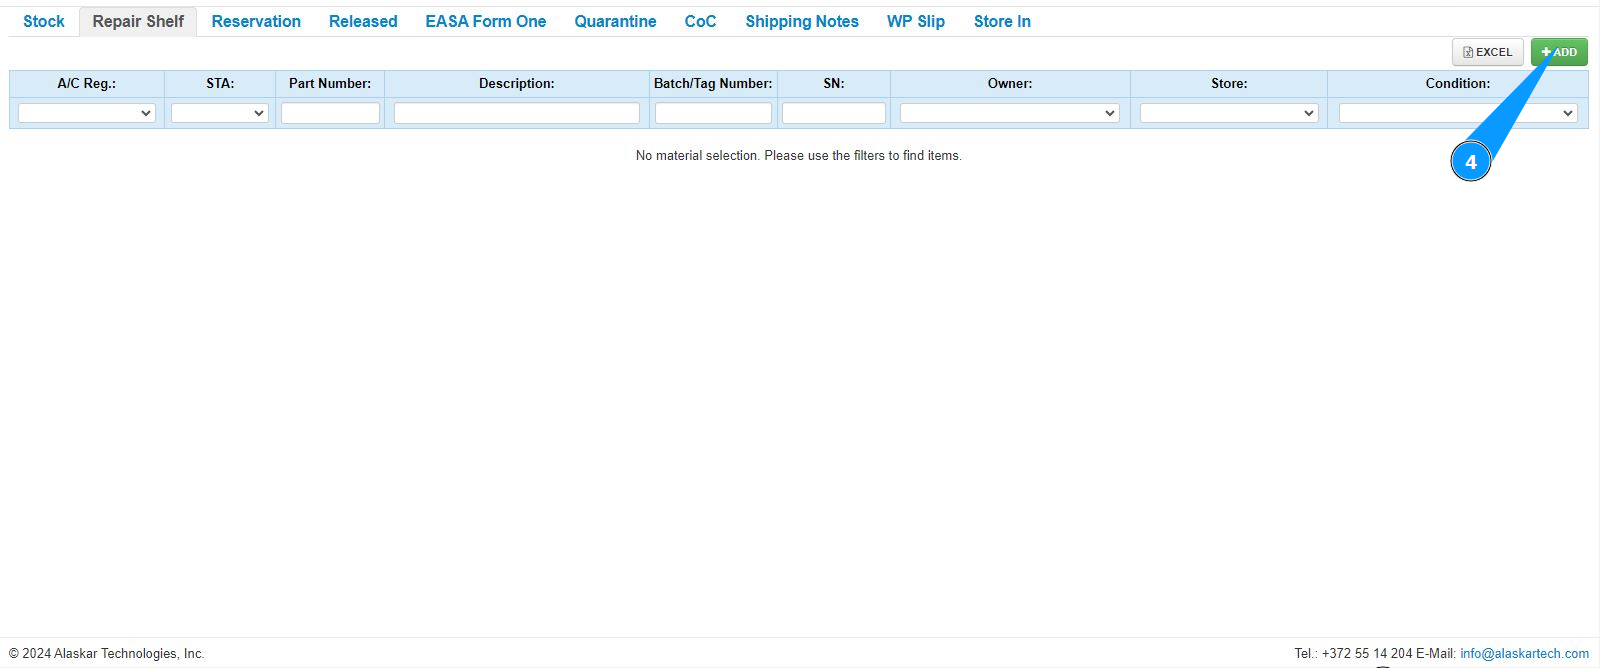
3. Then go to the tab "Repair Shelf".
4. Click on the button "Add" to open the store receipt editor.
5. Click on the button "Select" to go to the p/n entry editor. Note: The order number will be entered automatically in the field "PO Number".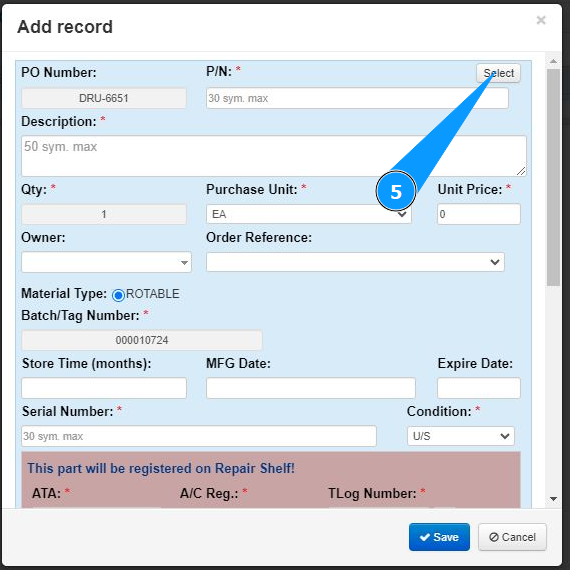
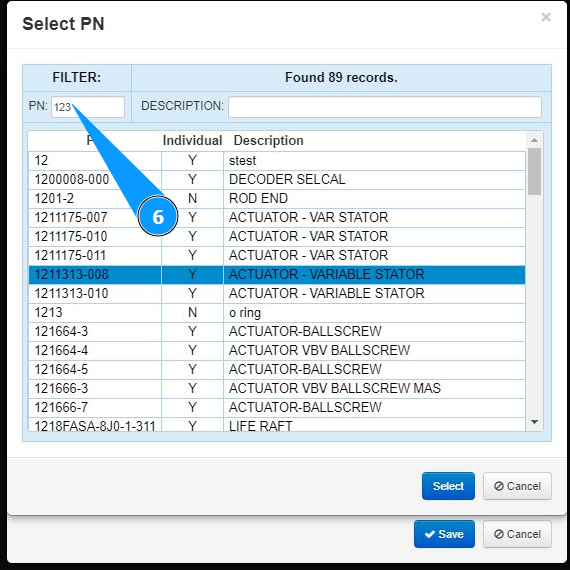
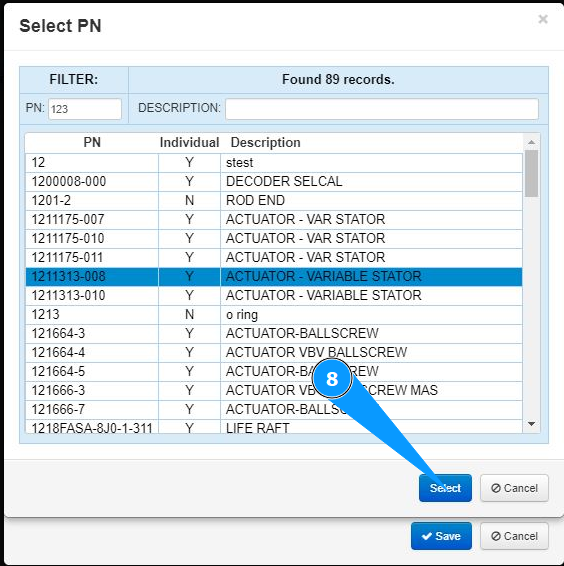
6. Enter the part number of the component in the field "PN" and press the button "Enter" on your keyboard.
7. Select the required part number and click on the line.
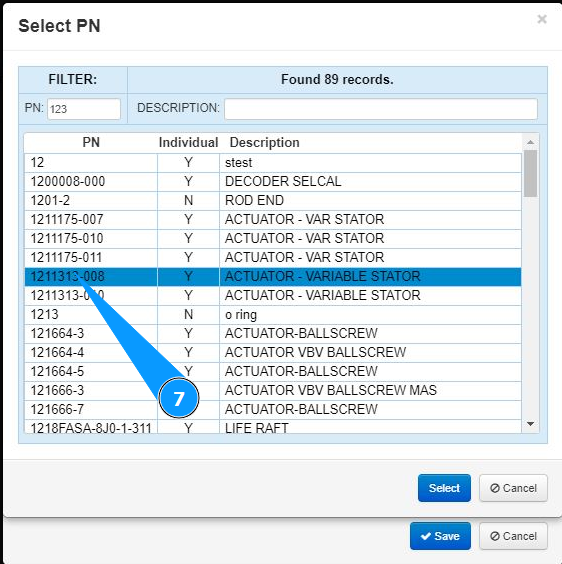
8. Click on the button "Select" to select p/n.
9. Make sure that the required part number is selected in the field "PN". Note: The description of the component will be entered by the program automatically in the field "Description".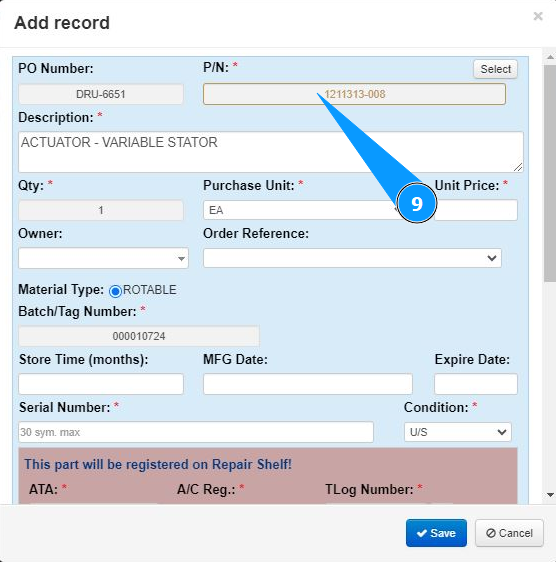
10. Select the component unit from the dropdown list in the field "Purchase Unit". Note: The quantity of received components will be entered by the program automatically in the field "Qty".
11. Enter the cost of the component in the field "Unit Price".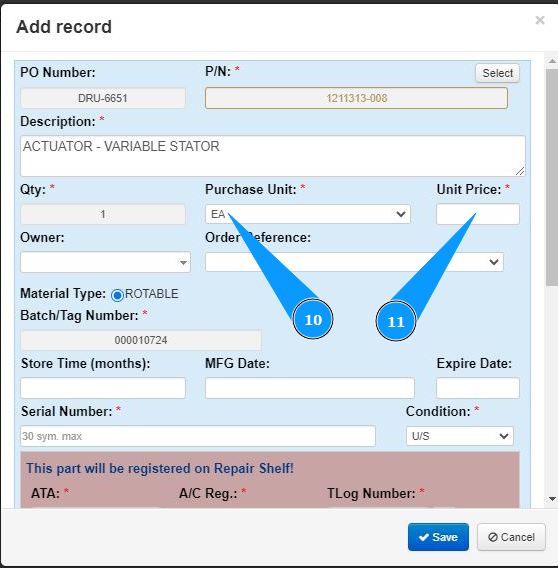
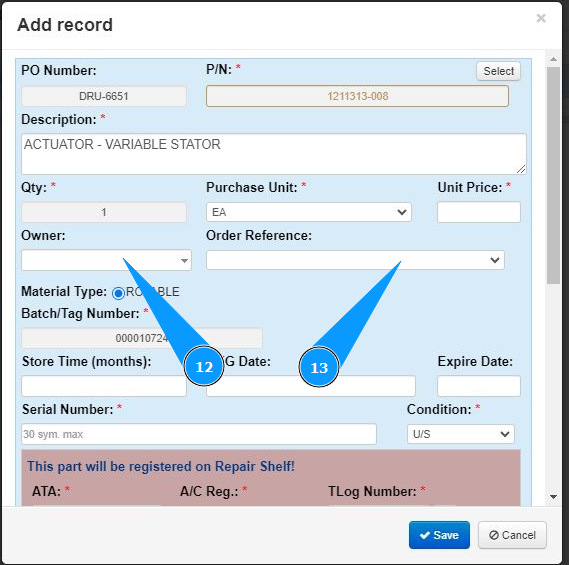
12. Select the component owner organization from the dropdown list in the field "Owner".
13. Select an aircraft from the dropdown list in the field "Order Reference".
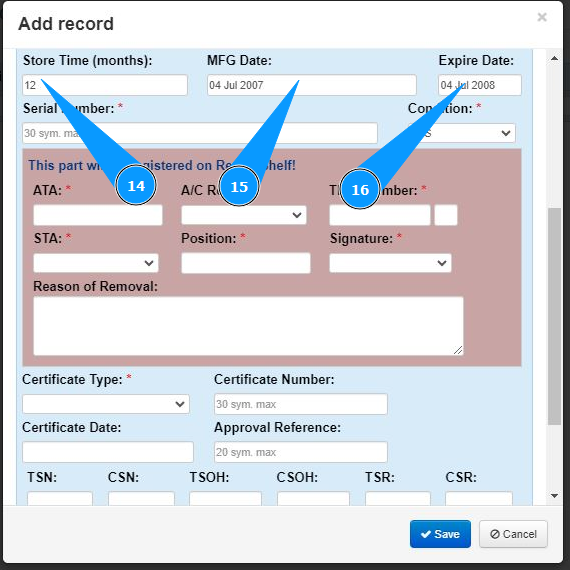
14. If necessary, enter the storage period in months in the field "Store Time".
15. If necessary, enter the date of manufacture in the field "MFG Date".
16. If necessary, enter the expiration date of the storage period in the field "Expire Date".
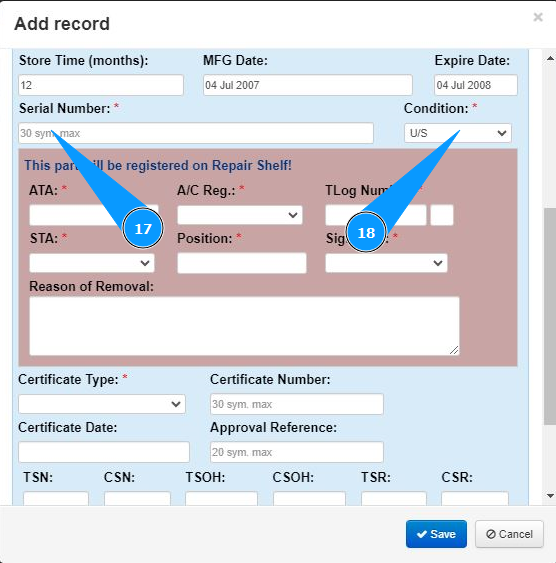
17. Enter the component serial number in the field "Serial Number".
18. Select the component condition from the dropdown list in the field "Condition".
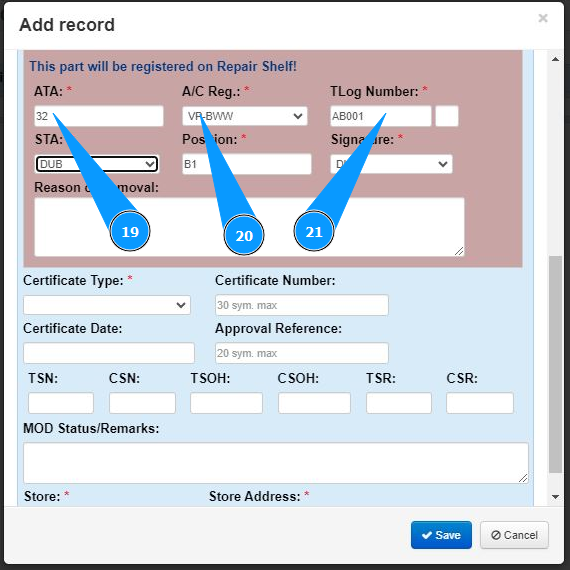
19. Enter the ATA number in the field "ATA".
20. Select the aircraft registration number from the dropdown list in the field "A/C Reg.".
21. Enter the aircraft logbook number in the field "TLog Number".
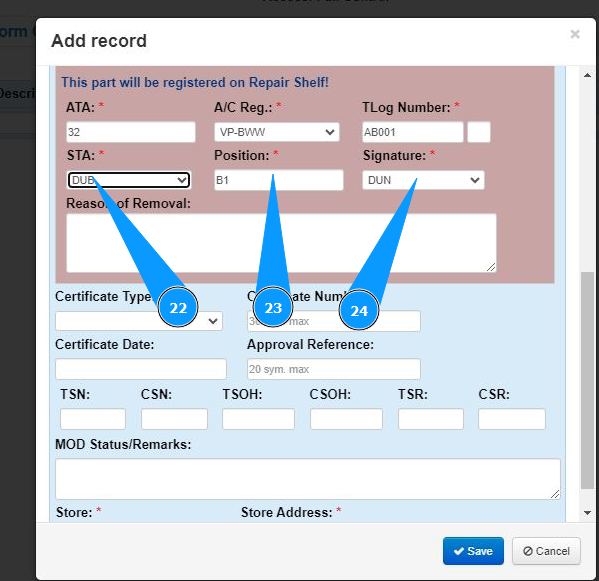
22. Select the location for removing the component from the dropdown list in the field "STA".
23. Enter the qualification of the specialist who removed the component in the field "Position".
24. Select the login of the specialist receiving the component to the store from the dropdown list in the field "Signature".
25. If necessary, enter the reason for removing the component in the field "Reason for Removal".

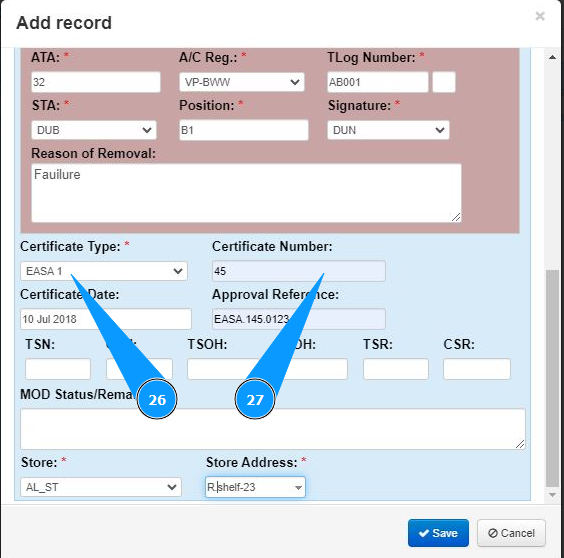
26. Select the component certificate type from the dropdown list in the field "Certificate Type".
27. If necessary, enter the certificate number in the field "Certificate Number".
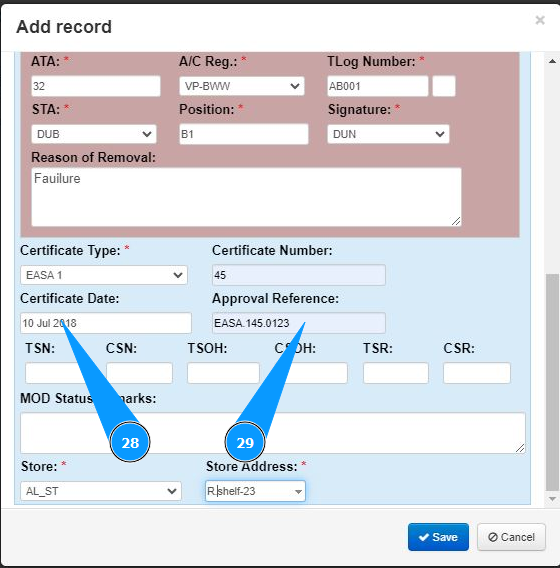
28. If necessary, enter the component certificate issue date in the field "Certificate Date" or select from the calendar.
29. Read the approval number from the component certificate and enter it in the field "Approval Reference".
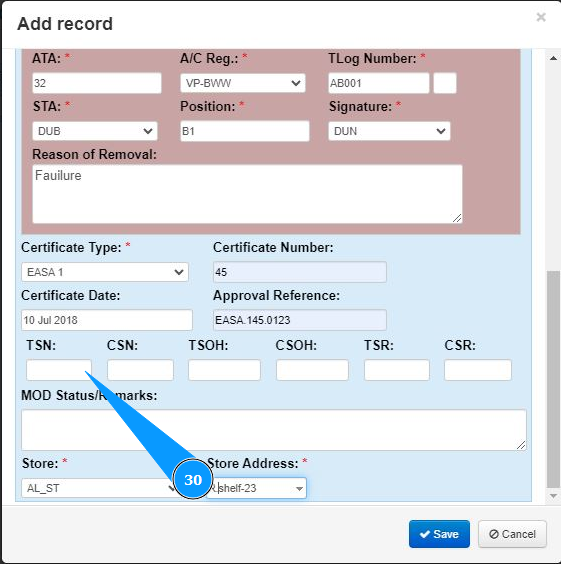
30. If necessary, enter information about the operating time of the component from the first operation date, from the date of overhaul or from the date of repair in the fields: "TSN", "CSN", *"TSOH" *, "CSOH", "TSR", "CSR".
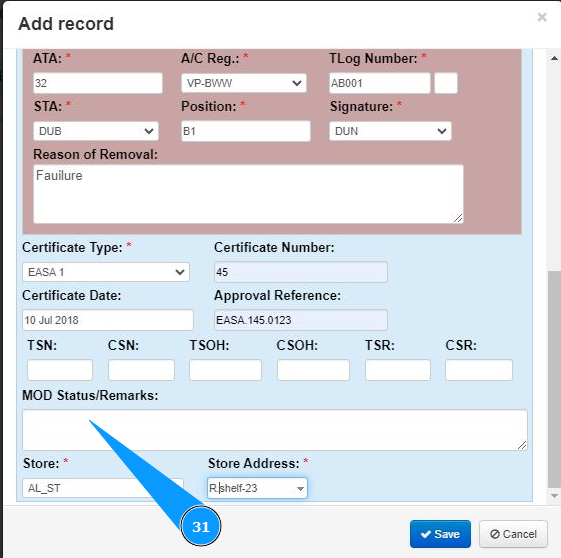
31. If necessary, enter comments on modifications or other remarks in the field "Mod Status/ Remarks".
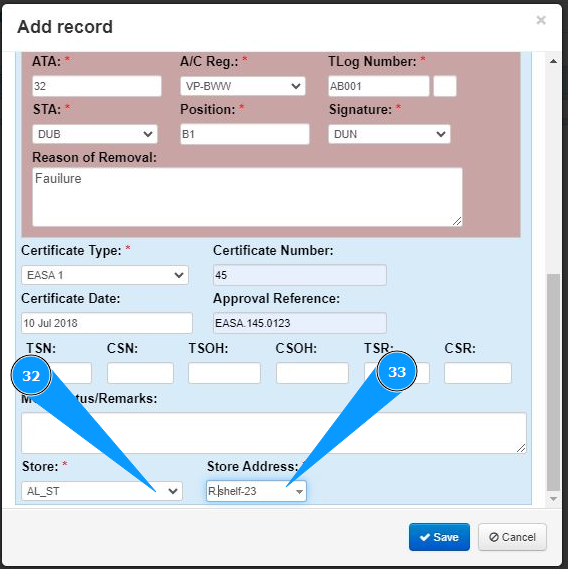
32. Select the name of the store for receiving the component from the dropdown list in the field "Store".
33. Enter the component storage repair shelf number in the field "Store Address".
34. Click on the button "Save" to add the component data to the program.

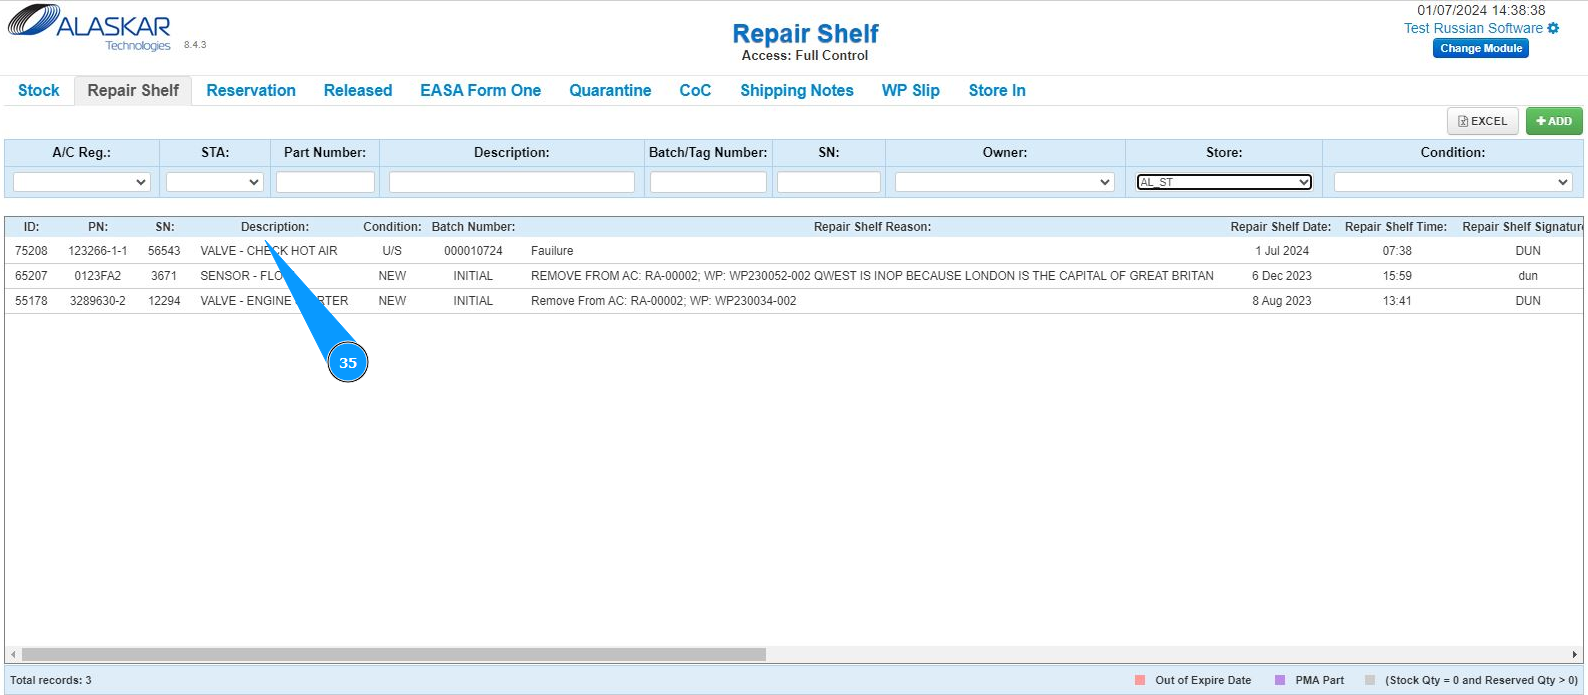
35. Check that the component record appears in the store. The component has been received in the store. Note: If necessary, select a store to display from the dropdown list in the column "Store".