How to enter data about replaced components in the Technical Logbook
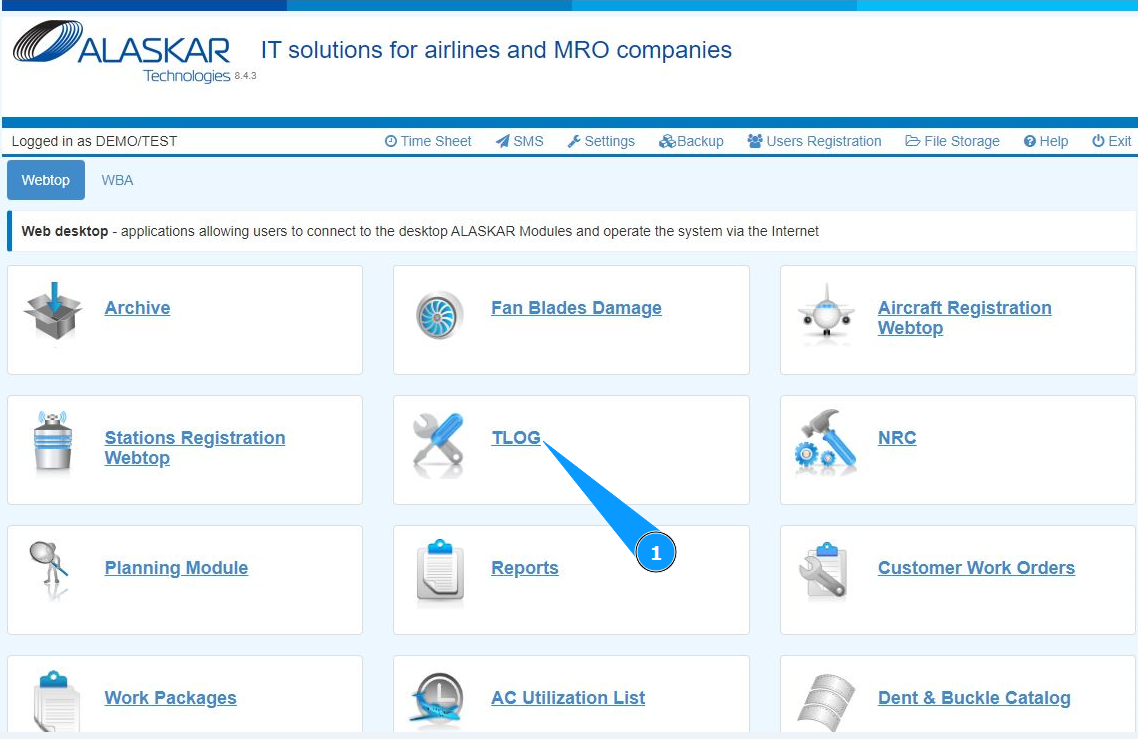
1. In order to enter data about replaced components in the Technical Logbook, go to the "TLOG" submodule.
2. Select the required logbook record and click on the corresponding line. Note: If necessary, use the available search filters in the fields: "AC Reg.", "Date From", "Date To".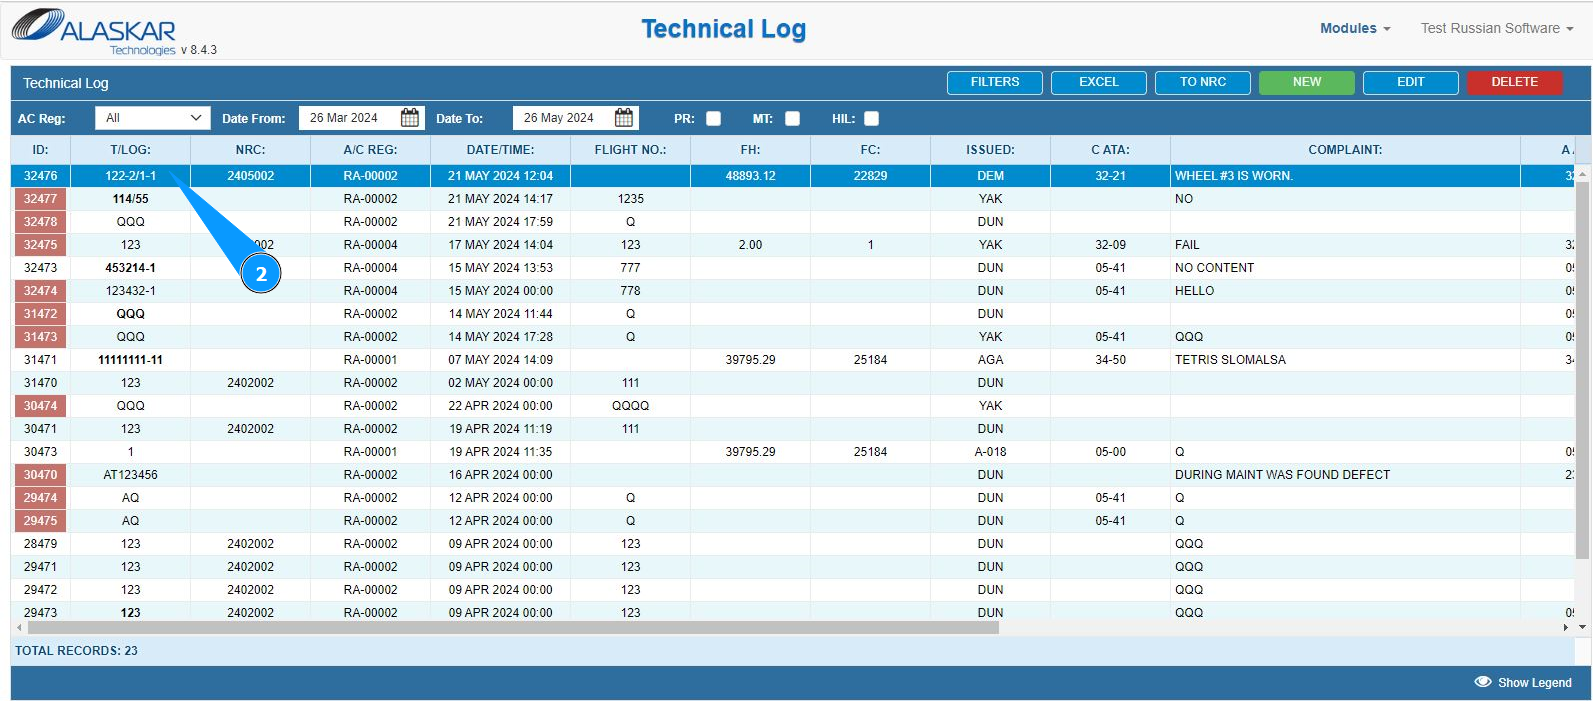
3. Click the button "Edit" to open the technical logbook data editor.
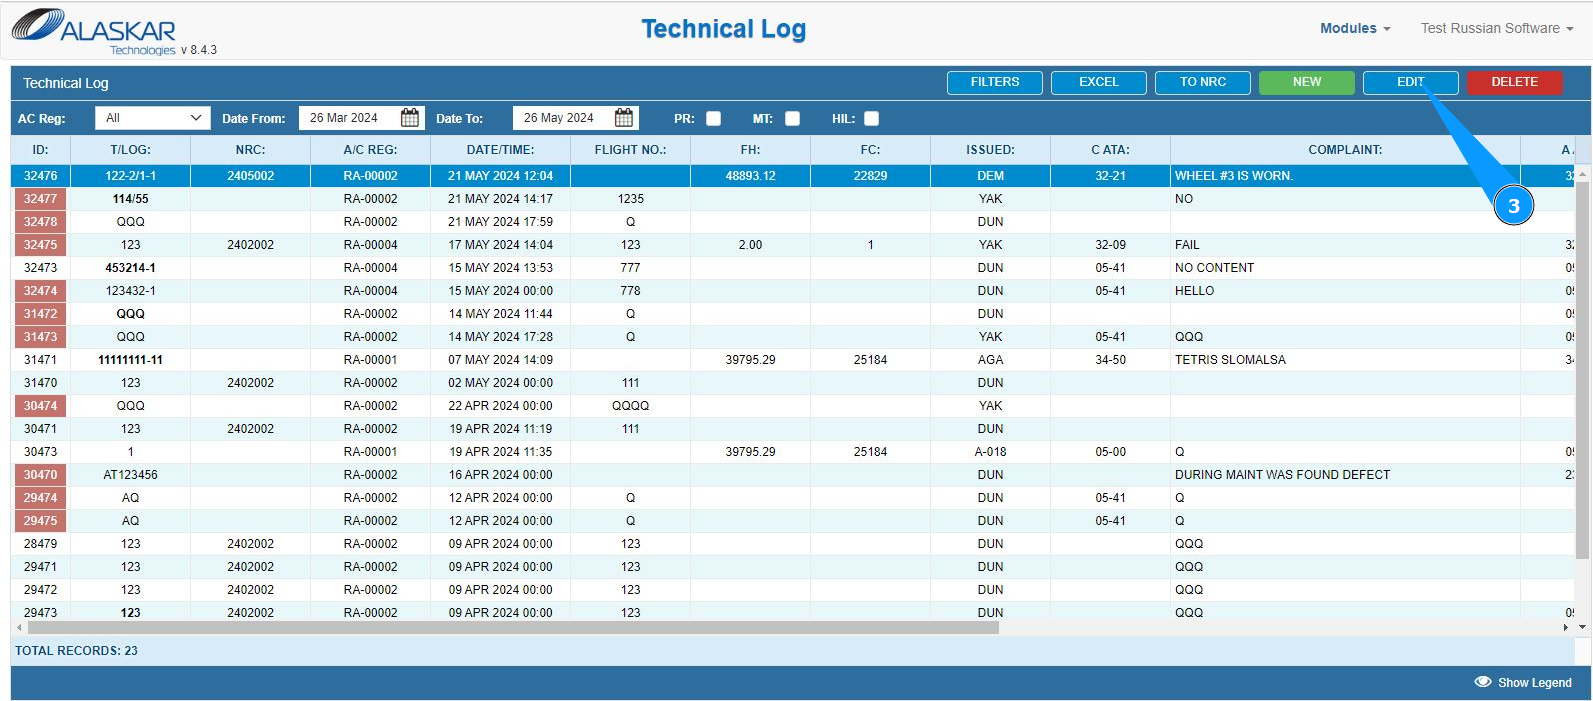
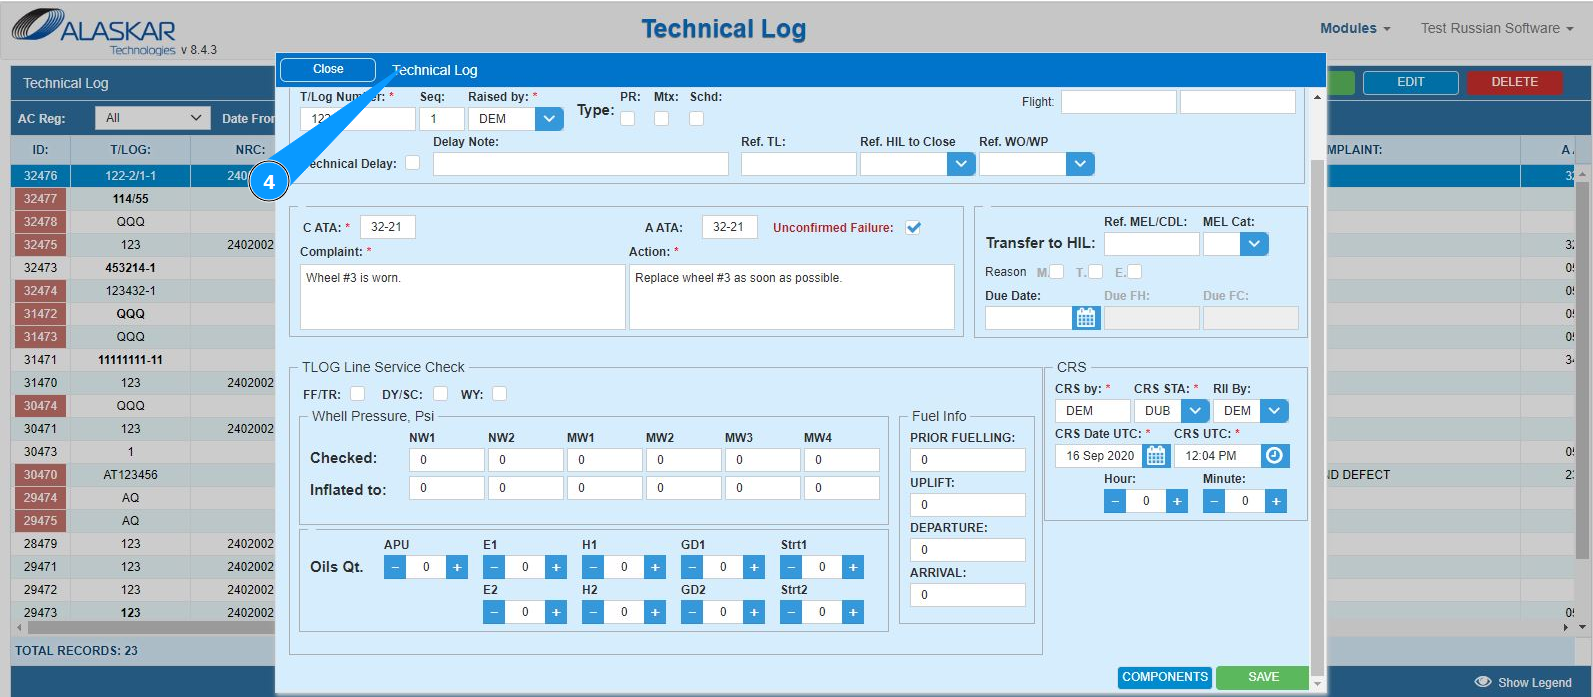
4. Make sure that the technical logbook editor is open and available in the window "Technical Log".
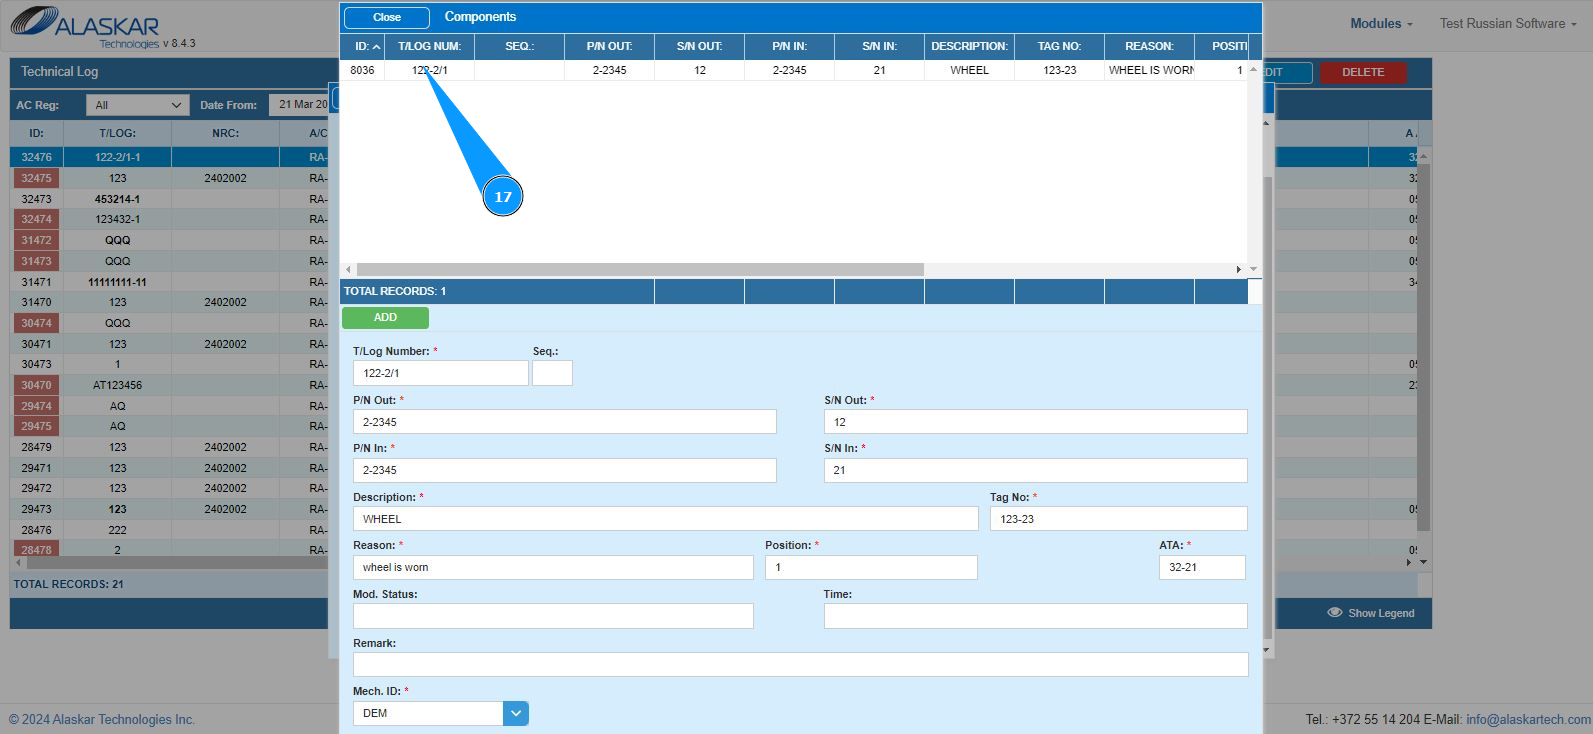
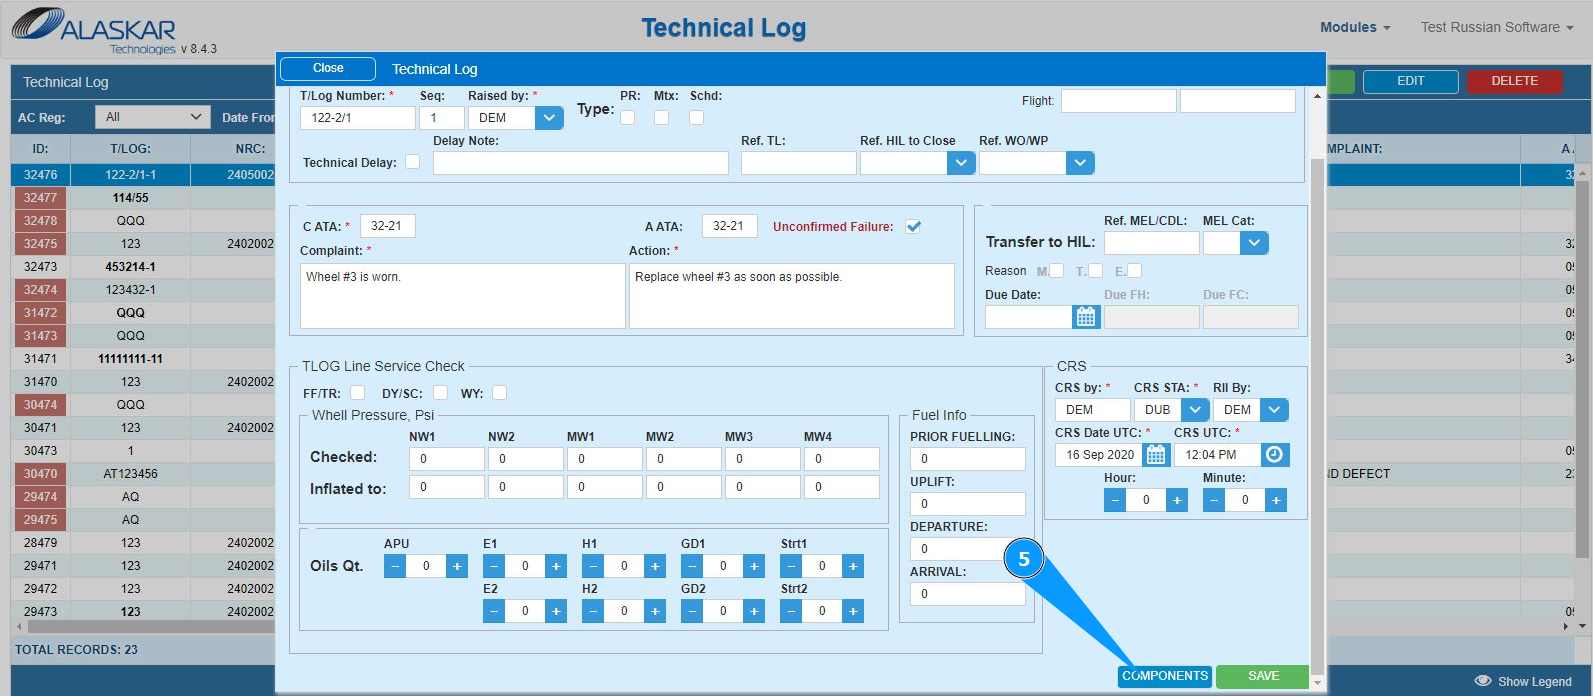
5. Click the button "Components" to open the editor for replaced components into the Tech.Log.
6. Enter the part number of the removed component in the field "P/N Out". Note: The technical logbook number will be generated automatically by the program in the field "T/Log Number".
7. Enter the serial number of the removed component in the field "S/N Out".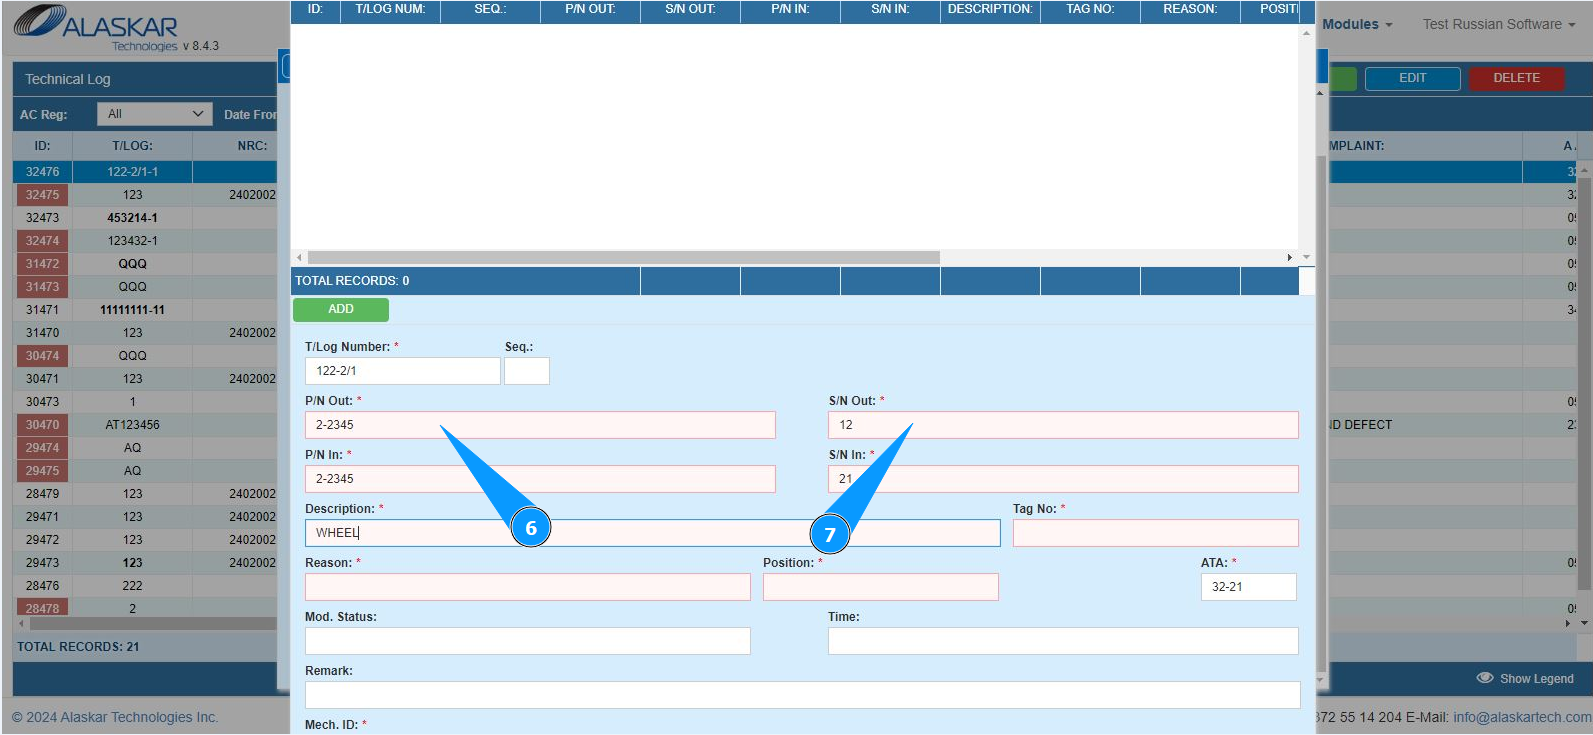
8. Enter the part number of the installed component in the field "P/N In".
9. Enter the serial number of the installed component in the field "S/N In".

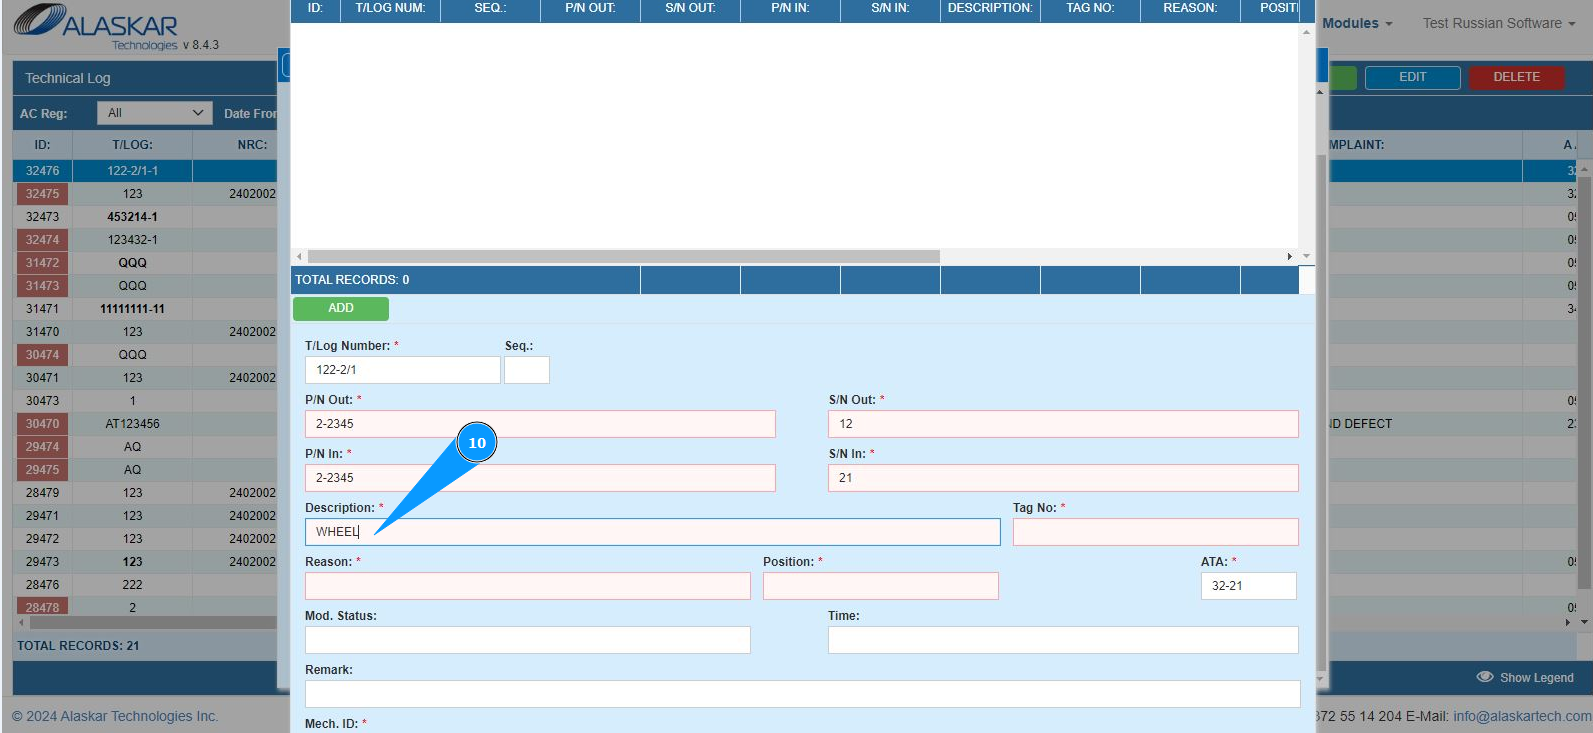
10. Enter a description of the component in the field "Description".
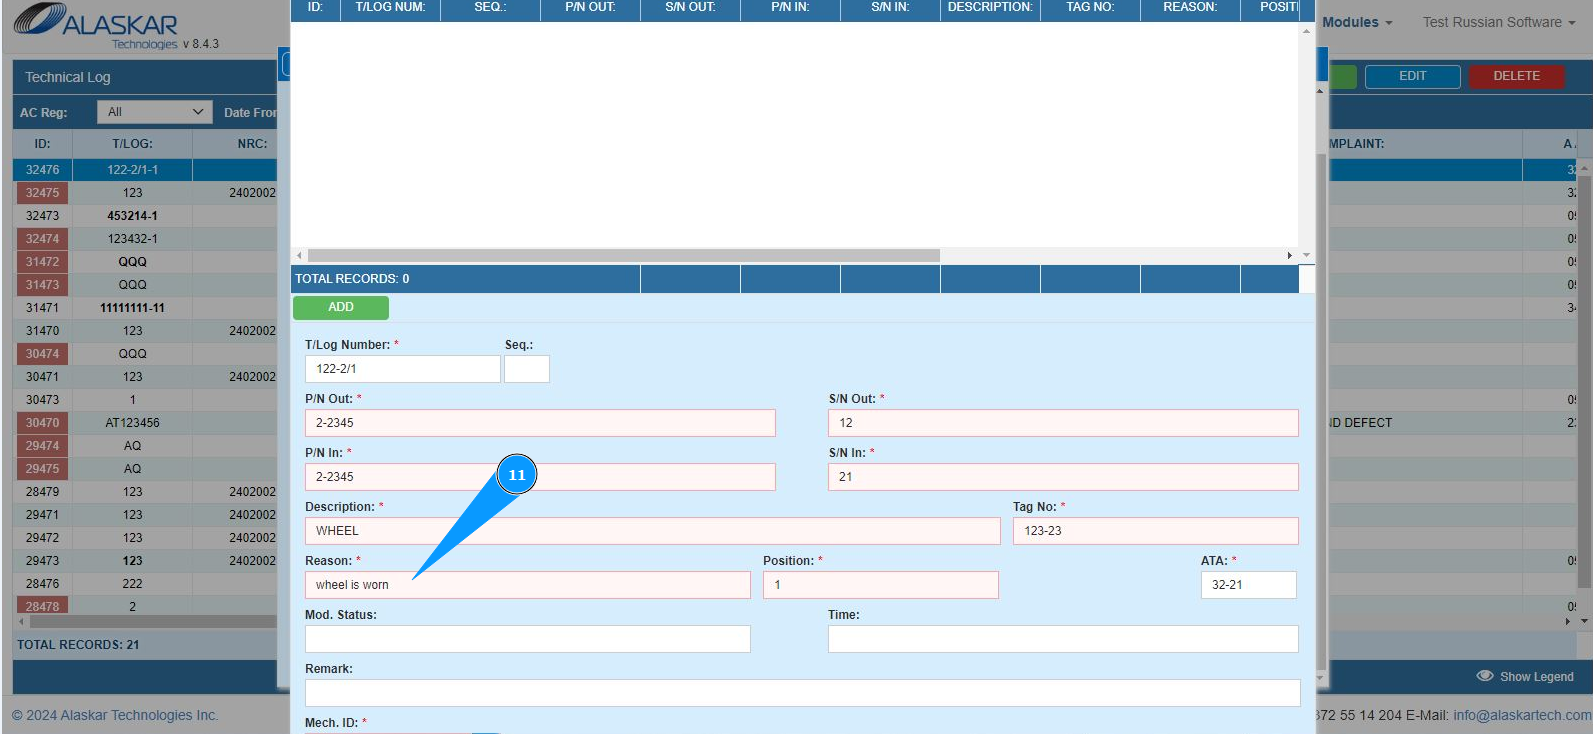
11. Enter the reason for removing the component in the field "Reason".
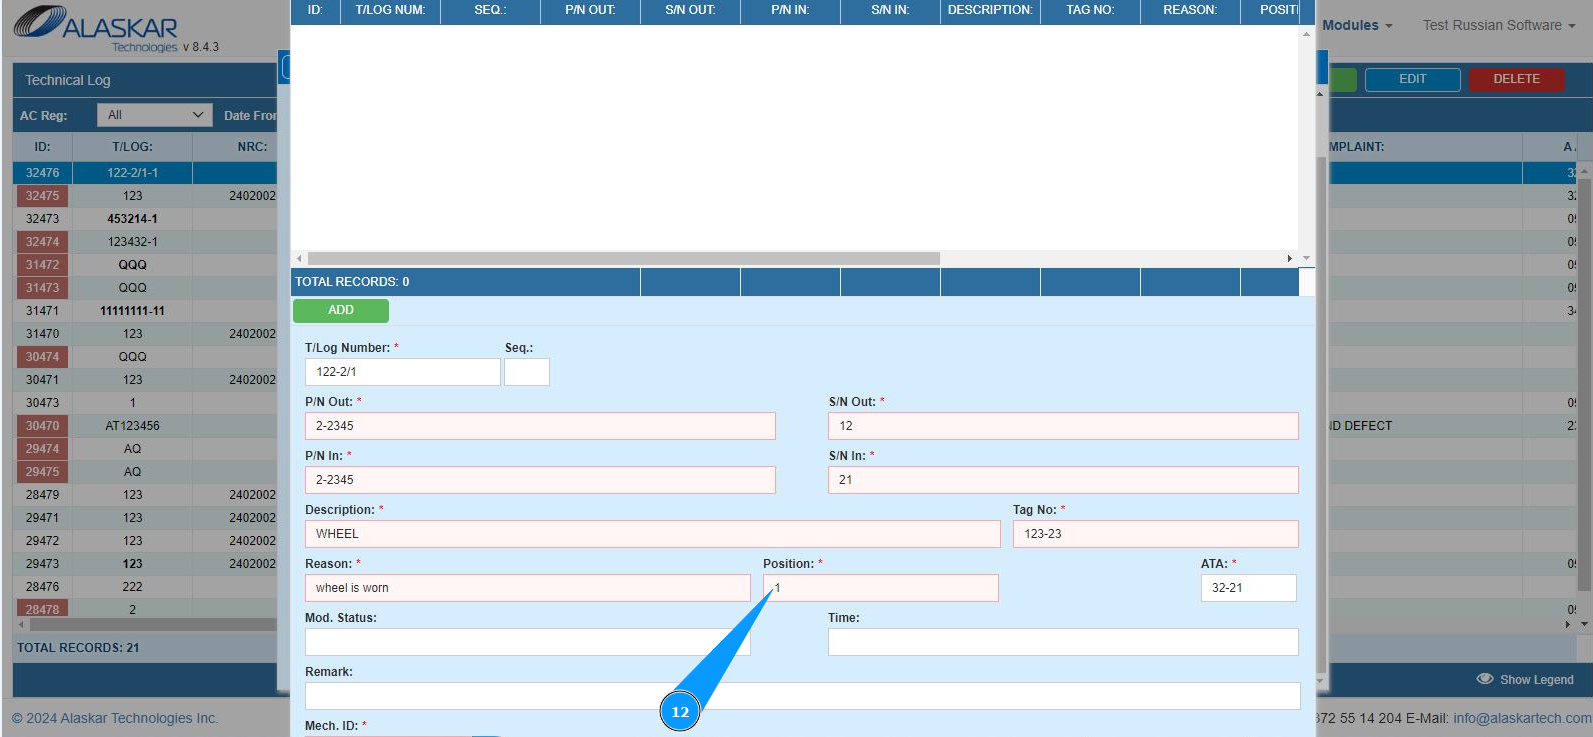
12. Enter the position of the component within the aircraft, if applicable, in the field "Position".
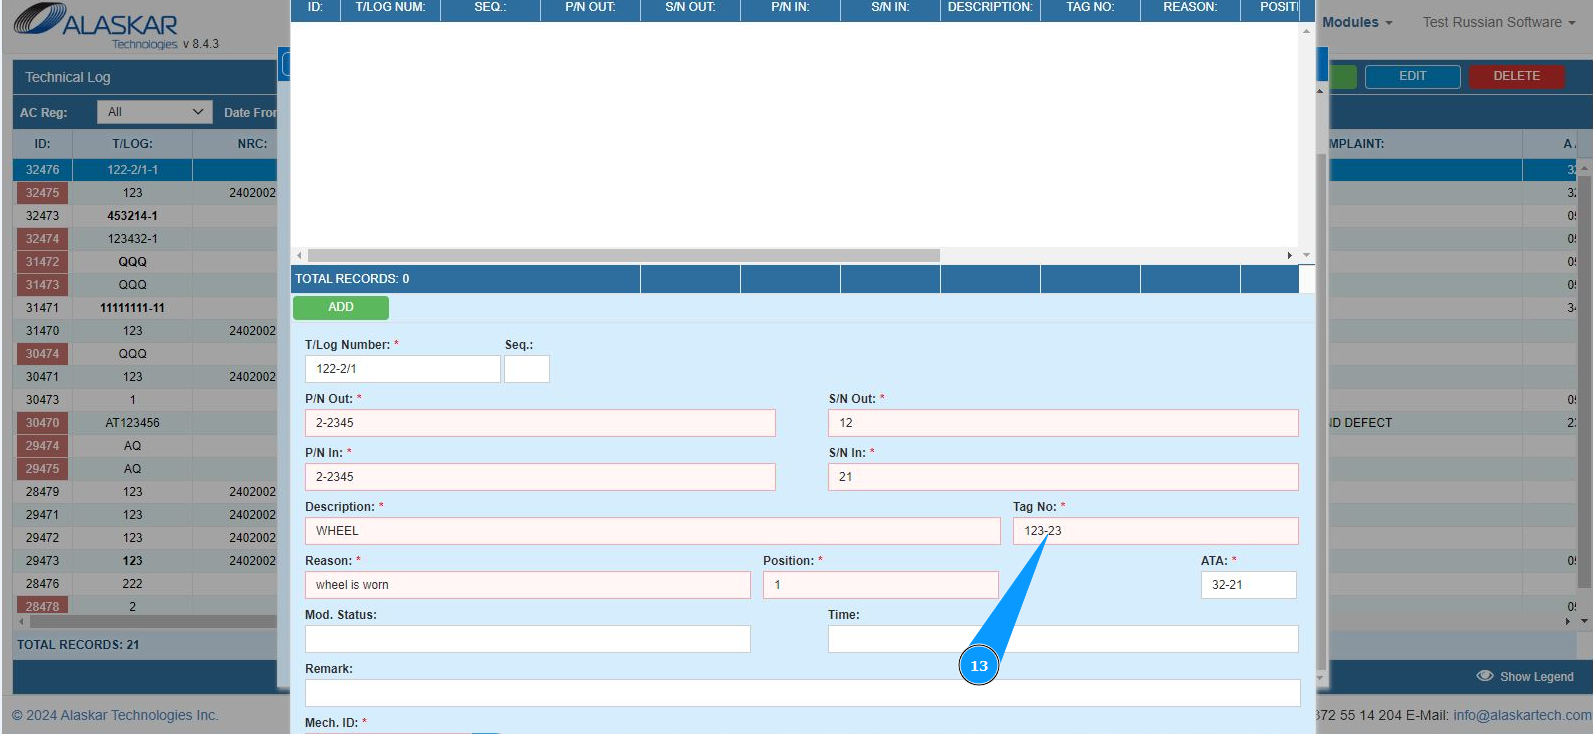
13. Enter the Ident Tag number for removed component in the field "Tag №".
14. Enter the four digits of ATA number in the field "ATA". Note: If necessary, enter information in the non-mandatory fields: "Mod.Status", "Time", "Remark".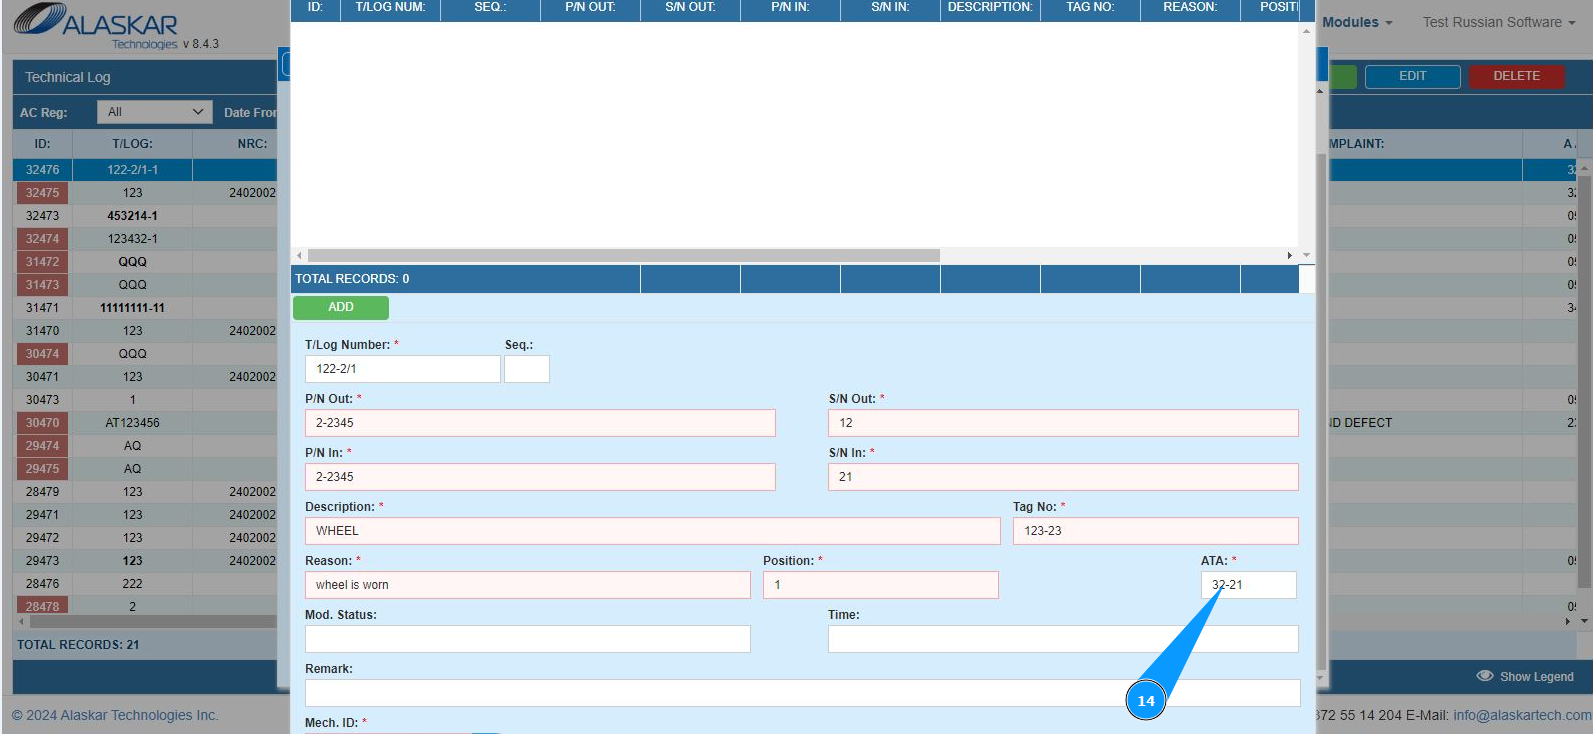
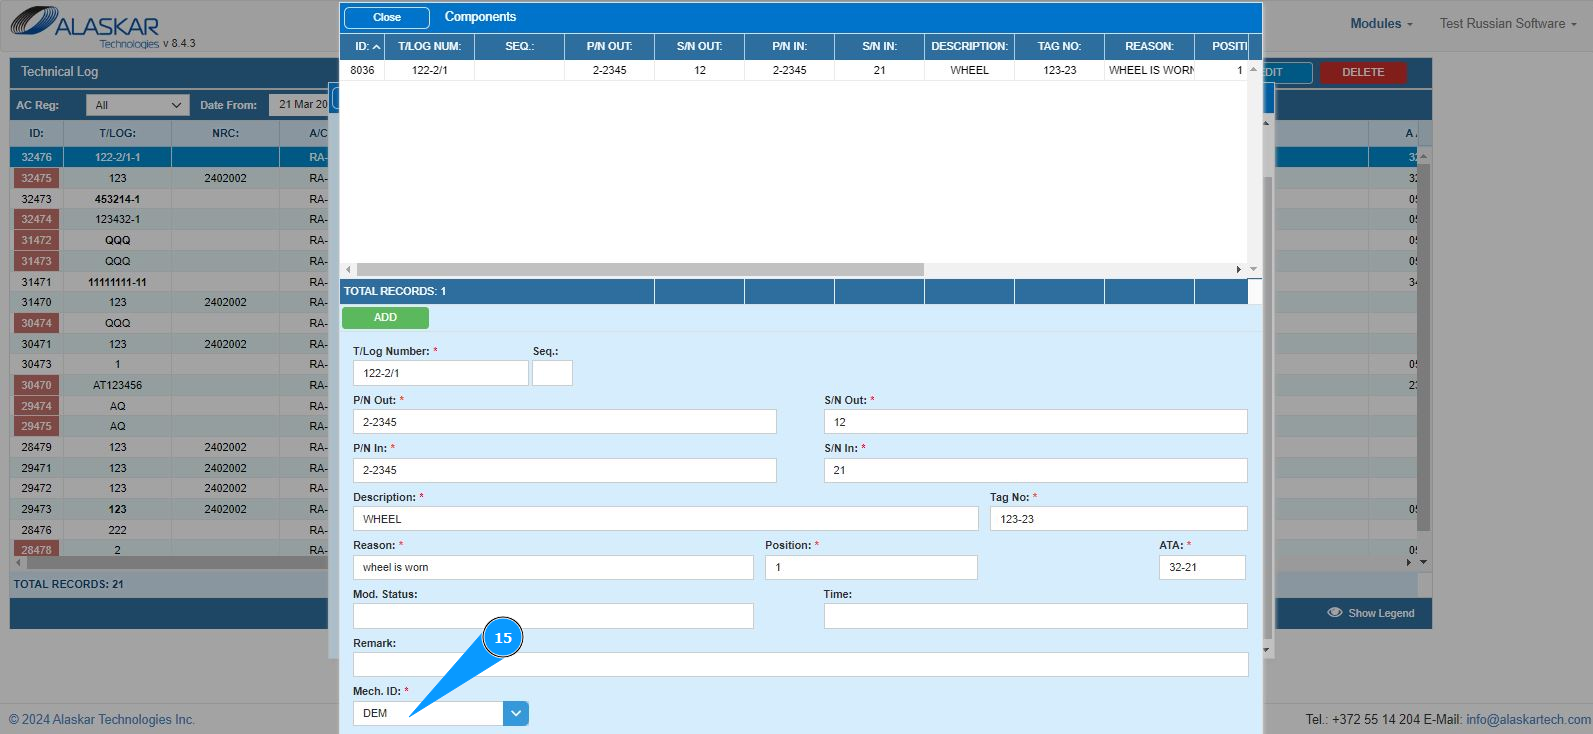
15. Enter or select from the dropdown list the login of the specialist who filled in the replacement in the field "Mech.ID".
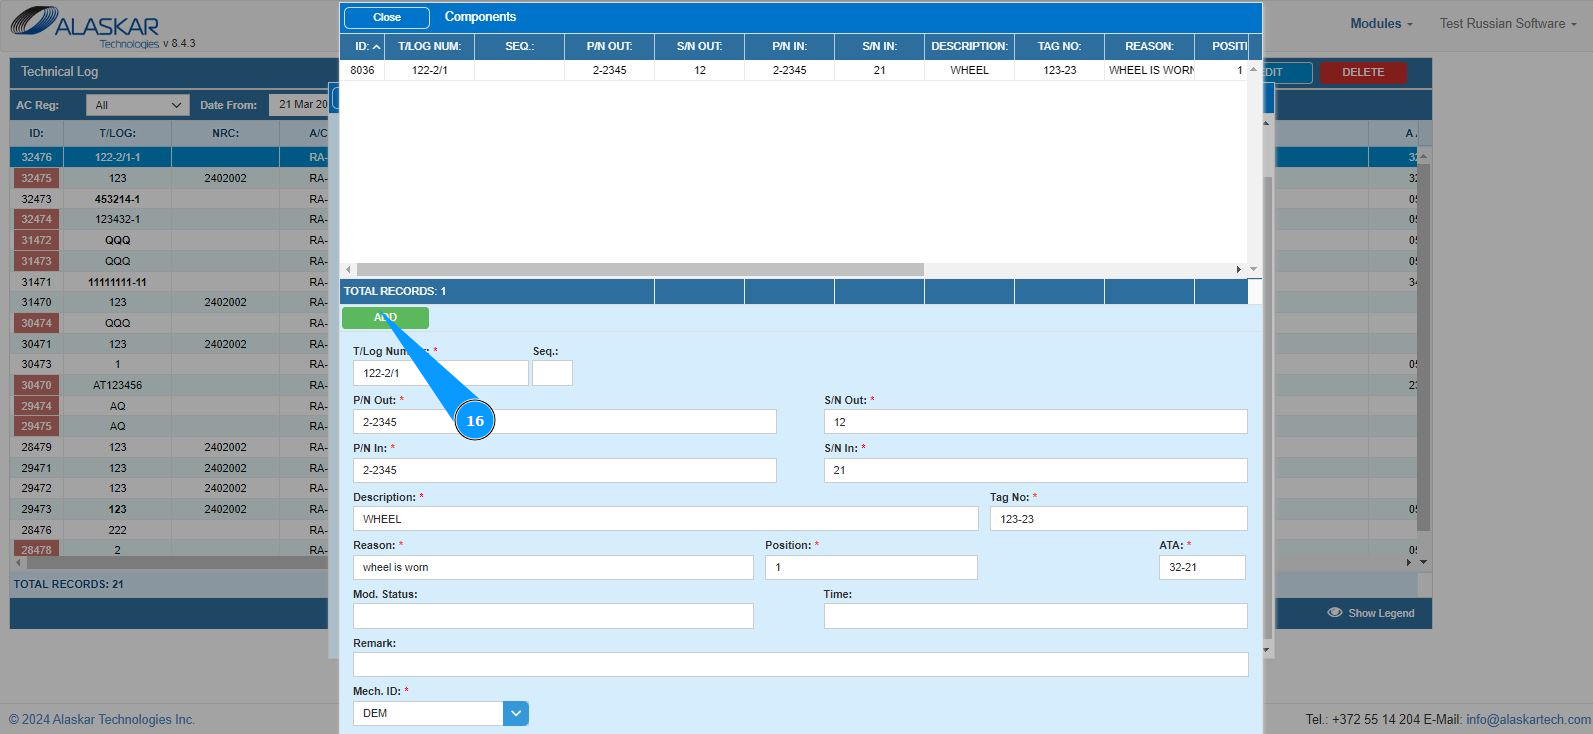
16. Click the button "ADD to save the replacement data of the component into the program.
17. Check that anrecord with the replaced component is displayed in the window "Components".