How to edit the Work Package
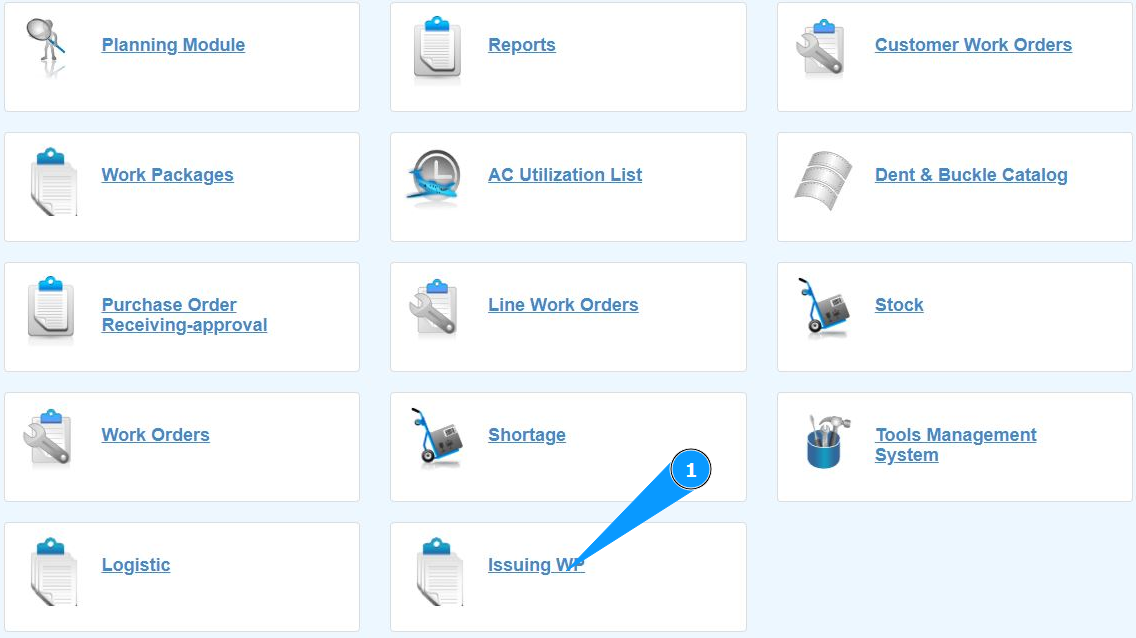
1. In order to correct the data in the Work Package, go to the submodule "Issuing WP".
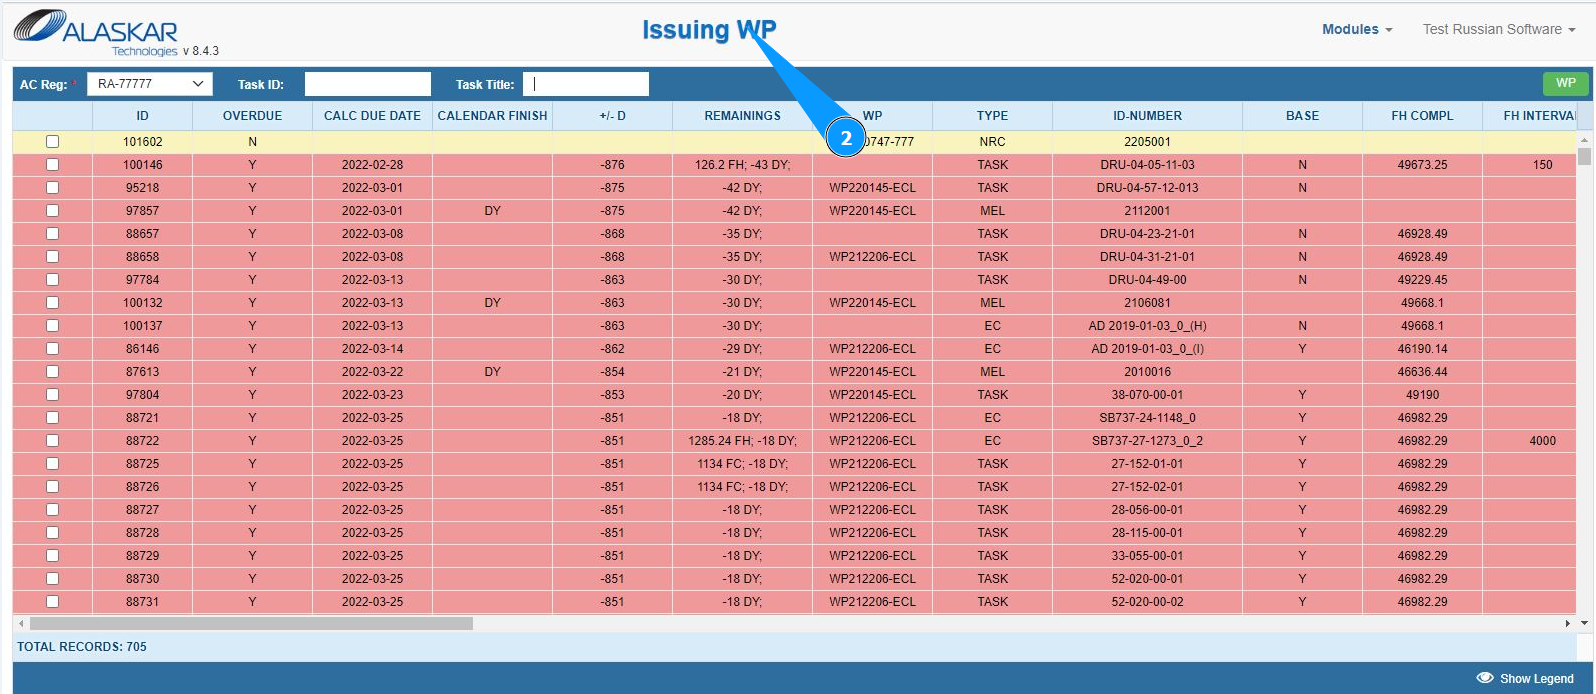
2. Make sure that the window for working with packages is open and accessible in the window "Issuing WP".
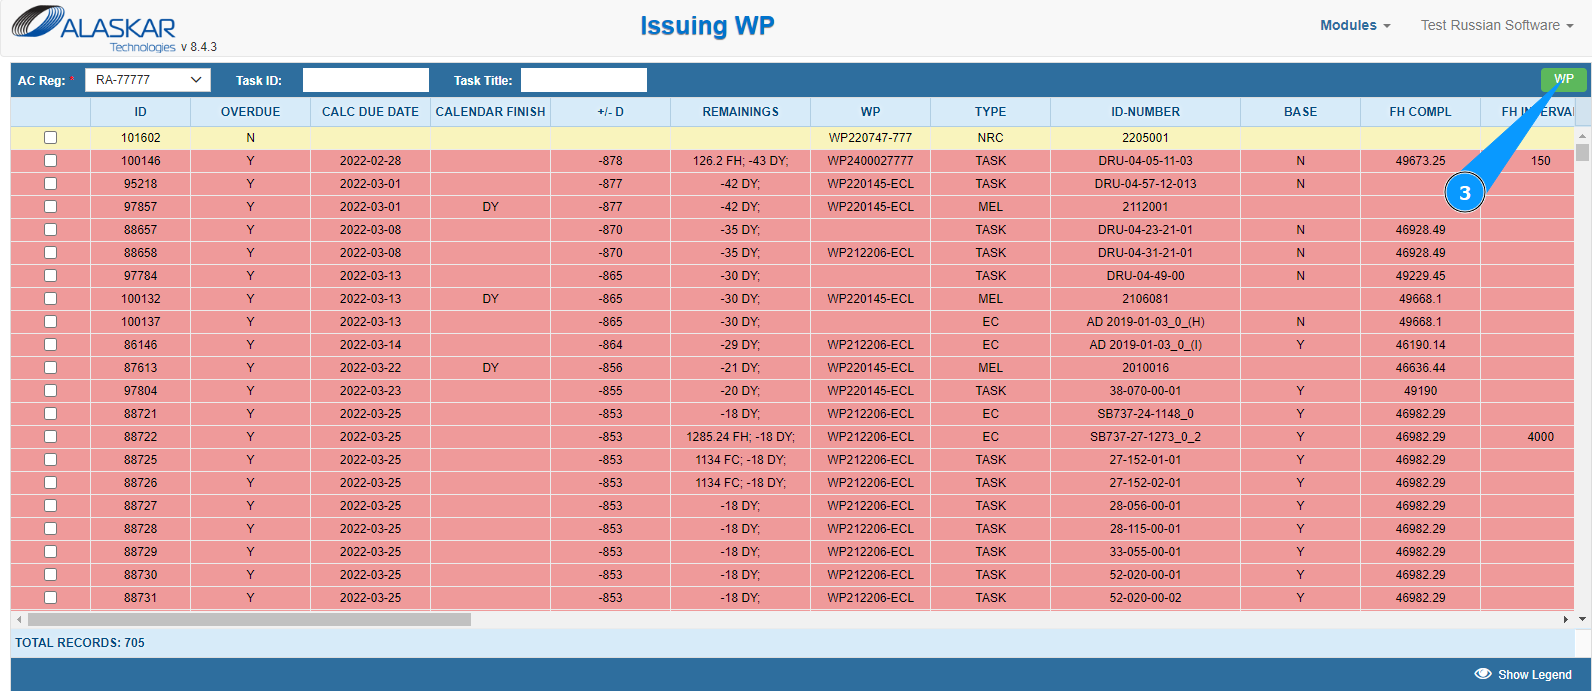
3. Click on the button "WP" to open the WP editor.
4. Make sure that the package editor is open and accessible in the window "Work Package Editor".
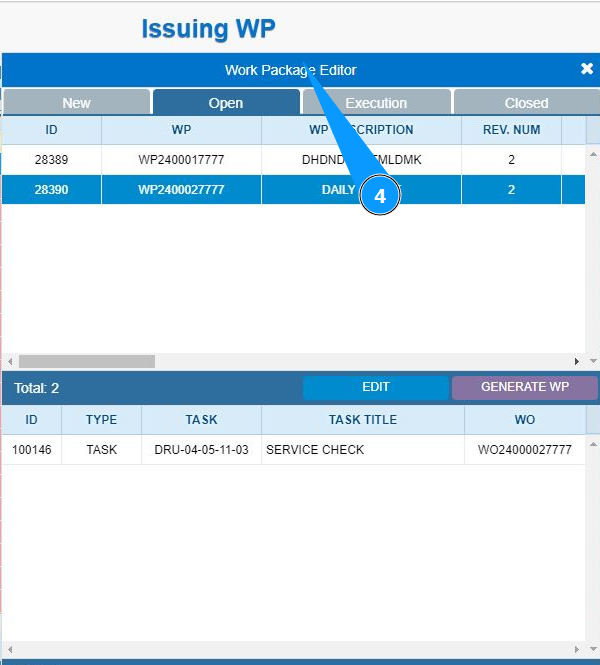
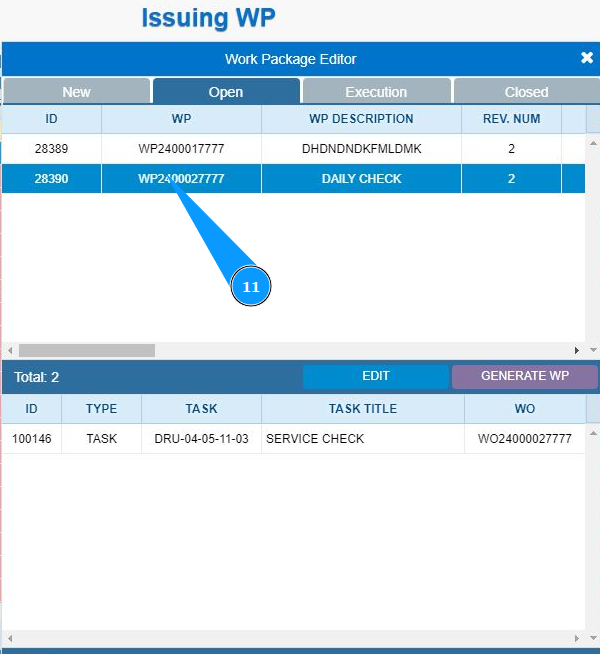
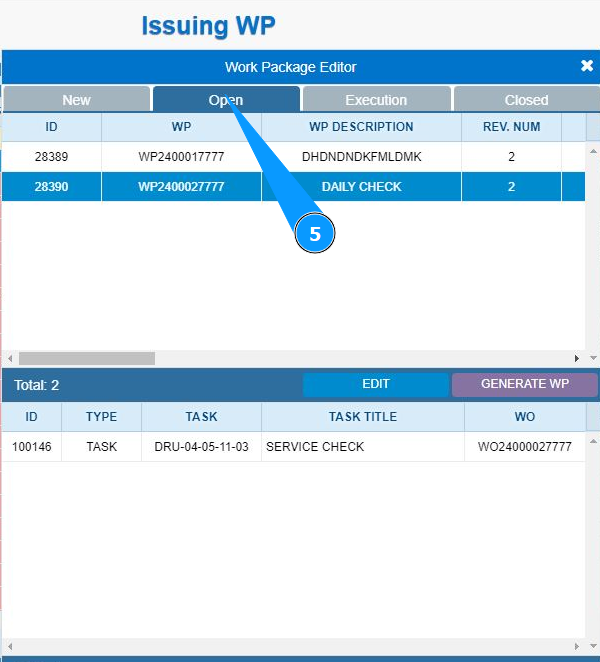
5. Then go to the open packages tab and click on the tab "Open".
6. Select the work package required for editing from the list and click on the corresponding line.

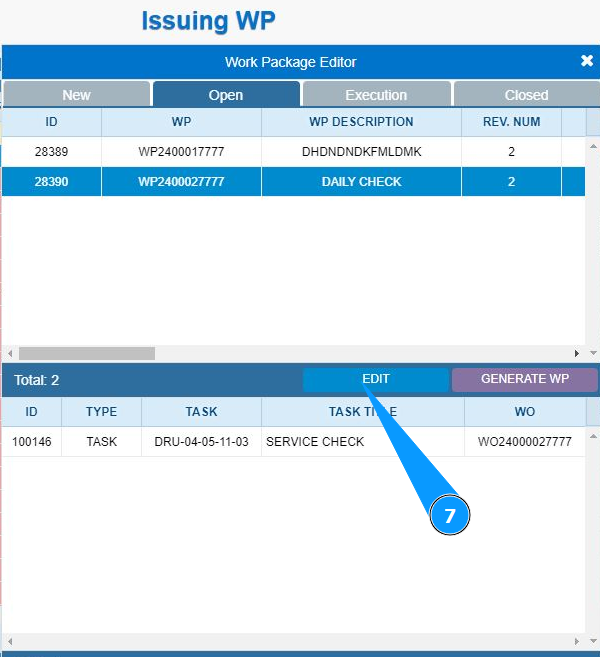
7. Click on the button "Edit" to open the work package editor.
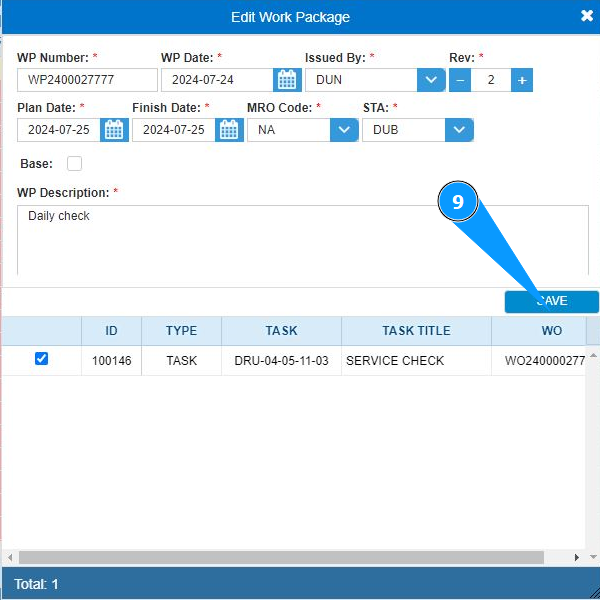
8. Do the required changes to the work package in the appropriate fields.

9. Click on the button "Save" to save the data to the program.
10. Click on the button "Yes" to confirm entering the data into the program.

11. Make sure that the Work Package is displayed in the tab "Open".