How to edit a Work Order
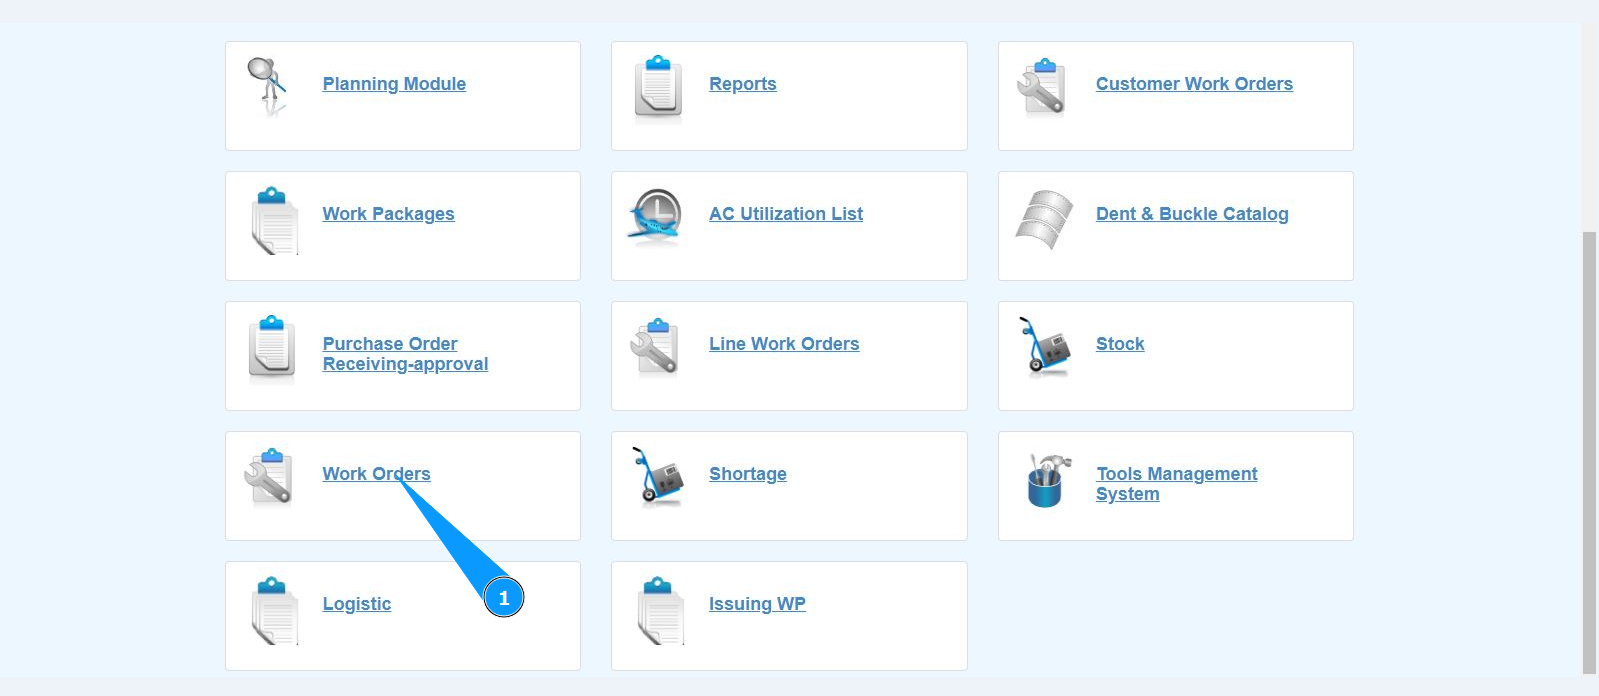
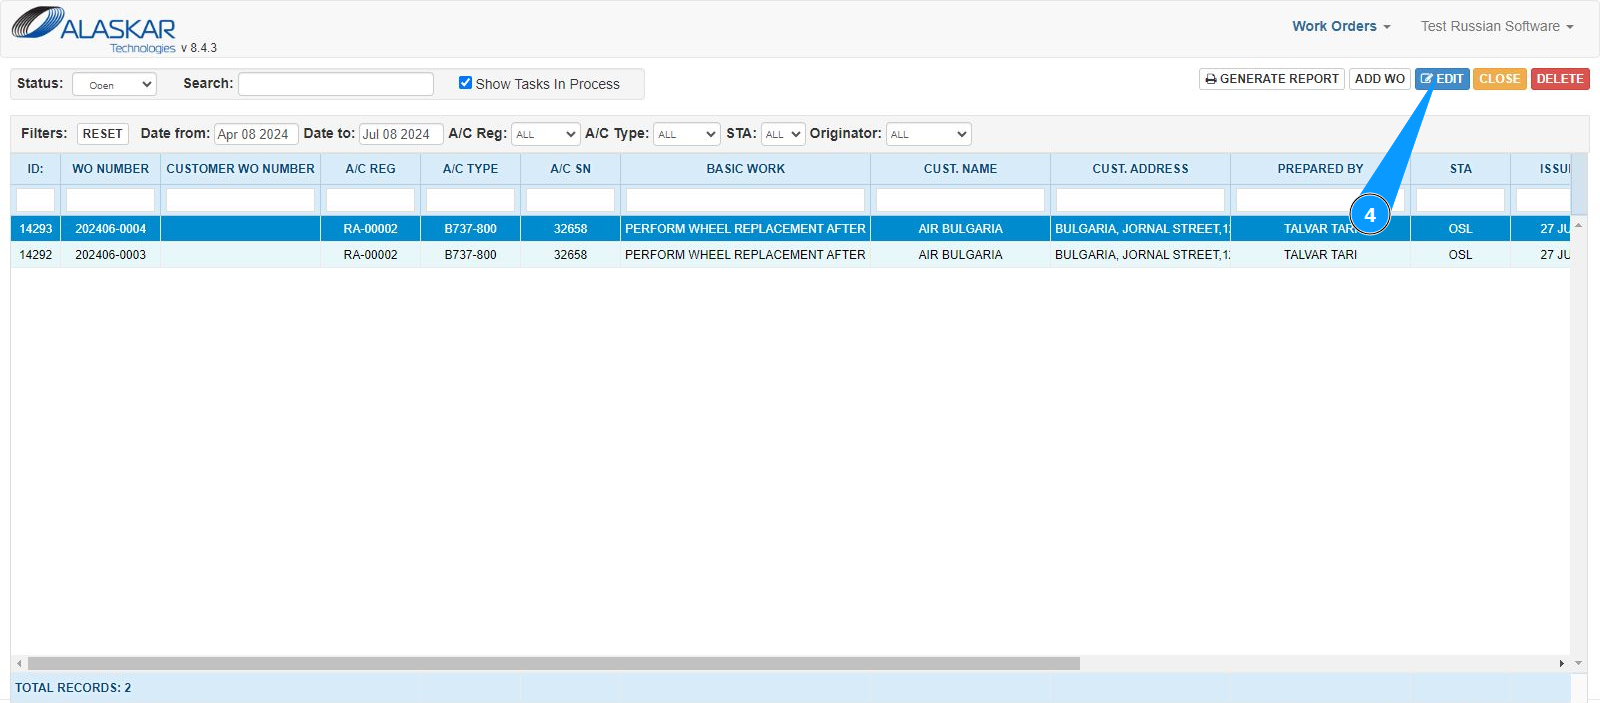
1. In order to edit a Work Order, go to the submodule "Work Orders".
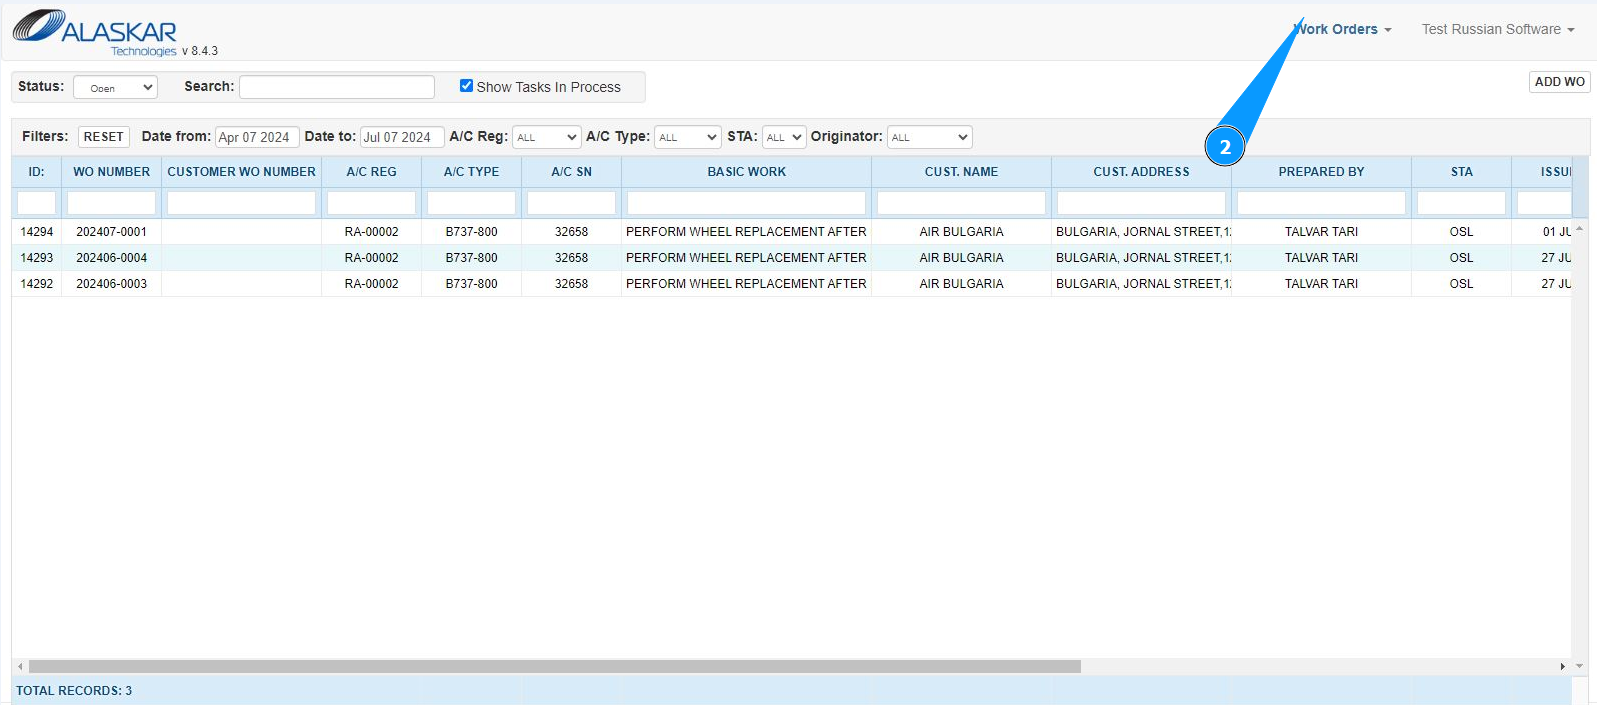
2. Make sure that the window for working with WO is open and accessible in the window "Work Orders".
3. Select the required Work Order and click on the corresponding line. Note: If necessary, use the available filters in the fields: "A/C Reg.", "A/C Type", "STA" and so on.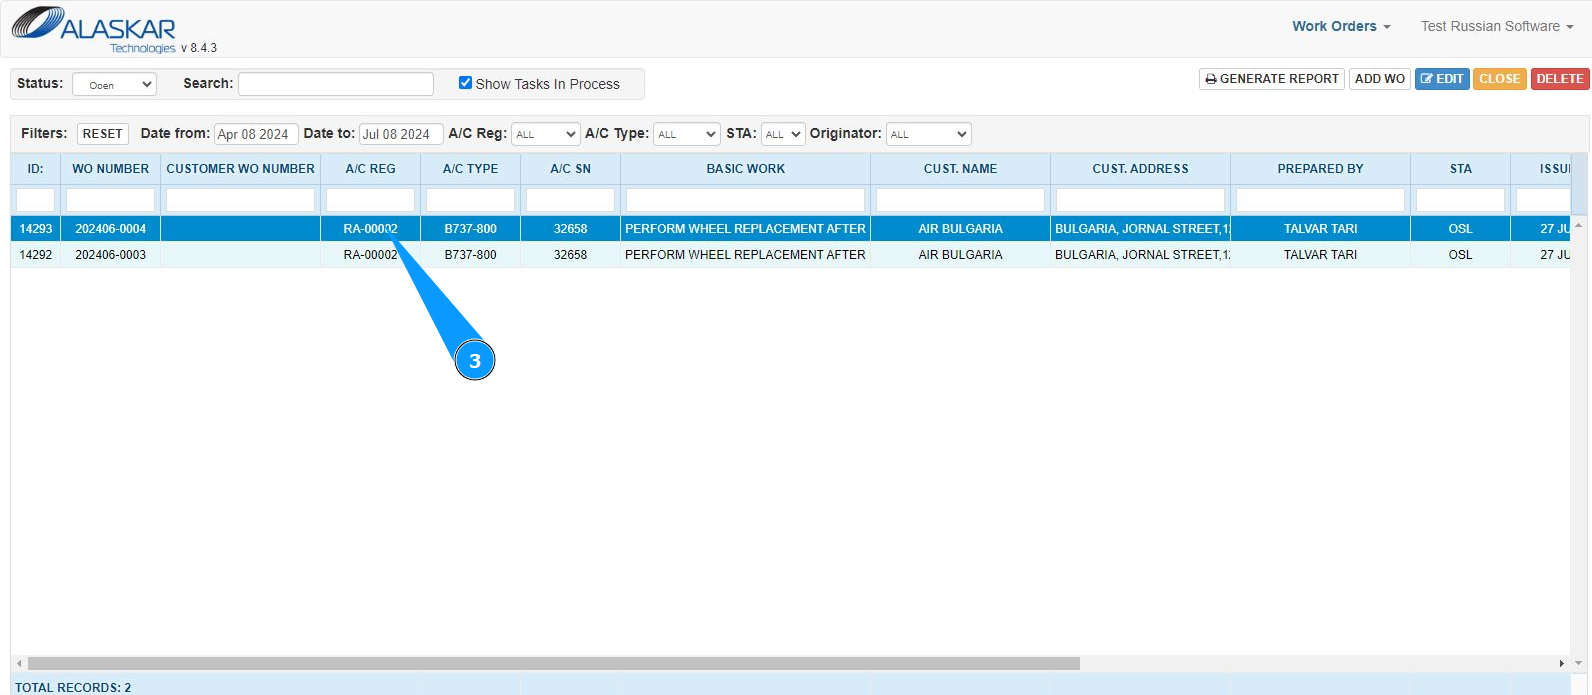
4. Click on the button "Edit" to open the editing mode.
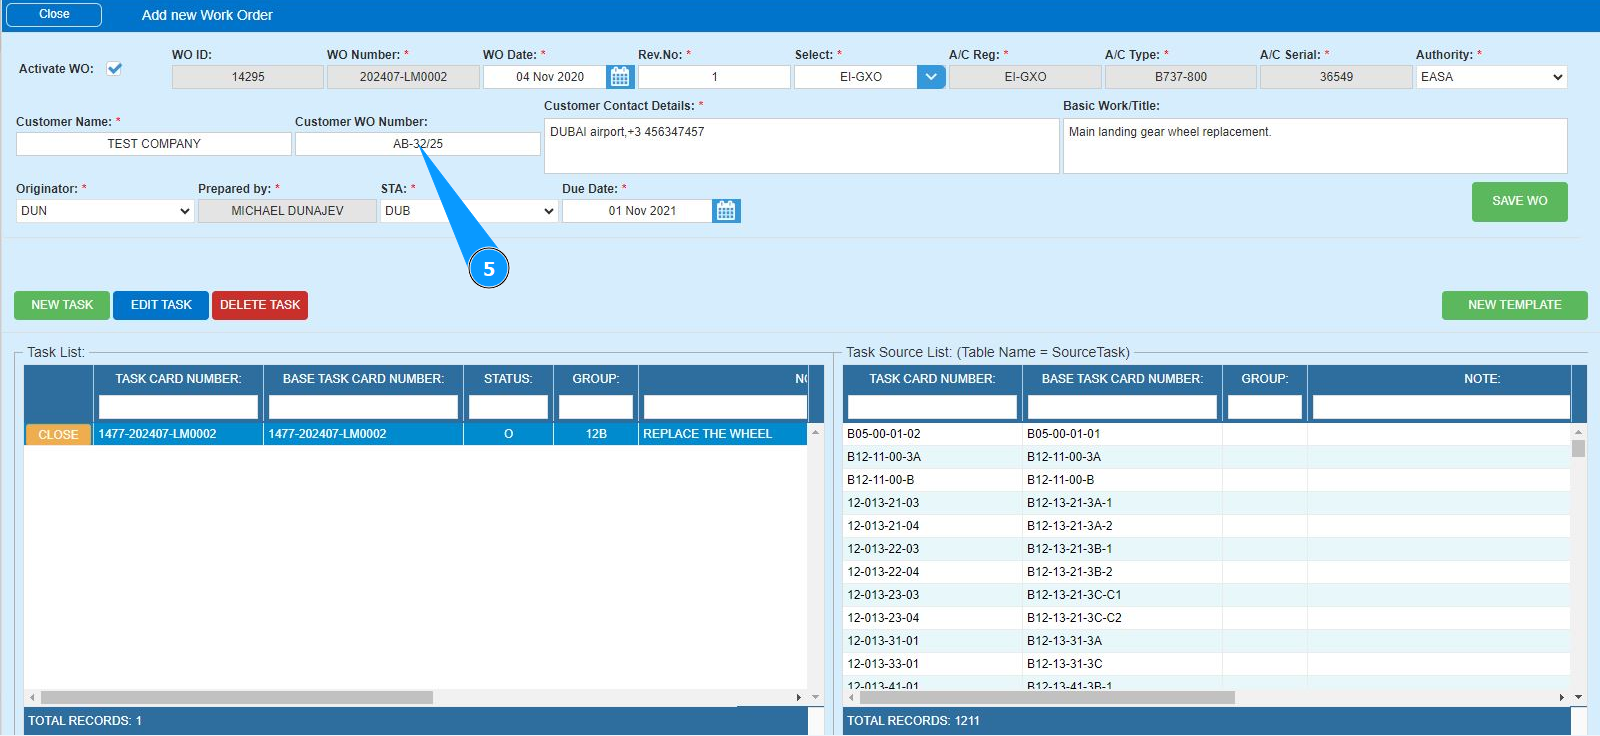
5. Make the required changes to the WO text fields.
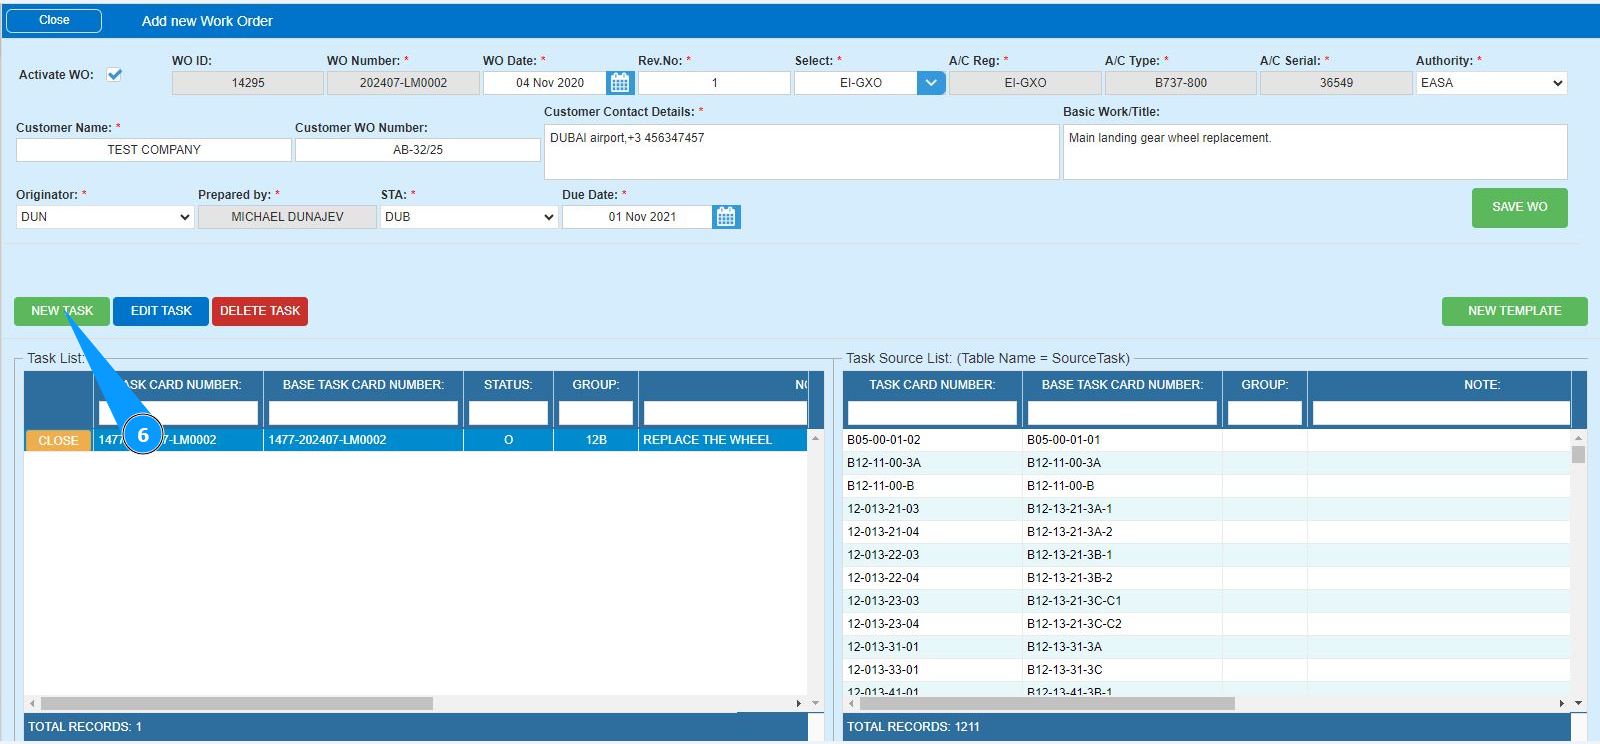
6. If you need to add another task to complete the work, click on the button "New Task".
7. Make sure that the task editor is open and available in the window "Add new Task".
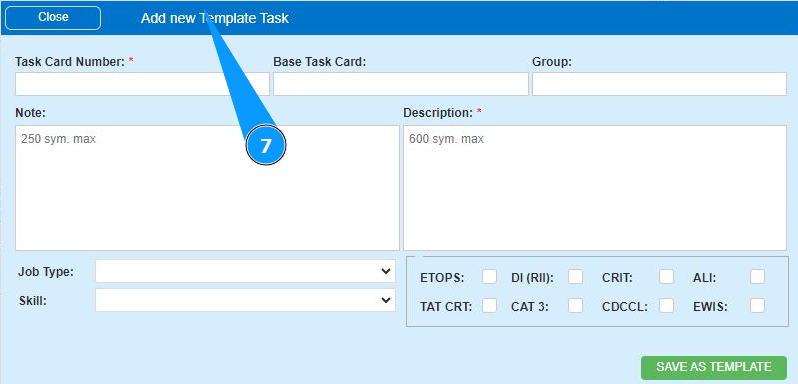
8. If necessary, enter the name of the basic task in the field "Basik Task Card". Note: The Work Order number is assigned automatically in the field "Task Order Number".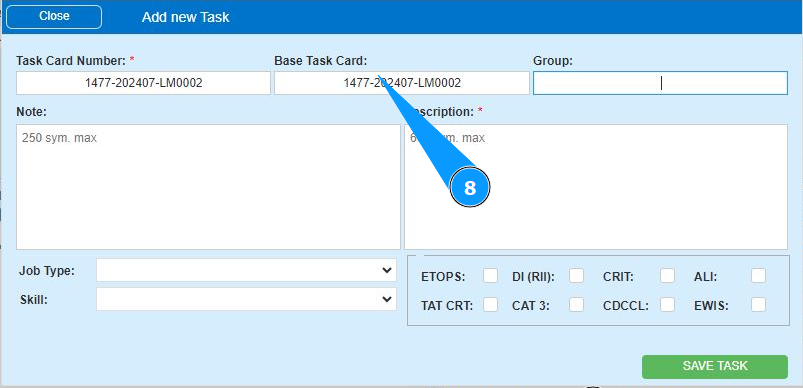
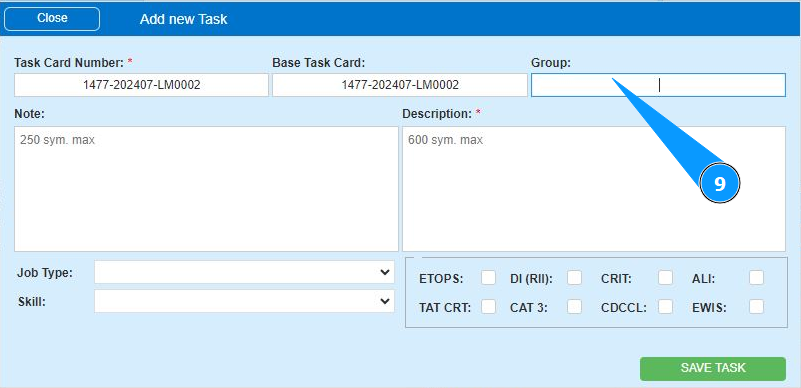
9. Enter the task group number and click in the field "Group".
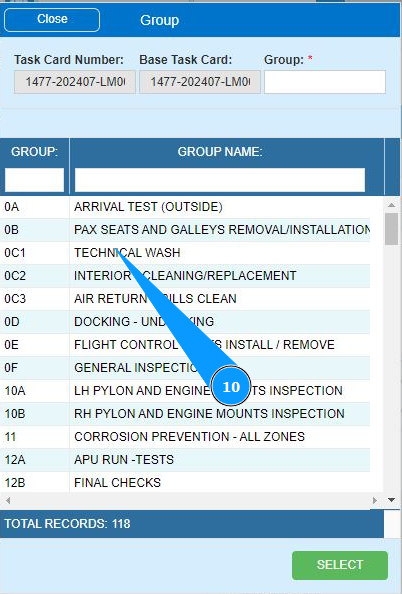
10. Select the task group number from the list in the window "Group Name" and click on the corresponding line.
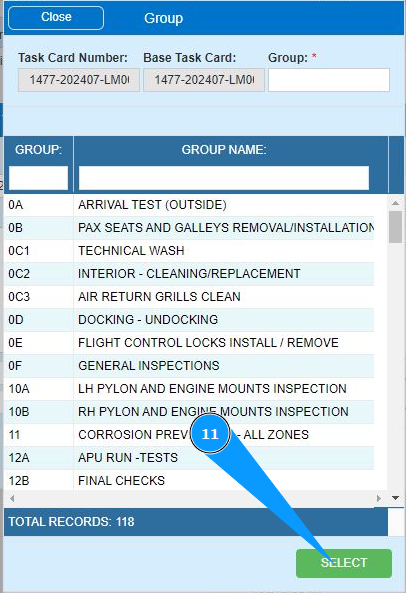
11. Click on the button "Select" to select the group number.
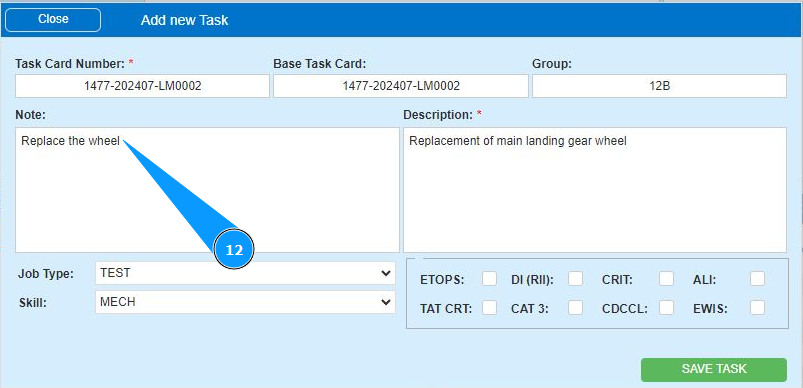
12. If necessary, add any comments in the field "Note".
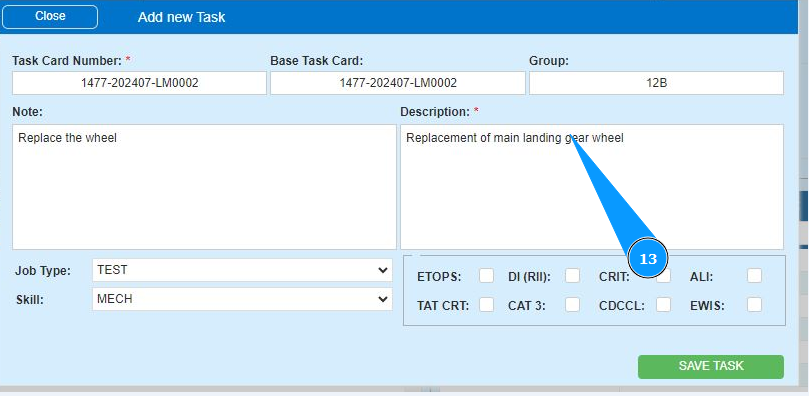
13. Enter a description of the task in the field "Description".
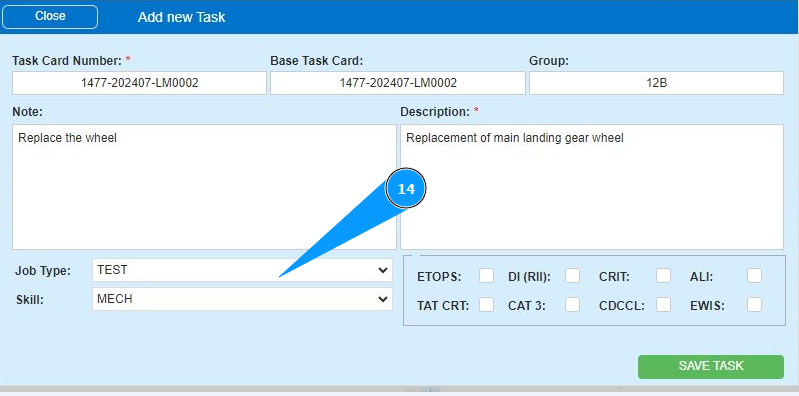
14. If necessary, select the task type from the dropdown list in the field "Job Type".
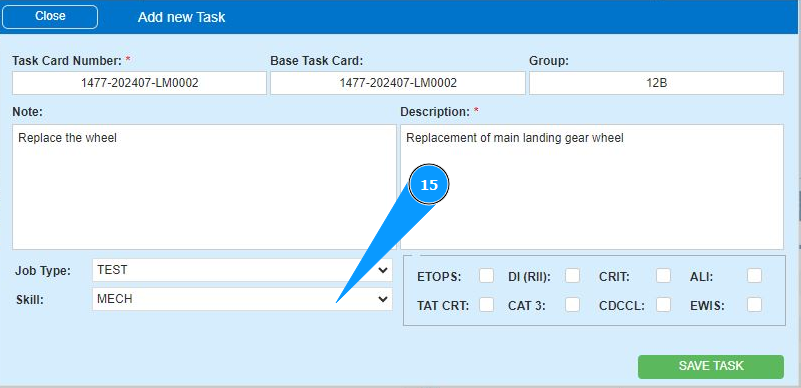
15. If necessary, select the task specialization from the dropdown list in the field "Skill".
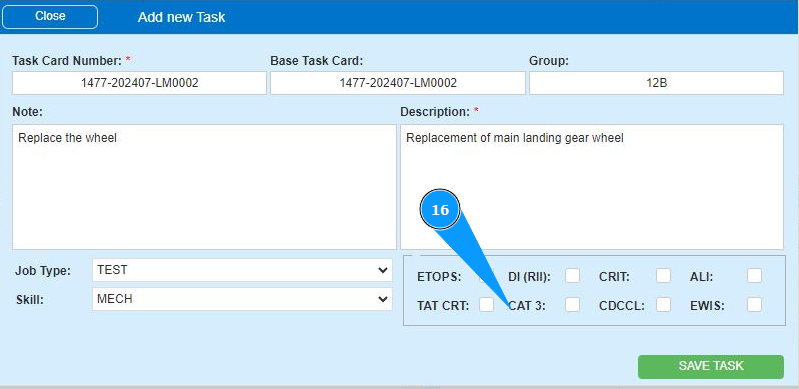
16. If necessary, enter additional criteria for completing the task in the fields: "Etops", "DI(RII)", "CRIT" and so on.
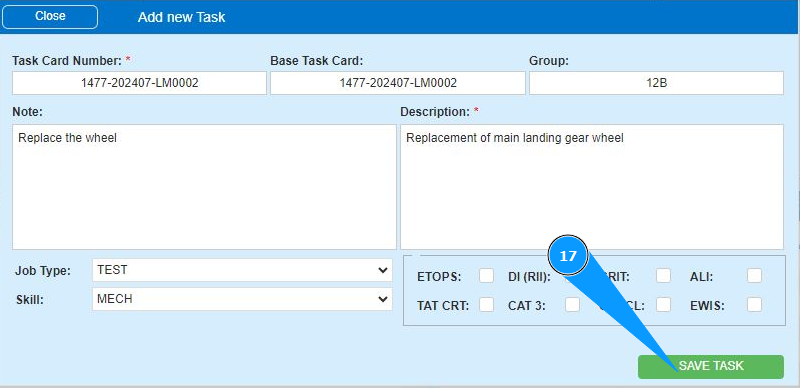
17. Click on the button "Save Task" to save the task data.
18. Check that the newly created task is displayed in the window "Task List". Note: If necessary, add more tasks and repeat steps 5 to 17 of this instruction.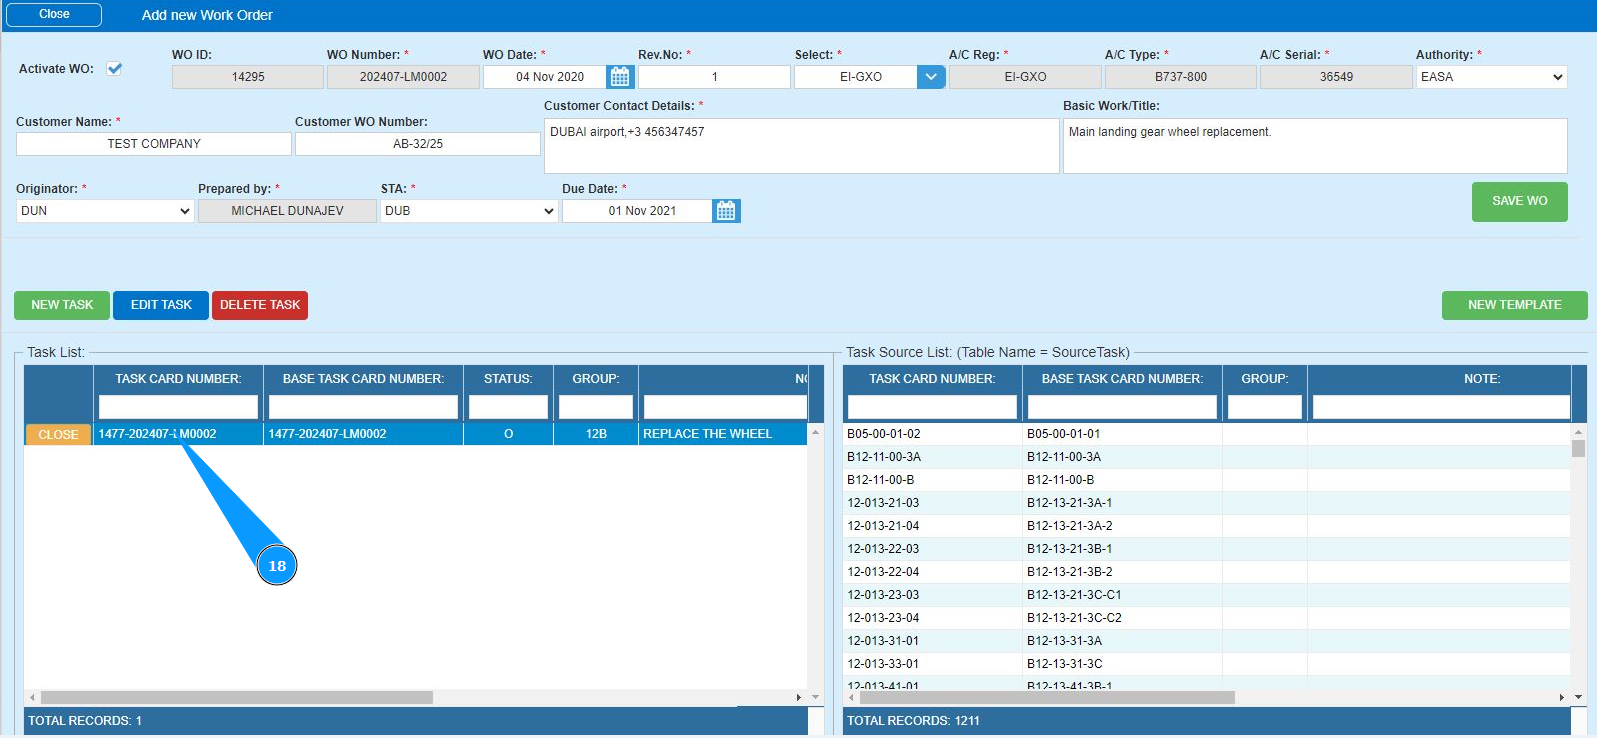
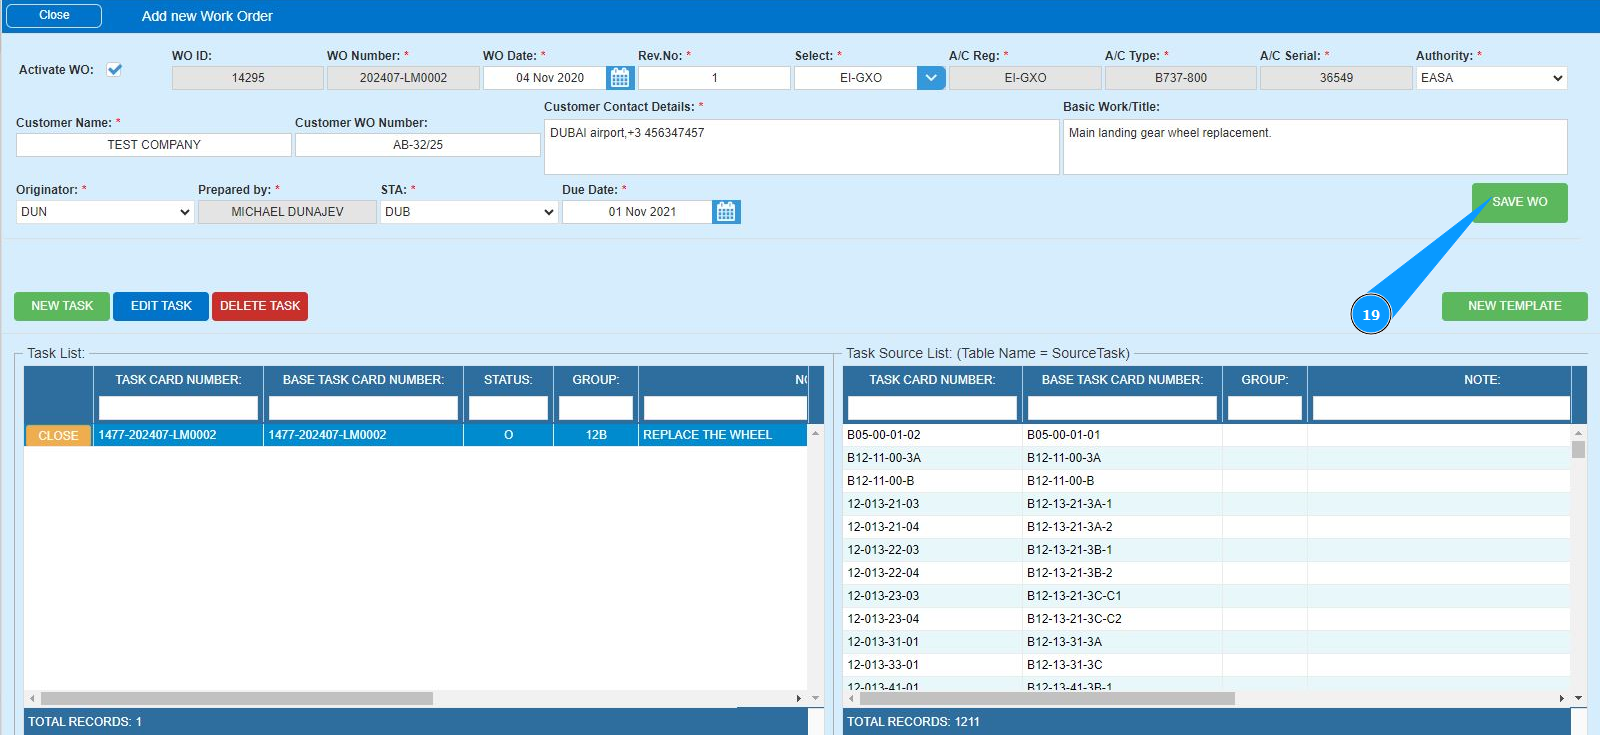
19. Click on the button "Save WO" to save the entered data into the program.
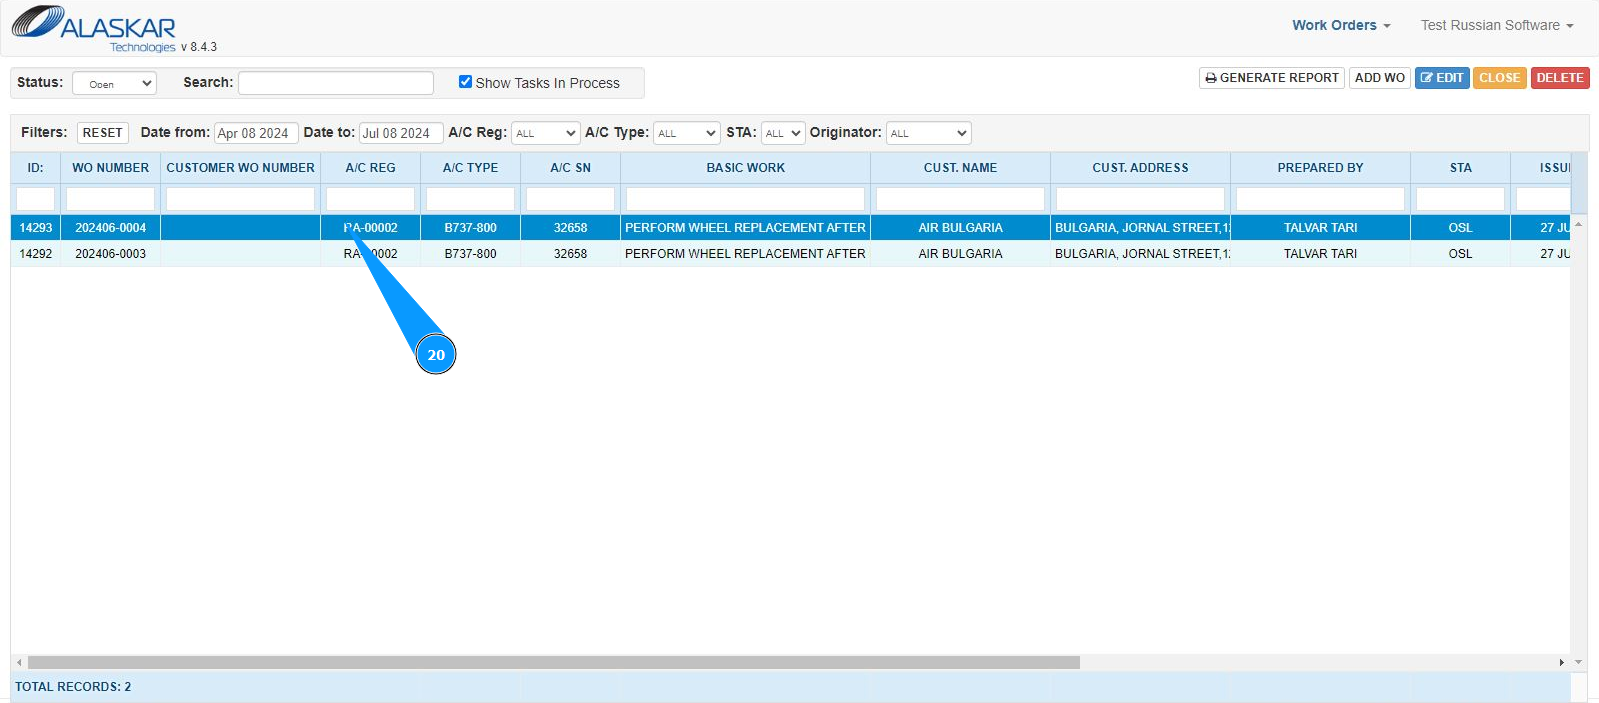
20. Make sure that the edited WO is displayed in the window "Work Orders".