How to create a Work Order
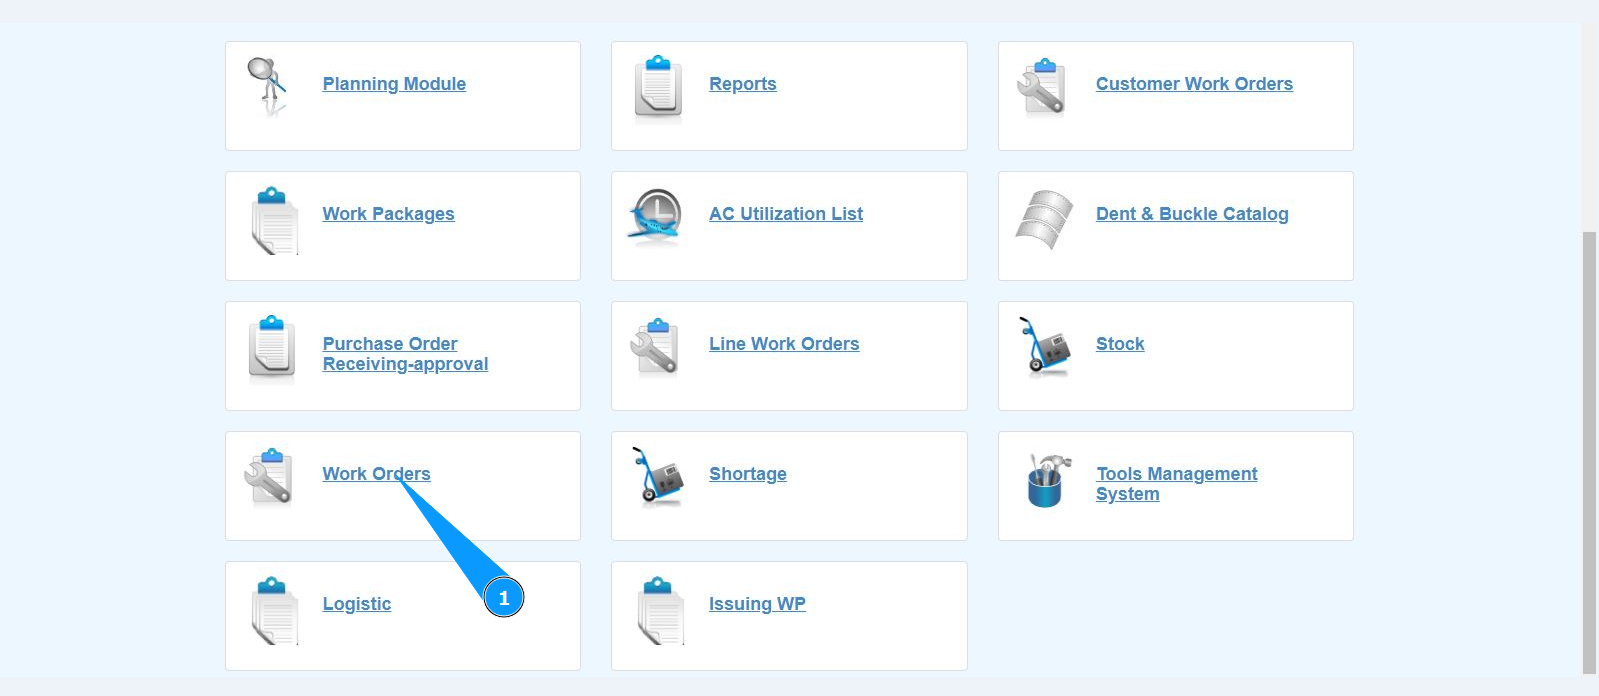
1. In order to create a Work Order, go to the submodule "Work Orders".
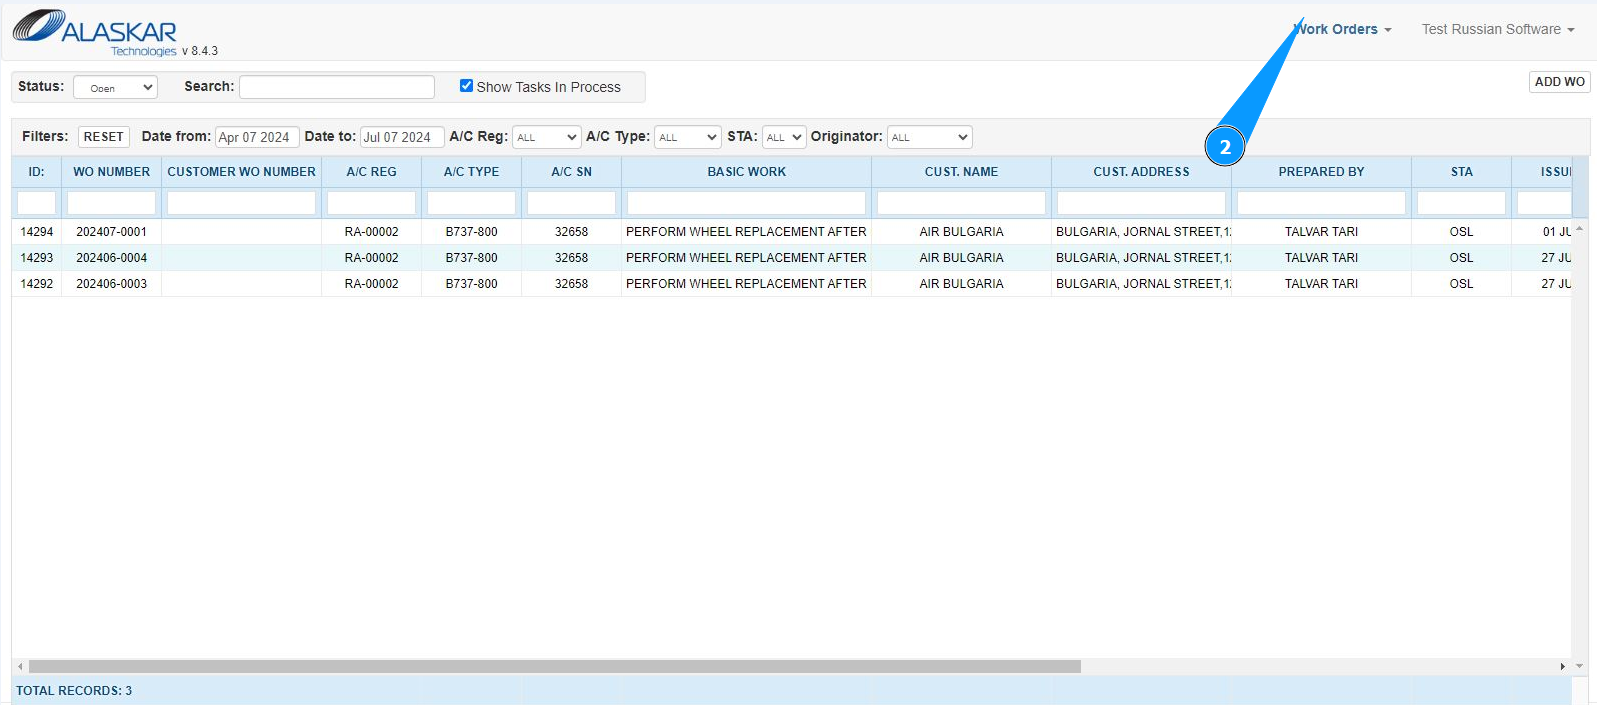
2. Make sure that the window for working with WO is open and accessible in the window "Work Orders".
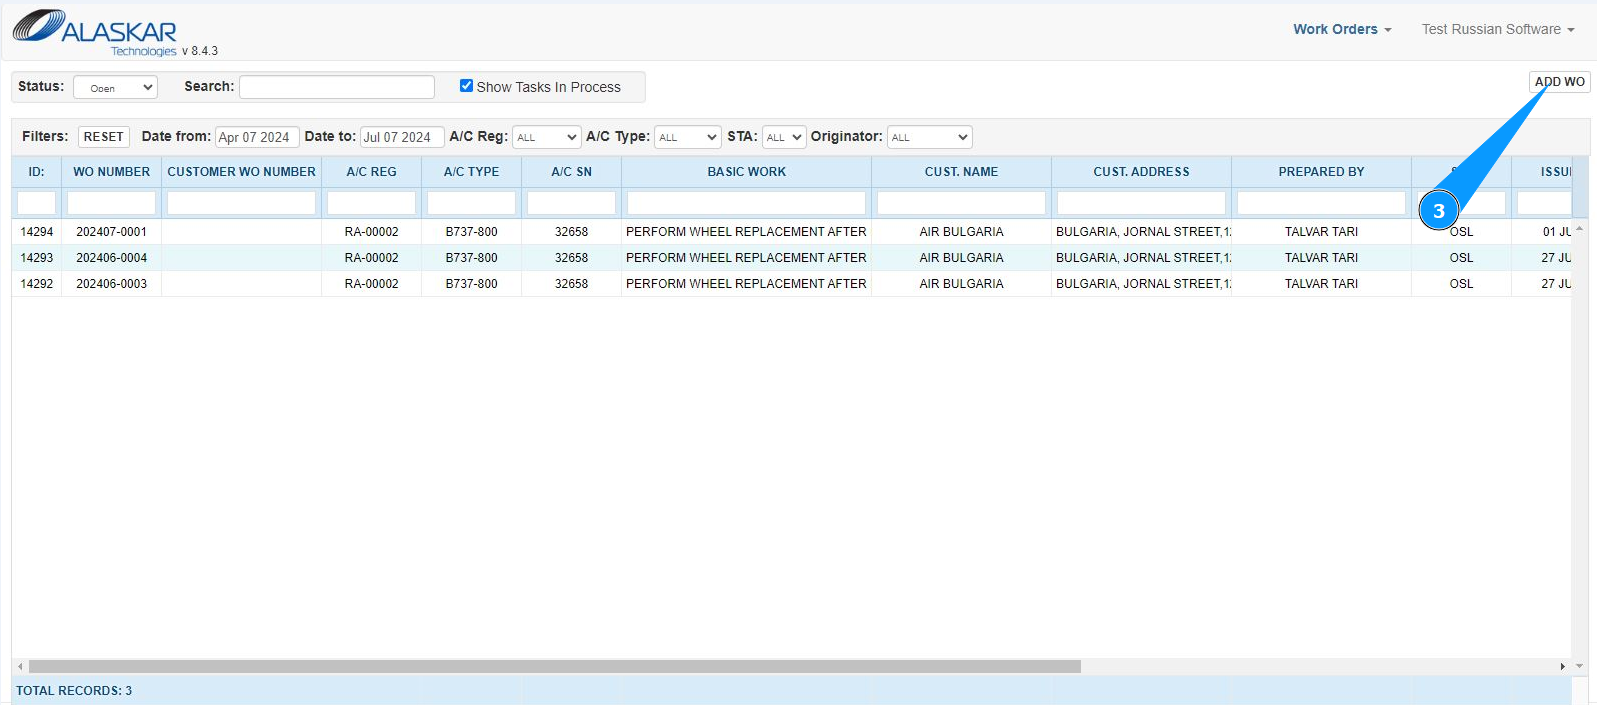
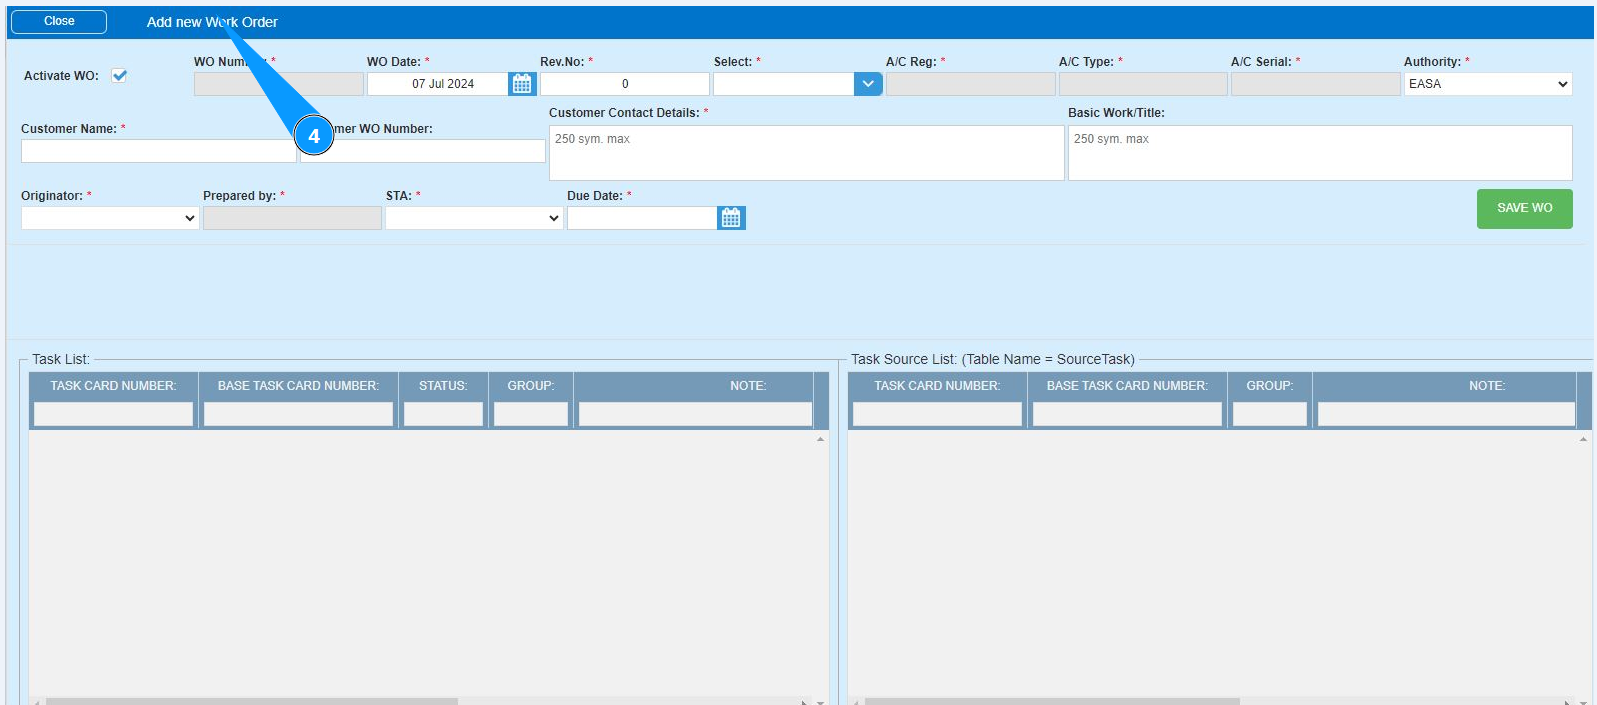
3. Click on the button "Add WO" to enter the WO opening mode.
4. Make sure that the WO editor is open and available in the window "Add new Work Order".
5. Enter the WO opening date in the field "WO Date" or select it in the calendar. Note: The work order number is generated automatically in the field "WO Number".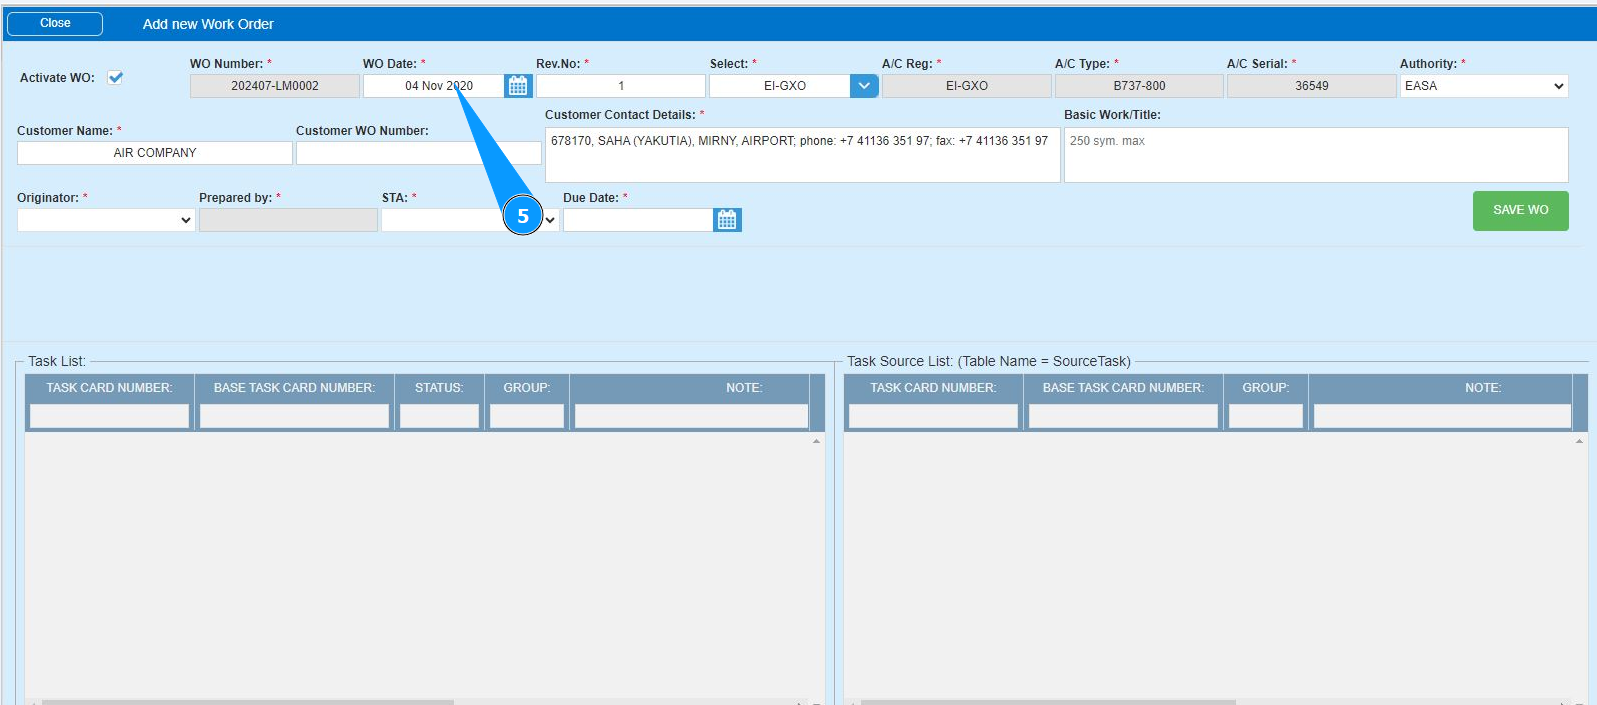
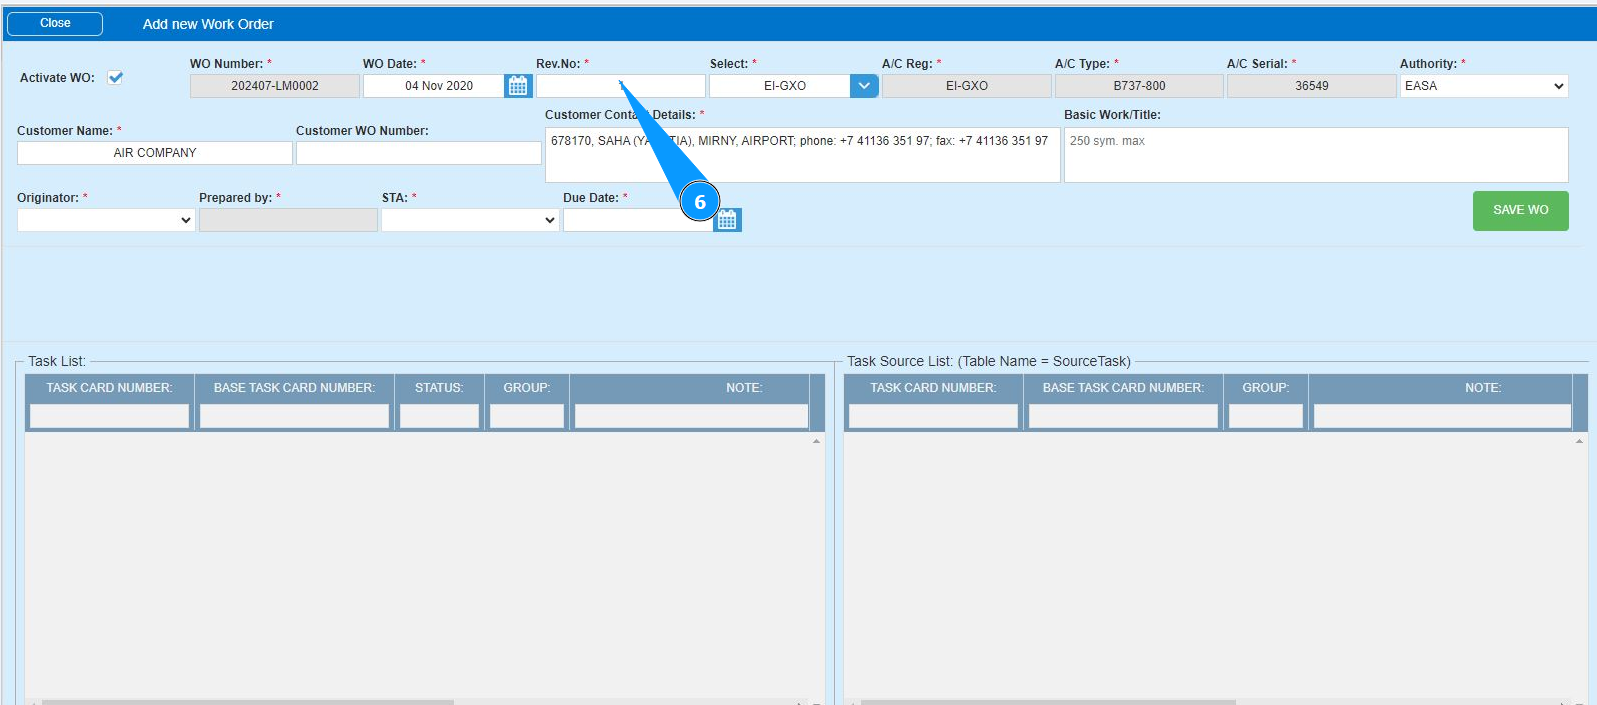
6. Enter the WO revision number in the field "Rev.№".
7. Select the aircraft registration number from the dropdown list in the field "Select". Note: The fields "A/C Reg., A/C Type, A/C Serial No." will be filled in automatically by the program.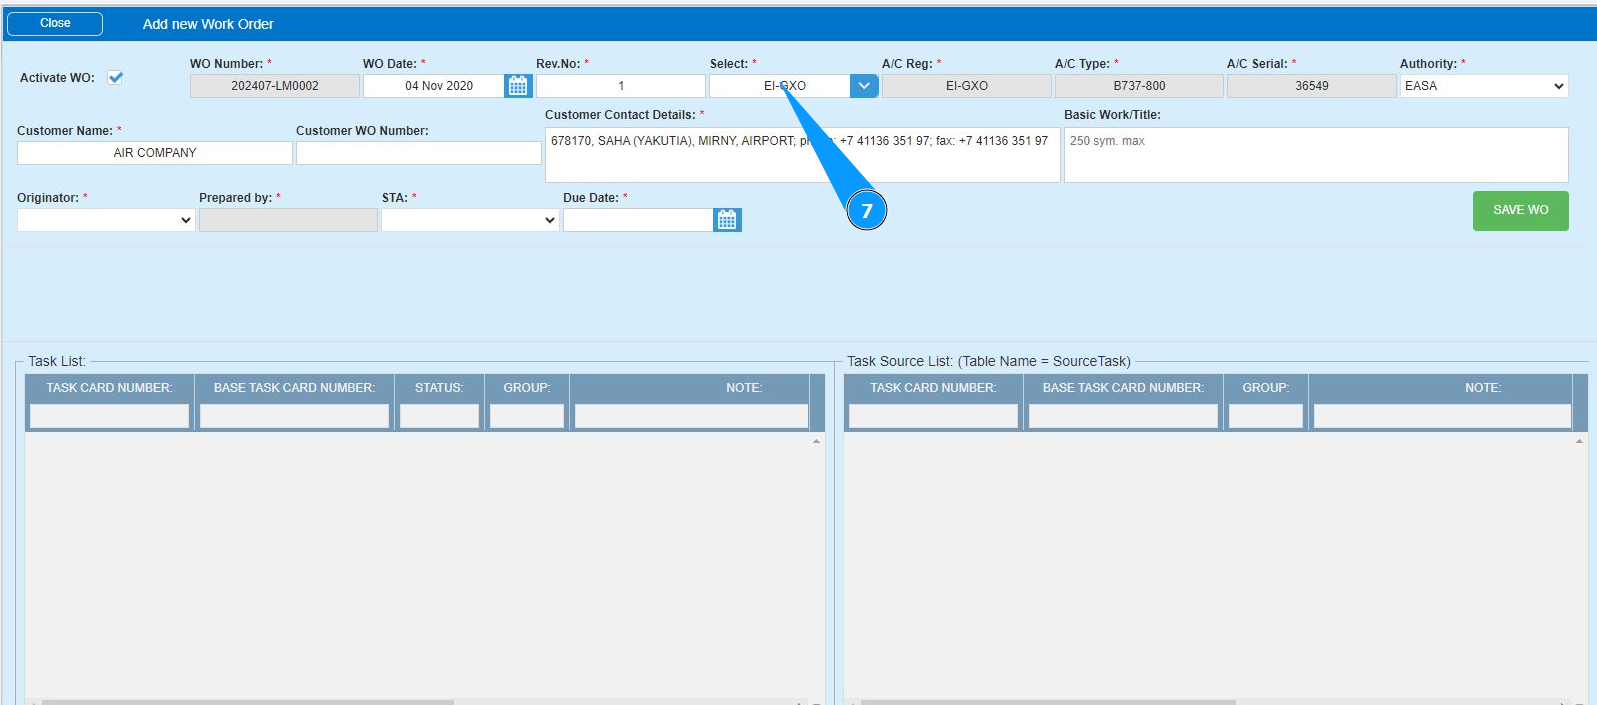
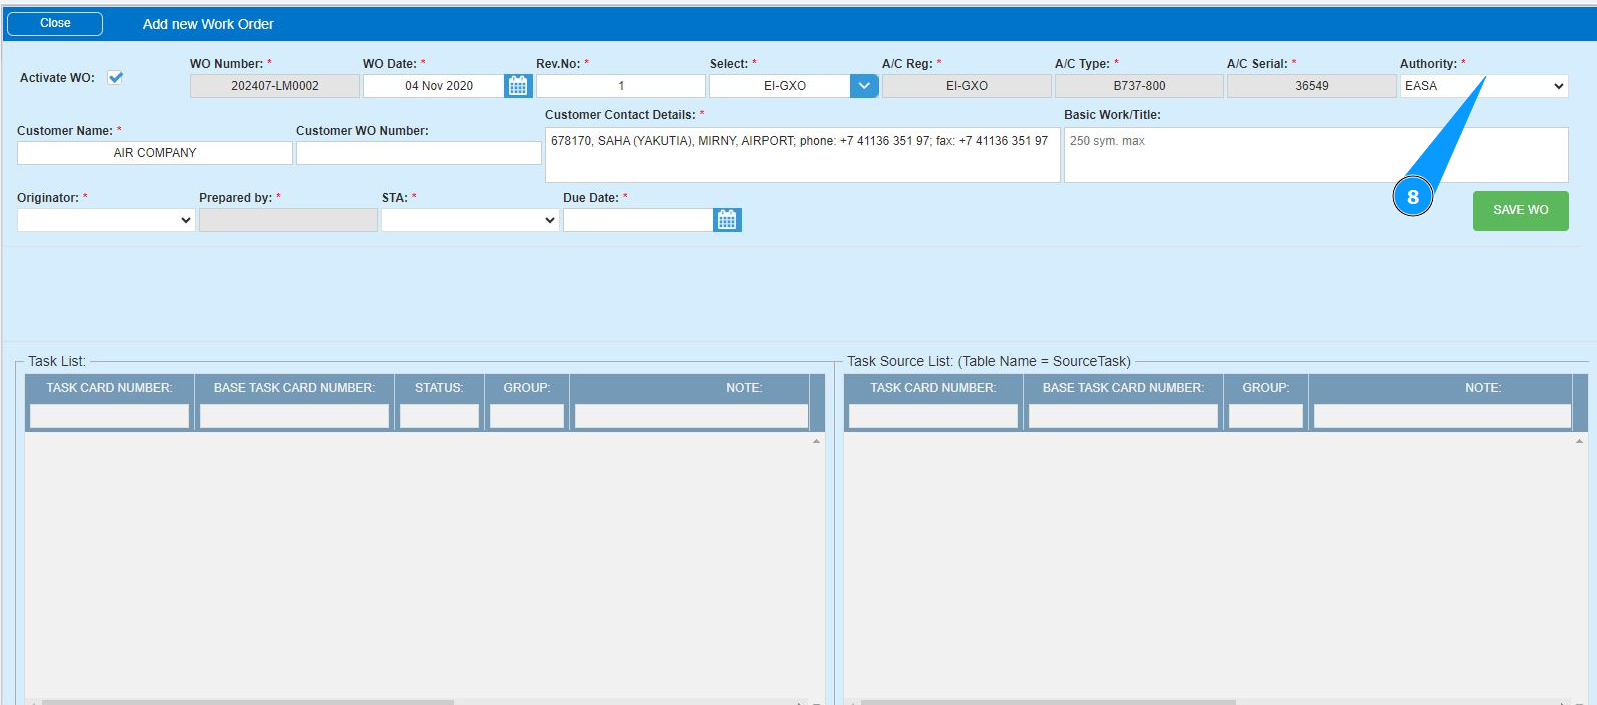
8. Select the name of the aviation authority from the dropdown list in the field "Authority".
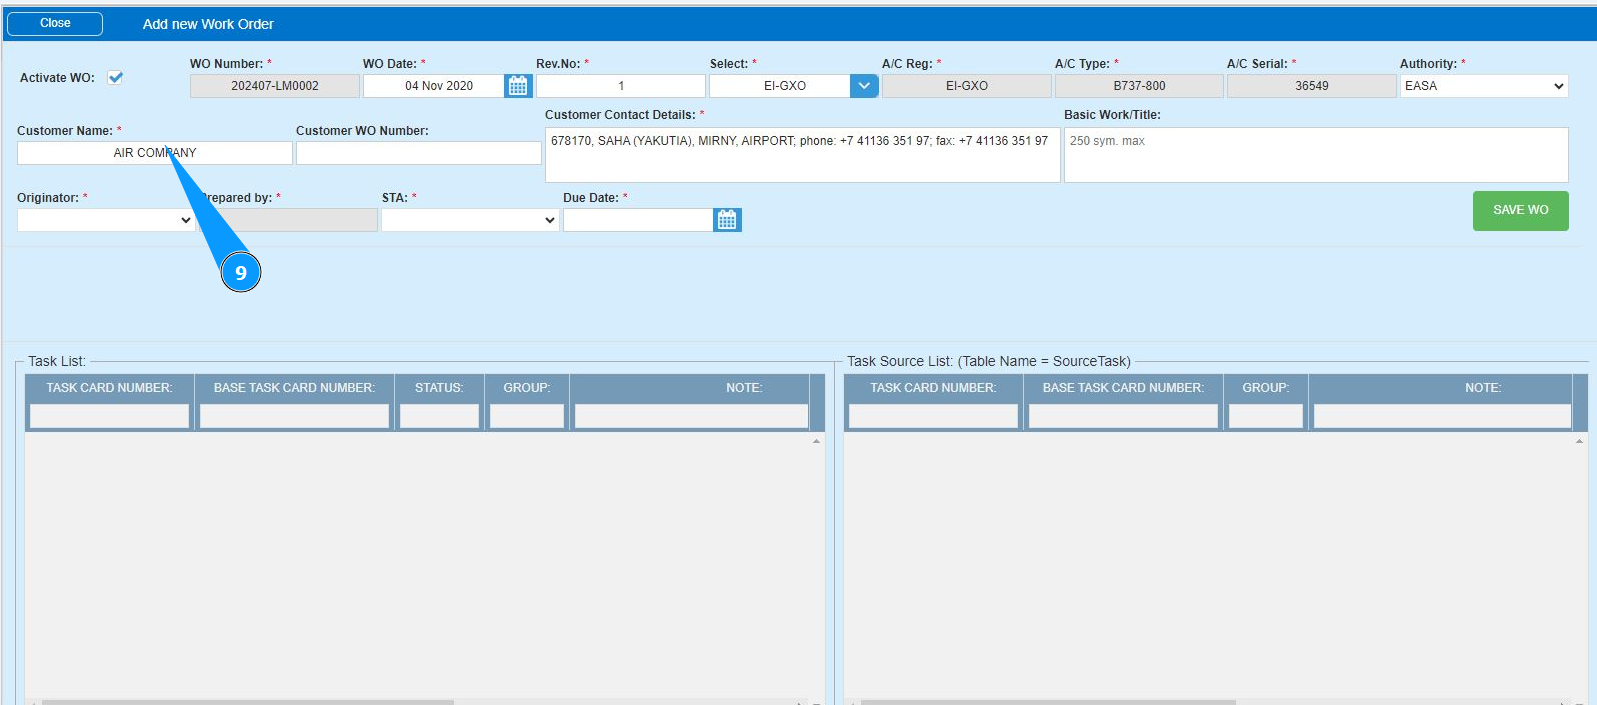
9. Enter the customer's company name in the field "Customer Name" or click in this field and select from the dropdown list.
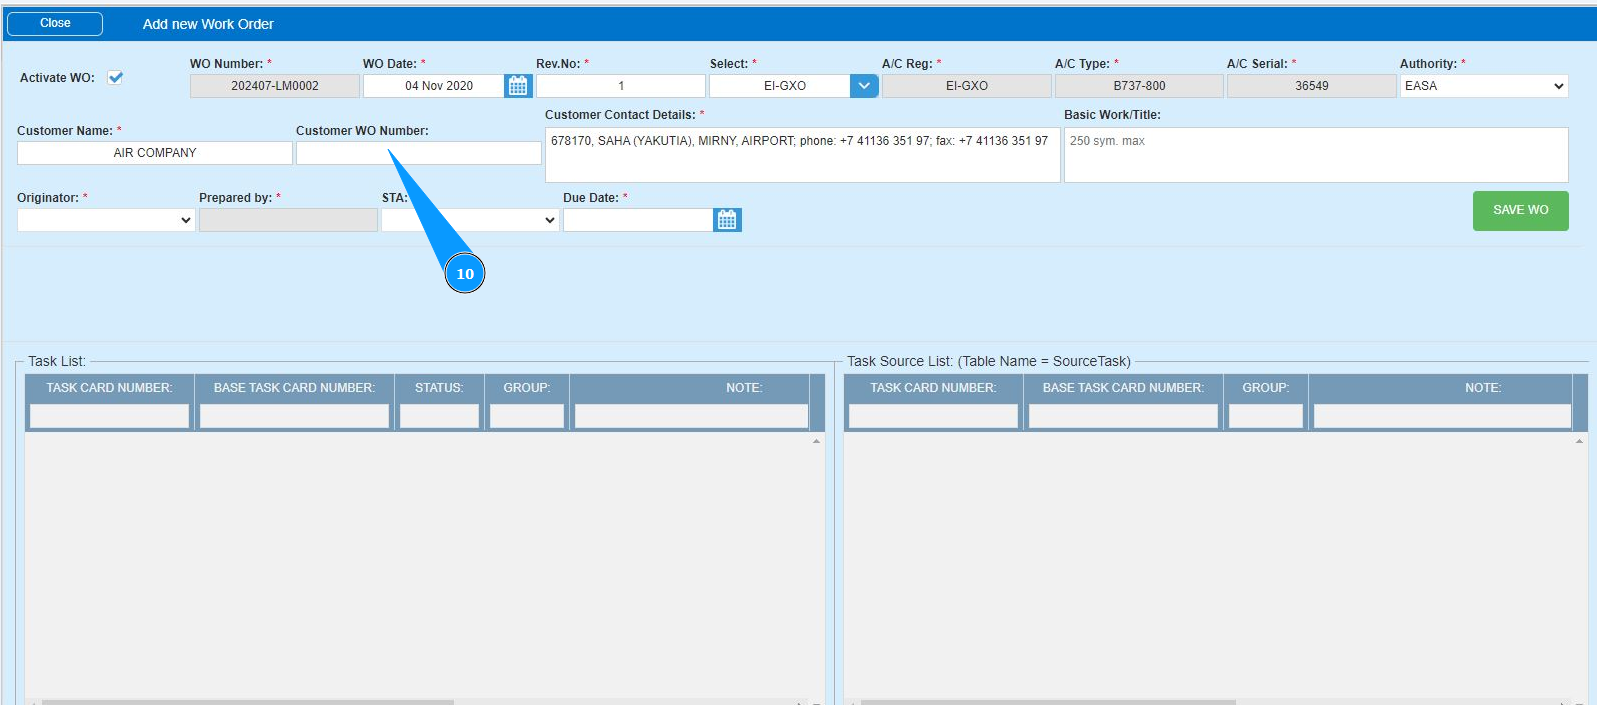
10. If necessary, enter a reference to the customer’s ordernumber in the field "Customer WO Number".
11. Enter the customer's company contact details in the field "Customer Contact Details".

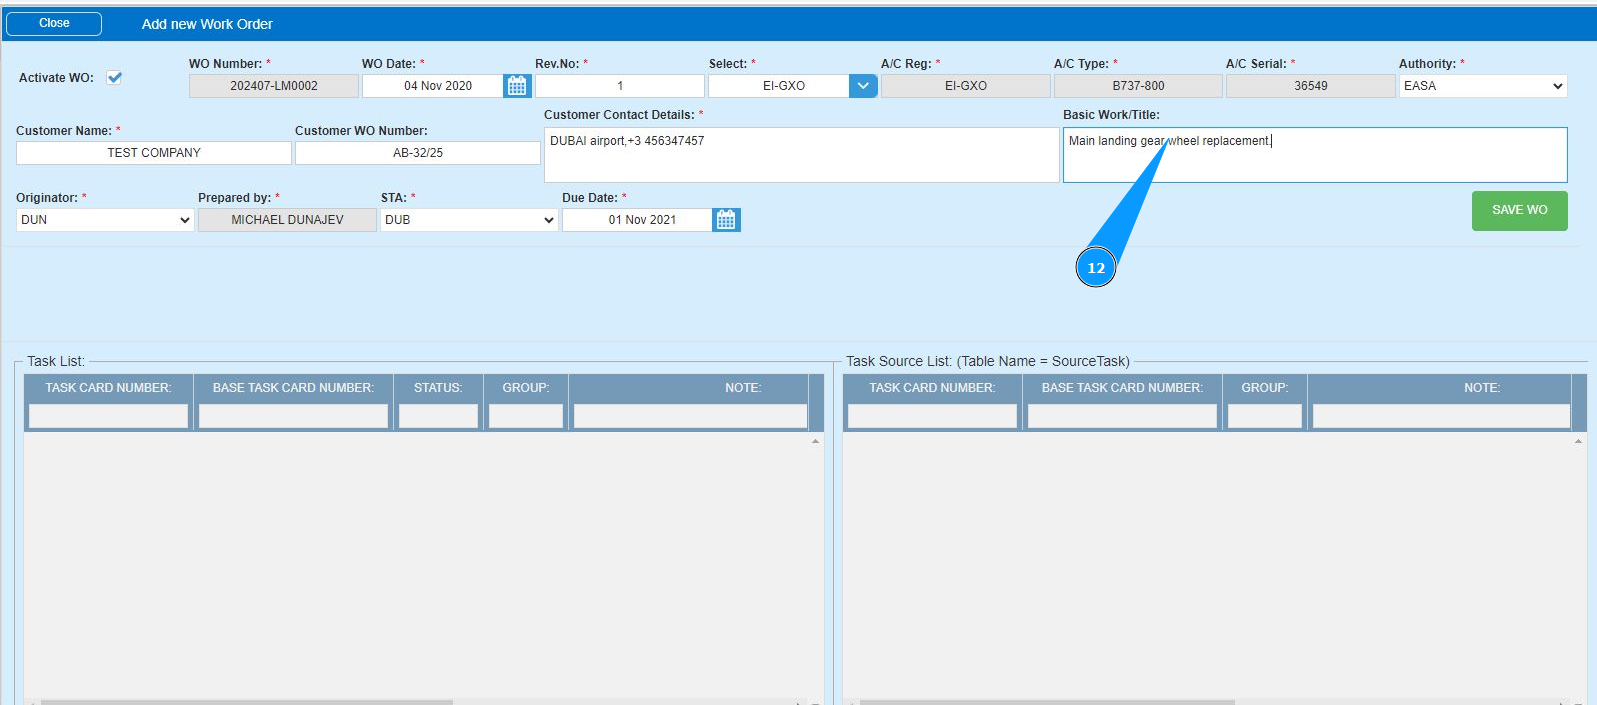
12. Enter the title of the work order in the field "Basic Work/Title".
13. Select the specialist who opened the WO from the dropdown list in the field "Originator". Note: The field with the specialist's first and last name "Prepared by" will be filled in automatically by the program.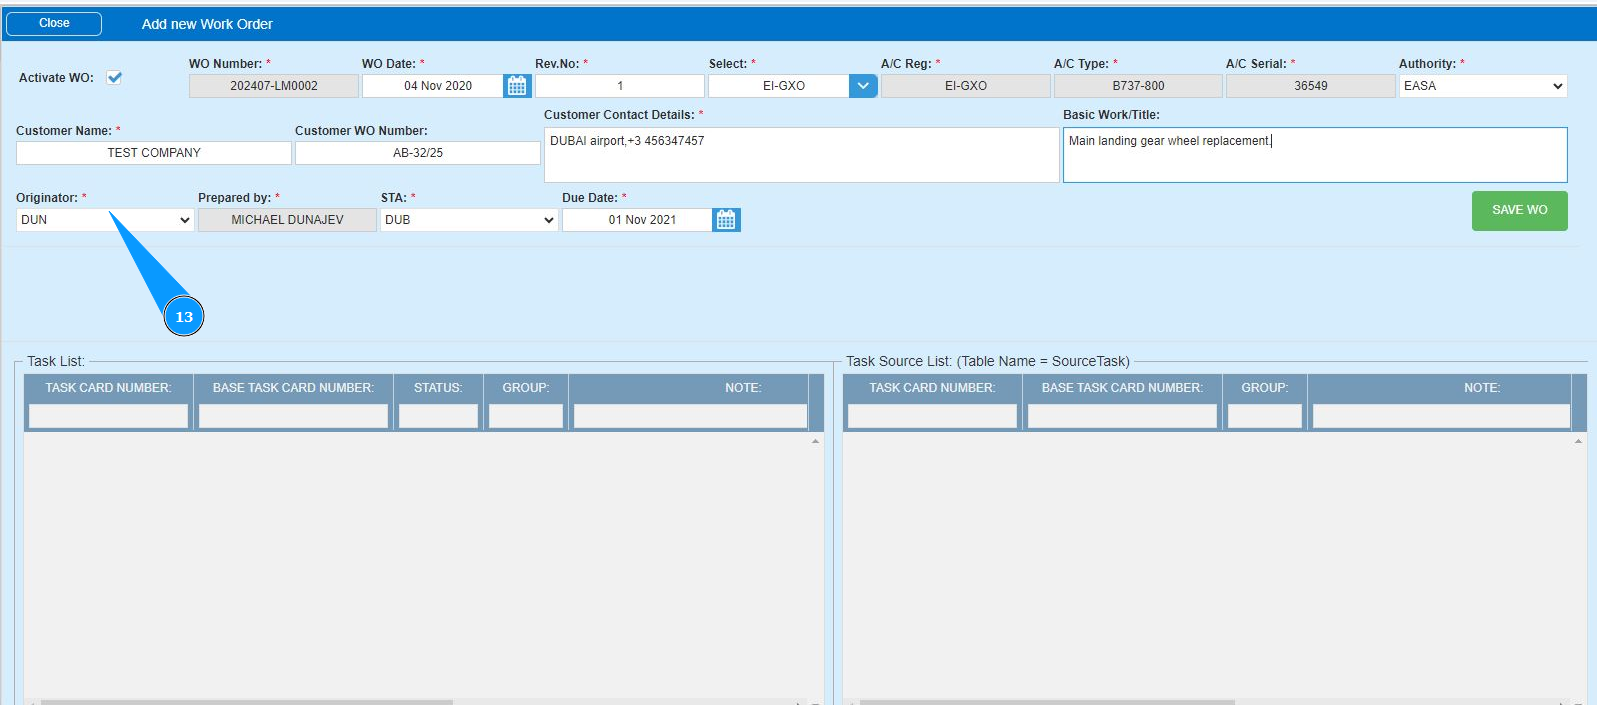
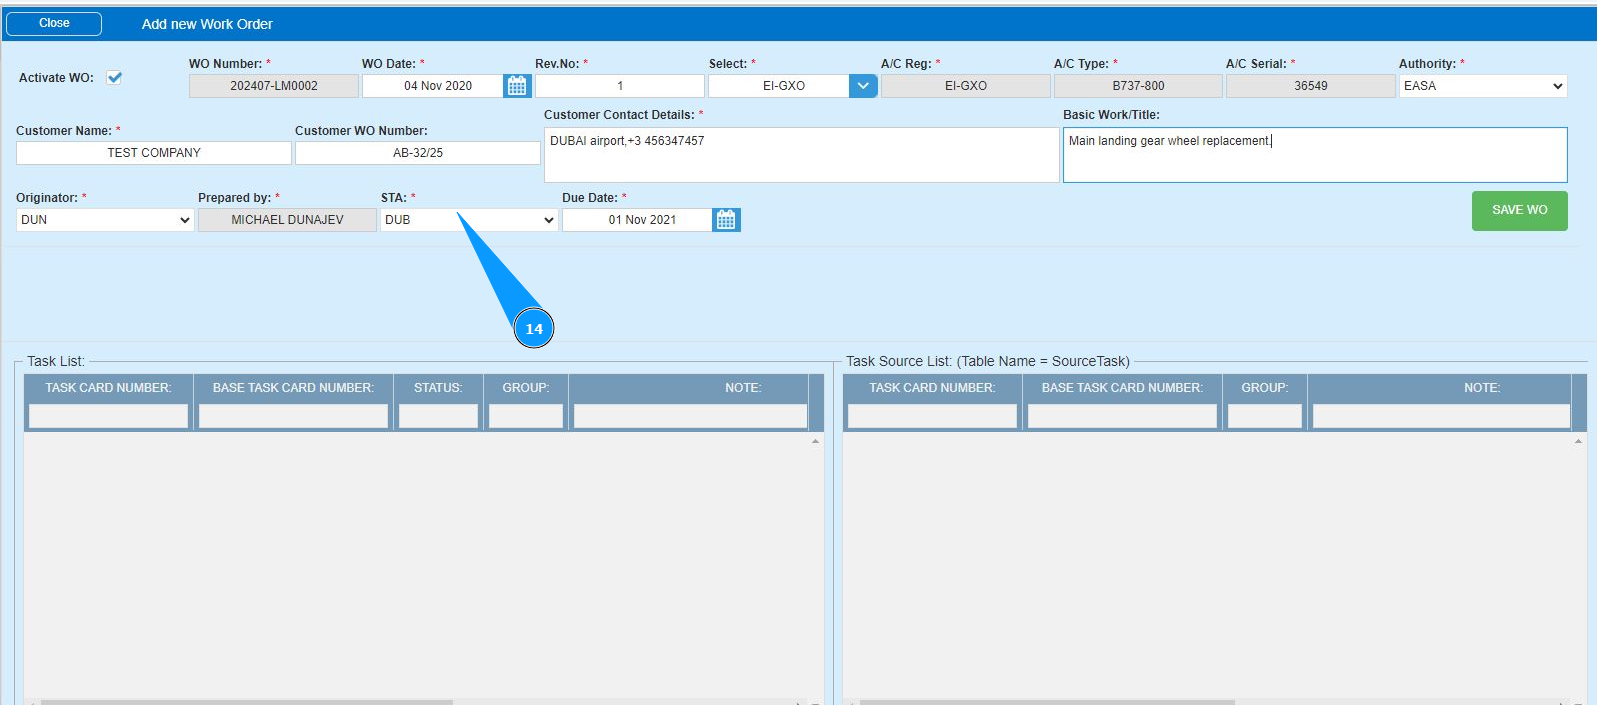
14. Select from the dropdown list the location where the WO work will be performed in the field "STA".
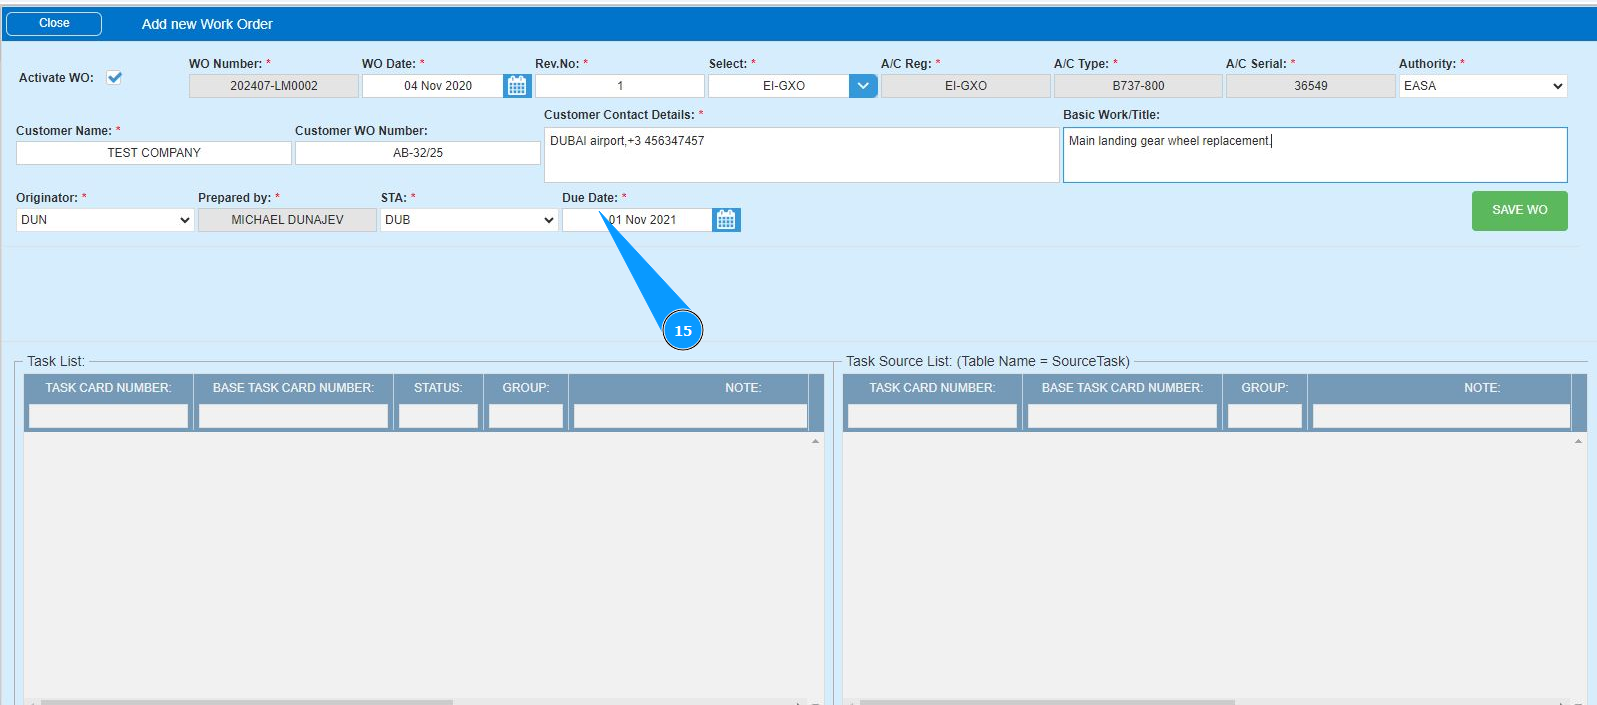
15. Enter the deadline date for completing the WO work in the field "Due Date" or select it in the calendar.
16. Make sure that the WO active state checkbox is ticked in the field "Active WO".
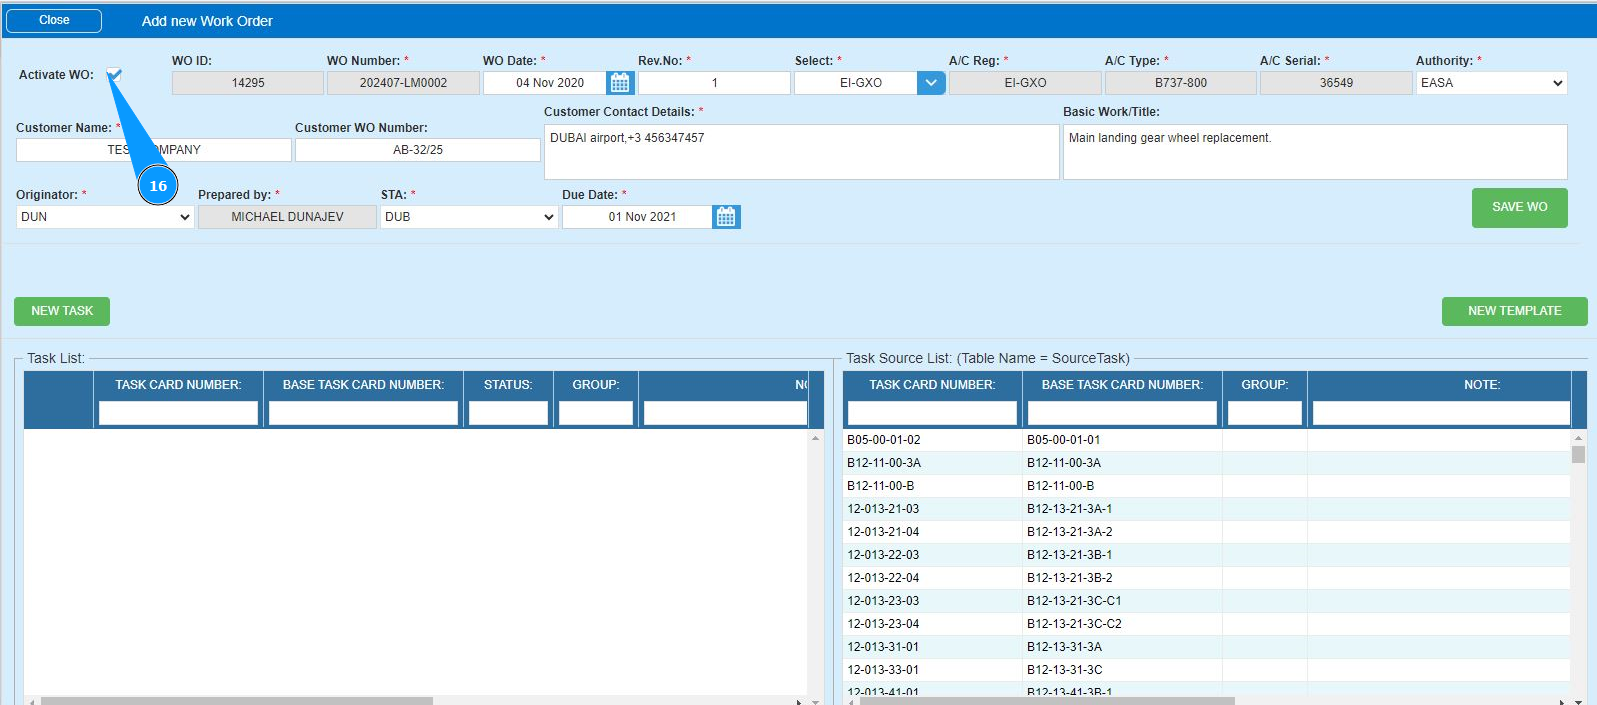
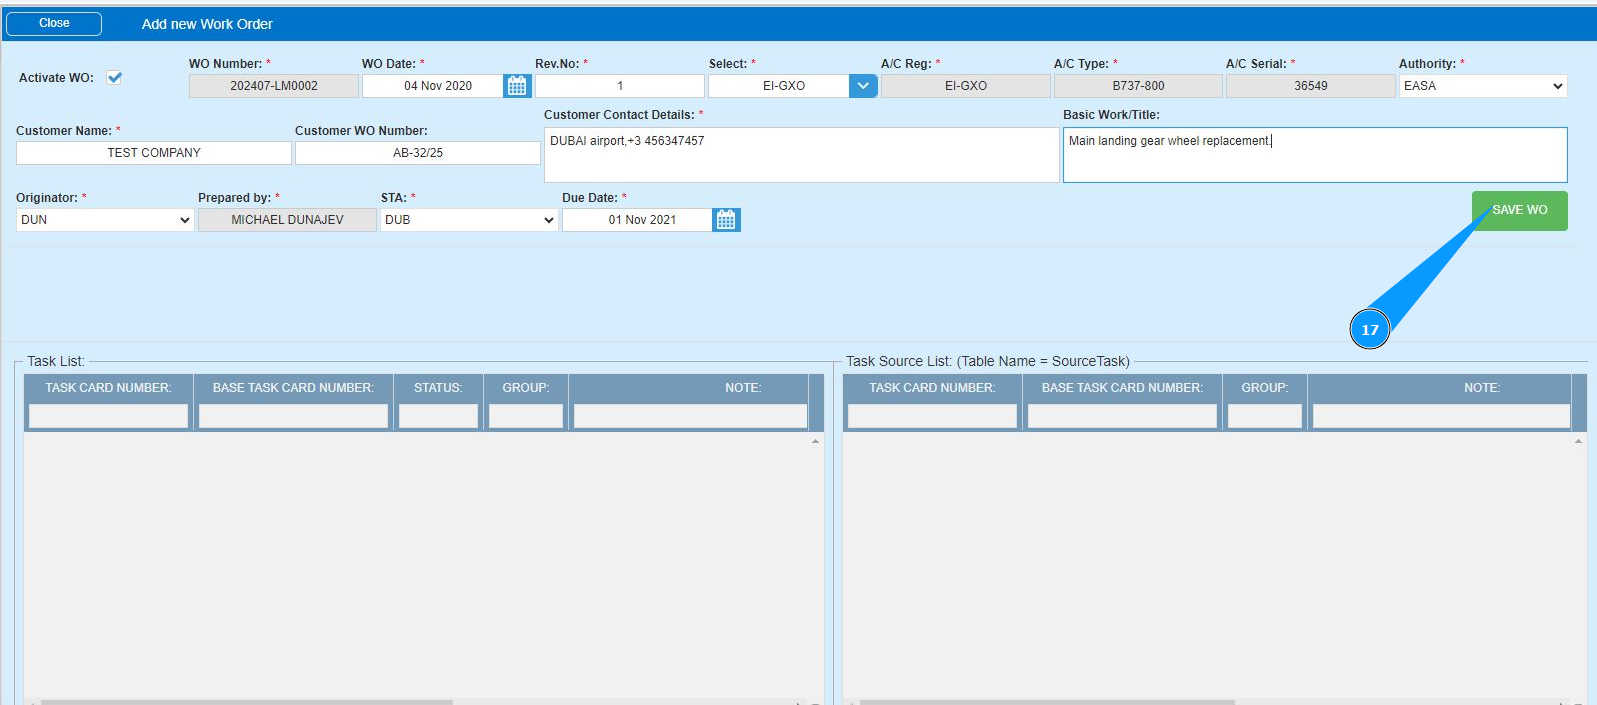
17. Click on the button "Save" to save the entered data for opening a WO into the program.
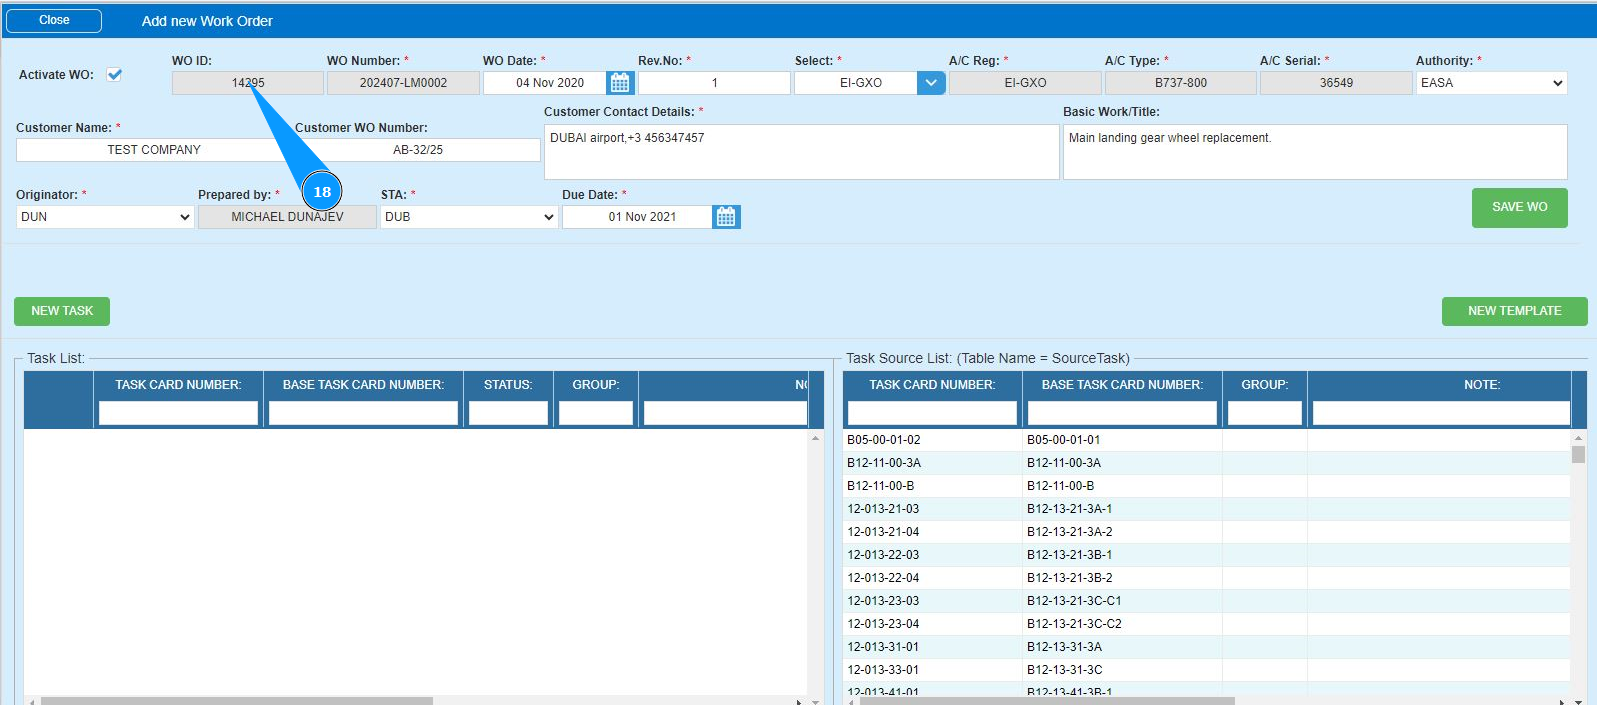
18. Check that the WO ID record appears in the field "WO ID".
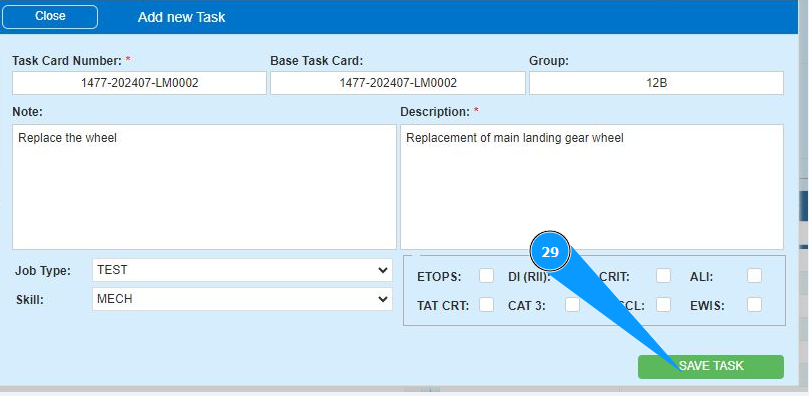
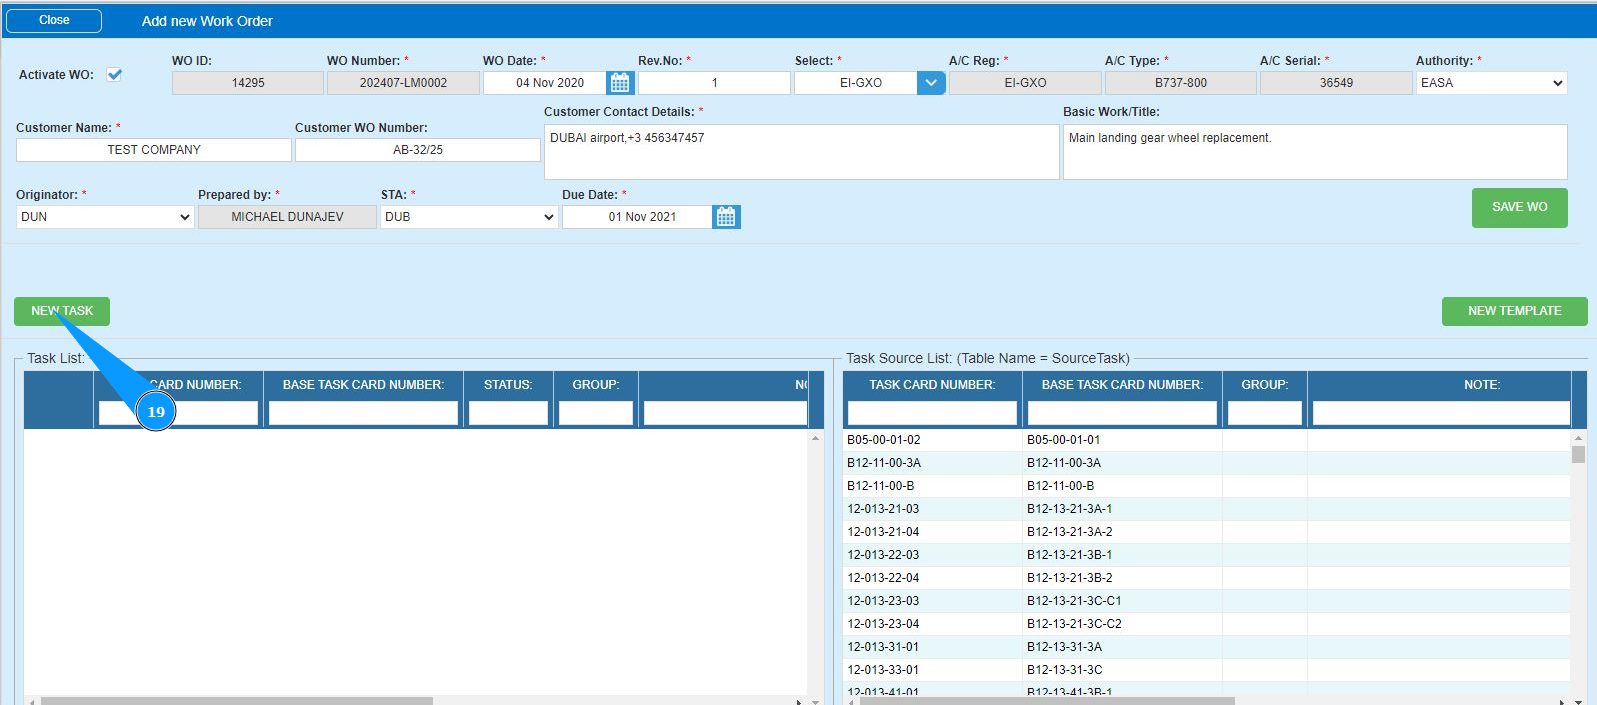
19. If necessary, create a task for this work, click on the button "New Task".
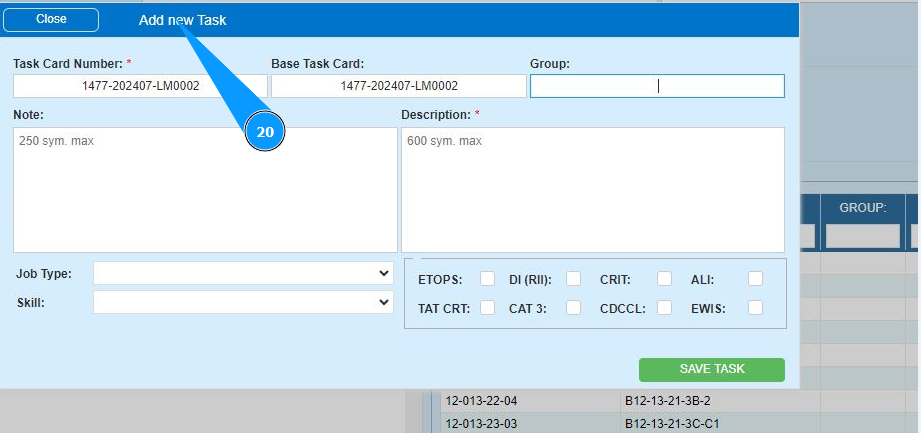
20. Make sure that the Task editor is open and available in the window "Add new Task".
21. If necessary, enter the name of the basic task in the field "Basik Task Card". Note: The work order number is generated automatically in the field "Task orderNumber".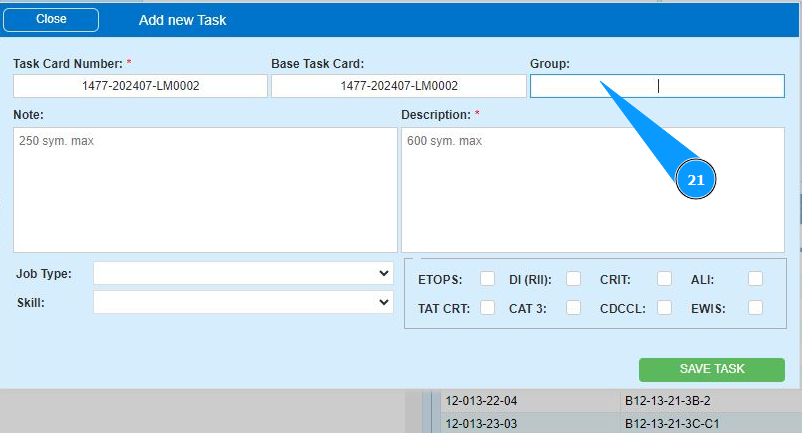
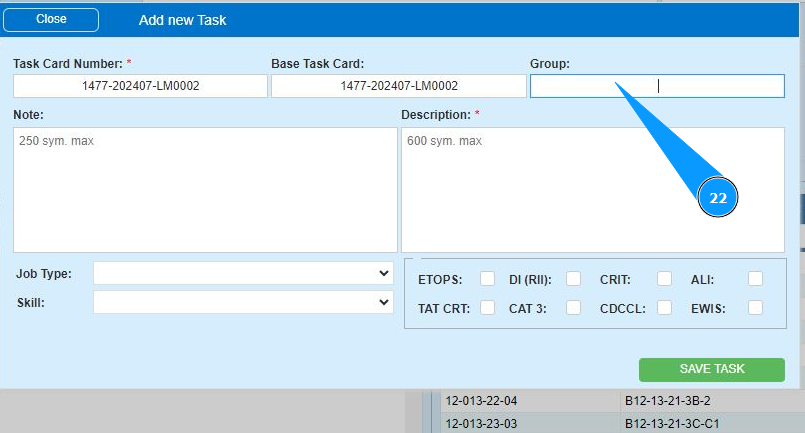
22. Enter the number of the task group, click in the field "Group".
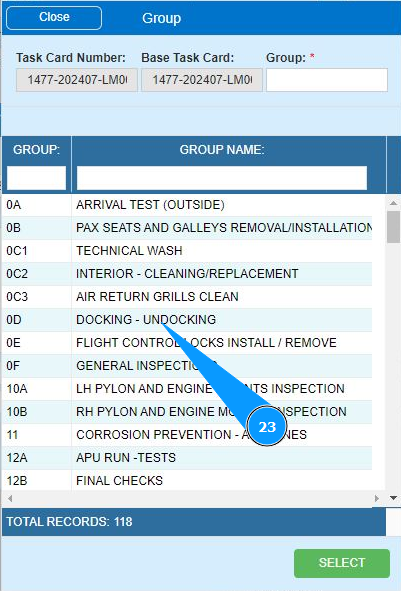
23. Select the task group number from the list in the window "Group Name".
24. If necessary, add any comments in the field "Note".
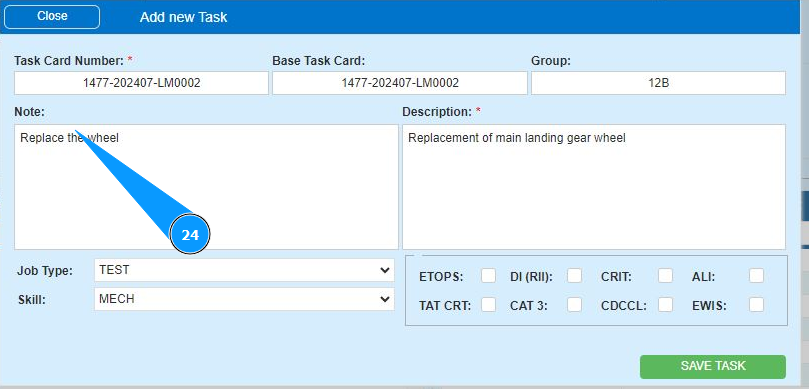
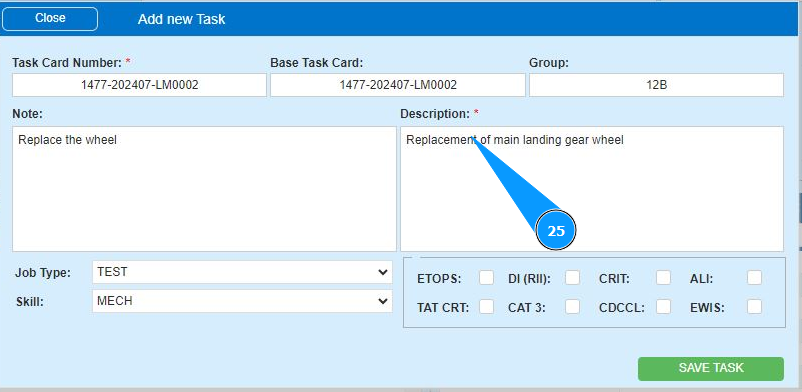
25. Enter a description of the task in the field "Description".
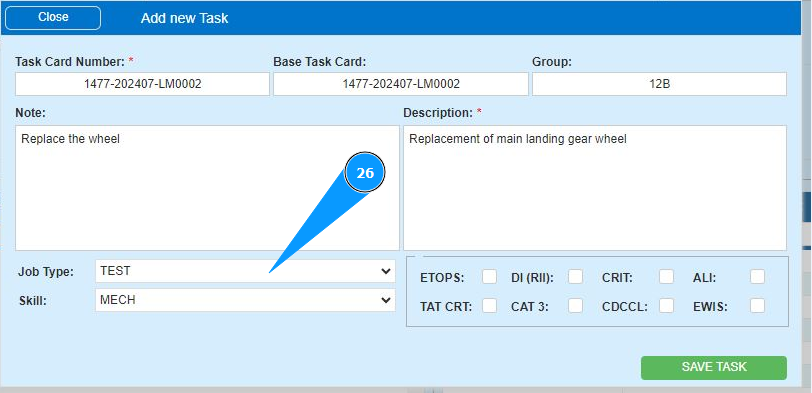
26. If necessary, select the task type from the dropdown list in the field "Job Type".
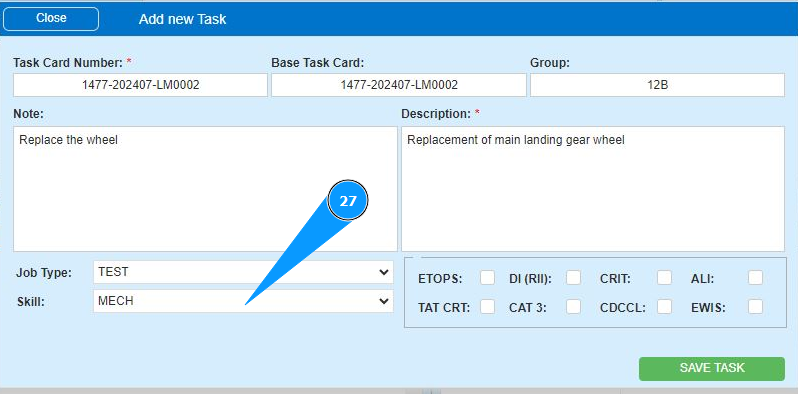
27. If necessary, select the task specialization from the dropdown list in the field "Skill".
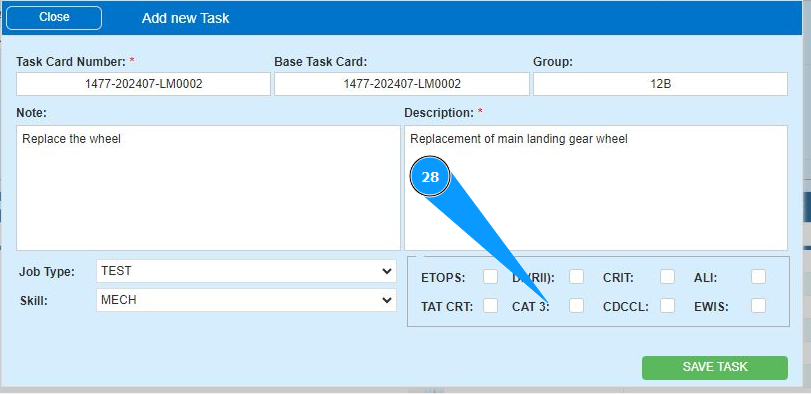
28. If necessary, enter additional criteria for completing the task in the fields: "Etops", "DI(RII)", "CRIT" and so on.
29. Click on the button "Save Task" to save the data of task.