How to create a request for materials or components (Shortage/Part Order Request)
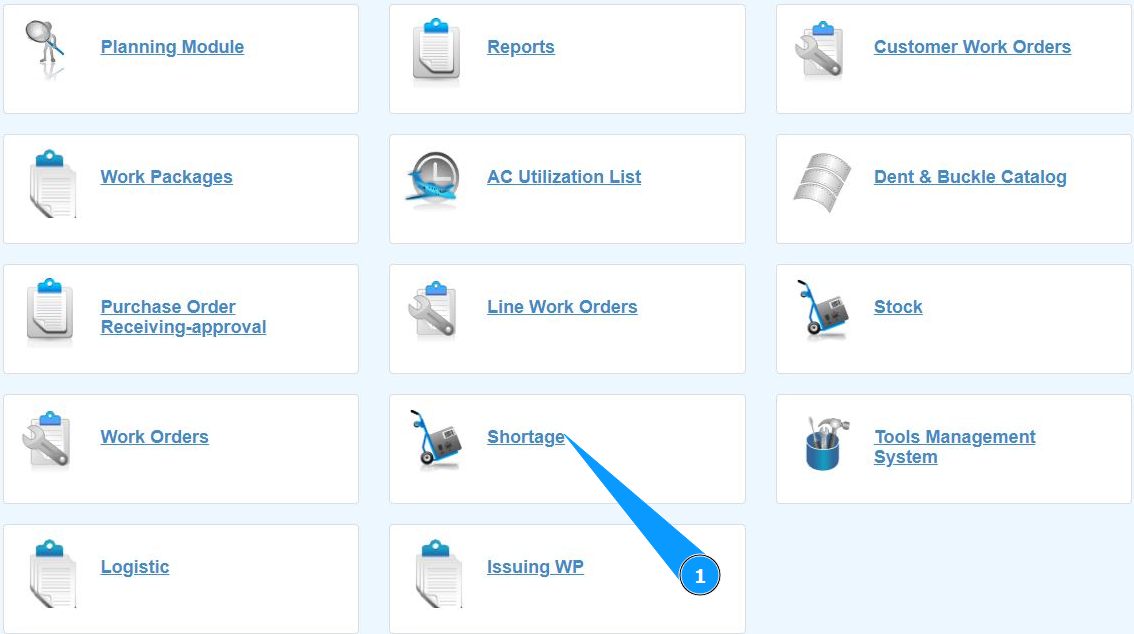
1. In order to create a request for materials or a component (Shortage or Part Order Request), go to the submodule "Shortage".
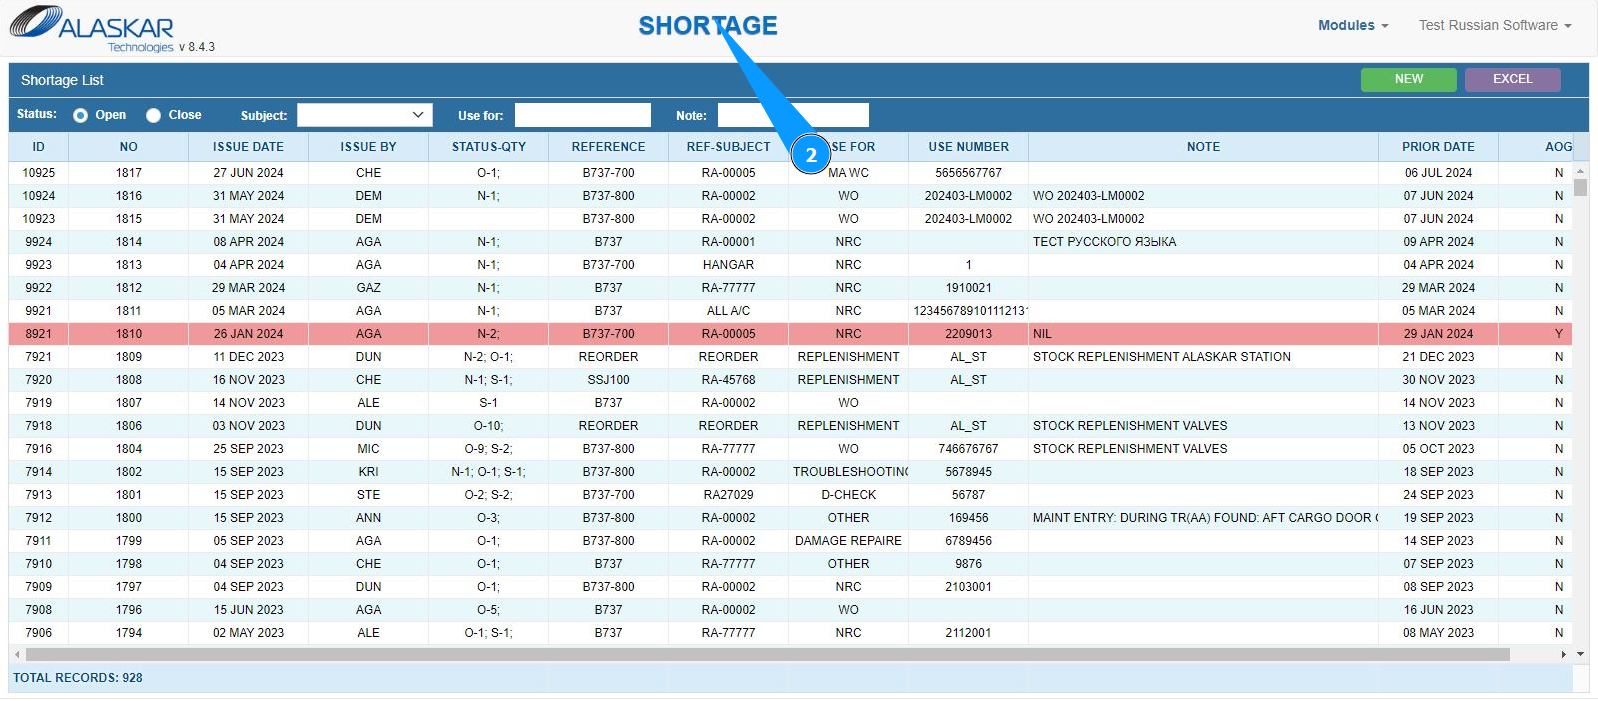
2. Make sure that the window for working with shortages has opened and is available in the window "Shortage".
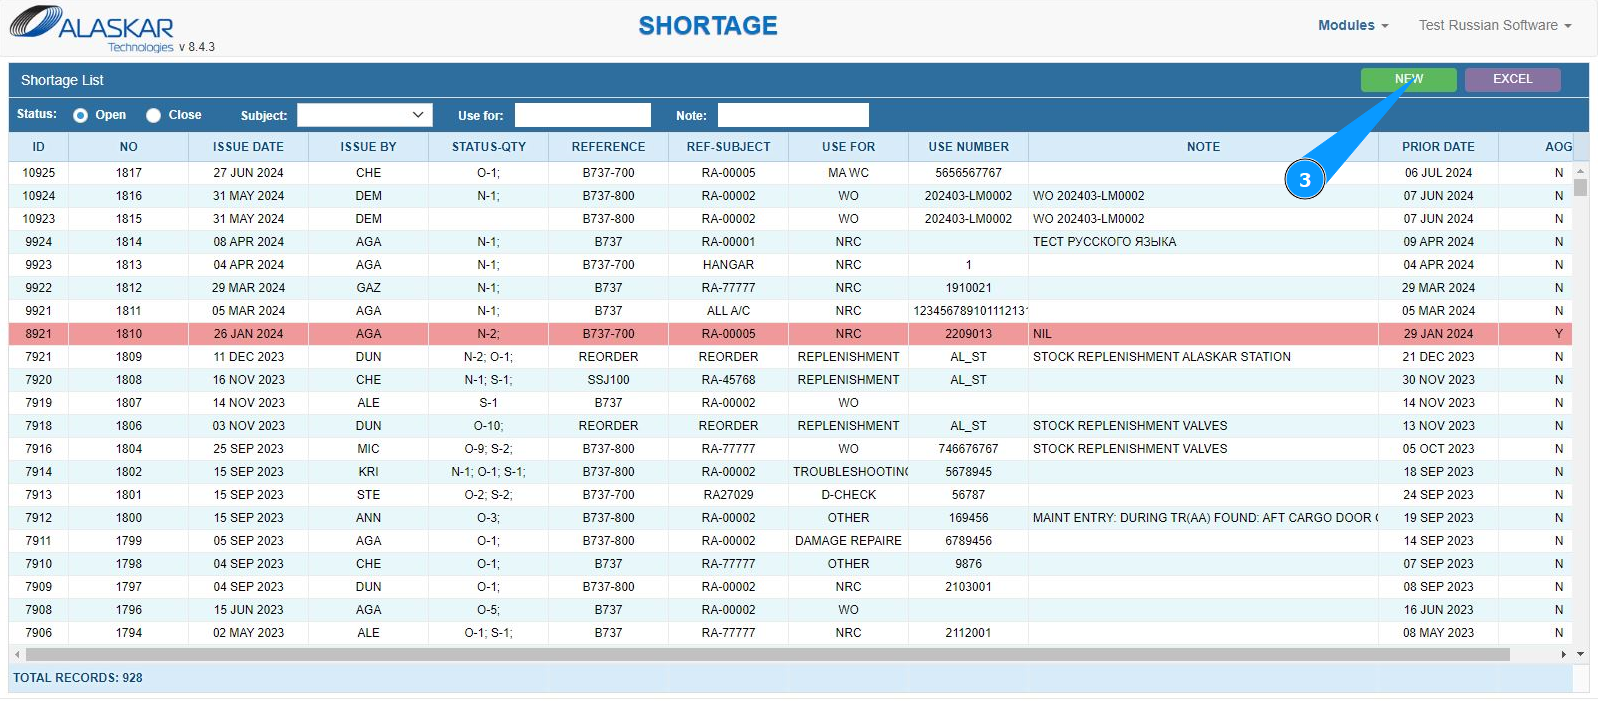
3. Click on the button "New" to open the shortage (POR) editor.
4. Make sure that the POR creation editor is open and accessible in the window "Shortage Editor". Note: The shortage number (POR) will be entered automatically by the program in the field "Shortage No.".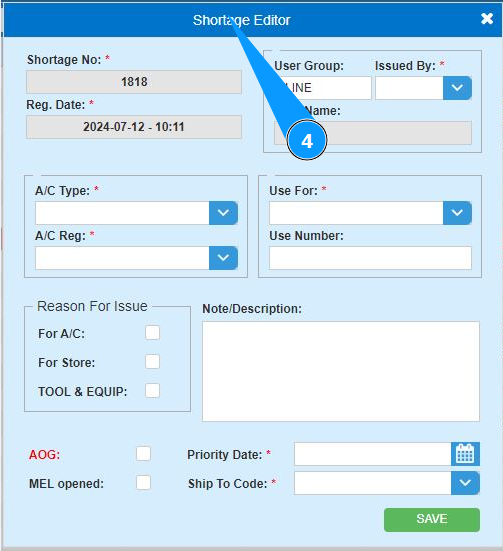
5. Select your login from the dropdown list in the field "Issued by". Note: The shortage creation date will be generated automatically by the program on the date of completion.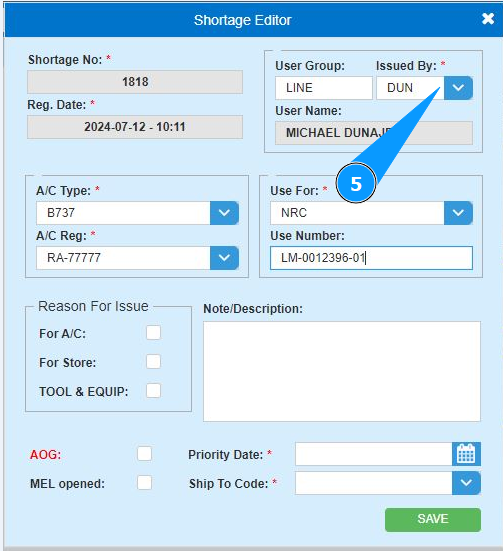
Note: The "User Group" tab is filled in automatically, the data is taken from the administrator module, replace the group if necessary (in accordance with your company's policy).
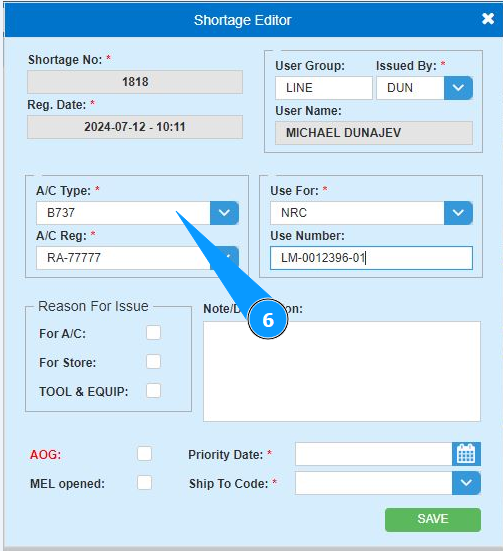
6. Select the aircraft type from the dropdown list in the field "A/C Type".
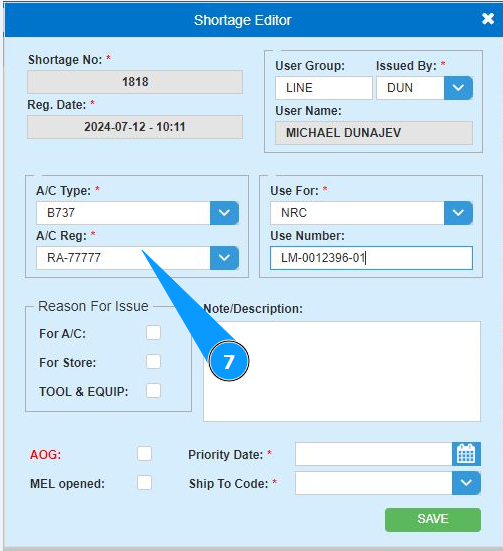
7. Select the aircraft registration number from the dropdown list in the field "A/C Reg.".
8. Select from the dropdown list for which type of WO the shortage is being generated in the field "Use For".
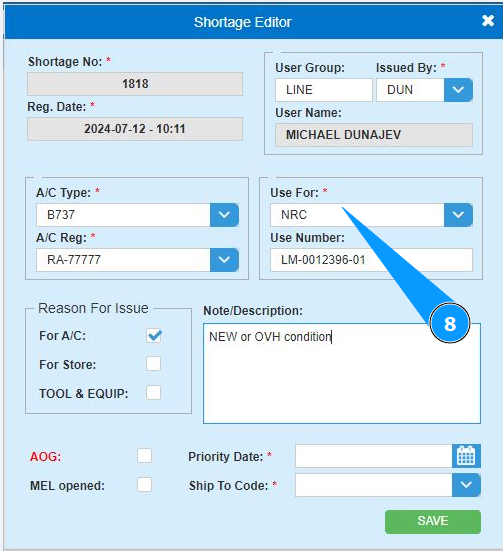
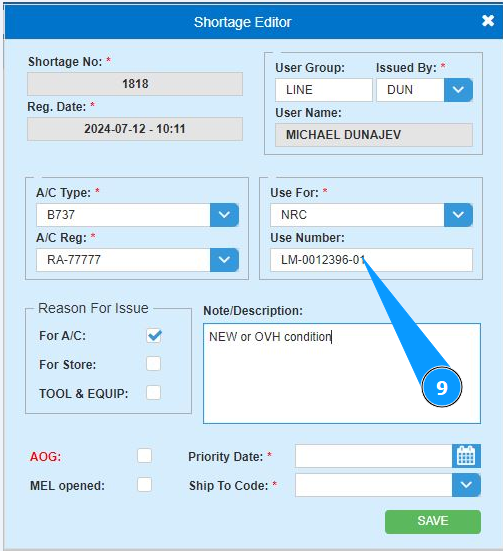
9. Enter the WO number in the field "Use Number".
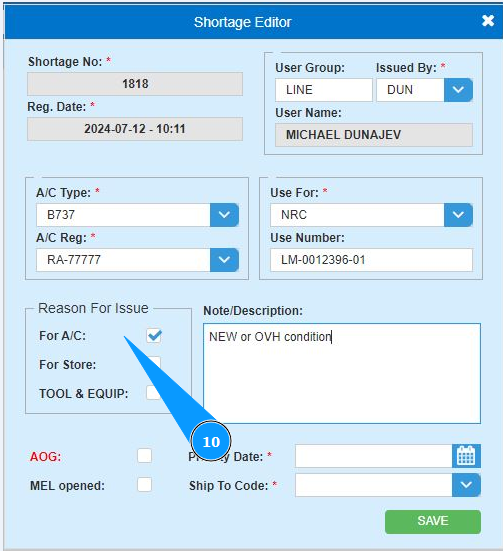
10. Enter the reason for creating the shortage and click in the appropriate field "Reason For Issue".
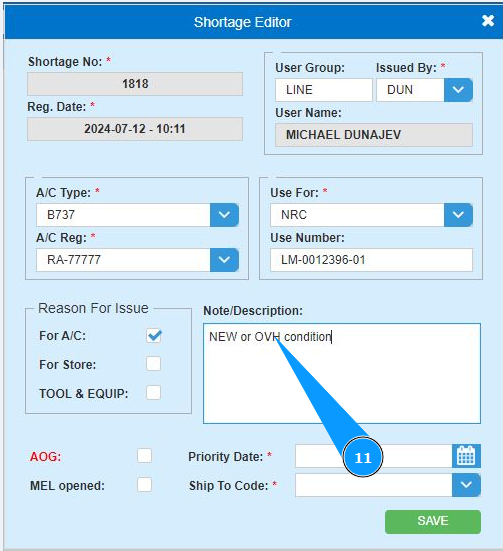
11. If necessary, enter any comments on the shortage being created in the field "Note/Description".
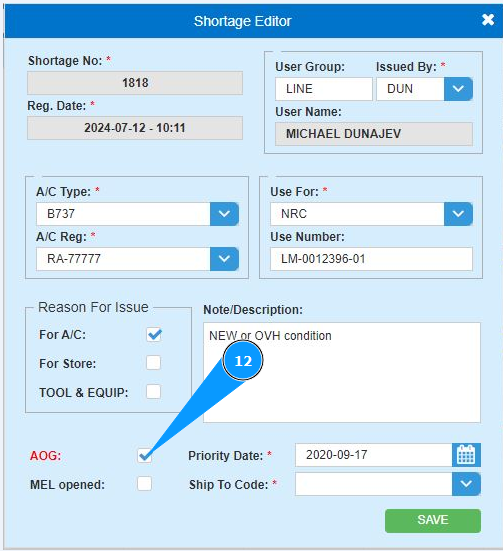
12. If the aircraft is on the ground and departure is impossible, click in the field "AOG", defining the "aircraft on the ground" condition.
13. If the aircraft has a fault repair deferred according to MEL, click in the field "MEL Opened" to determine the priority of the shortage.

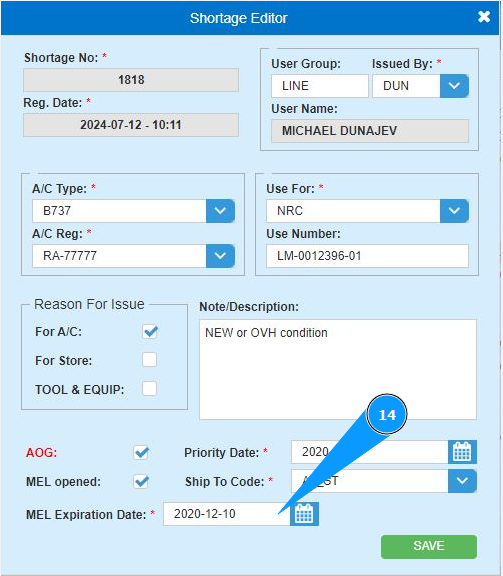
14. Enter your MEL expiration date in the field "MEL Expiration Date" or select from the calendar.
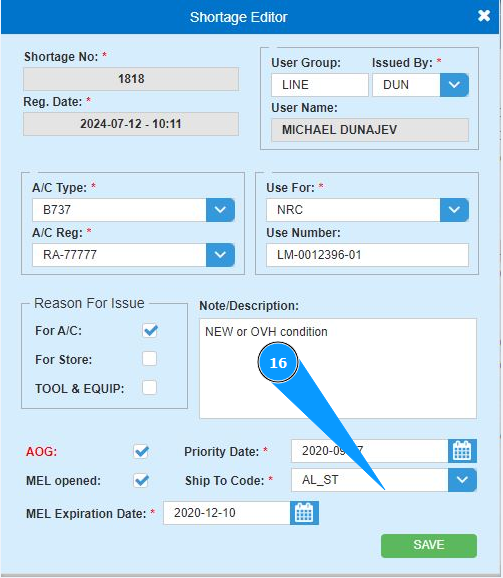
15. Enter the required POR delivery date in the field "Priority Date" or select from the calendar.

16. Select from the dropdown list where the shortage should be shipped to in the field "Ship to Code".
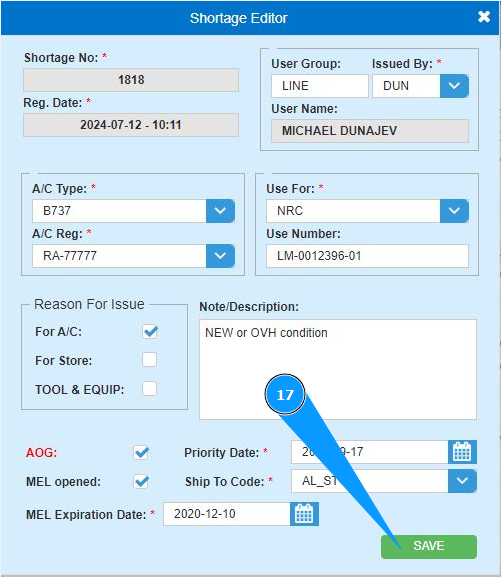
17. Click on the button "Save" to add the POR data to the program.
18. Check that the newly created POR (shortage) is displayed in the window "Shortage List".

19. Click on the button "New Item" to open the editor for adding materials to the shortage.
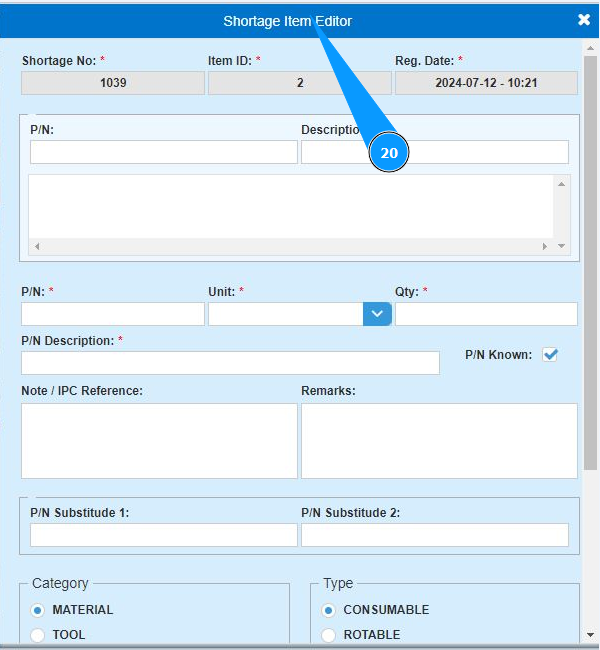
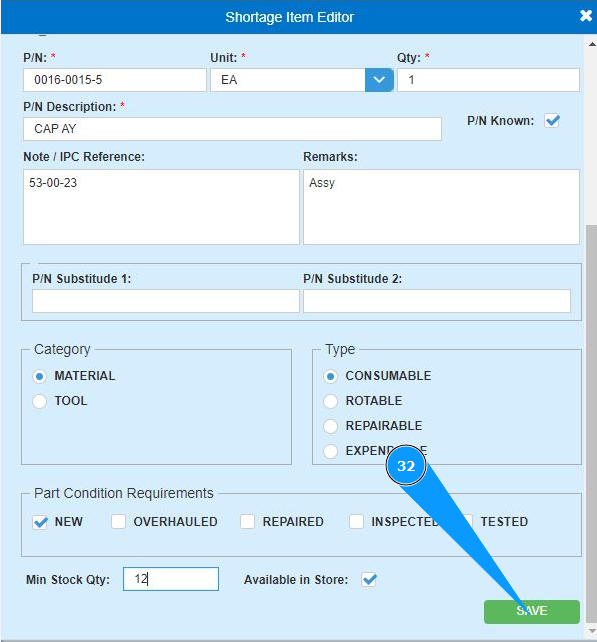
20. Make sure that the editor for adding materials is open and accessible in the window "Shortage Item Editor". Note: The shortage number (POR) and material item number will be entered automatically by the program in the fields "Shortage No." and field "Item ID".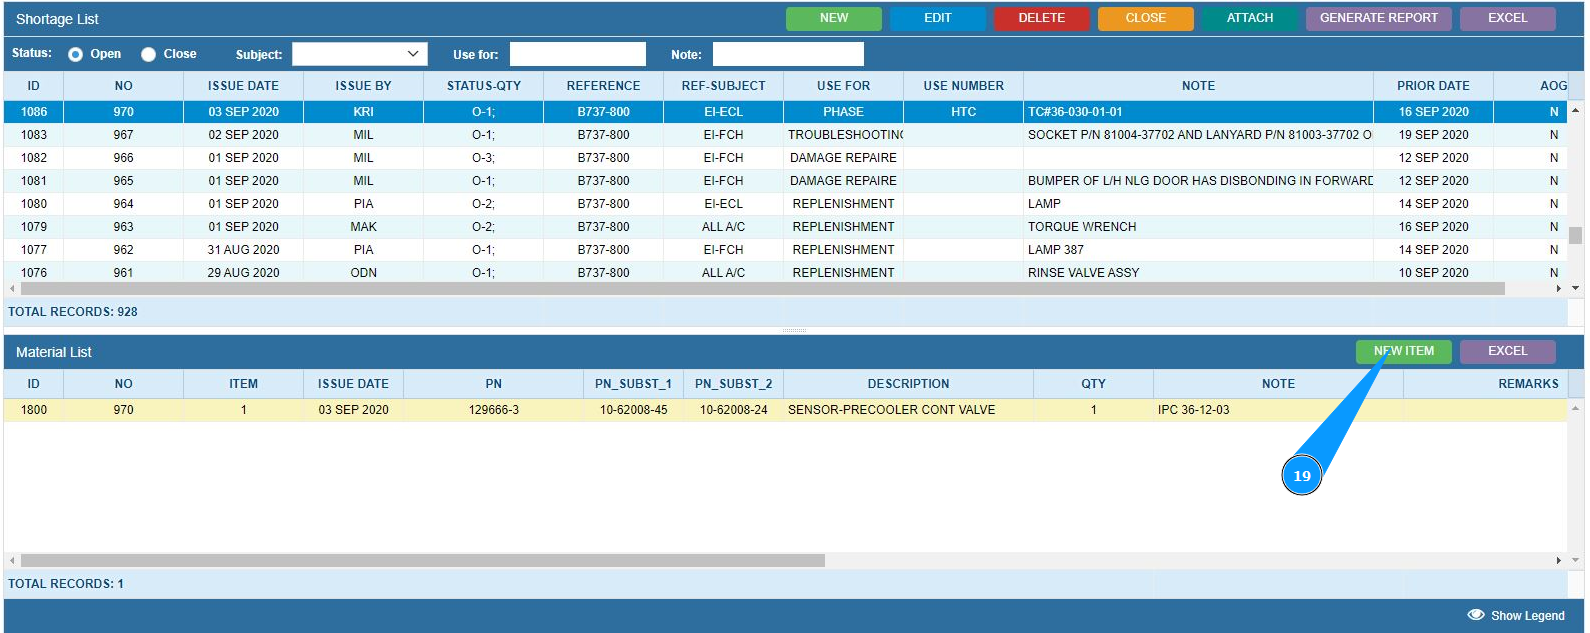
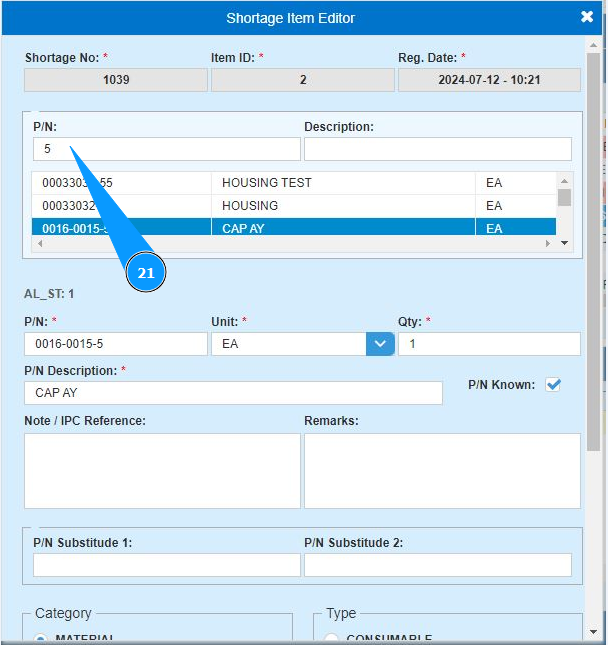
21. Enter the part number in the field "P/N" and press the button "Enter" on your keyboard.
22. Select the required material or component from the list and double-click on the corresponding line. Note: The "Description" and "Unit" fields will be filled in automatically by the program.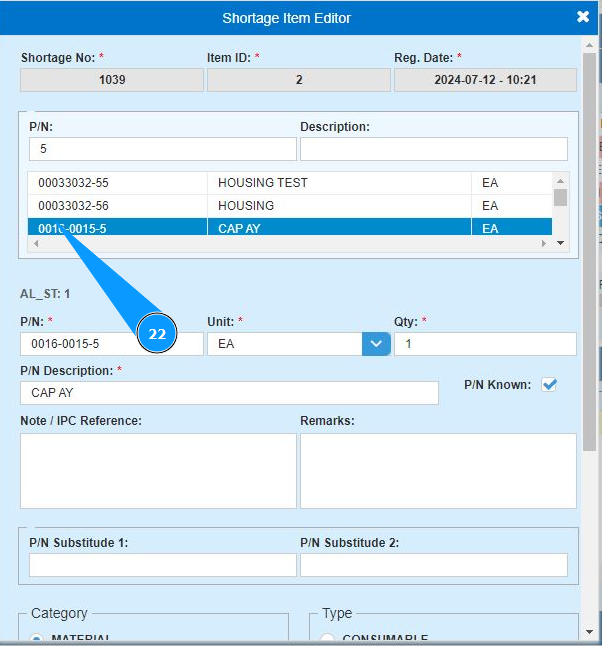
23. Enter the required quantity of materials or components for the request in the field "Qty".
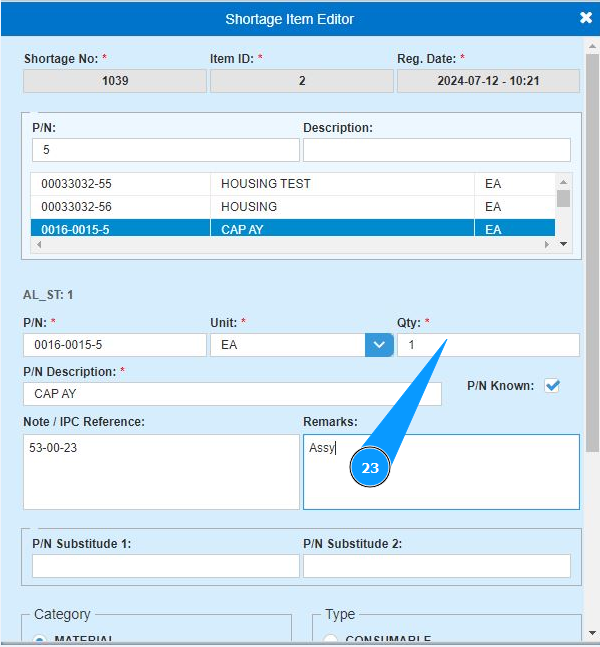
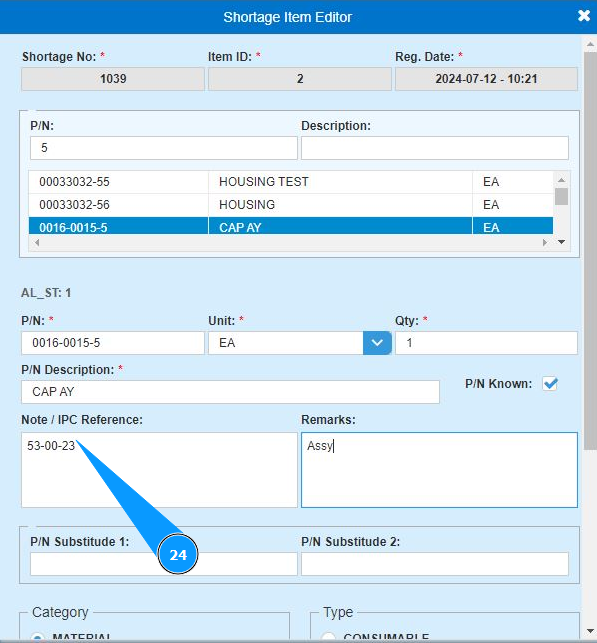
24. If necessary, enter a reference to the IPC catalog of aircraft or other notes of the shortage in the field "Note/IPC Reference".
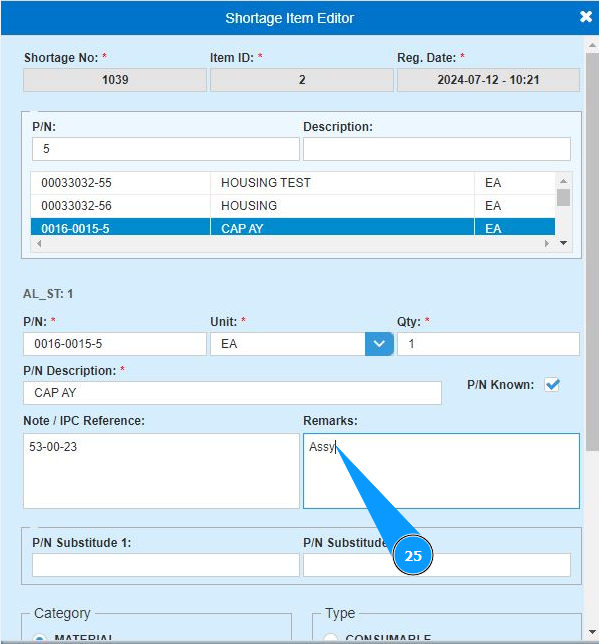
25. If necessary, enter any other comments on the shortage in the field "Remarks".
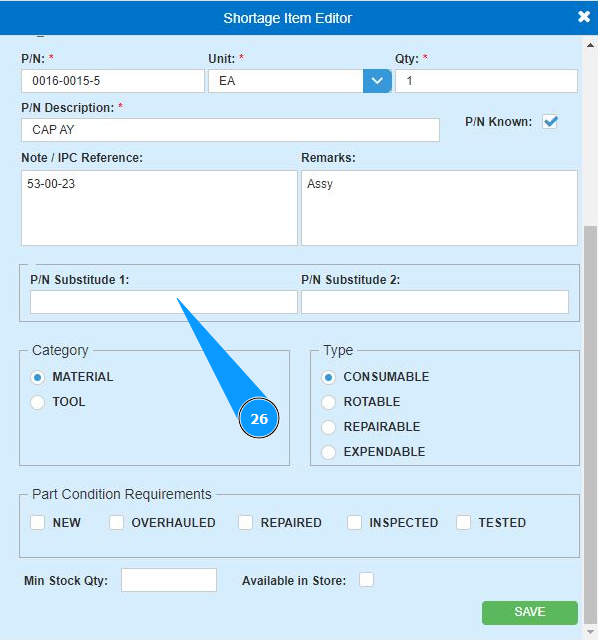
26. If necessary, enter interchangeable part numbers for what you ordered in the field P/N Substitute 1" or field P/N Substitute 2".
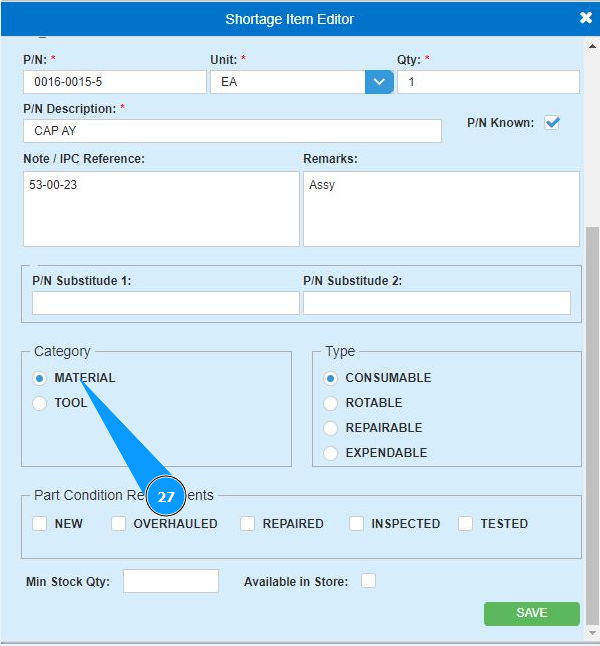
27. If necessary, select which category of the requested material is in the field "Material" or field "Tool".
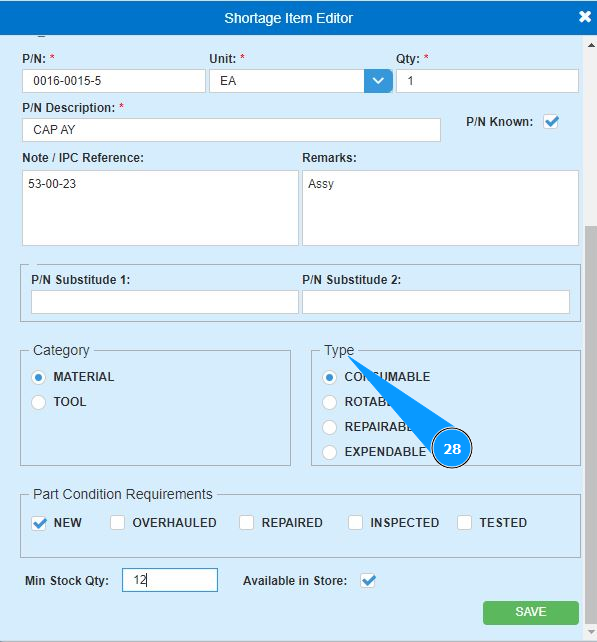
28. If necessary, select what type the requested material to in the field "Type".
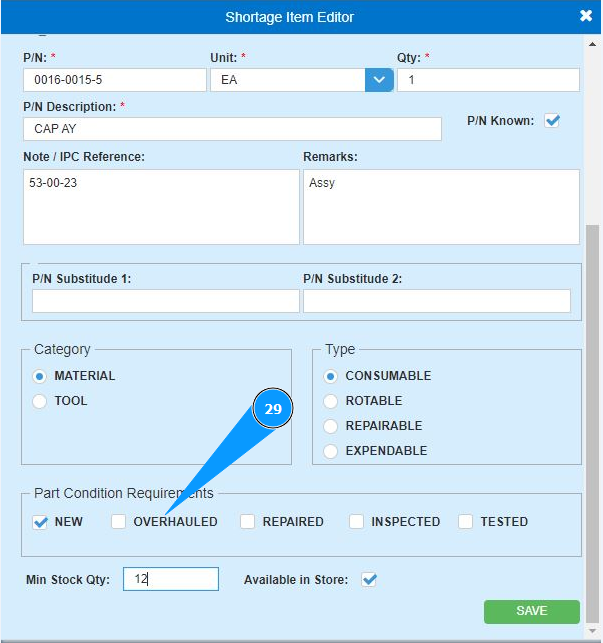
29. If necessary, enter the required shipped condition of the ordered item in the field "Part Condition Requirements".
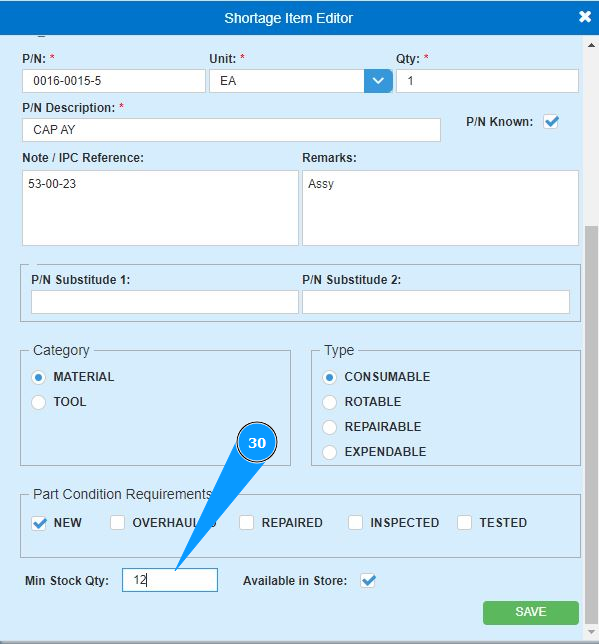
30. If necessary, enter the minimum required quantity for shipping in the field "Min.Stock Qty".
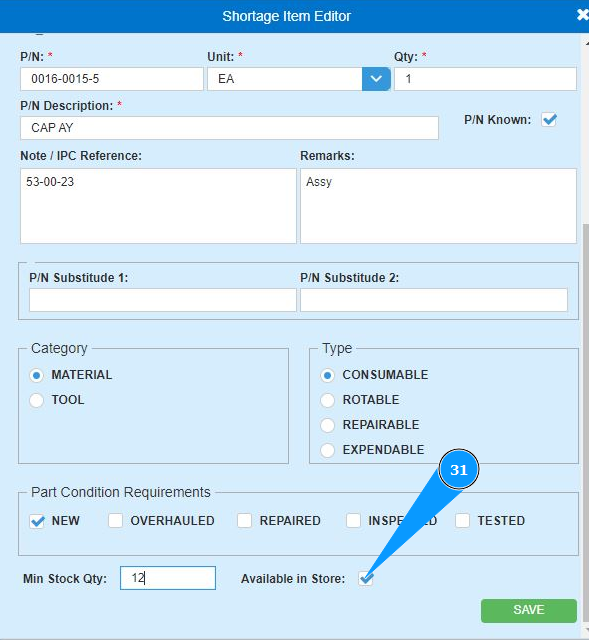
31. If necessary, mark the availability of the ordered item in stock and tick the field "Available in Store".
32. Click on the button "Save" to add the data of the ordered materials to the program.
33. Make sure that the record with the entered materials is displayed in the window "Material List".
