How to enter details for shipping a component
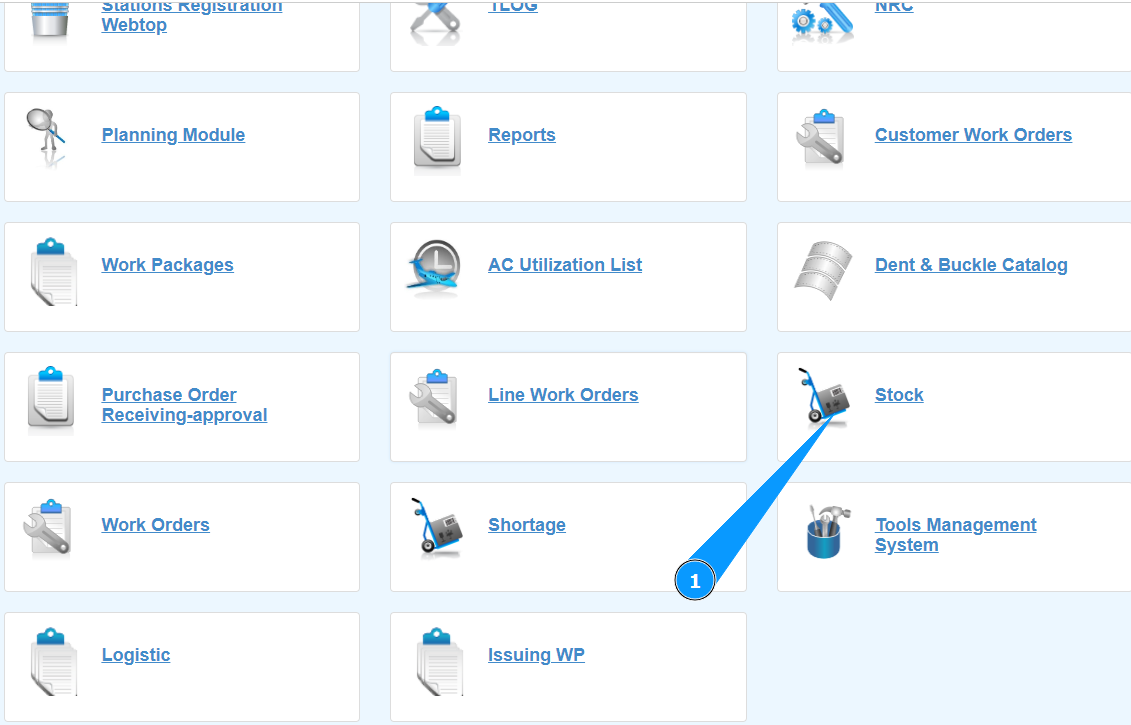
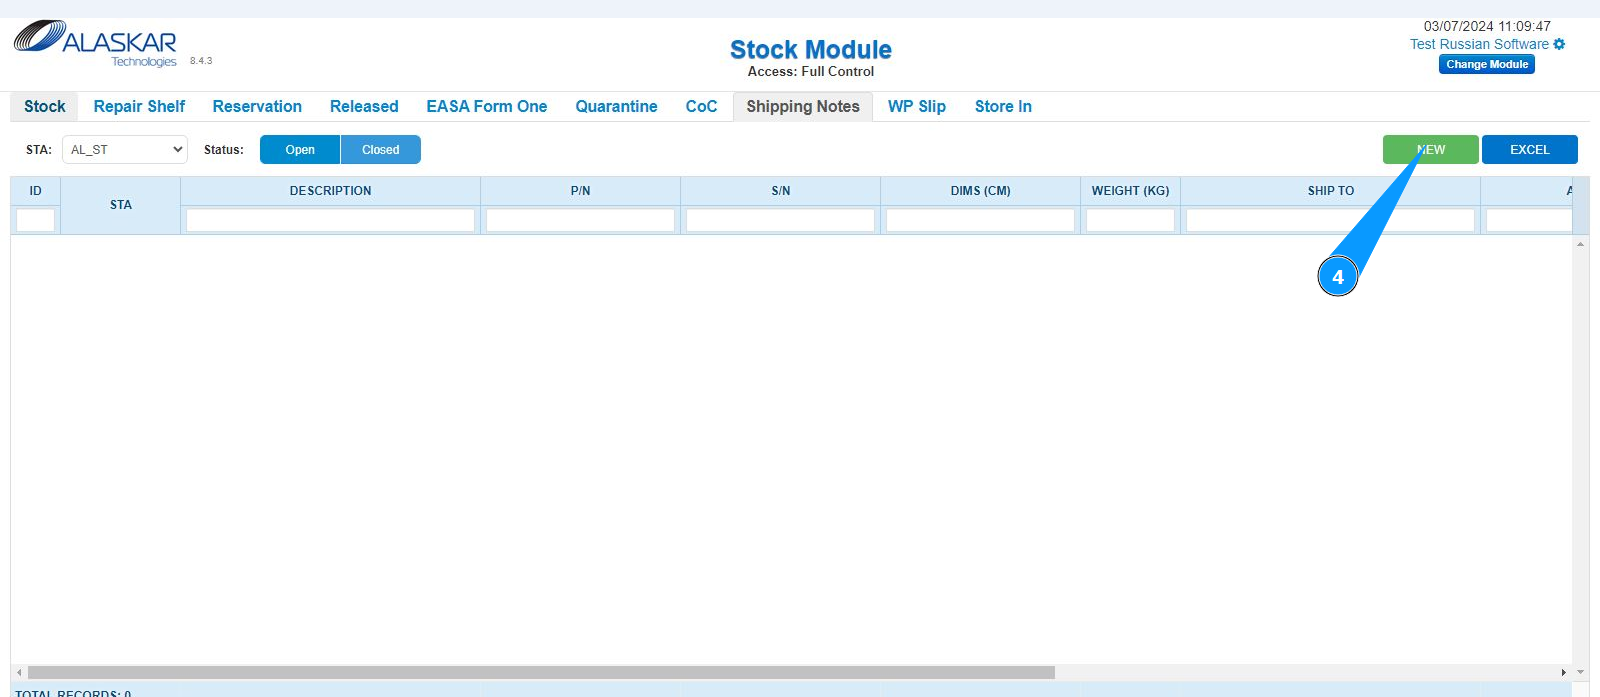
1. In order to enter details for shipping a component, go to the submodule "Stock".
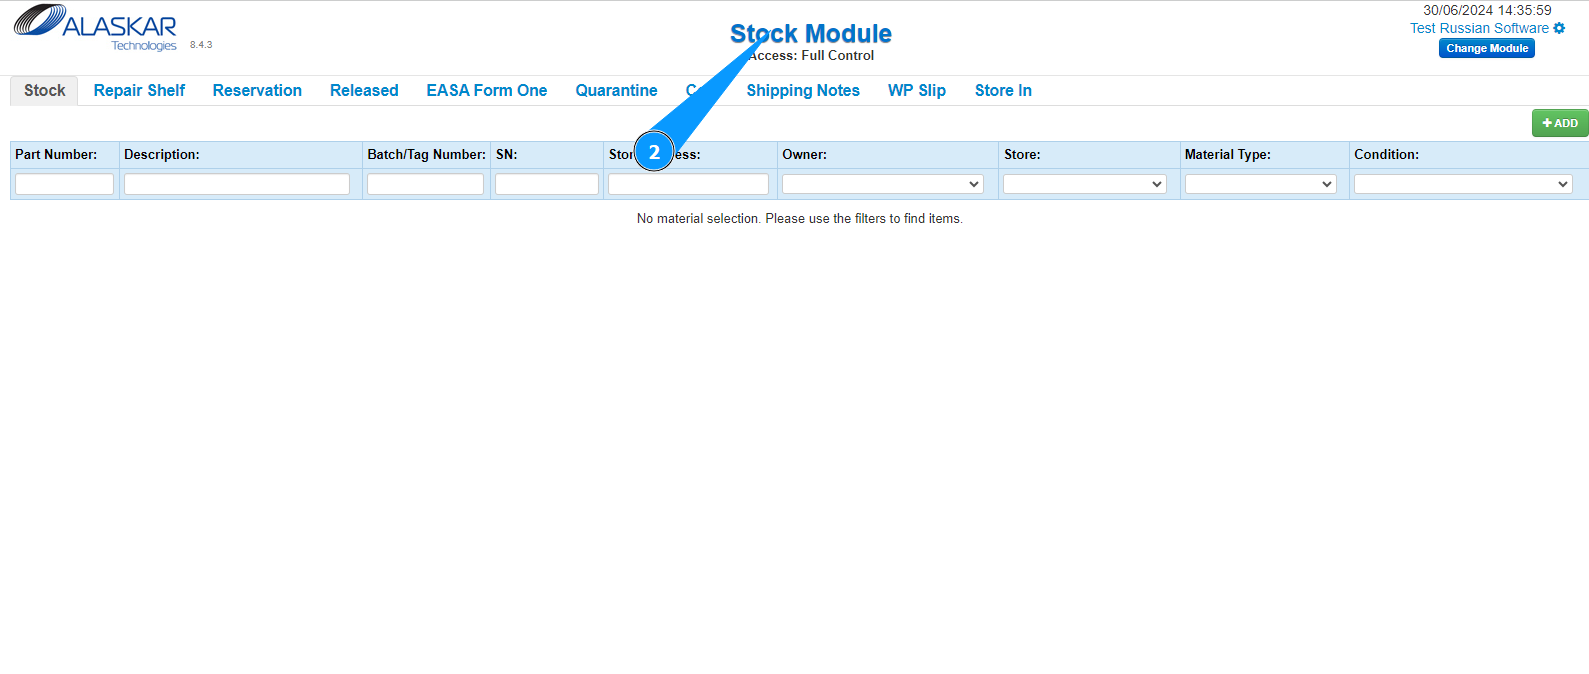
2. Make sure that the window for working with the store has opened and is available in the window "Stock Module".
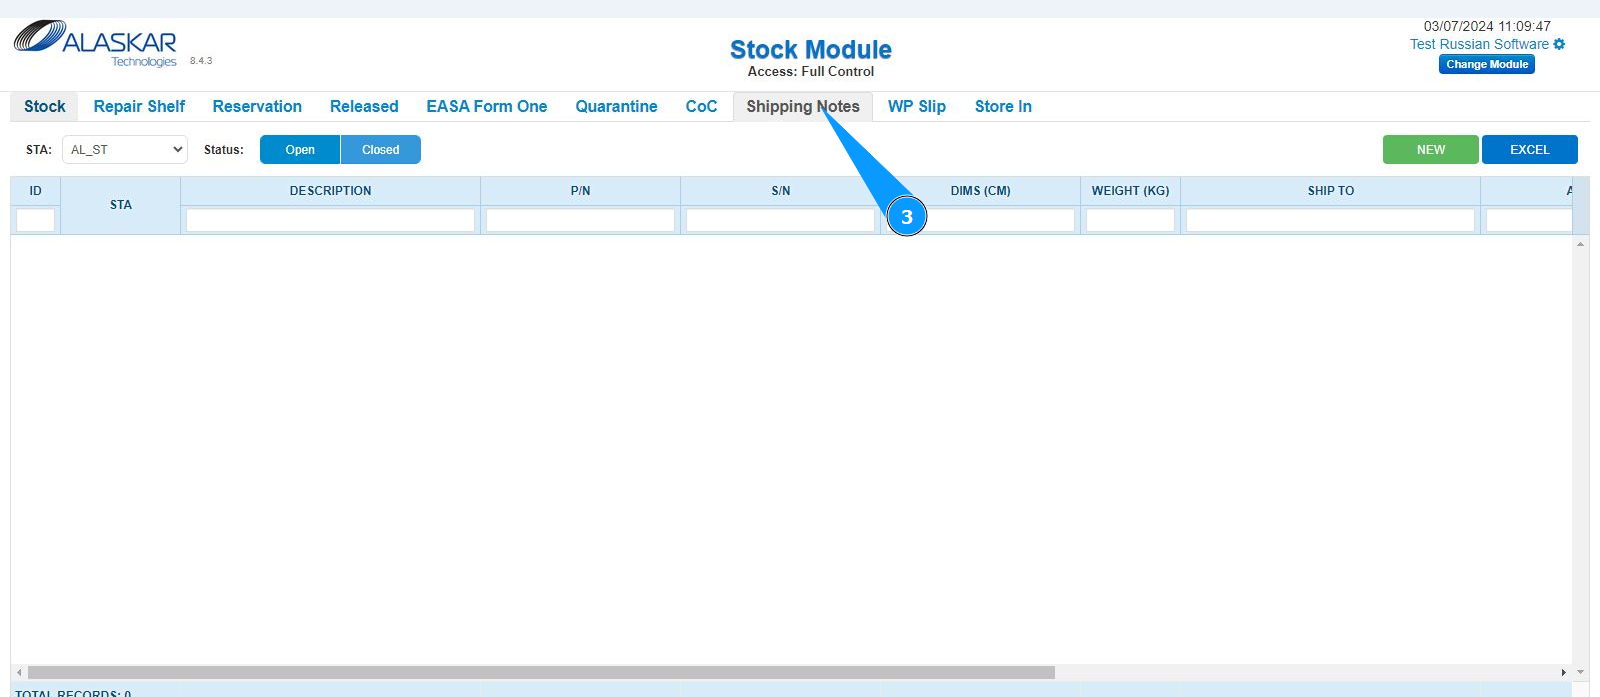
3. Then go to the tab "Shipping notes".
4. Click on the button "New" to open the editor for creating shipment details.
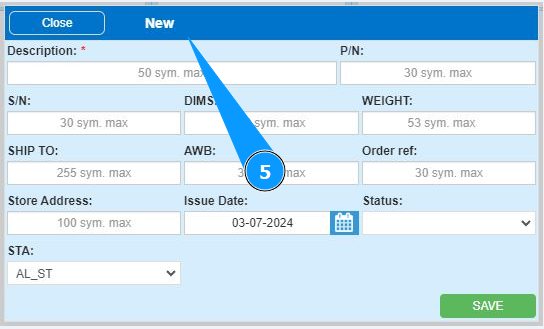
5. Make sure that the editor for creating shipping details is open and accessible.
6. Enter the part number in the field "P/N".
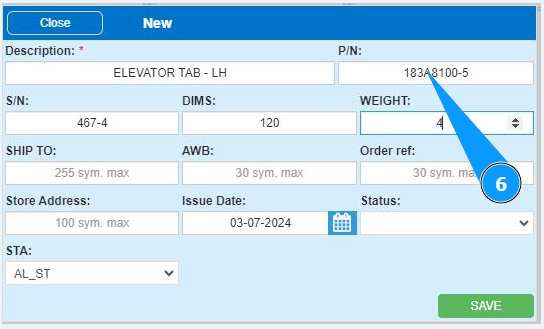
7. Enter a description of the component in the field "Description".

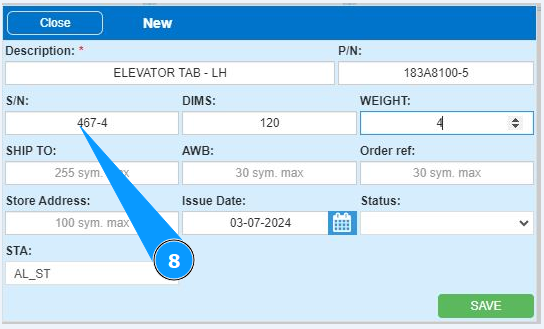
8. Enter the component serial number in the field "S/N".
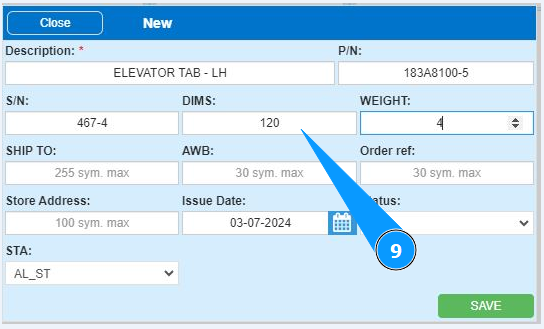
9. Enter the dimensions of the component or box in the field "Dims".
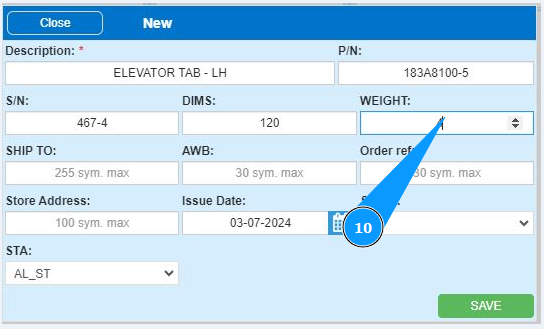
10. Enter the weight of the component in the field "Weight".
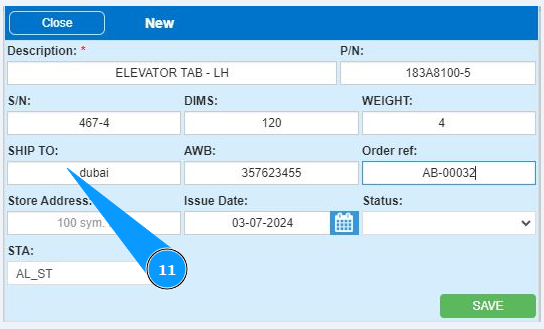
11. Enter the location where the component will be sent to in the field "Ship to".
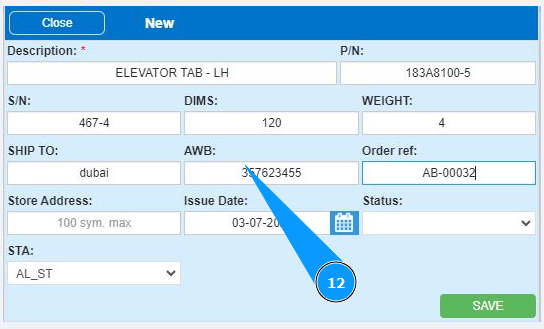
12. Enter the air waybill number in the field "AWB".
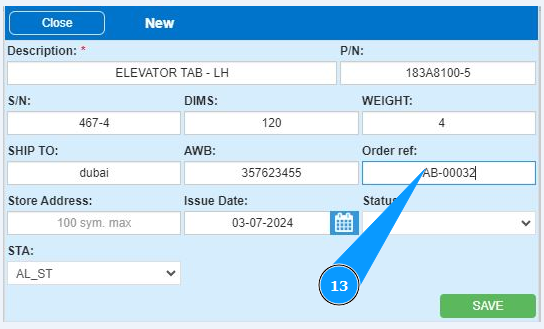
13. Enter the order number in the field "Order Ref.".
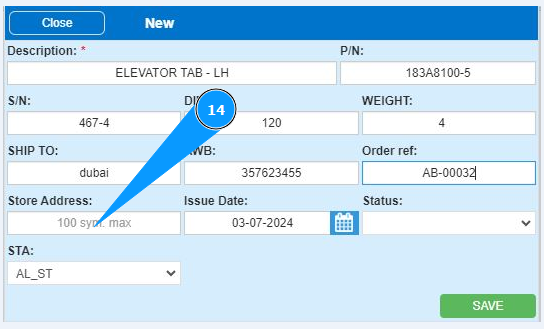
14. Enter the store shelf number in the field "Store Address".
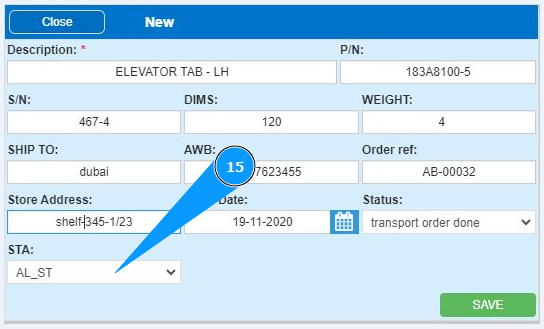
15. Select the store name from the dropdown list in the field "STA".
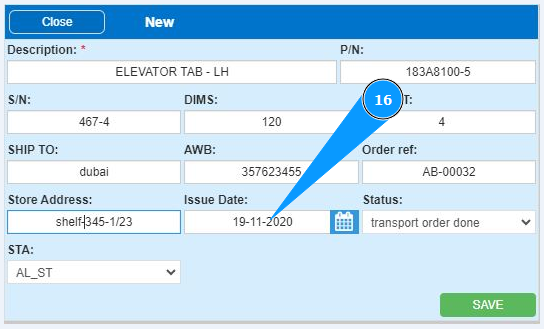
16. Enter the date you entered the shipping details in the field "Issue Date" or select from the calendar.
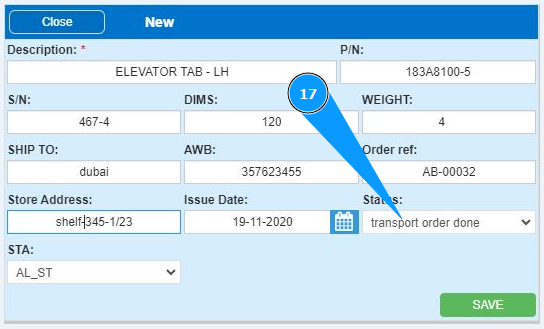
17. Select the component's shipping status from the dropdown list in the field "Status".
18. Click on the button "Save" to add the component shipping details to the program.

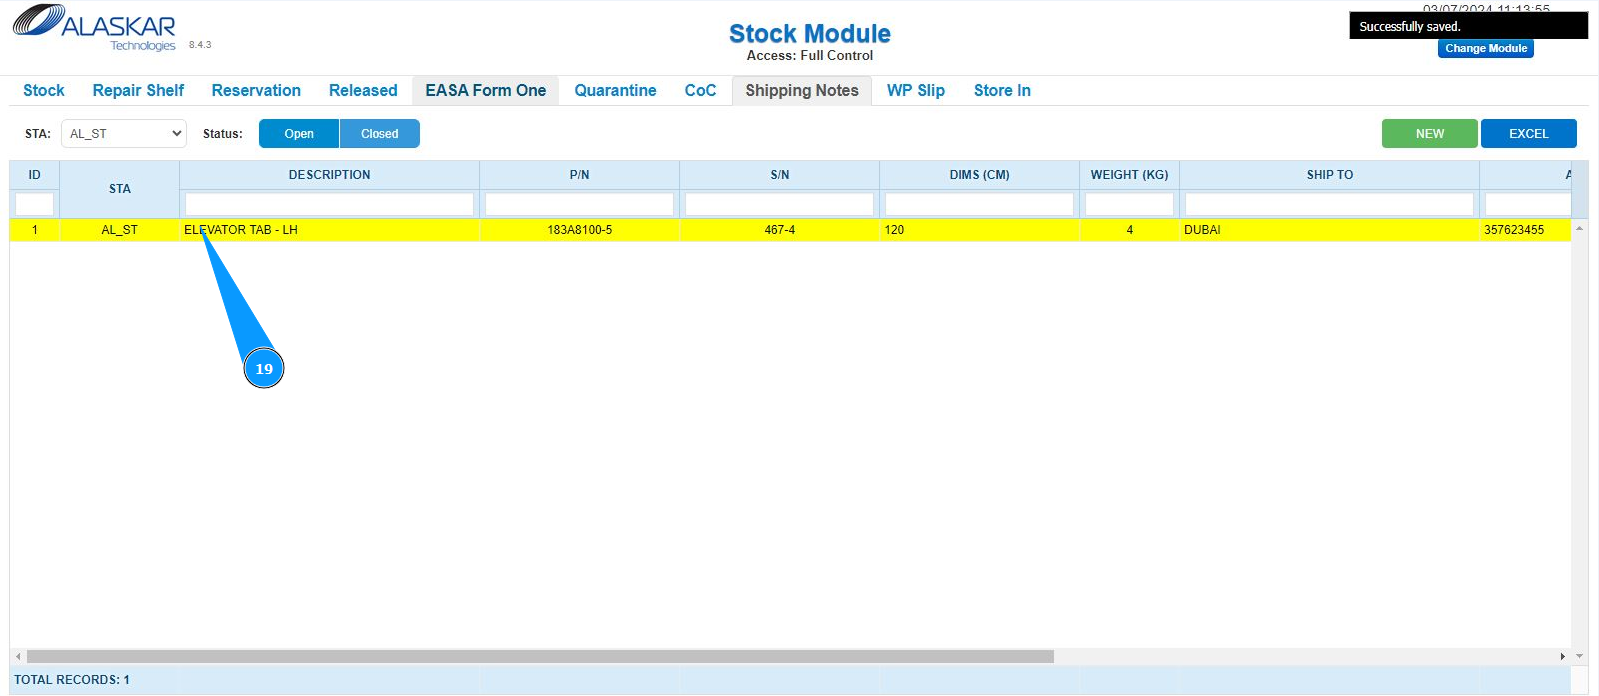
19. Make sure that the record with the entered shipping details is displayed in the window "Shipping notes". If necessary, select the required store from the dropdown list.