How to Create a Line Work Order
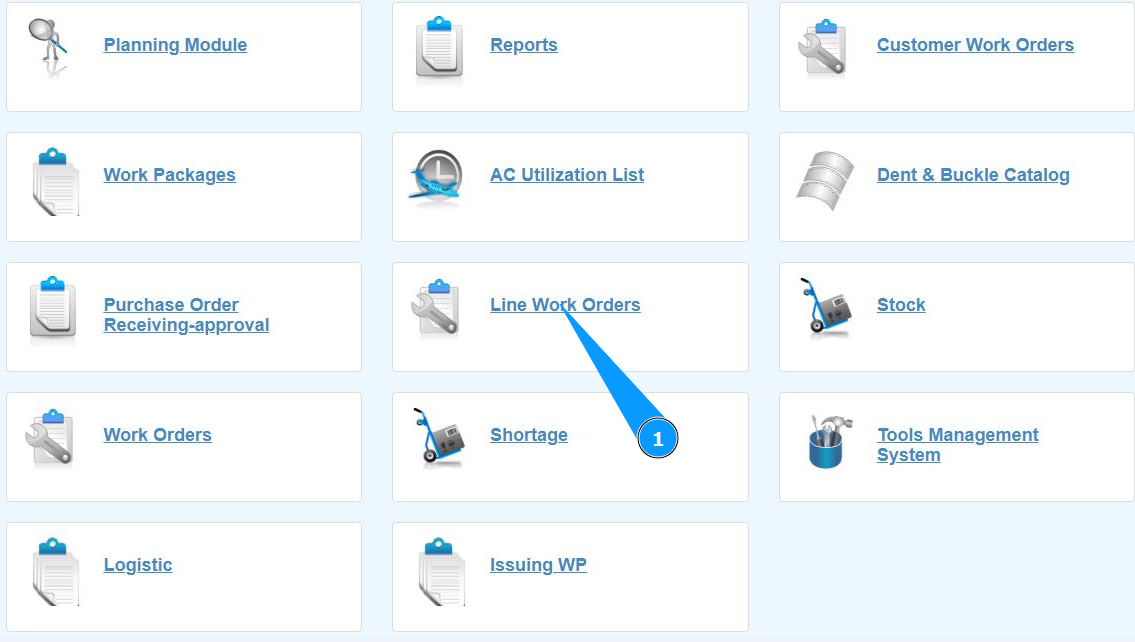
1. In order to create a Line Work Order, go to the submodule "Line Work Orders".
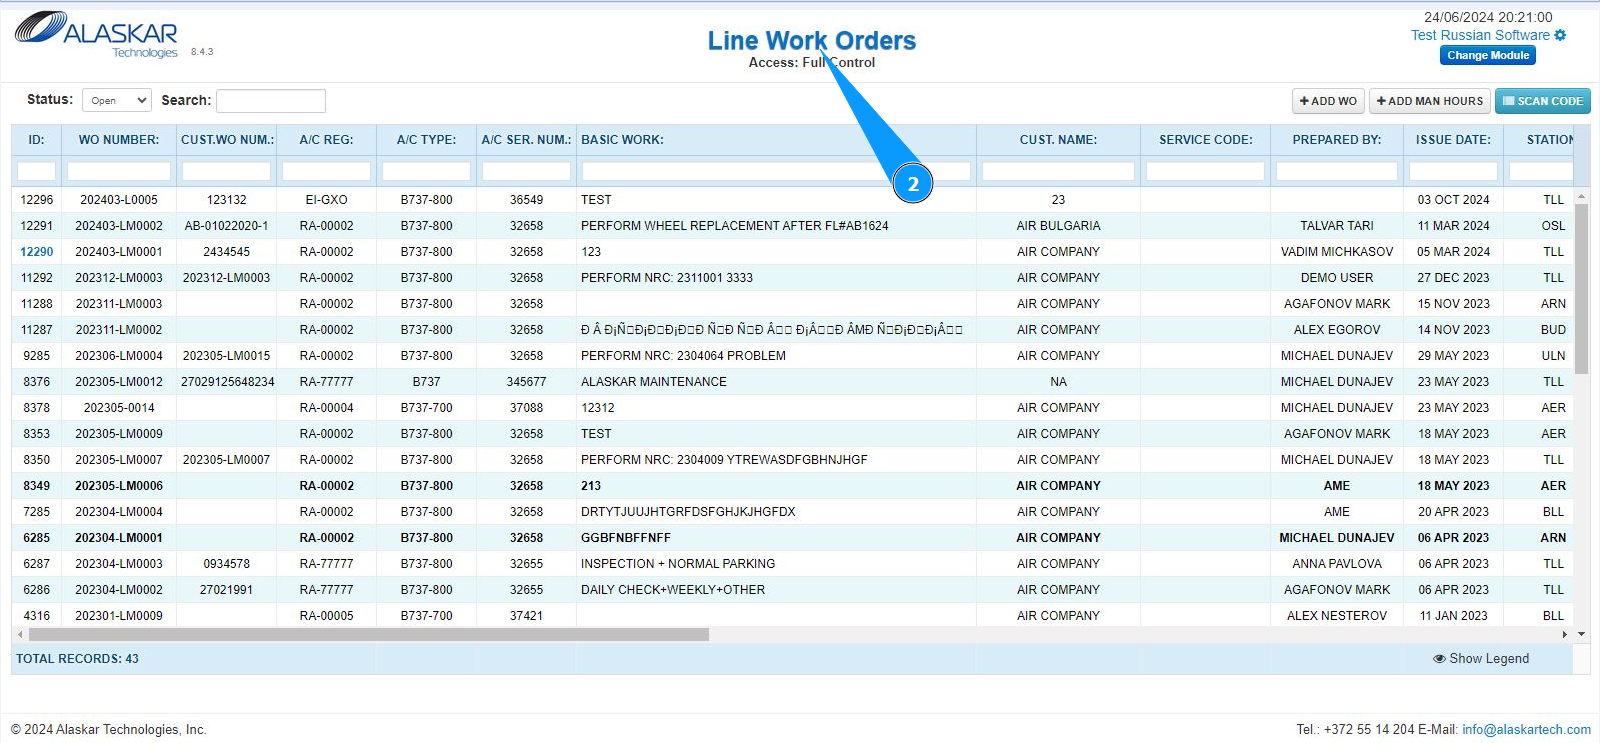
2. Make sure that the window for working with Line WO is open and accessible in the window "Line Work Orders".
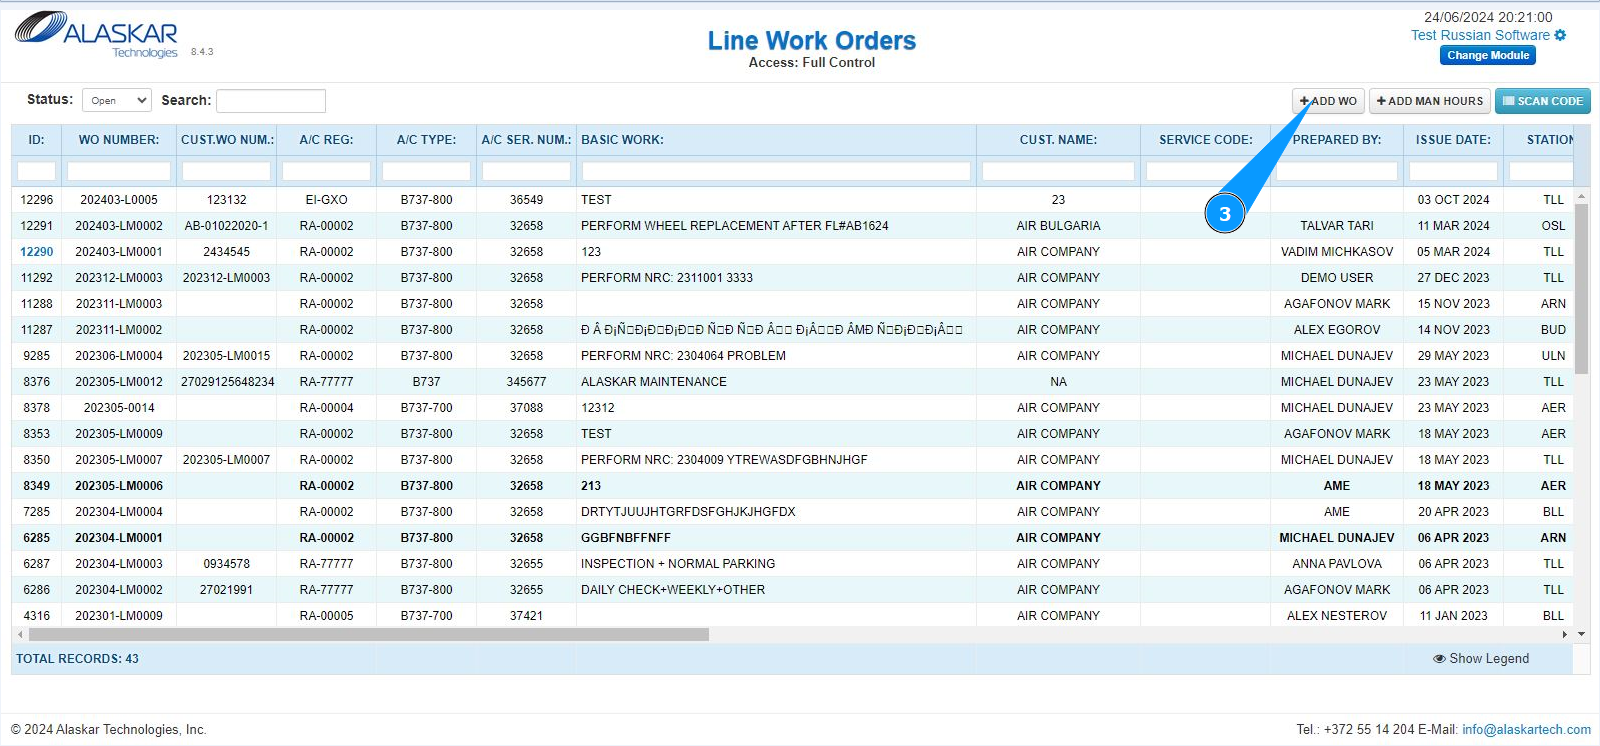
3. Click on the button "Add WO".
4. Select the aircraft registration number from the dropdown list in the field "Select". Note: The registered line work order number is generated automatically in the field "WO Number".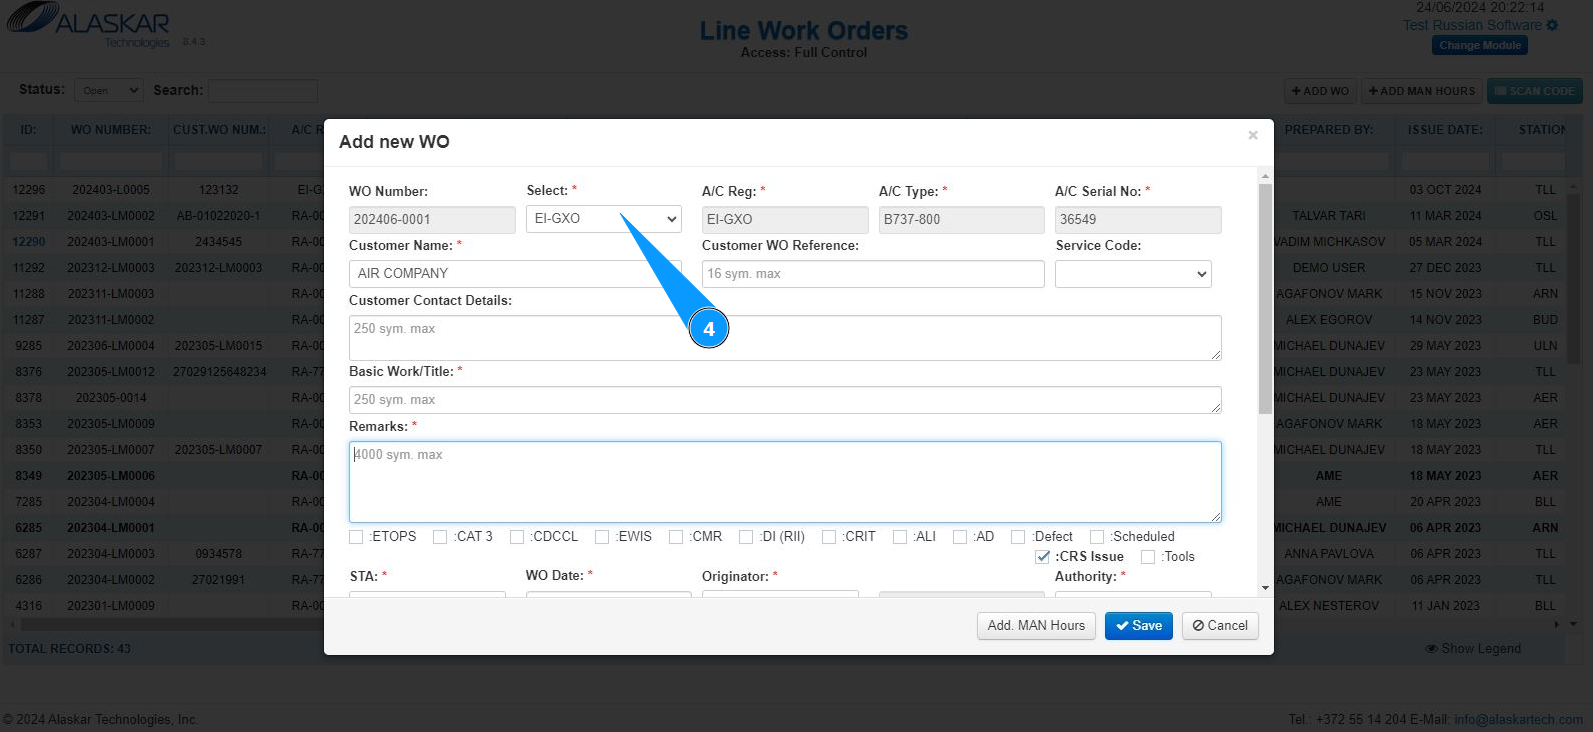
5. Select the company name from the dropdown list in the field "Customer Name". Note: The fields "A/C Reg., A/C Type, A/C Serial No." will be filled in automatically by the program.
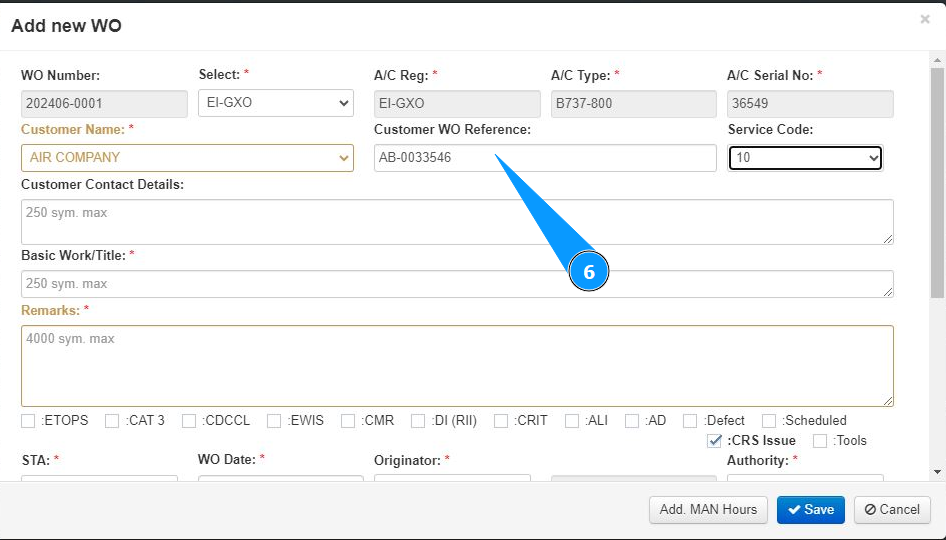
6. If necessary, enter a reference to the customer’s WO or order number in the field "Customer WO Reference".
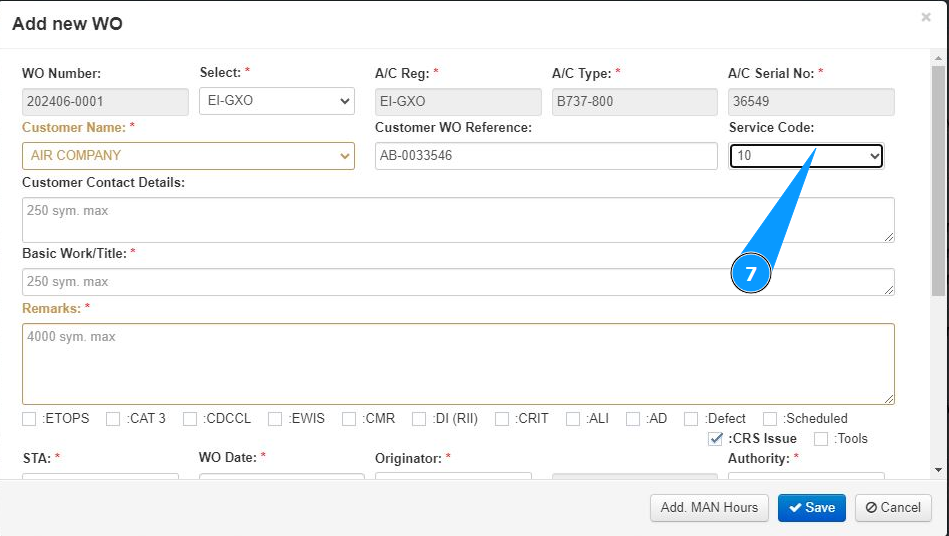
7. Select the service code from the dropdown list in the field "Service Code".
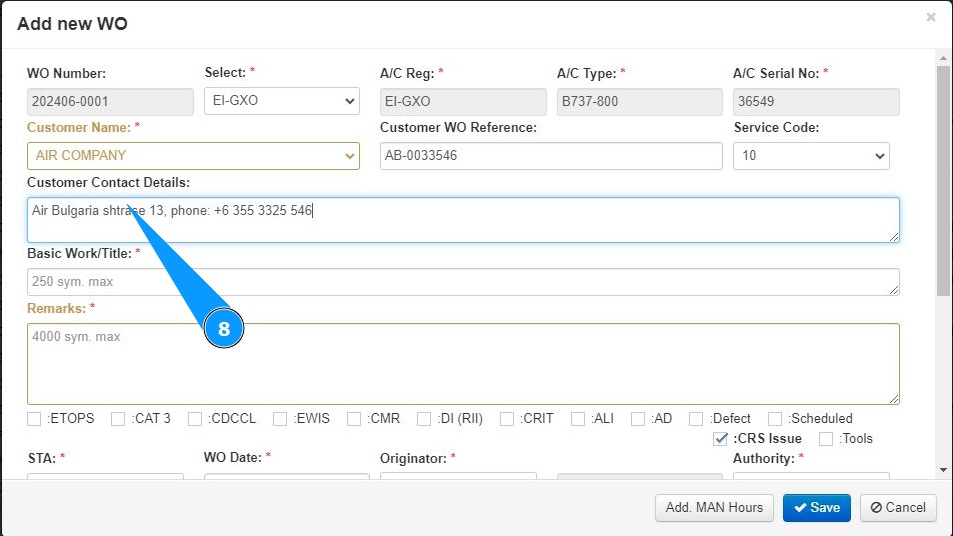
8. If necessary, enter the customer's addresses and phone numbers in the field "Customer Contact Details".
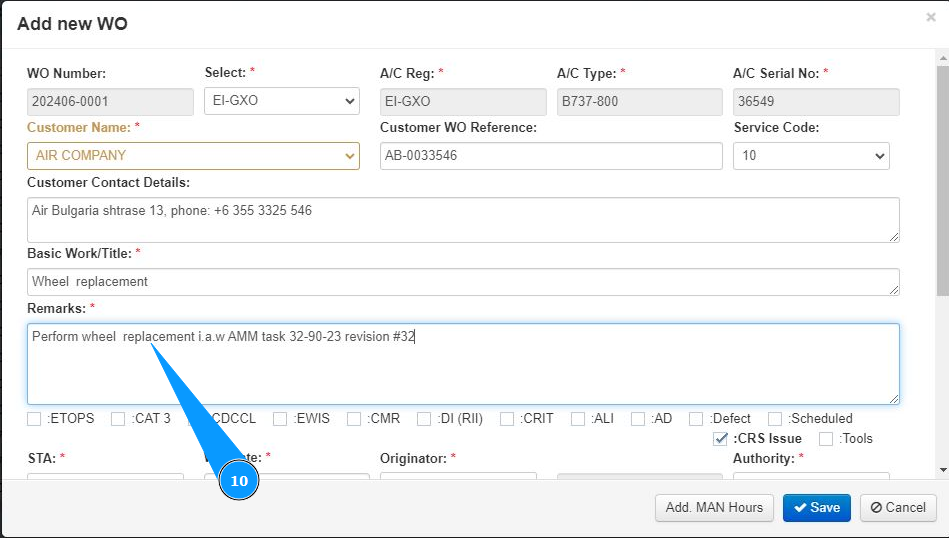
9. Enter the title of the work card in the field "Basic Work/Title".
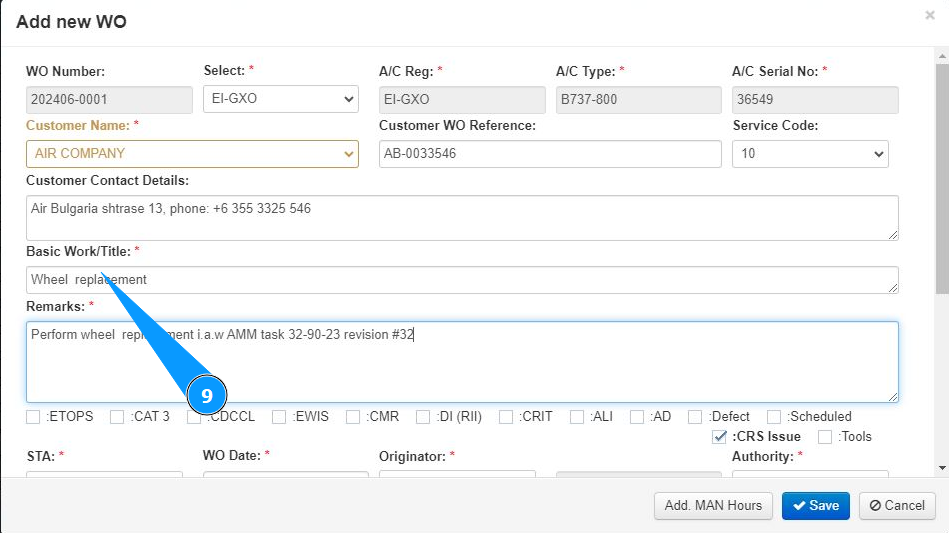
10. Enter the required actions to perform the work in the field "Basic Work/Title".
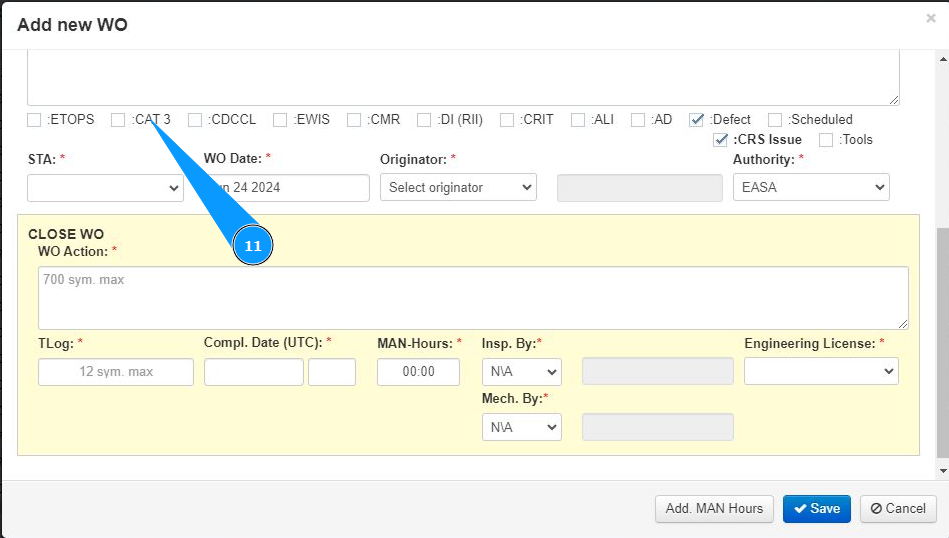
11. If necessary, add special criteria to the work order and click in the appropriate fields "ETOPS", "Cat.3", "CDCCL" and so on.
12. If necessary, mark the scheduled execution of work or by defect, click in the appropriate field "Scheduled" or field "Defect".

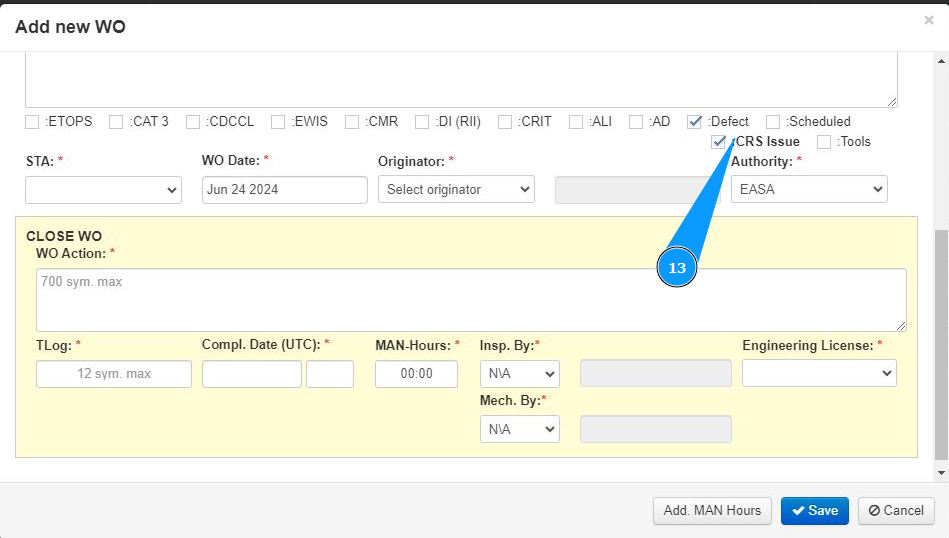
13. If necessary, mark the issue of a certificate of completed maintenance or the use of a tool in the appropriate field "CRS Issue" or "Tools".
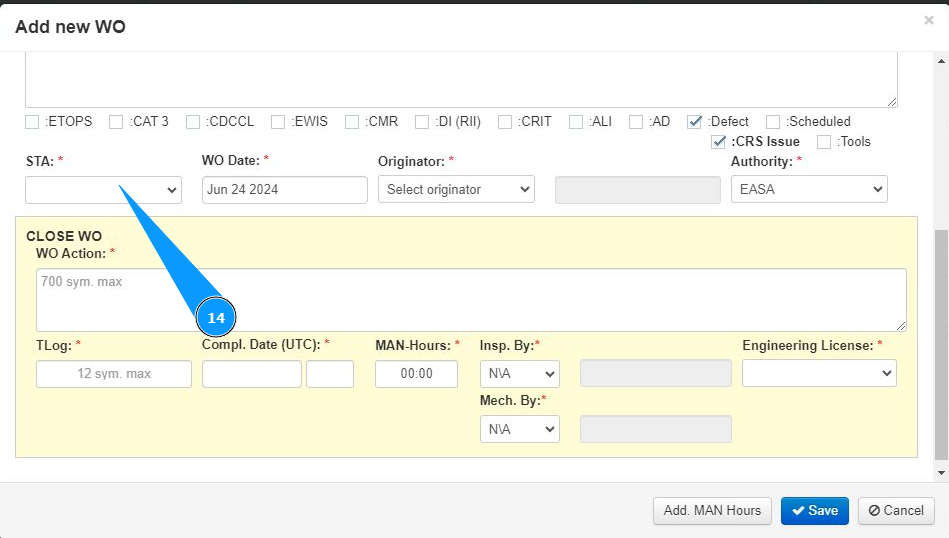
14. Select from the dropdown list the location of the maintenance organization that performed the work in the field "STA".
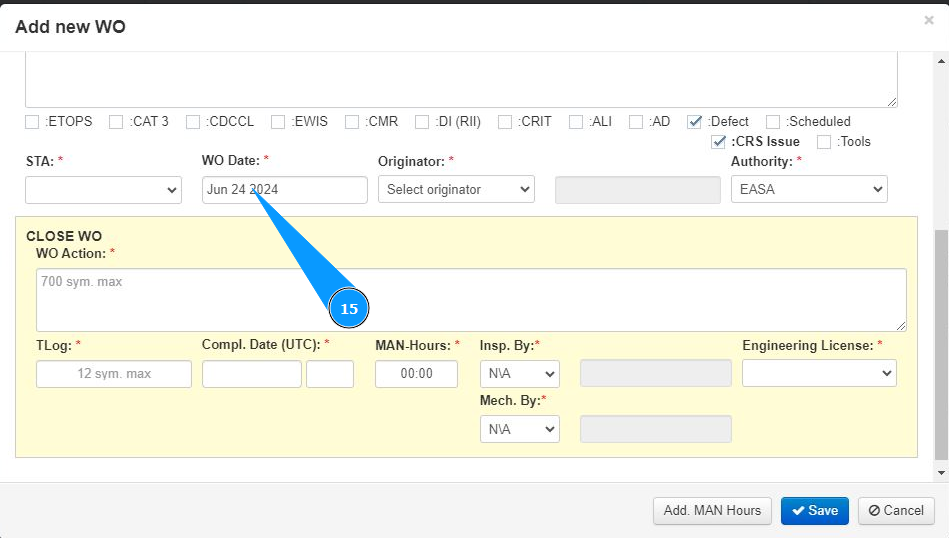
15. Enter the WO creation date in the field "WO Date" or select from the calendar.
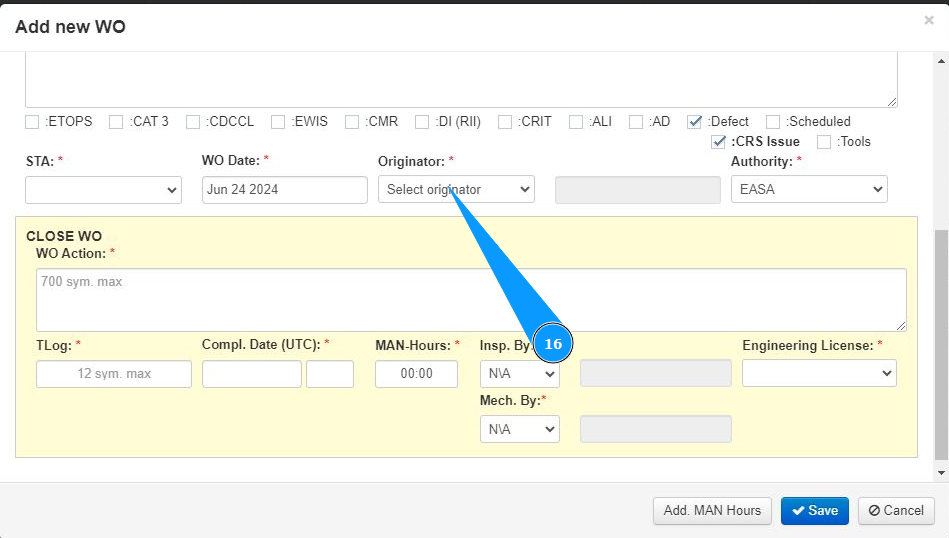
16. Select the login of the specialist who issued the WO or who performed it (in accordance with your company policy) from the dropdown list in the field "Originator".
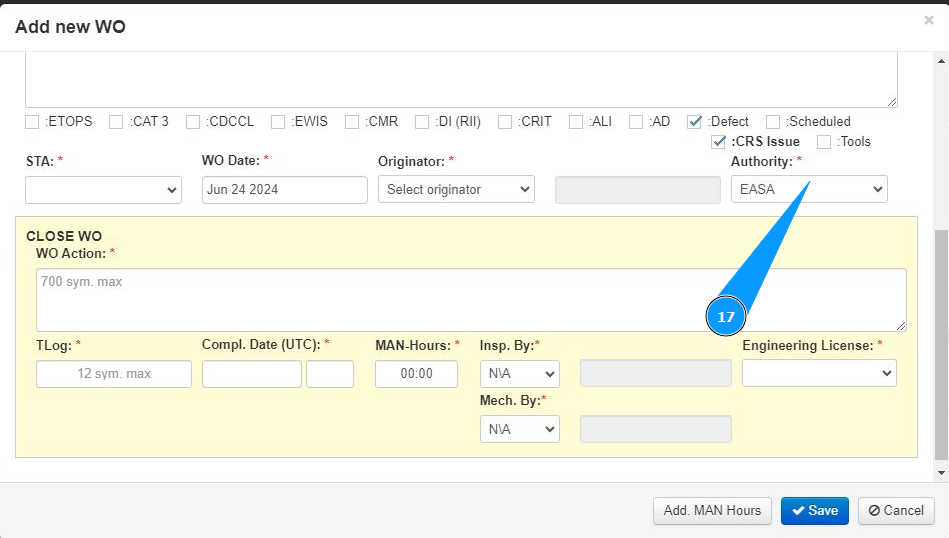
17. Select the aviation authorities of the maintenance organization from the dropdown list in the field "Authority".
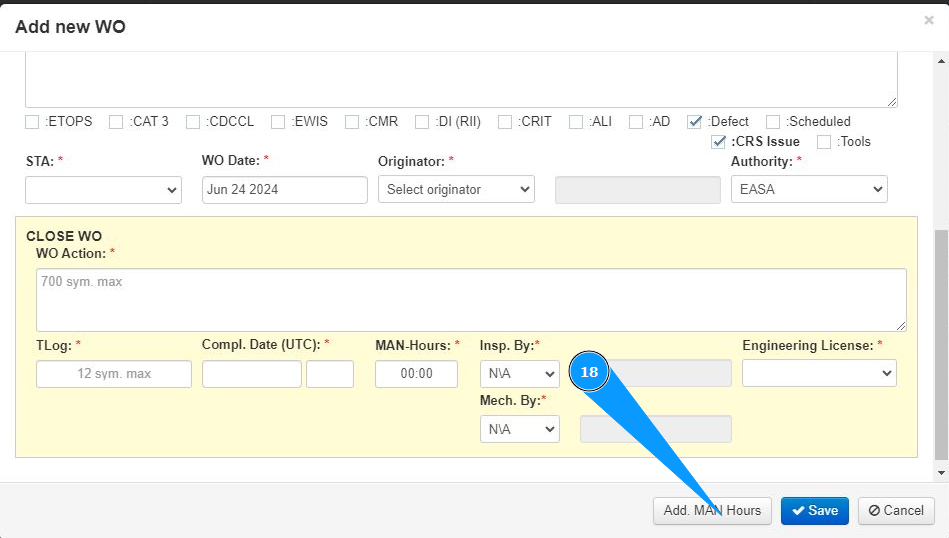
18. If necessary, add man-hours of work to the work card. Click on the button "Add Man Hours".
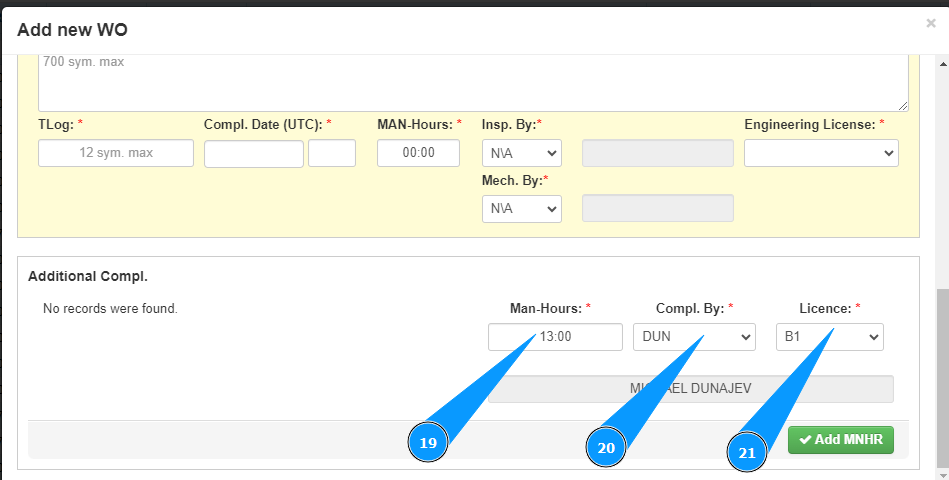
19. Enter the predicted number of man-hours in the field "Man Hours".
20. Select the login who performed WO from the dropdown list in the field "Compl.by".
21. Select the performer's license from the dropdown list in the field "License".
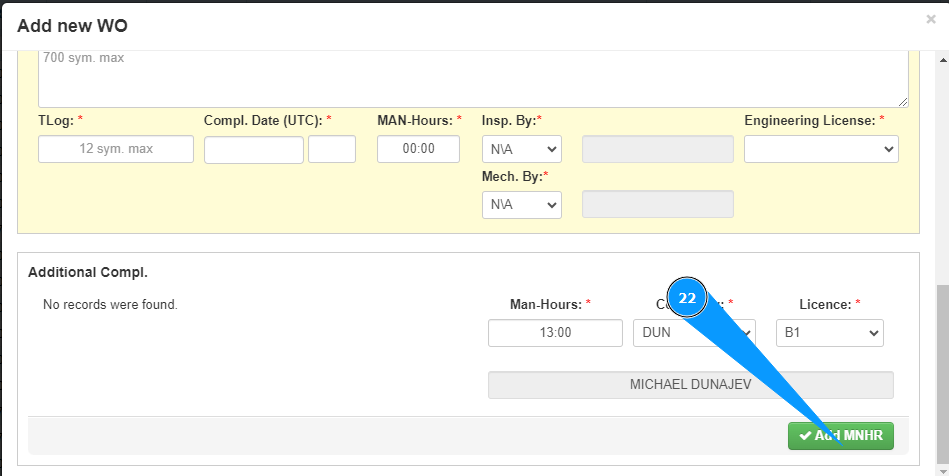
22. Click on the button "Add Man Hours" to upload the entered data into the program.
23. Check that the record about the entered man-hours is displayed in the window "Additional Compl.".
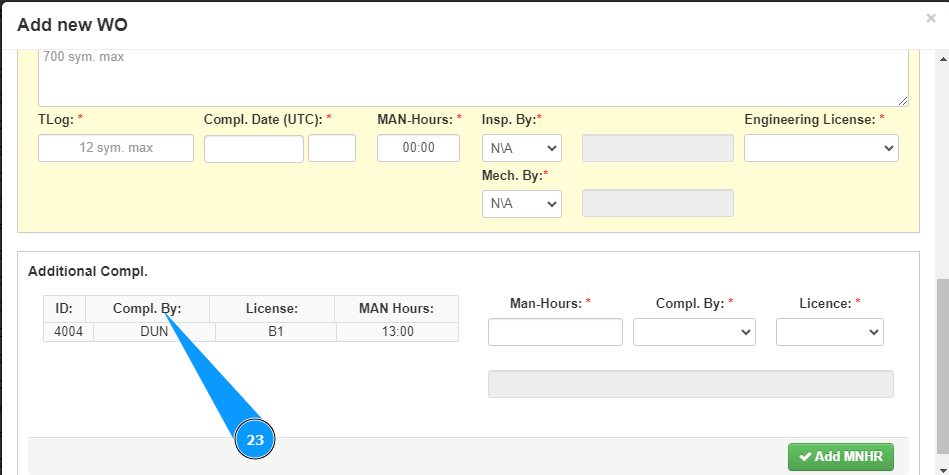
Note: If necessary, add the man-hours of other performers to the work order and repeat steps 18–23 of this instruction.
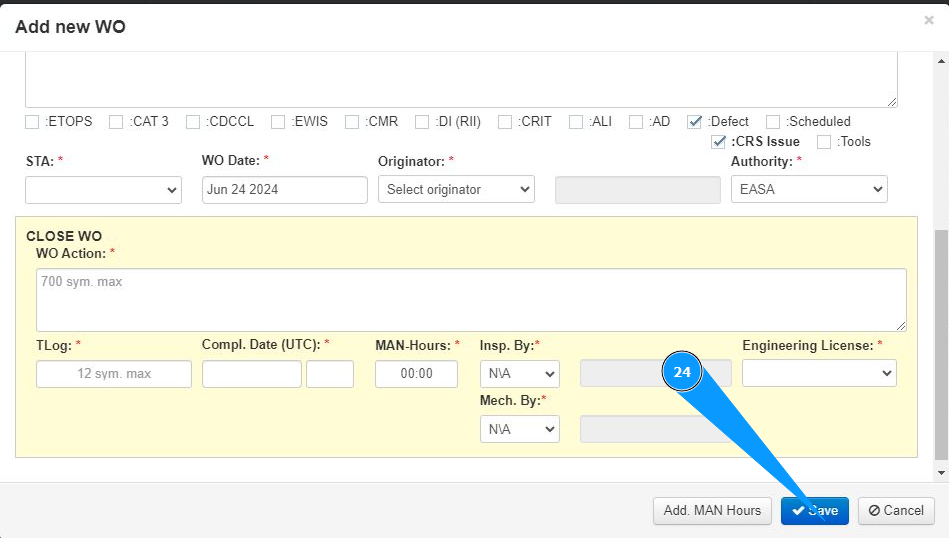
24. Click the "Save" button to upload the entered data into the program. The WO creation process is successfully completed.
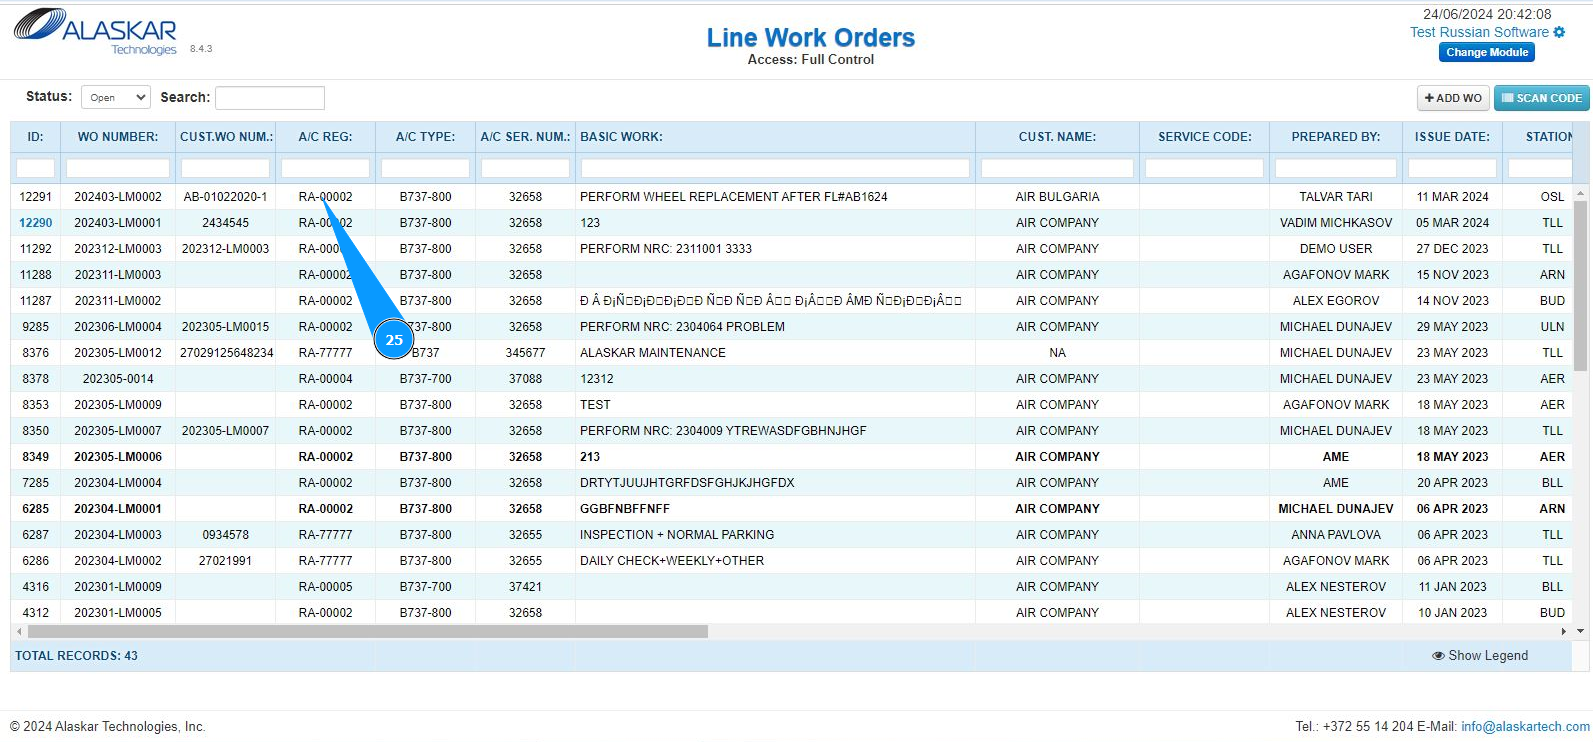
25. Check that the record about the newly created WO is displayed in the window "Line Work Orders".
Attention: If you need to immediately close this work card, go to the corresponding instruction by link below:
"How to close a Line Work Order"