How to create a Customer Purchase order
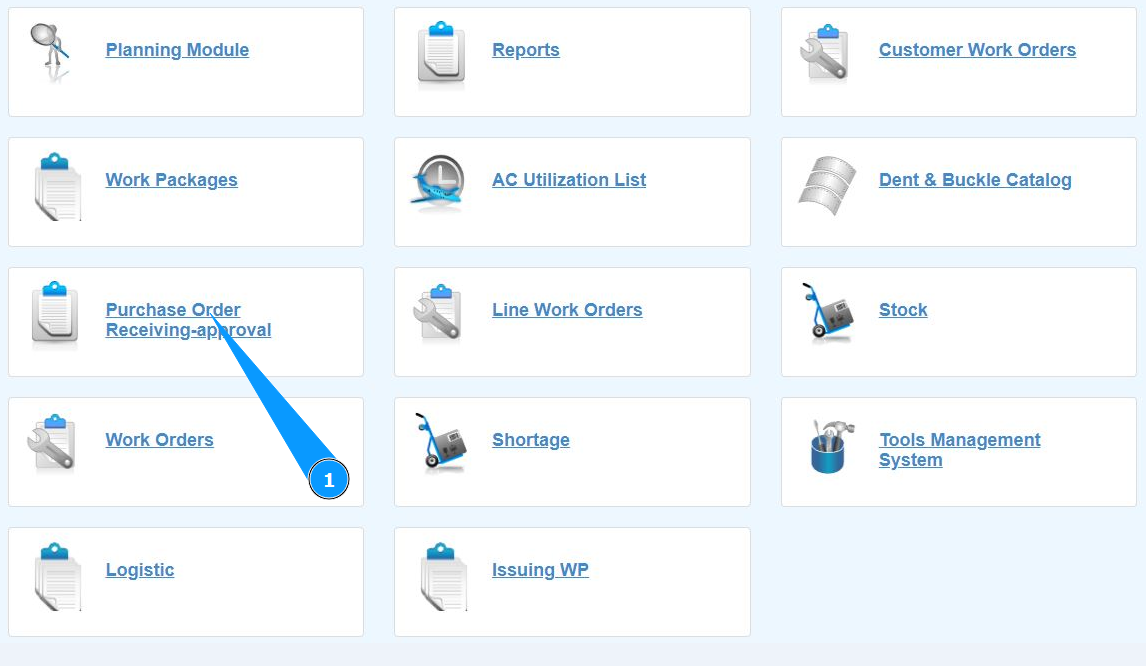
1. In order to create a Customer Purchase order, go to the submodule "Purchase order Receiving-Approval".
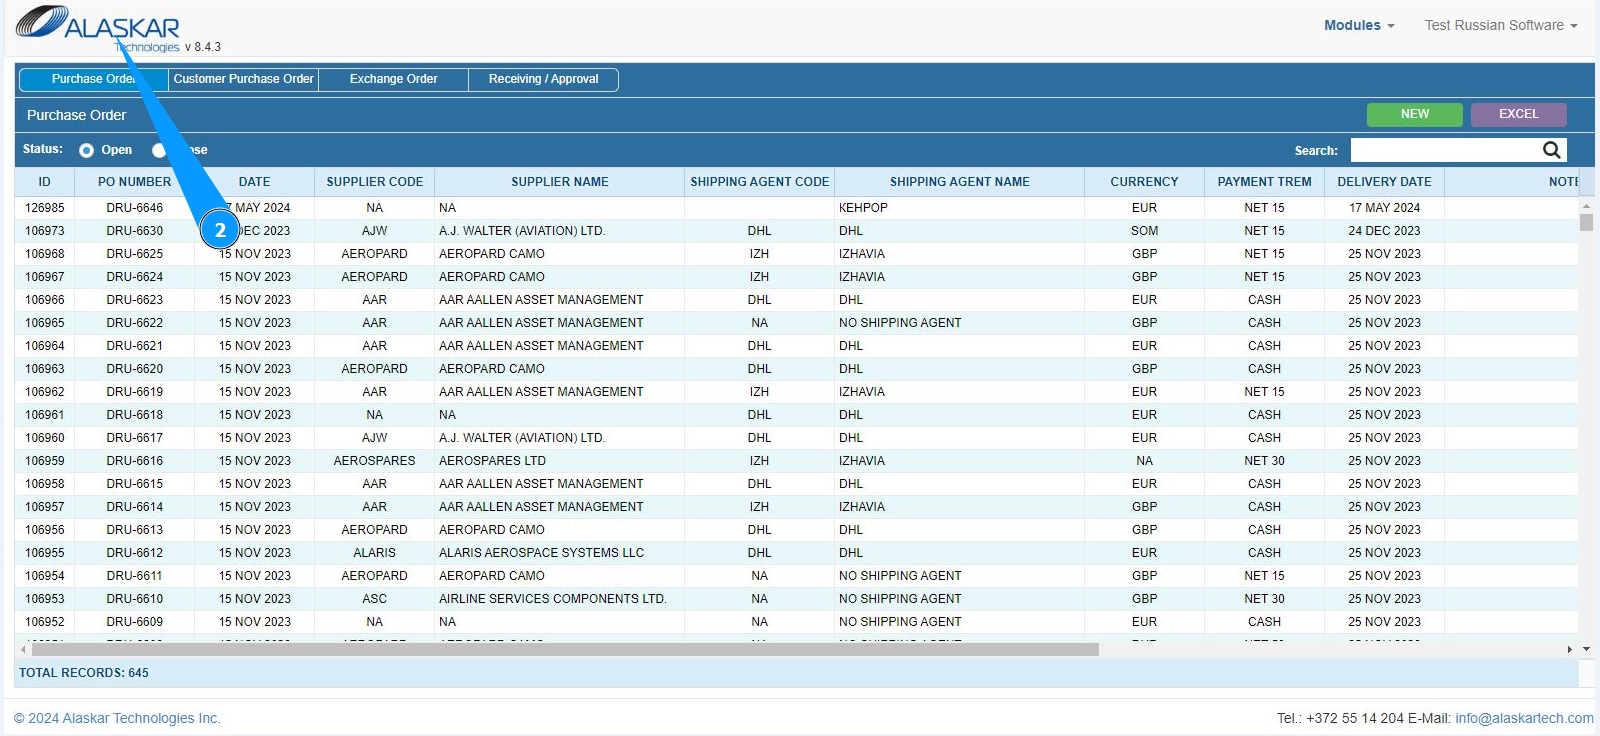
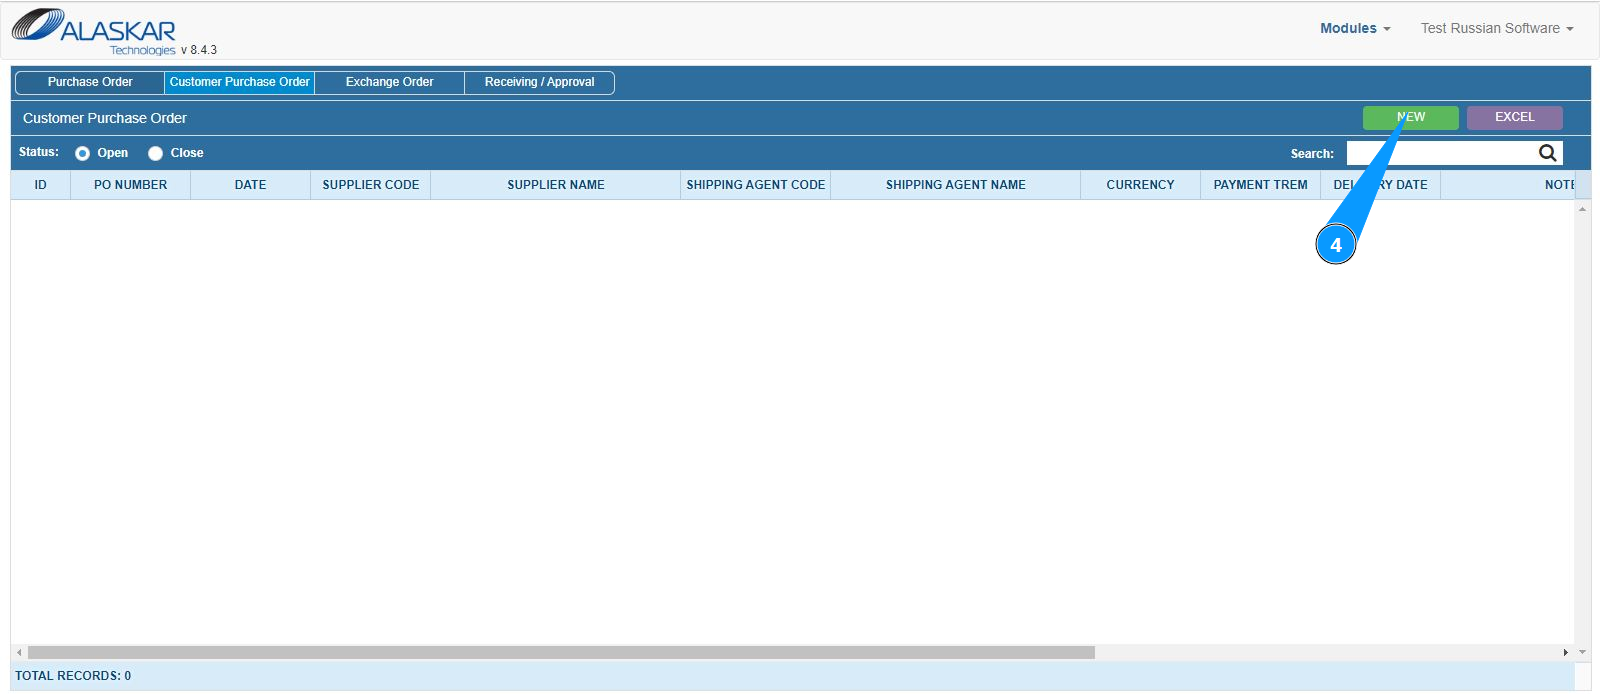
2. Make sure that the window for working with PO is open and accessible in the window "Purchase order".
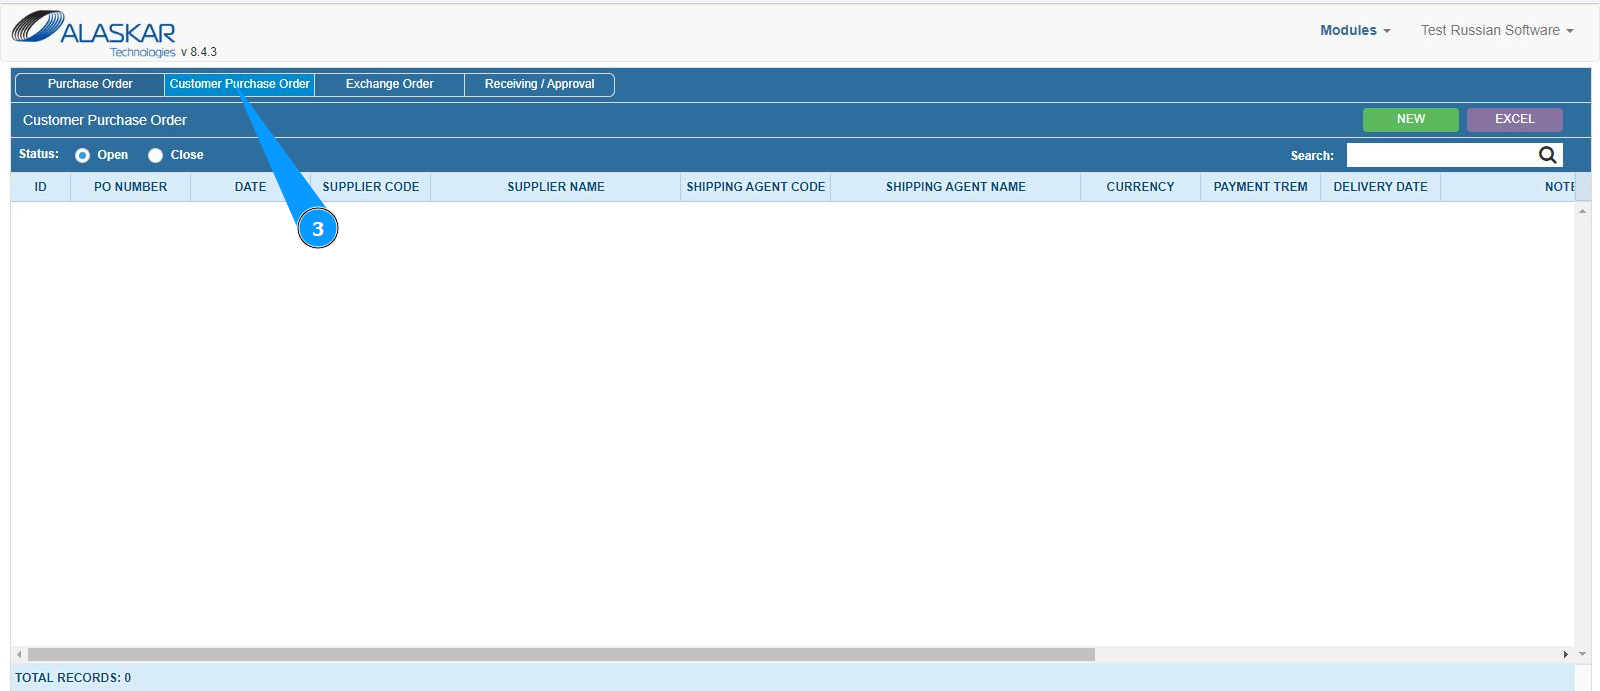
3. Then go to the tab "Customer Purchase Order".
4. Click on the button "New" to open the PO editor.
5. Make sure that the customer PO creation editor is open and accessible in the window "Purchaser Order Editor". Note: The PO number will be entered automatically by the program in the field "PO Number".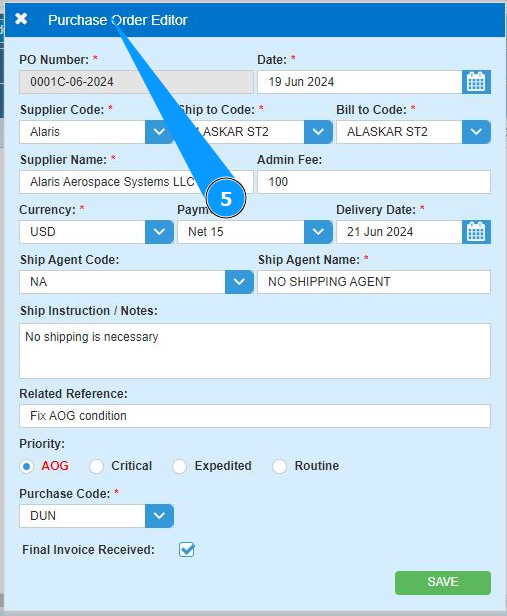
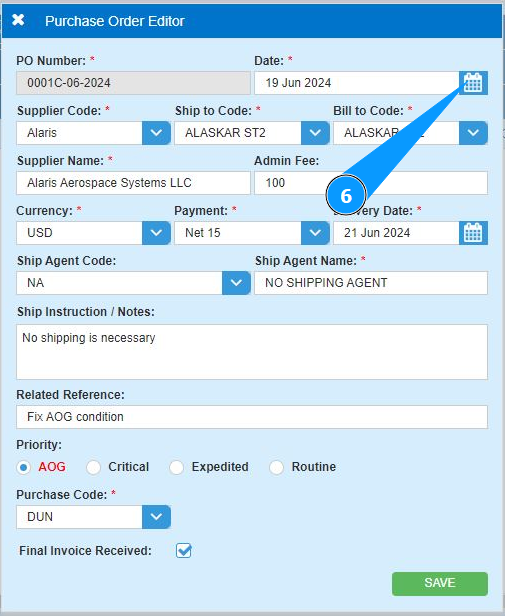
6. Enter the created Purchase Order date in the field "Date" or select from the calendar.
7. Select the supplier code from the dropdown list in the field "Supplier Code". Note: The supplier's name will appear automatically in the field "Supplier Name".
8. Select from the dropdown list where to send the spare part in the field "Ship to Code.
9. Select from the dropdown list where the invoice for payment should be sent to in the field "Ship to Code.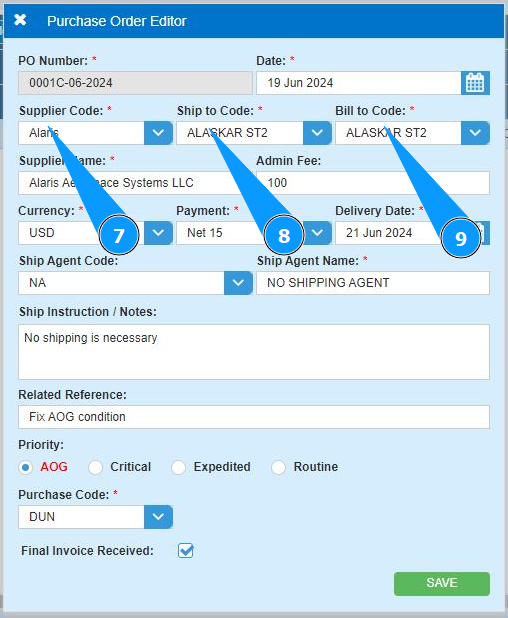
10. If necessary, enter the supplier's coefficient in the field: "Admin Fee".

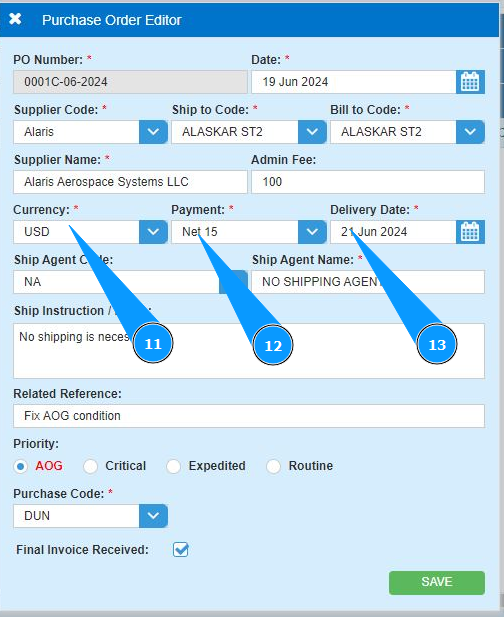
11. Select the currency for payment from the dropdown list in the field "Currency.
12. Select the payment type from the dropdown list in the field "Paymnet.
13. Enter the forecast PO delivery date in the field "Delivery Date" or select from the calendar.
14. Select the delivery company code from the dropdown list in the field "Ship Agent Code. Note: The delivery company name will appear automatically in the field "Ship Agent Name".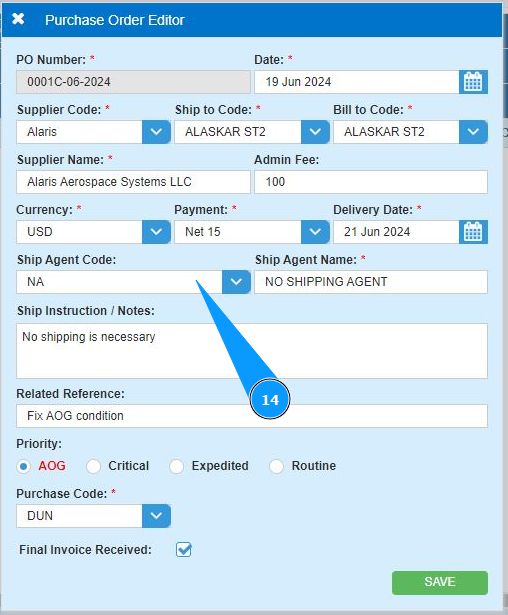
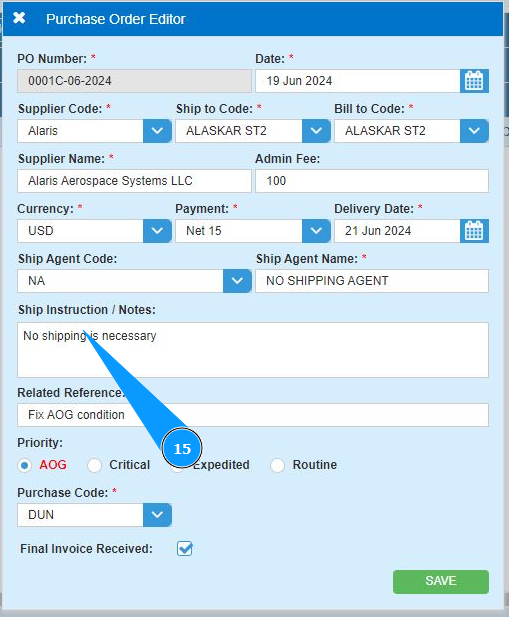
15. If necessary, enter any comments regarding transportation or others in the field "Ship instructions/Note".
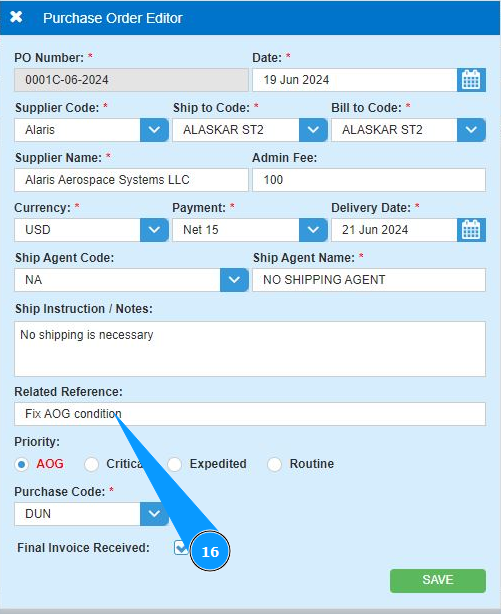
16. If necessary, enter the relevant reference in the field "Related Reference".
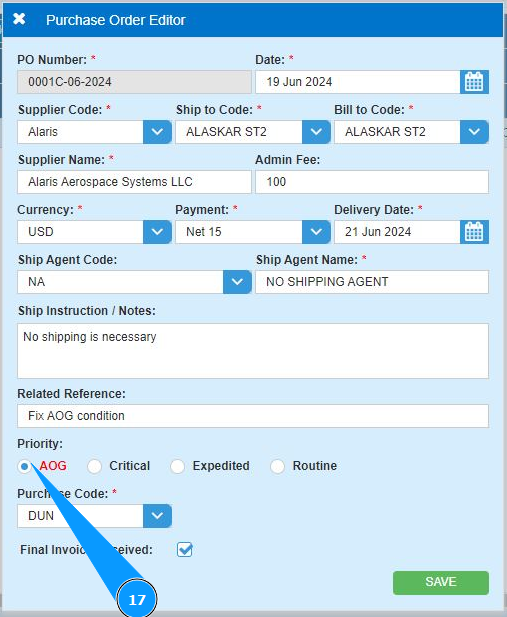
17. If the aircraft is on the ground and departure is impossible, click in the field "AOG", defining the "aircraft on the ground" state, or set other priorities by time.
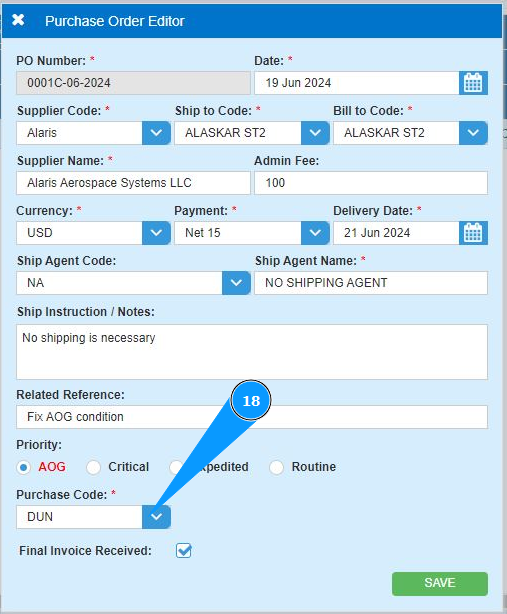
18. Select the login of the PO creator from the dropdown list in the field "Purchase Code".
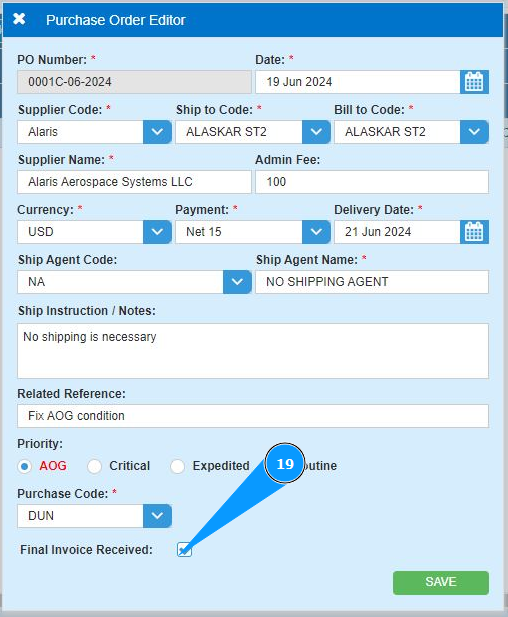
19. If necessary, tick that the final invoice is well received in the field "Final invoice Received".
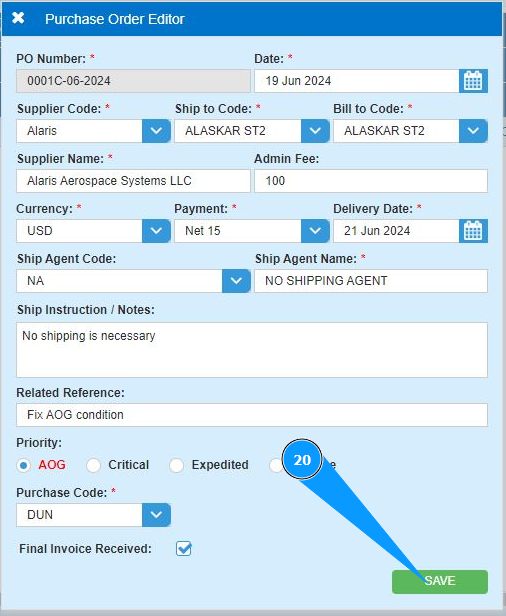
20. Click on the button "Save" to add the PO data to the program.
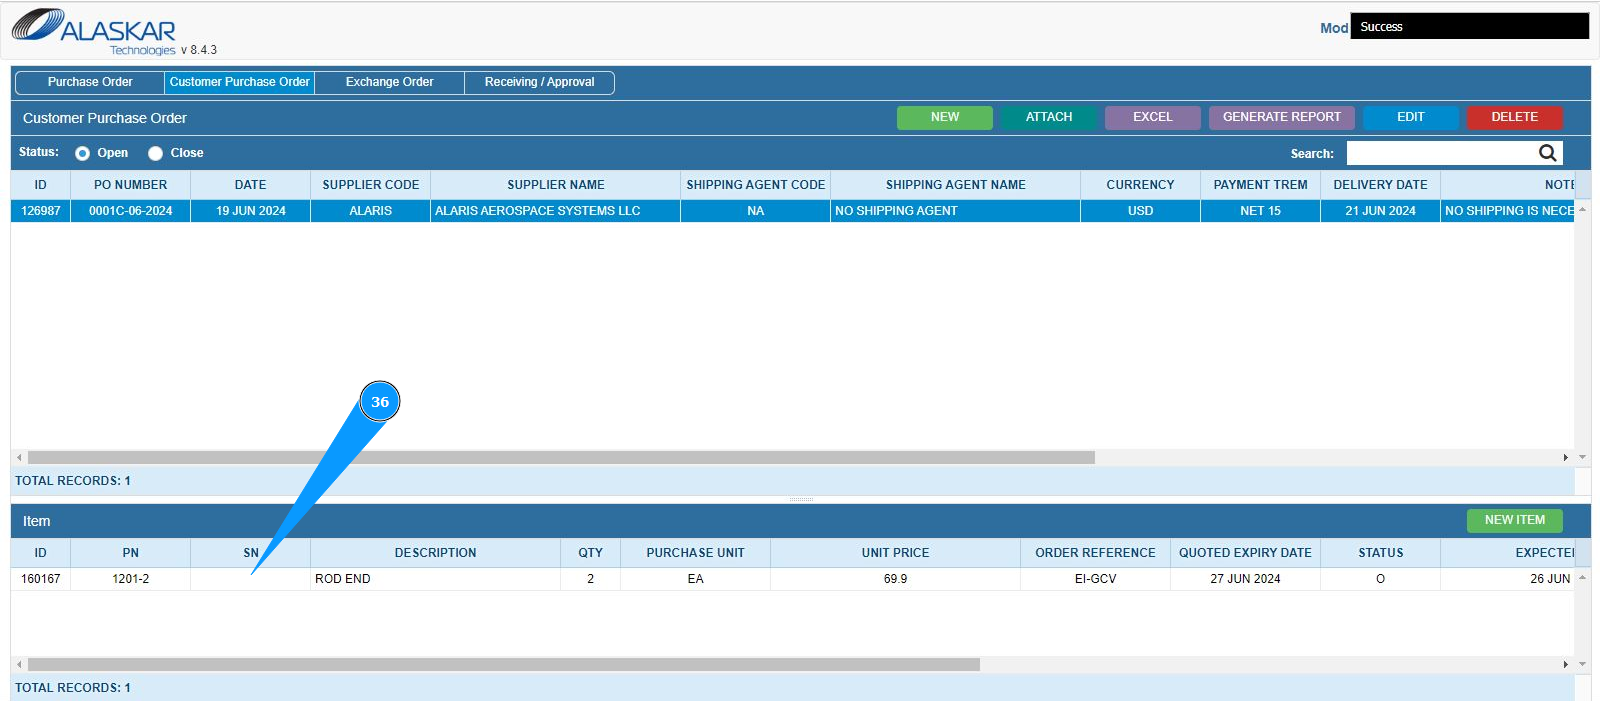
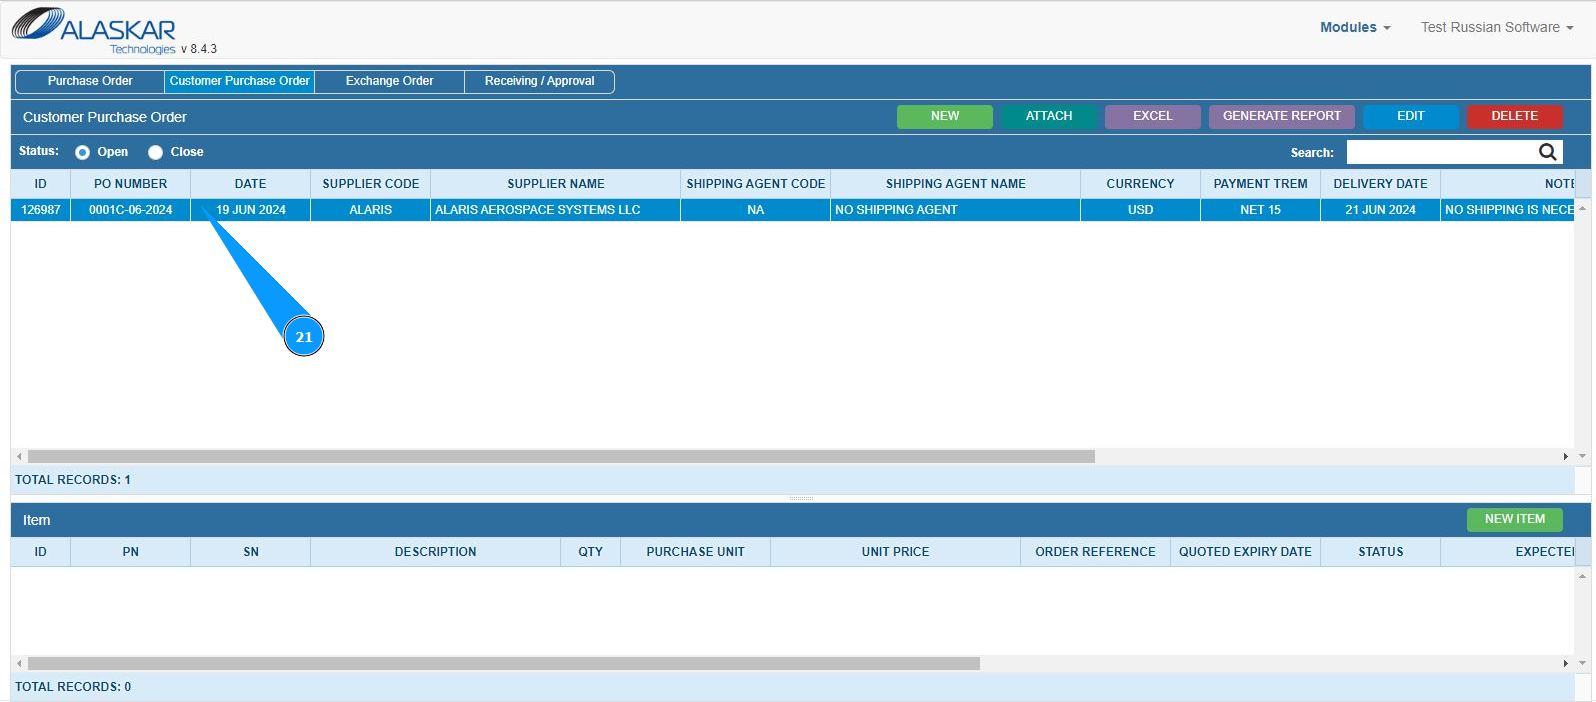
21. Check that the newly created customer PO is displayed in the window "Purchase order".
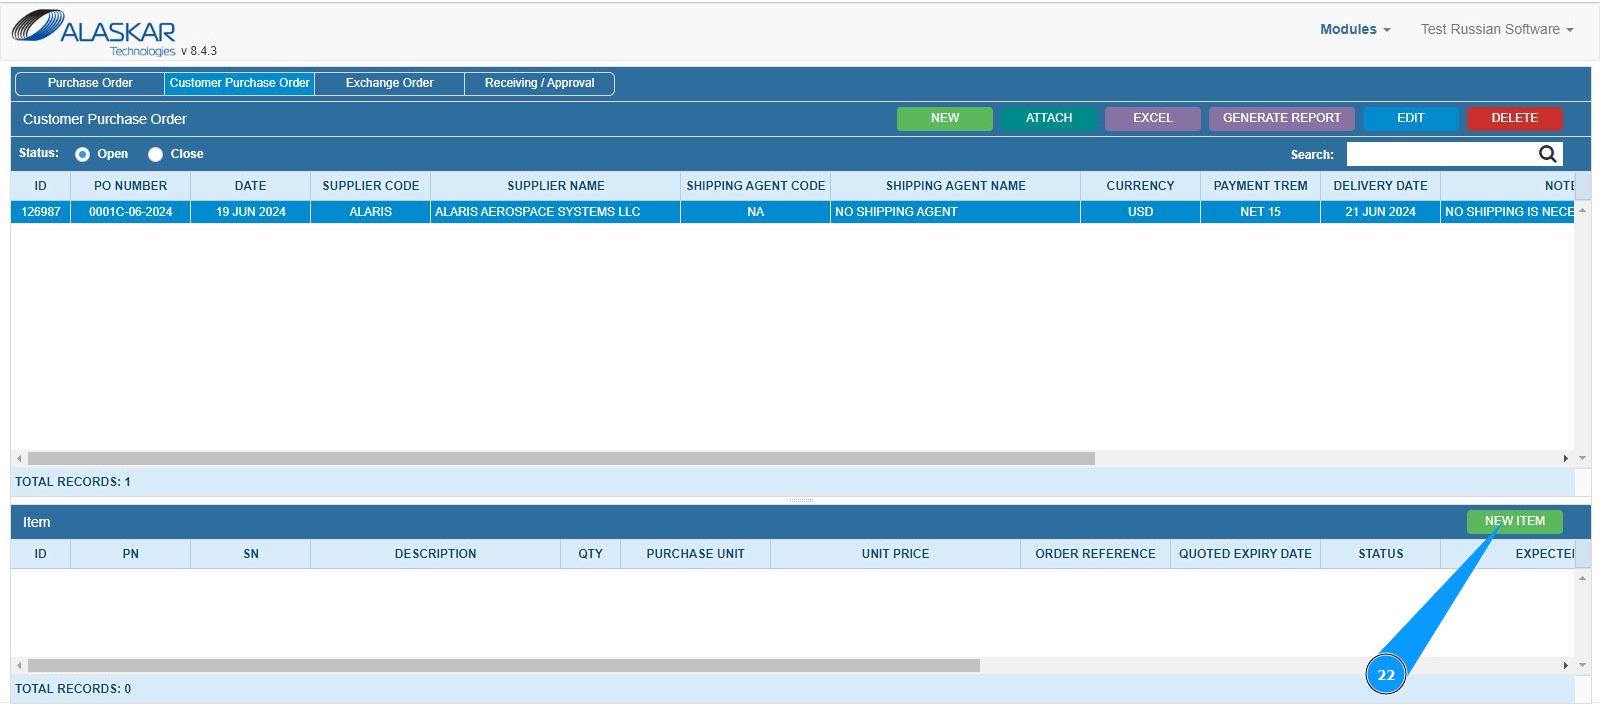
22. Click on the button "New Item" to open the mode of adding materials to the PO.
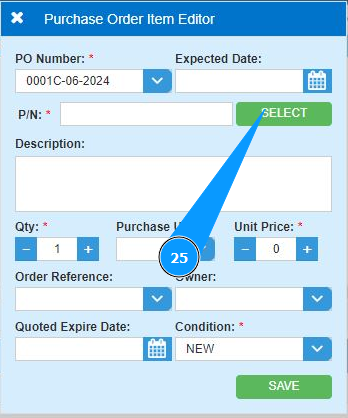
23. Make sure that the material entry editor is open and accessible in the window "Purchase Order Item Editor". Note: The PO number will be entered automatically by the program in the field "PO Number".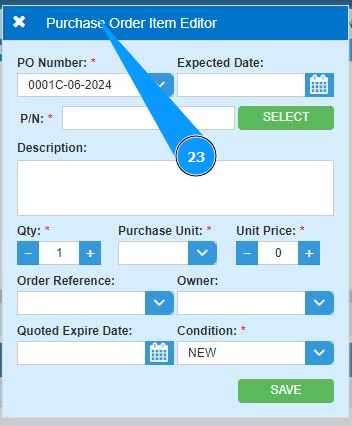
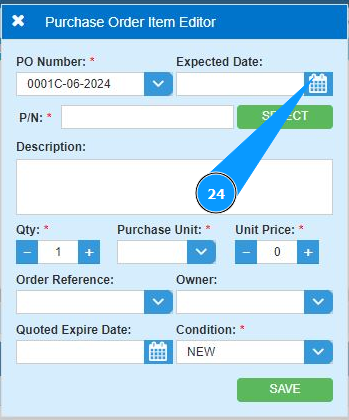
24. Enter the expected delivery date of the material in the field "Expected Date" or select from the calendar.
25. In order to select the part number of the material, click on the button "Select".
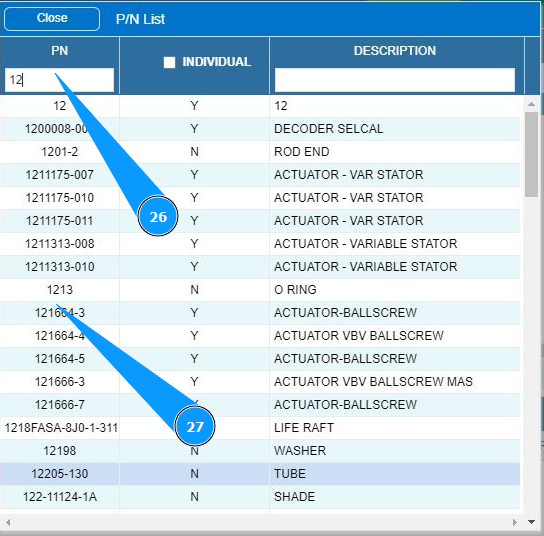
26. In the search field, enter the necessary party number in the field "PN" and press the "Enter" button on your keyboard.
27. Select the required part number to enter and double click on the corresponding line.
28. Make sure that the material's part number is displayed in the field "P/N. Note: The description (name) of the material will be entered by the program automatically in the field "Description".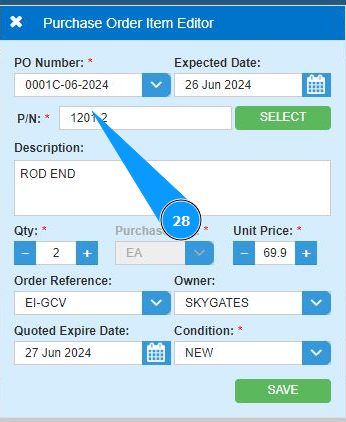
29. Enter the required quantity of material in the field "Qty". You can change the quantity using the plus or minus buttons.
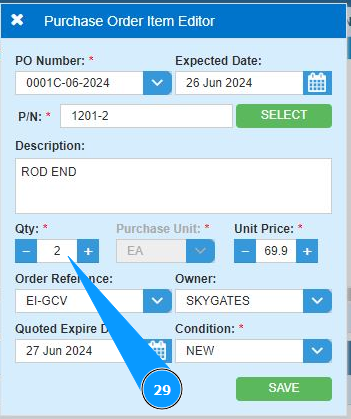
30. Enter the cost per unit of material in the field "Unit Price". You can change units using the plus or minus buttons. Note: Units of material using: pieces, kilograms, meters, and so on, will be entered by the program automatically in the field "Purchase Unit.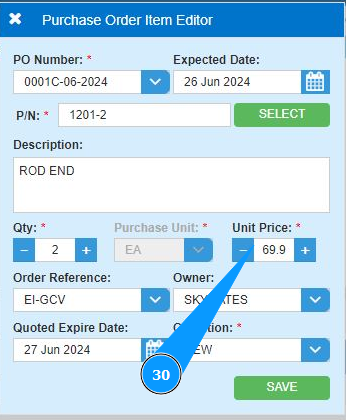
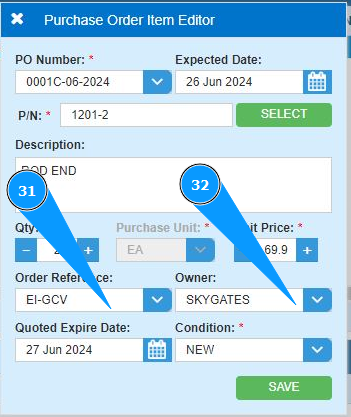
31. If necessary, enter the aircraft registration in the field "Order Reference" or select from the dropdown list.
32. If necessary, select the company for which the material is being ordered in the field: "Owner" or select from the dropdown list.
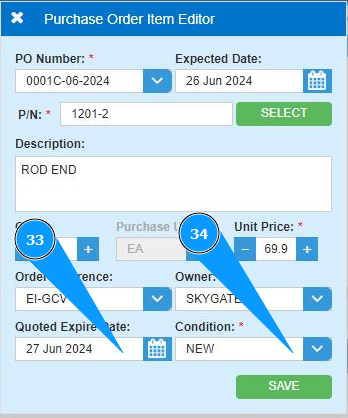
33. If necessary, enter the expiration date for the material proposal in the field "Quoted Expire Date" or select from the calendar.
34. Select the condition of the material for the order from the dropdown list in the field "Condition".
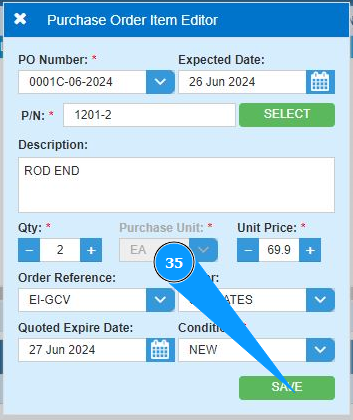
35. Click on the button "Save" to save the material data in PO into the program.
36. Check that the record with material is displayed in the window "Item".