How to attach any documents in the program to a shortage (POR)
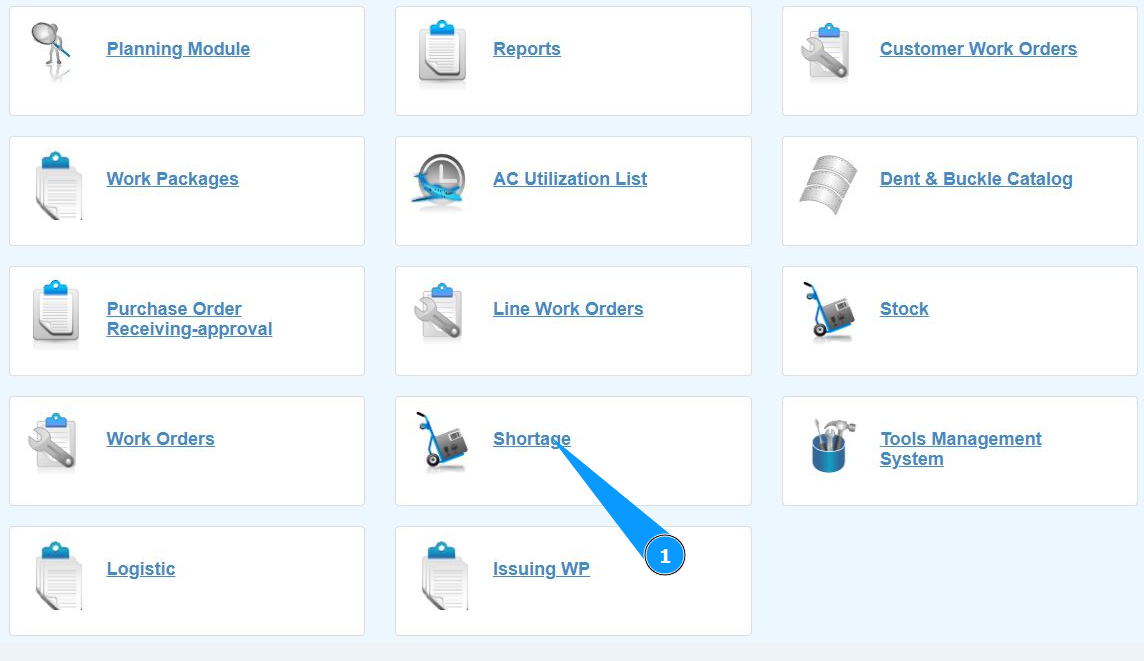
1. In order to attach any documents in the program to a shortage (POR), go to the submodule "Shortage".
2. Select the required shortage and click on the appropriate line. Note: If necessary, use the available filters in the fields: "Status", "Subject", "Use For" and so on.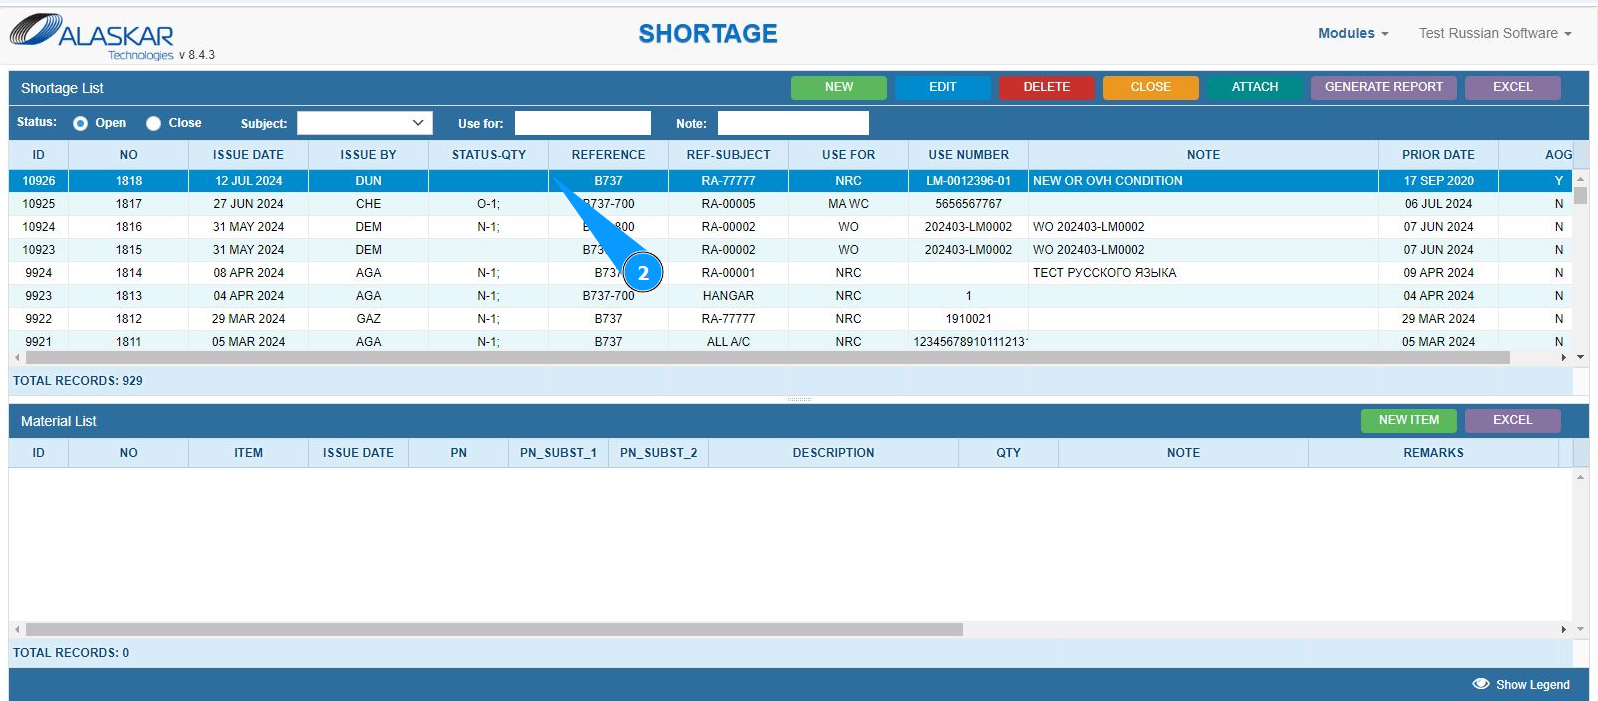
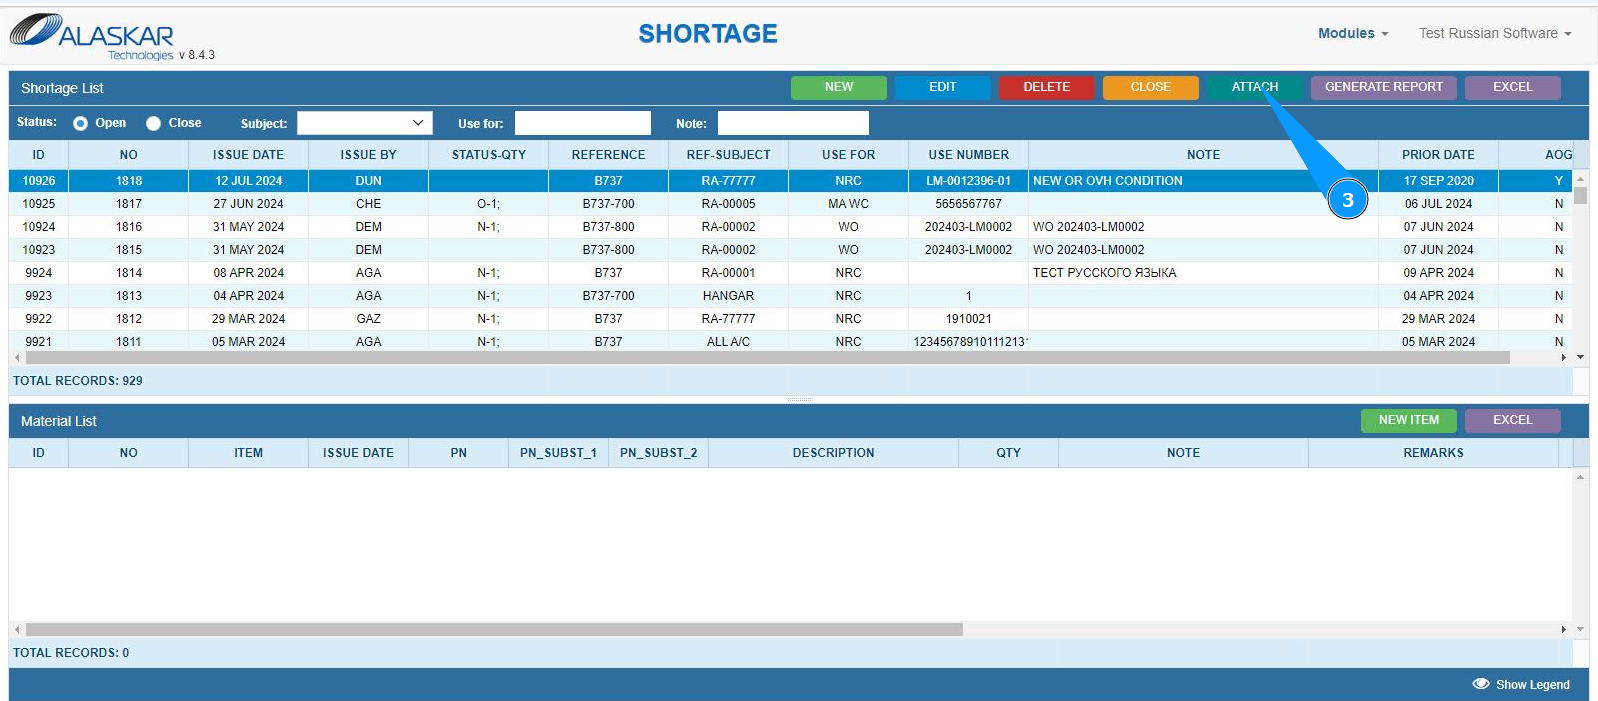
3. Click on the button "Attach" to open editing mode.
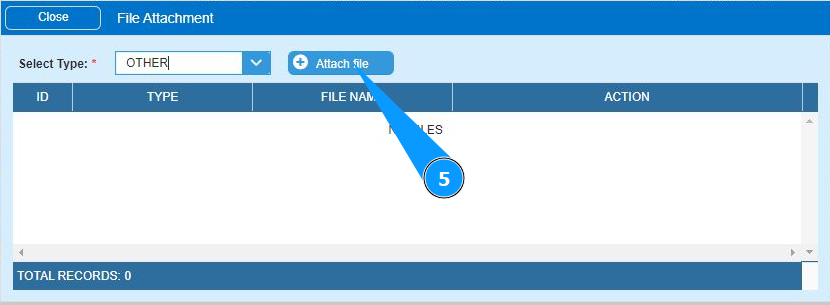
4. Select the type of graphics to load from the dropdown list.
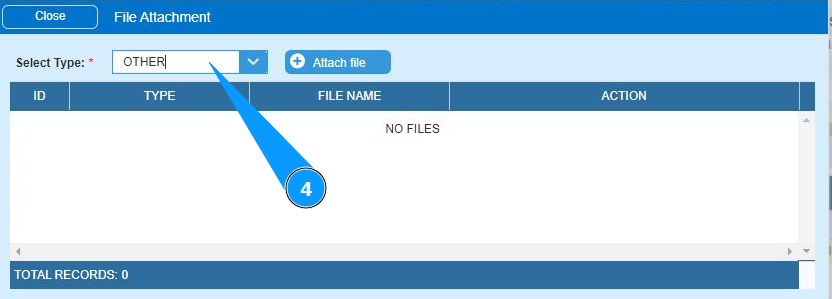
5. Click in the field "Attach File" to find the file you want to attach.
6. Select the required file on your computer and click on the button "Ok".
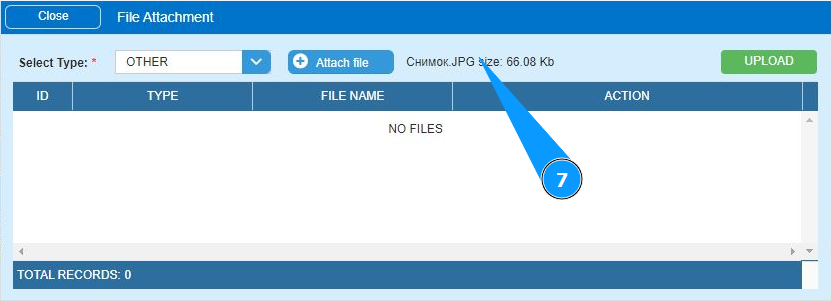
7. Check that the file was successfully selected.
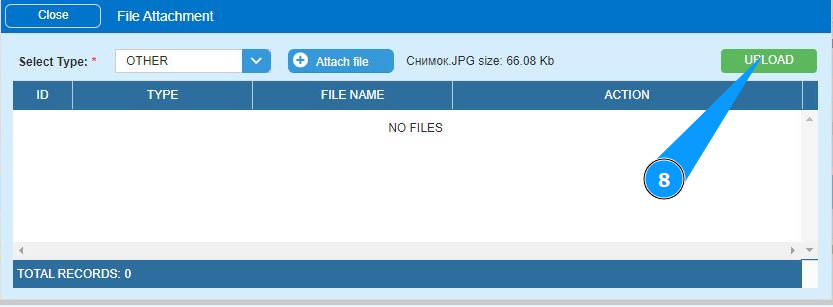
8. Click on the button "Upload" to upload the file to the server of Alaskar.
9. Check that the file has been successfully uploaded.
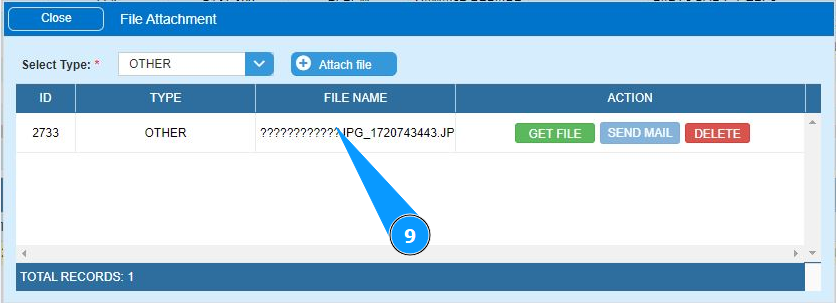
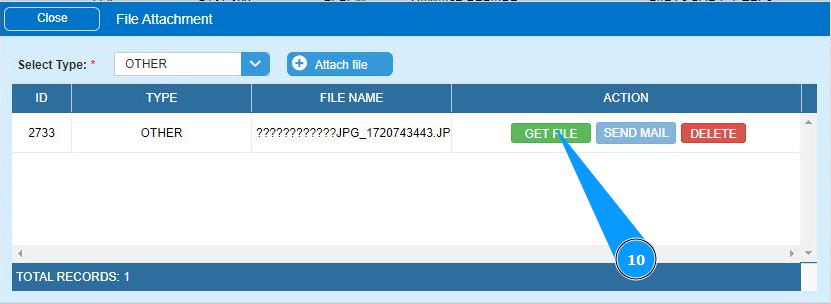
10. If necessary, you can download the file or send it by email. Click in the field "Get File".
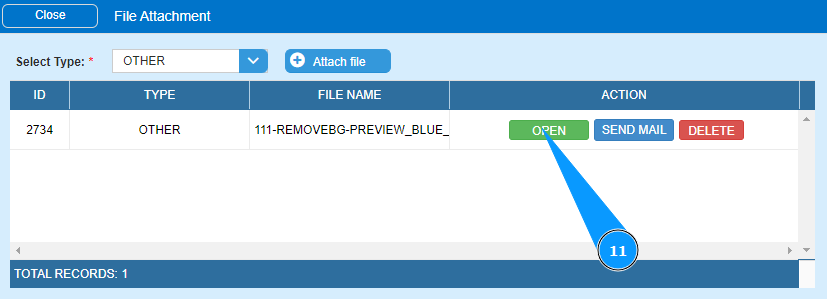
11. Click on the button "Open" to download the file.
12. Click on the button "Send to email" to open the email sending editor.

13. Fill in the required fields and click on the button "Send" to send the file by email.