How to add a troubleshooting program
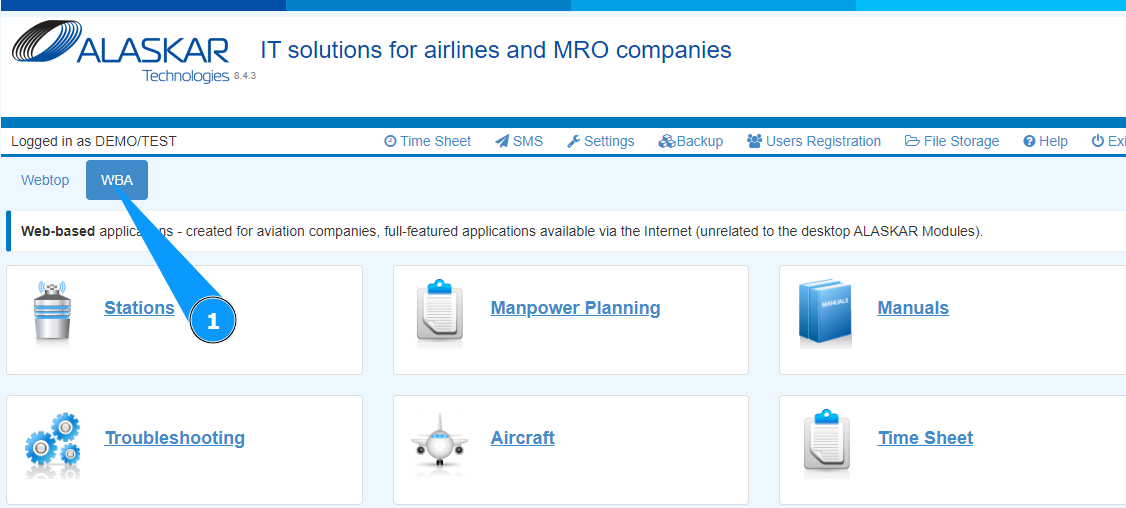
1. In order to add a troubleshooting program, go to the tab "WBA".
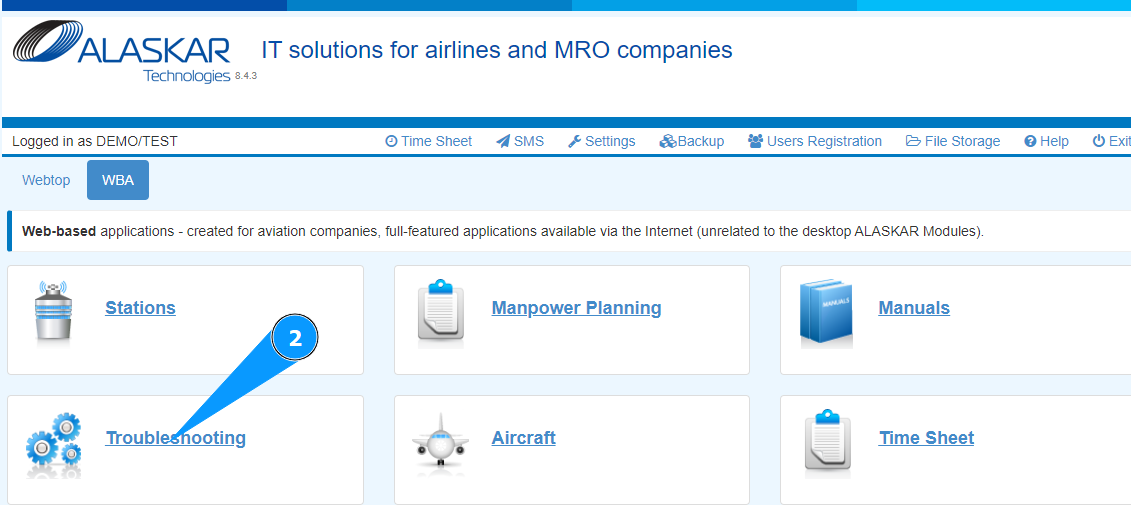
2. Go to the submodule "Troubleshooting".
3. Check that the troubleshooting card section has opened and is available in the window "Troubleshooting".
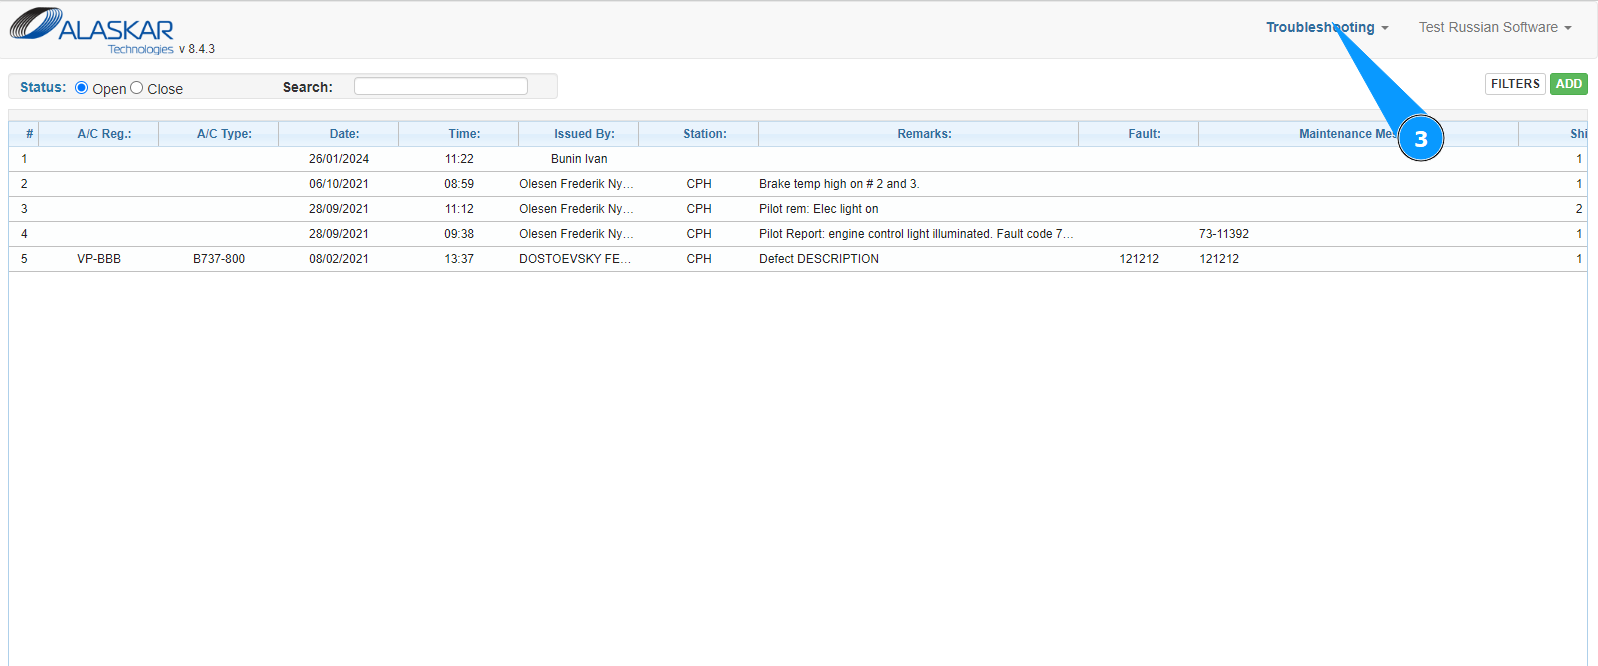
4. Select the required troubleshooting card from the list in the window "Troubleshooting" and click on the corresponding line.
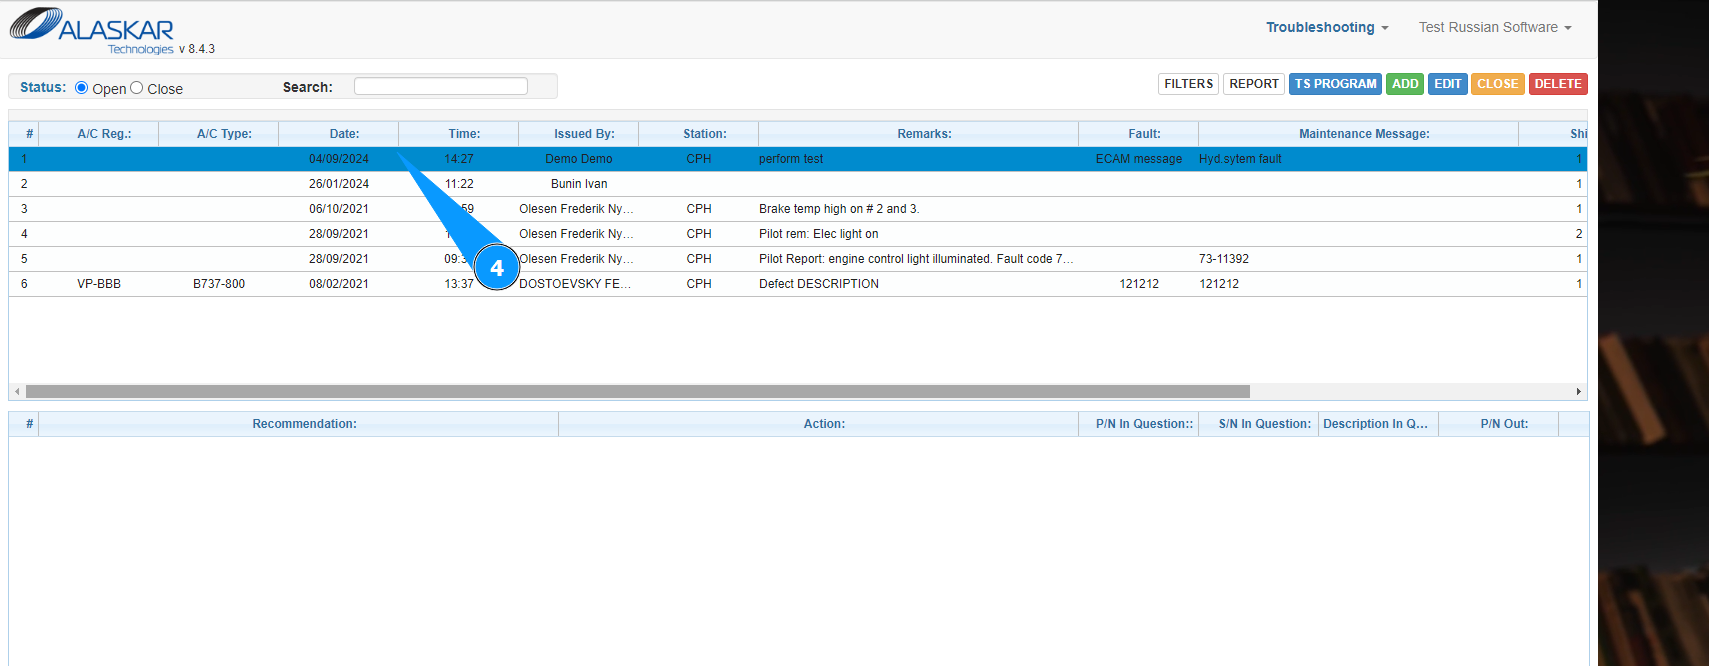
5. Click on the button "TS Program" to start adding the troubleshooting program.

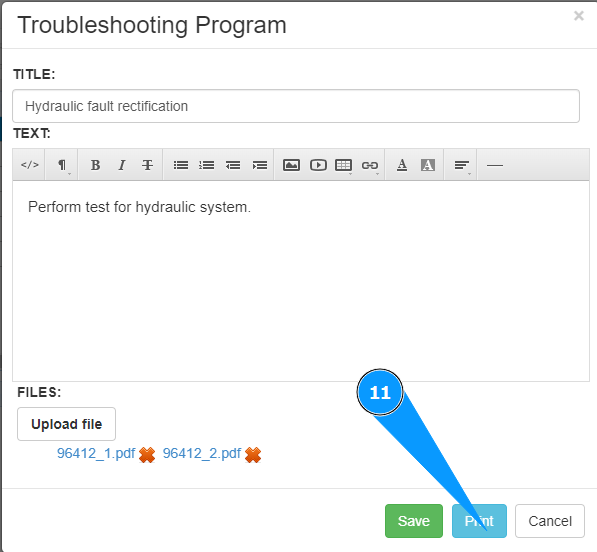
6. Check that the troubleshooting program editor is open and accessible in the window "Troubleshooting Program".
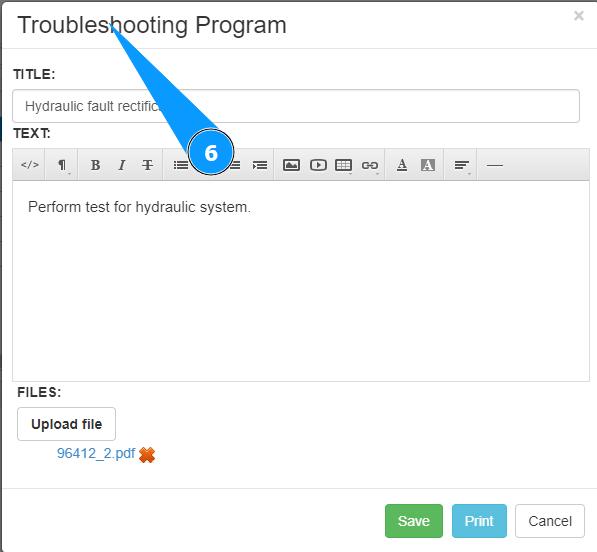
7. Enter the description of the troubleshooting program in the field "Hydraulic fault rectification".

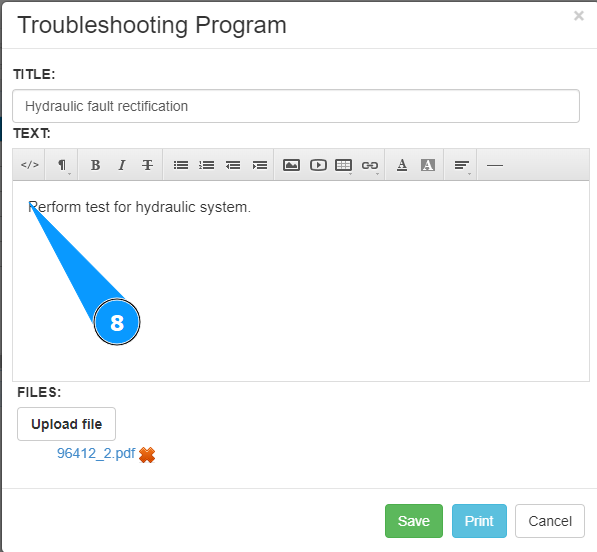
8. Enter the required text of the troubleshooting program in the field "Text".
9. Click on the button "Upload file", select the required file to upload from your computer.
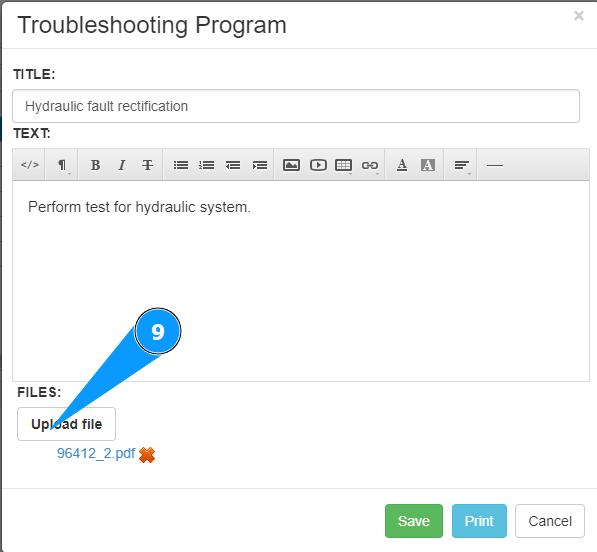
10. Click on the button "Save" to add the troubleshooting program data to the program.
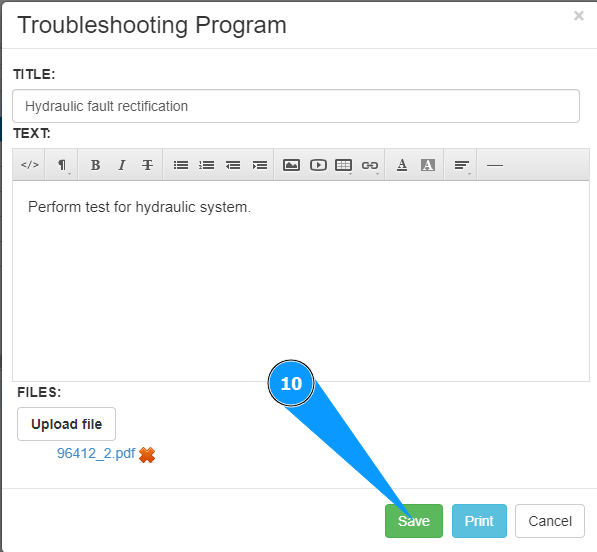
11. If necessary, to print the program, click on the button "Print".