How to add a troubleshooting card
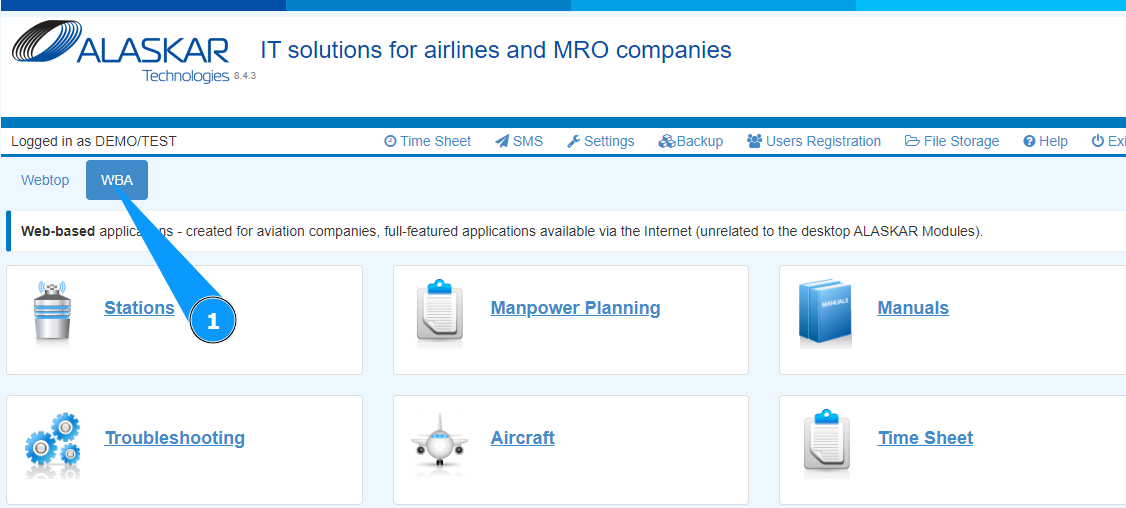
1. In order to add a troubleshooting card, go to the tab "WBA".
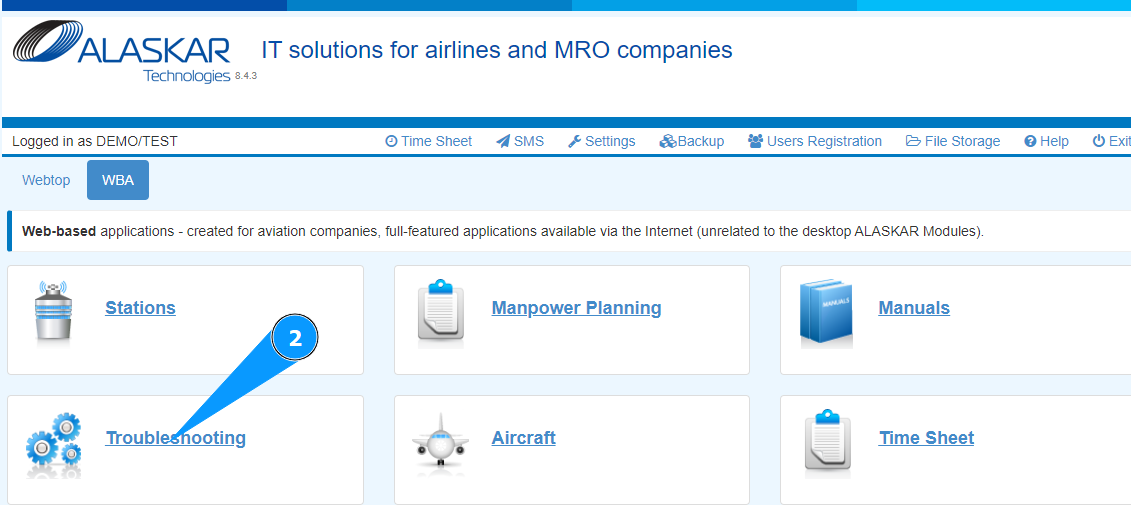
2. Go to the submodule "Troubleshooting".
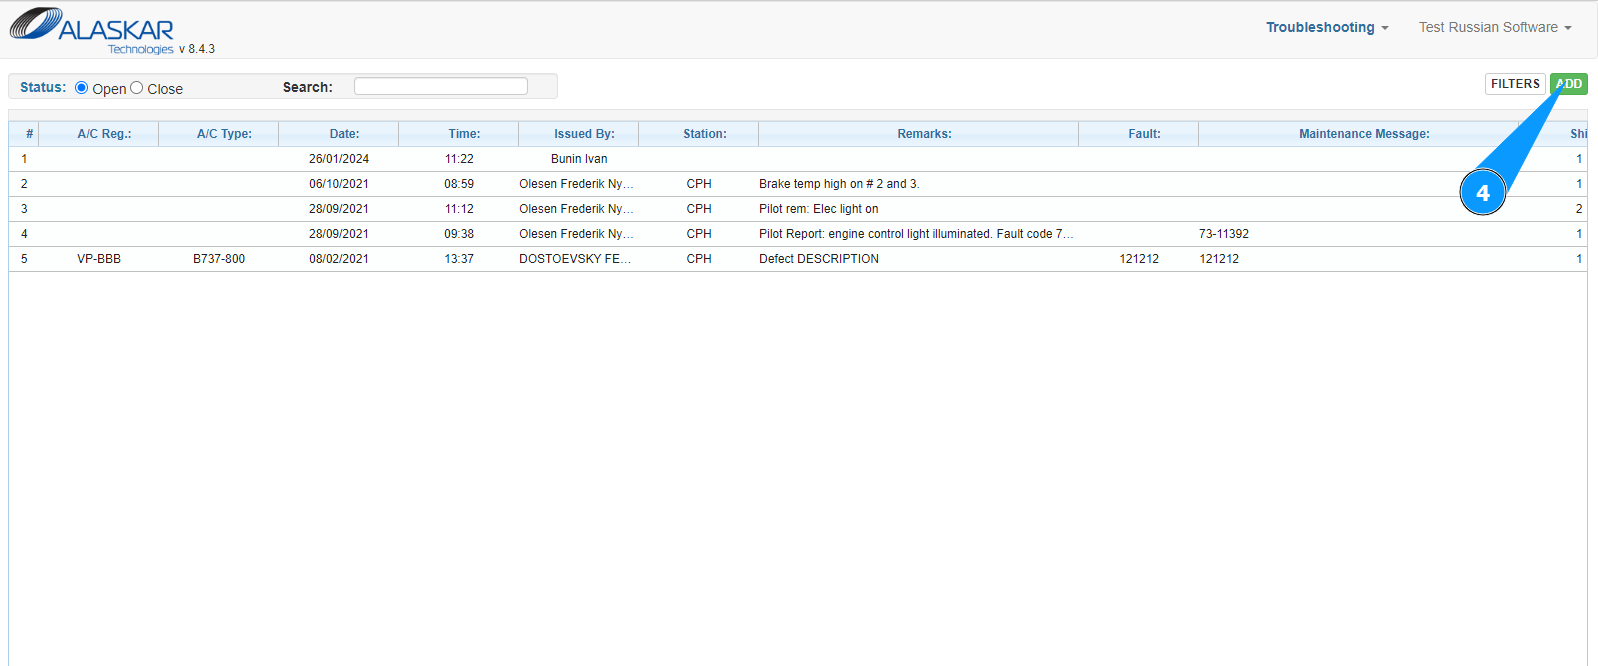
3. Check that the troubleshooting card window has opened and is available in the window "Troubleshooting".
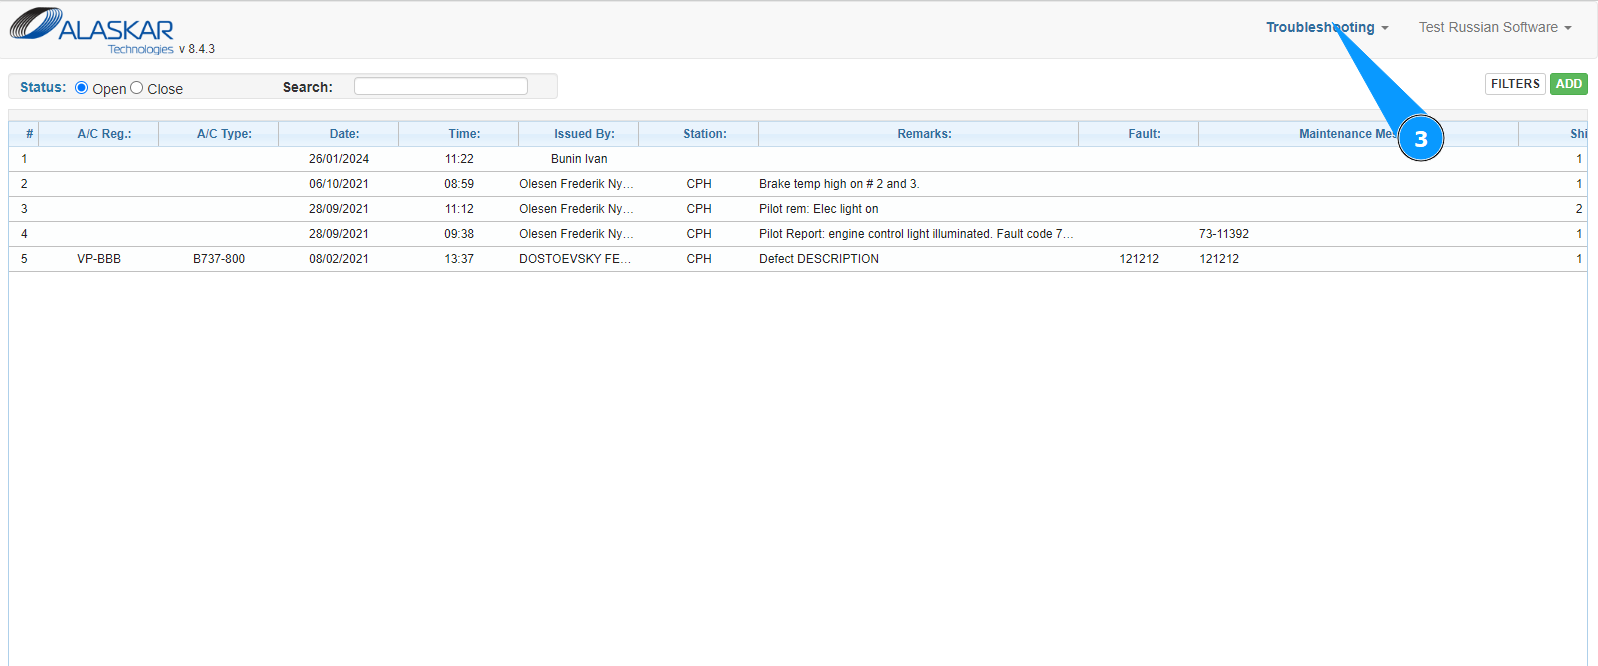
4. Click on the button "Add" to start adding a troubleshooting card.
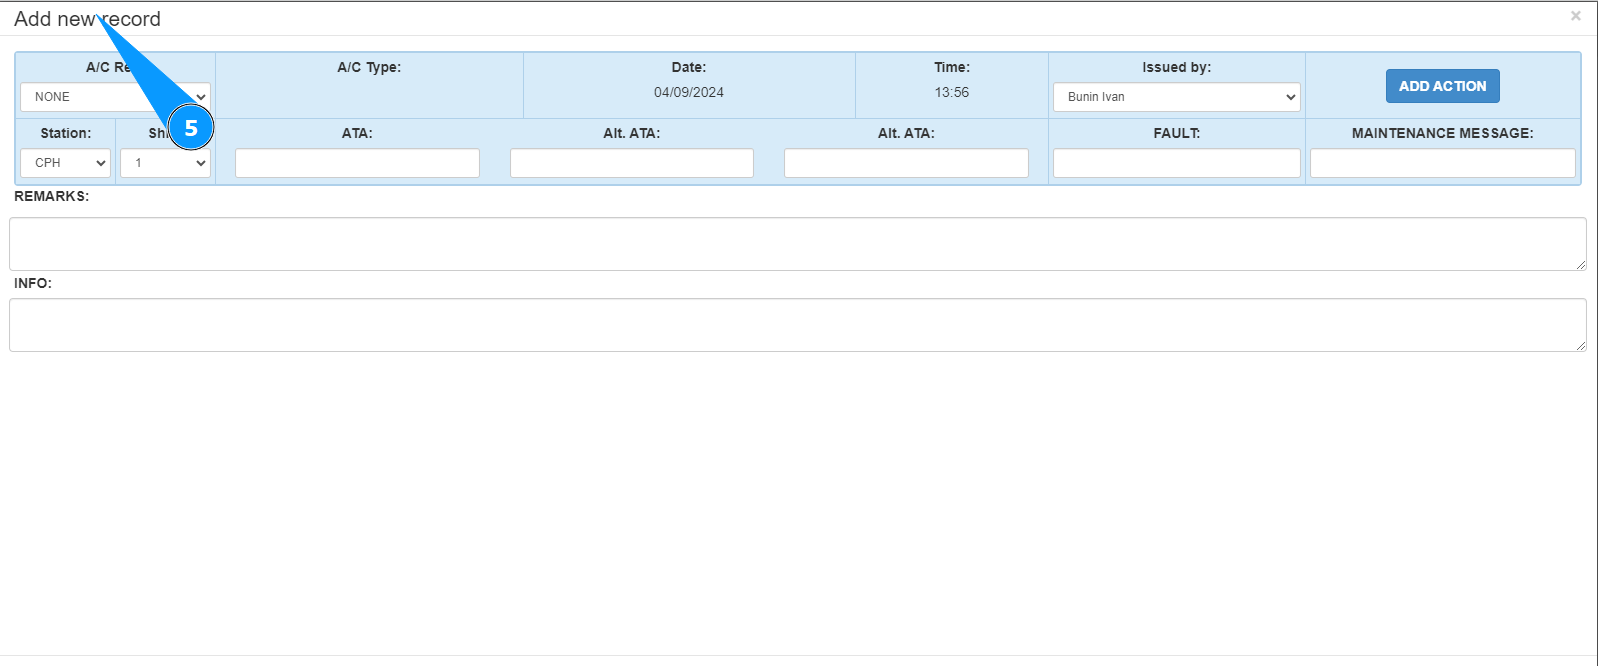
5. Check that the troubleshooting card editor is open and available in the window "Add new record".
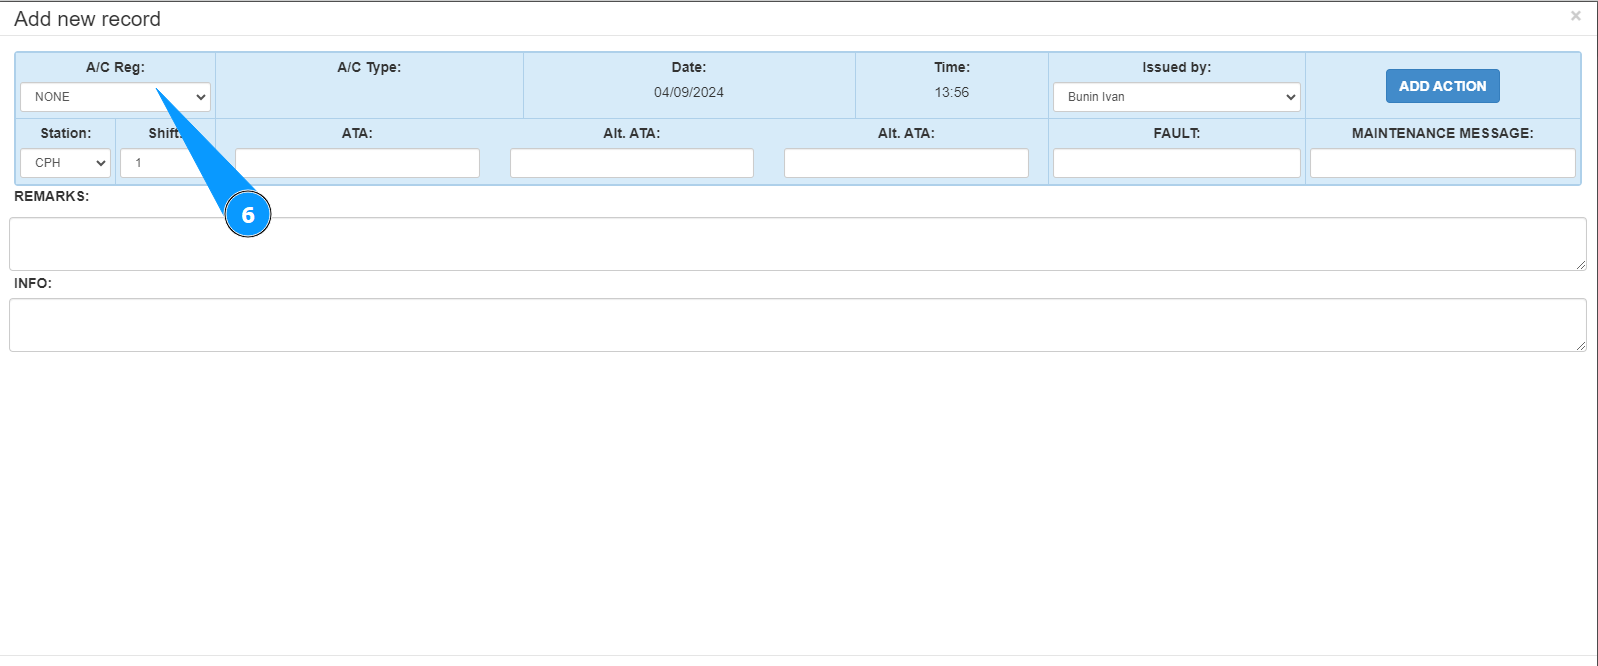
6. From the dropdown list, select the aircraft registration number in the field "A/C Reg.".
7. From the dropdown list, select the location where the troubleshooting work will be carried out in the field "Station".

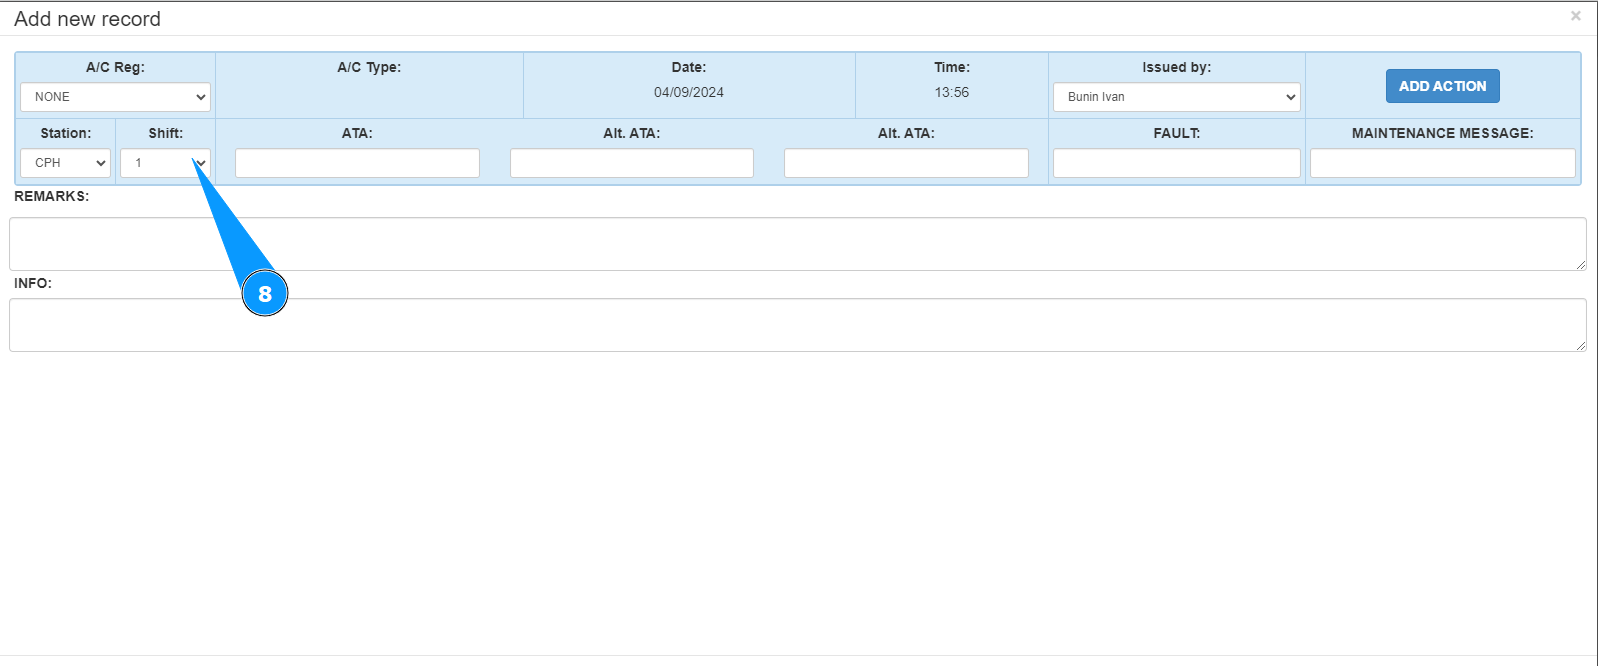
8. From the dropdown list, select the shift number that plans to search for the fault in the field "Shift".
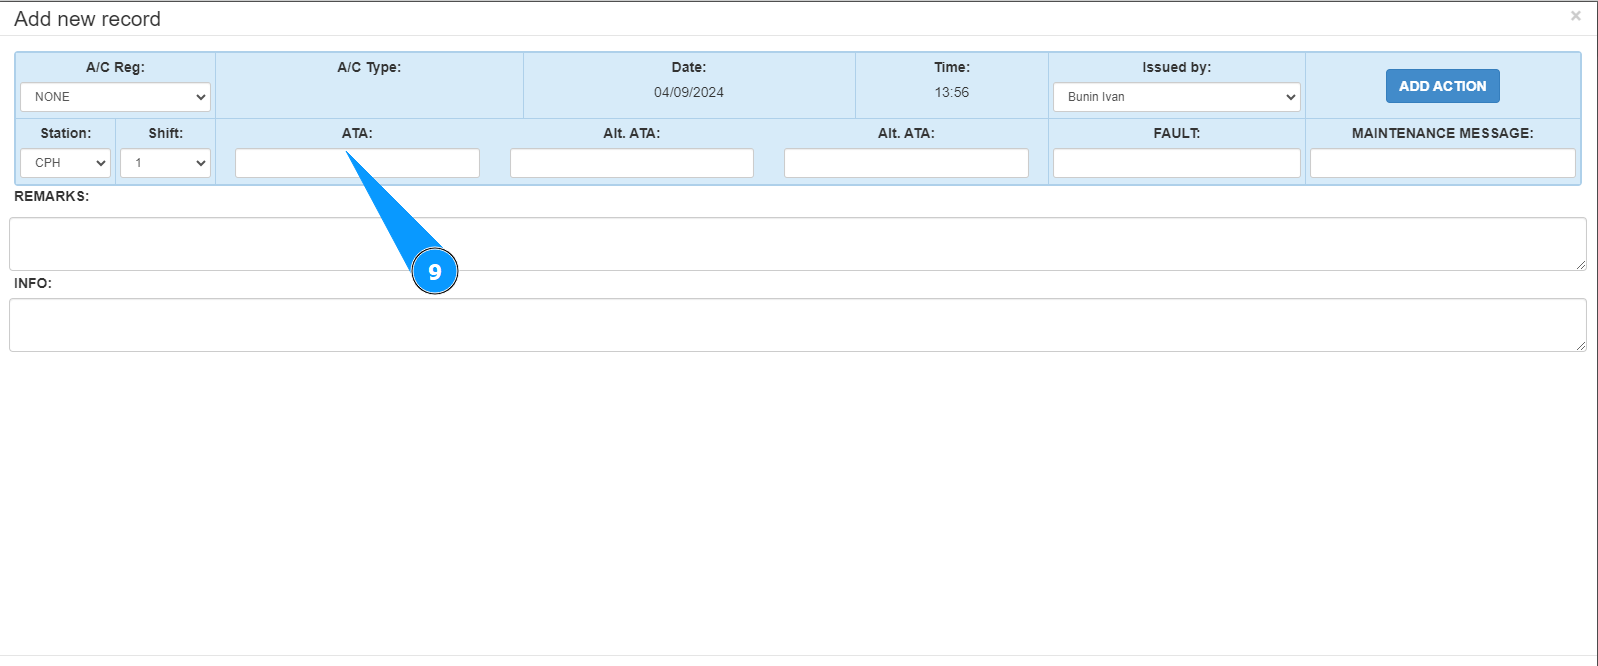
9. If necessary, enter the ATA chapter number in the field "ATA".
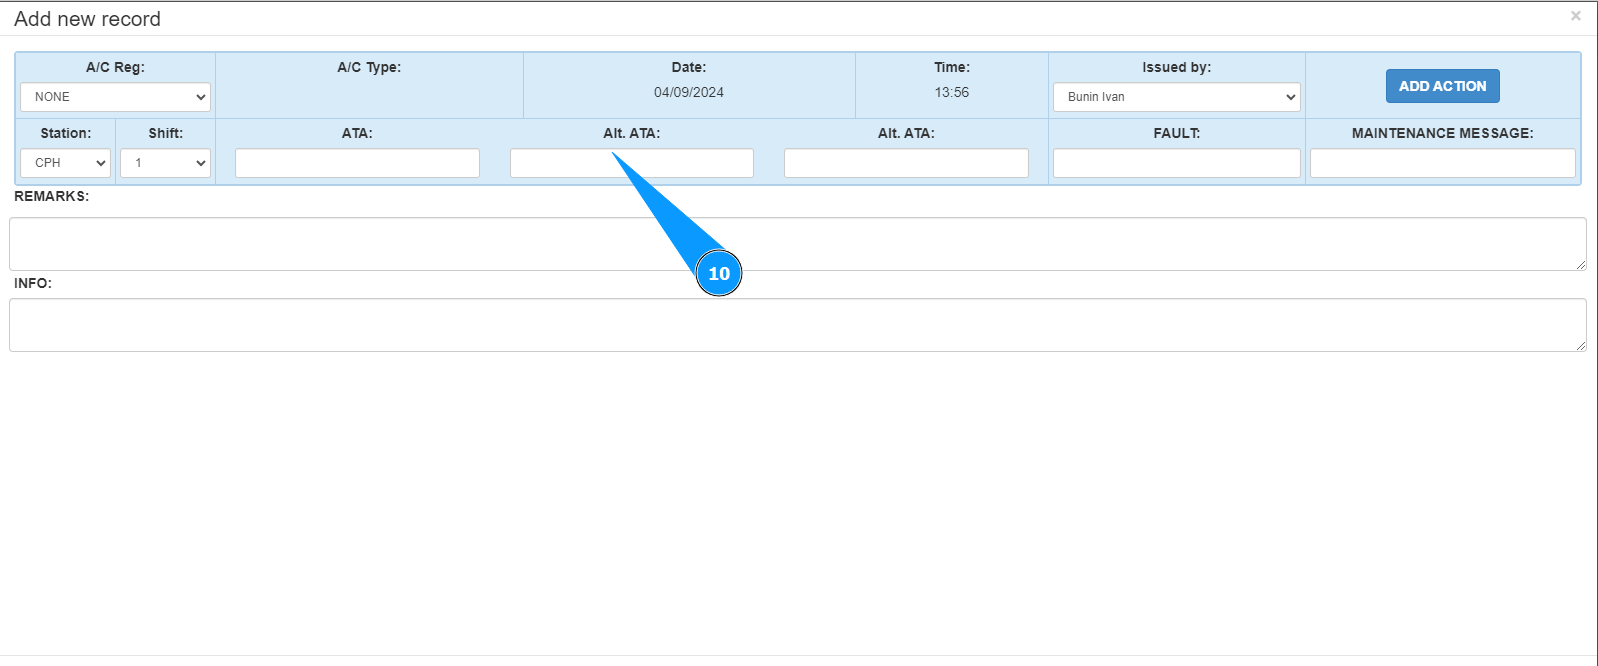
10. If necessary, enter the alternative ATA chapter number in the field "Alt. ATA".
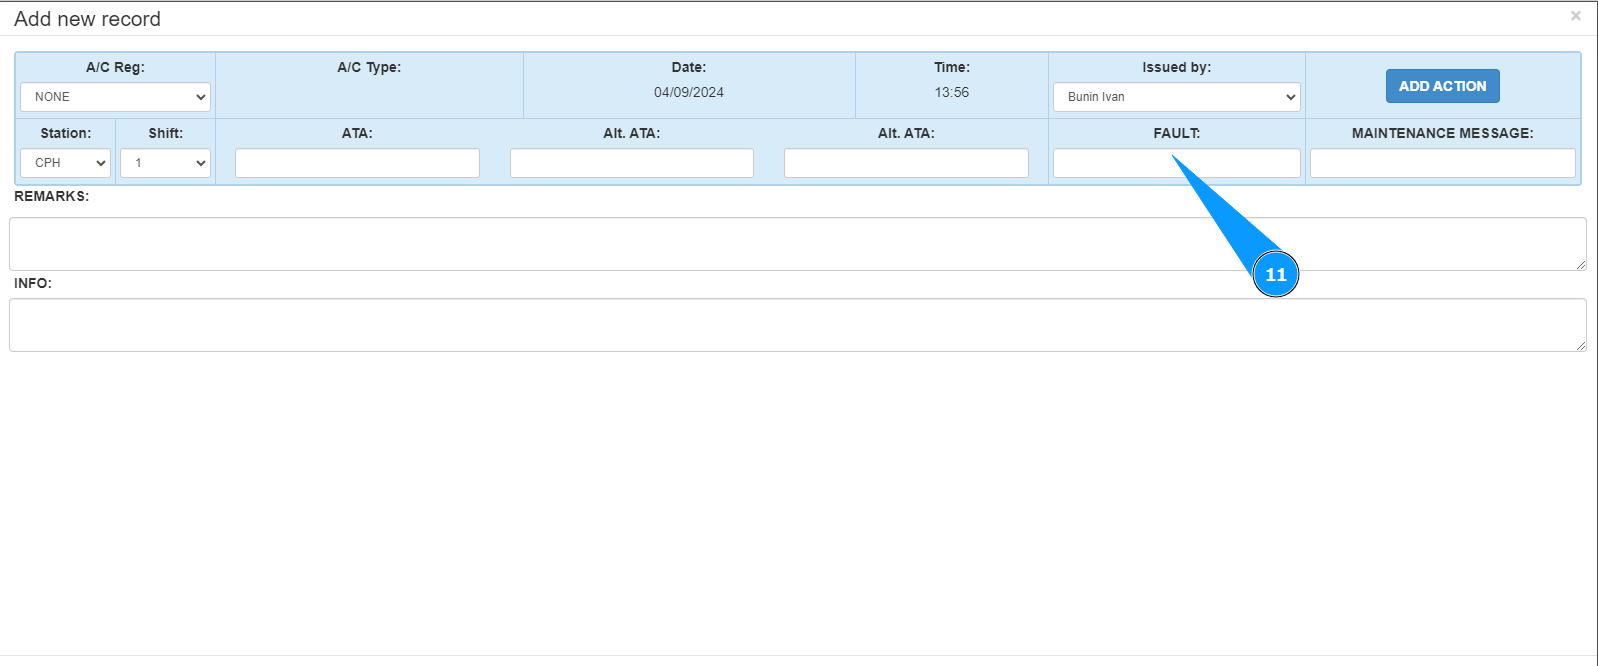
11. Enter a short description of the fault in the field "Fault".
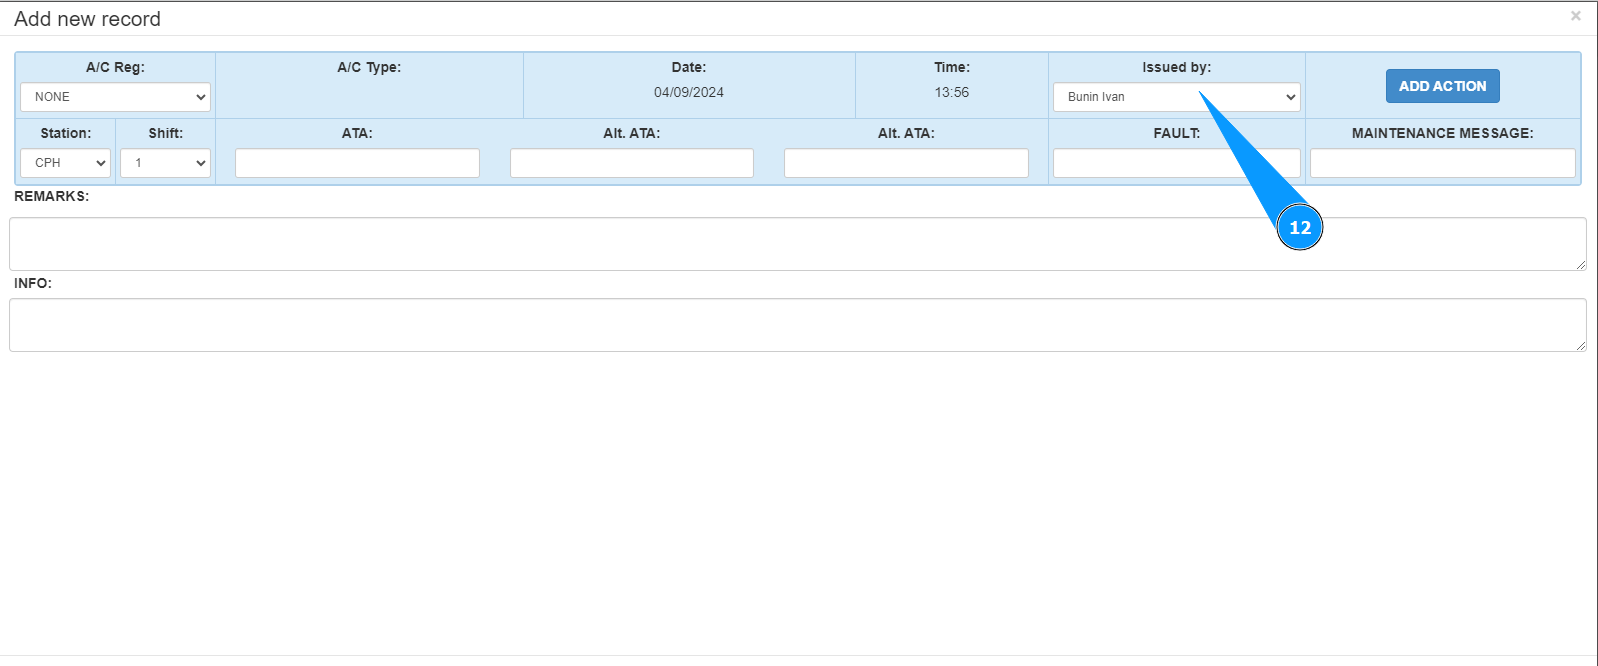
12. From the dropdown list, select the name of the personnel who opened the fault search card in the field "Issued by".
13. If necessary, enter a full description of the fault in the field "Maintenance Message.

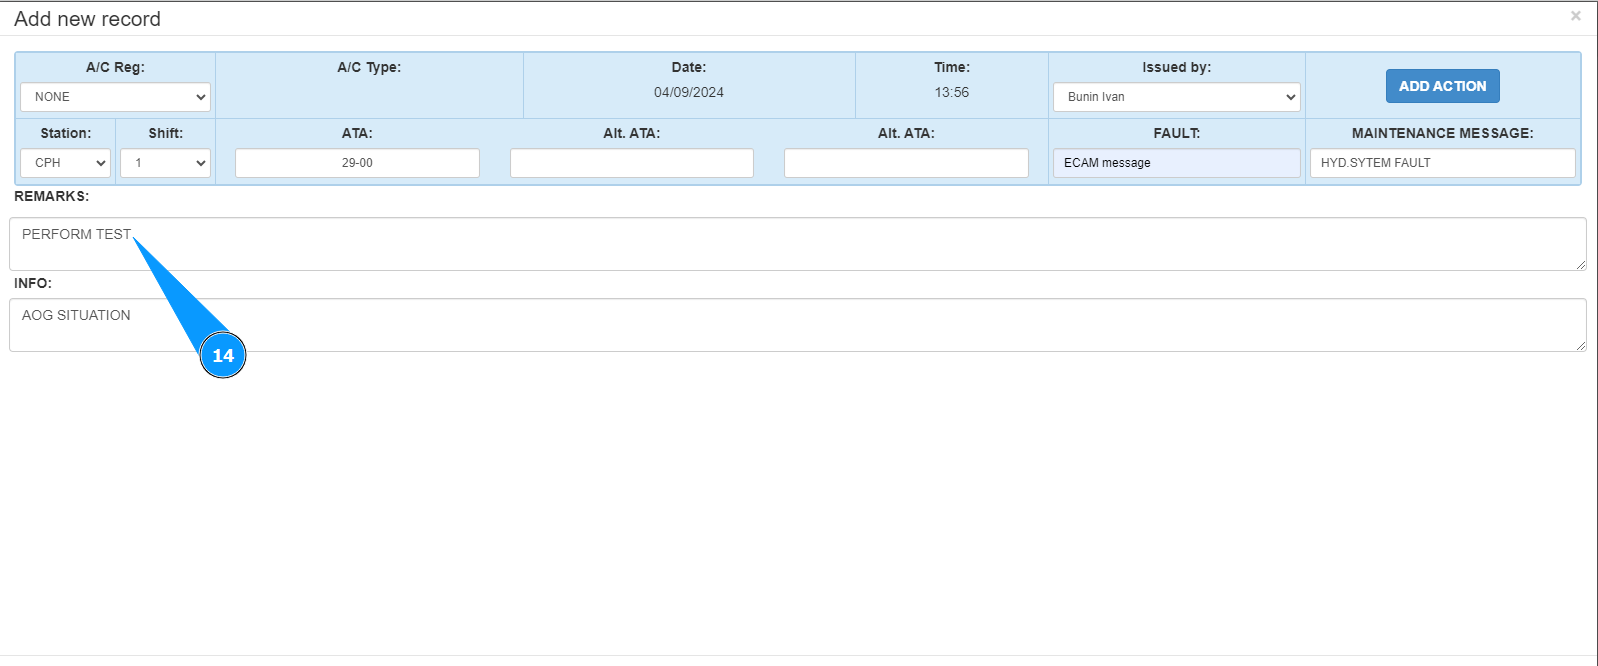
14. Enter comments in the field "Remarks".
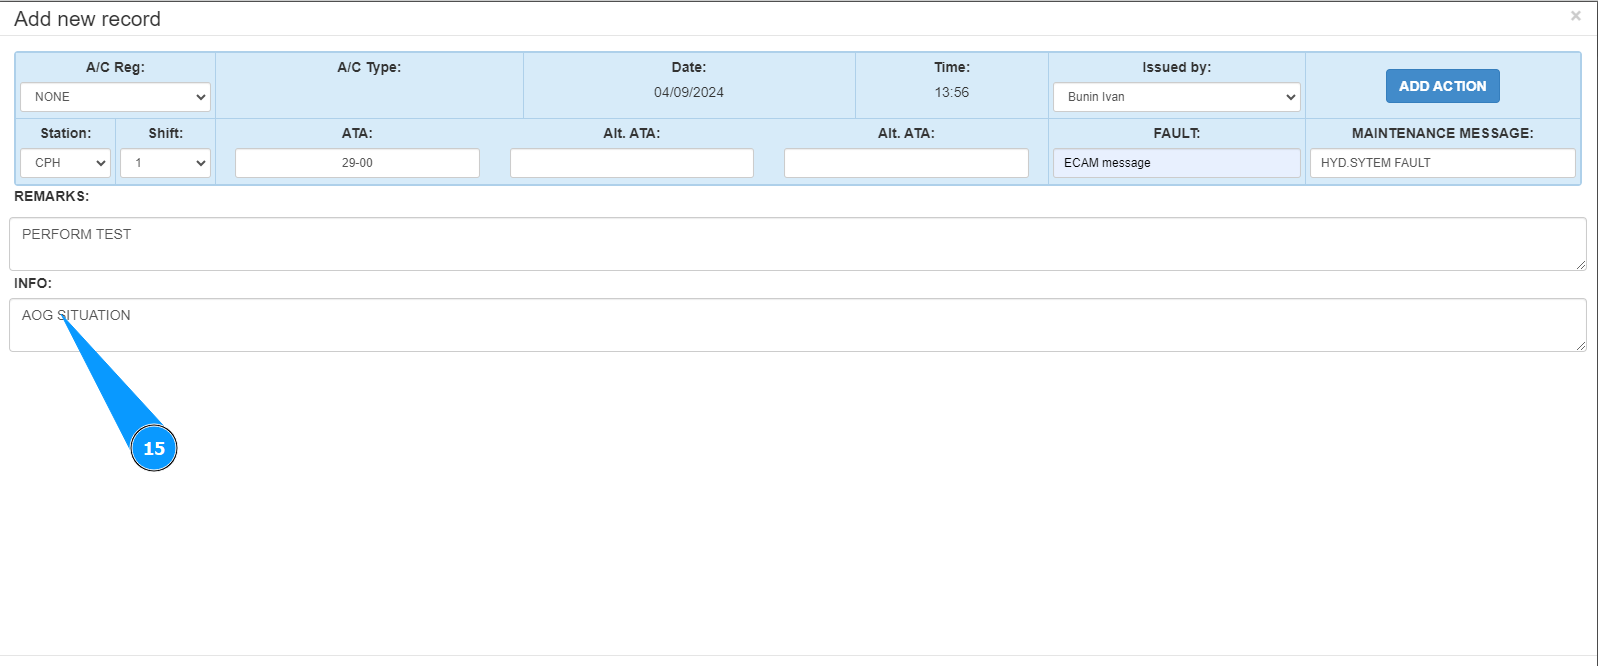
15. If necessary, add additional information in the field "Info.
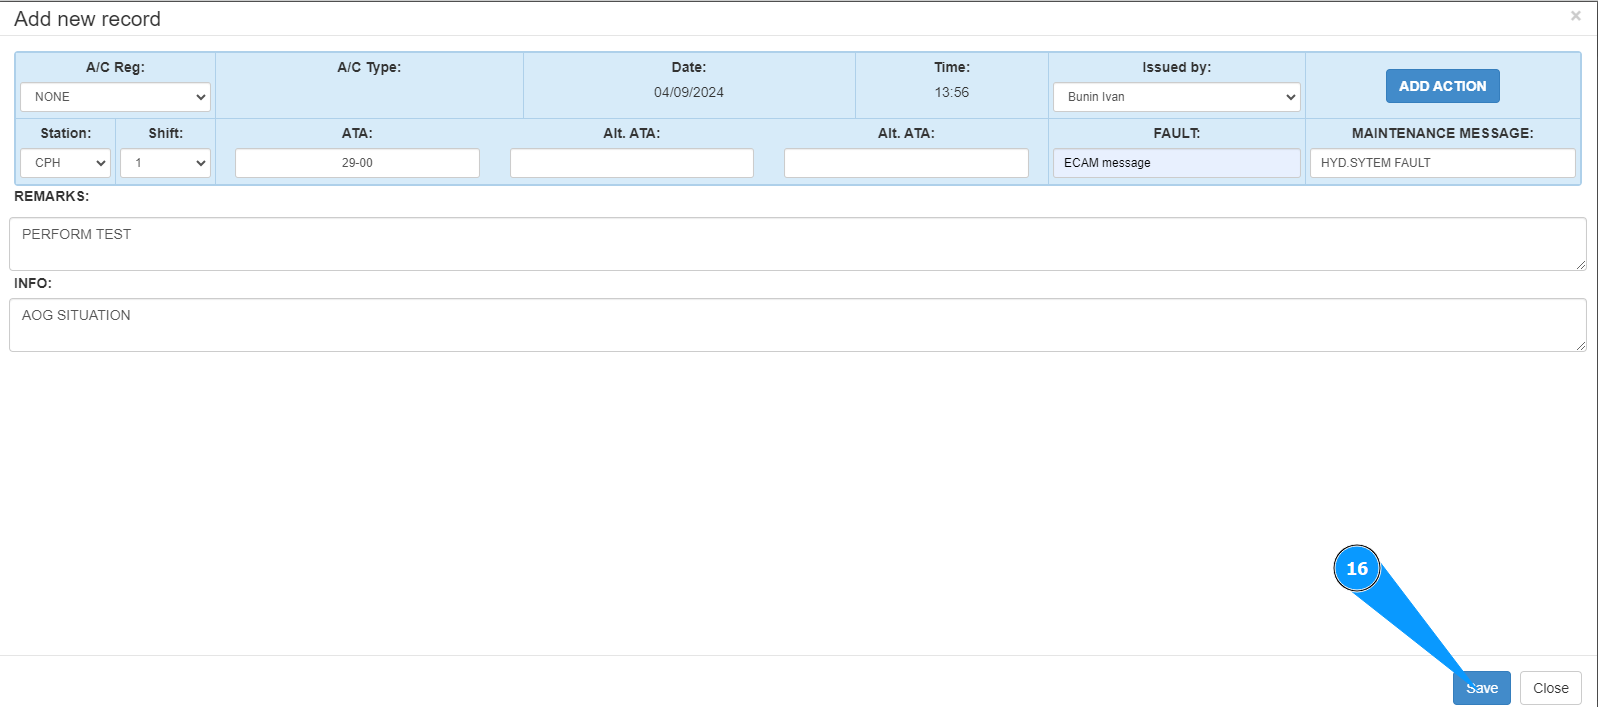
16. Click on the button "Save" to add the troubleshooting card data to the program.
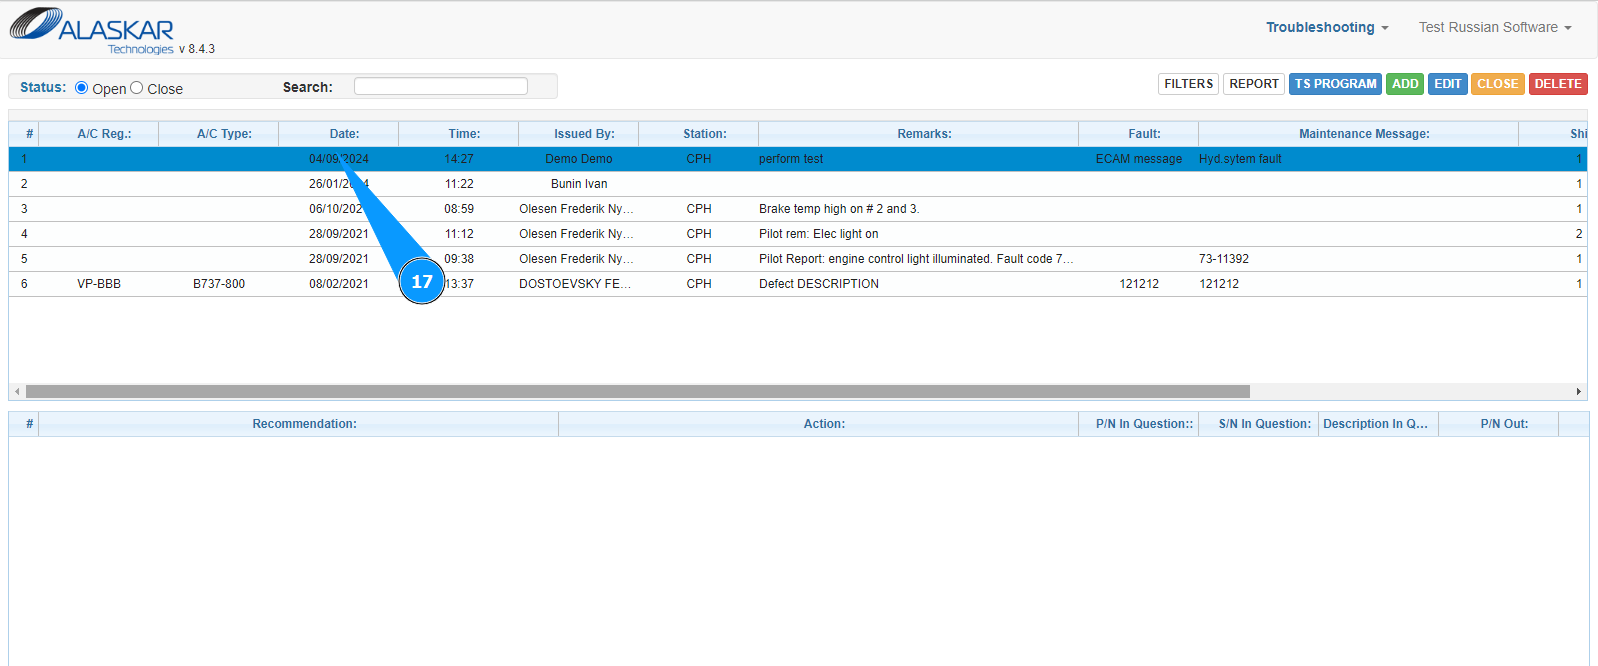
17. Check that the newly created troubleshooting card is displayed in the window "Troubleshooting".