How to add materials to a Purchase Order
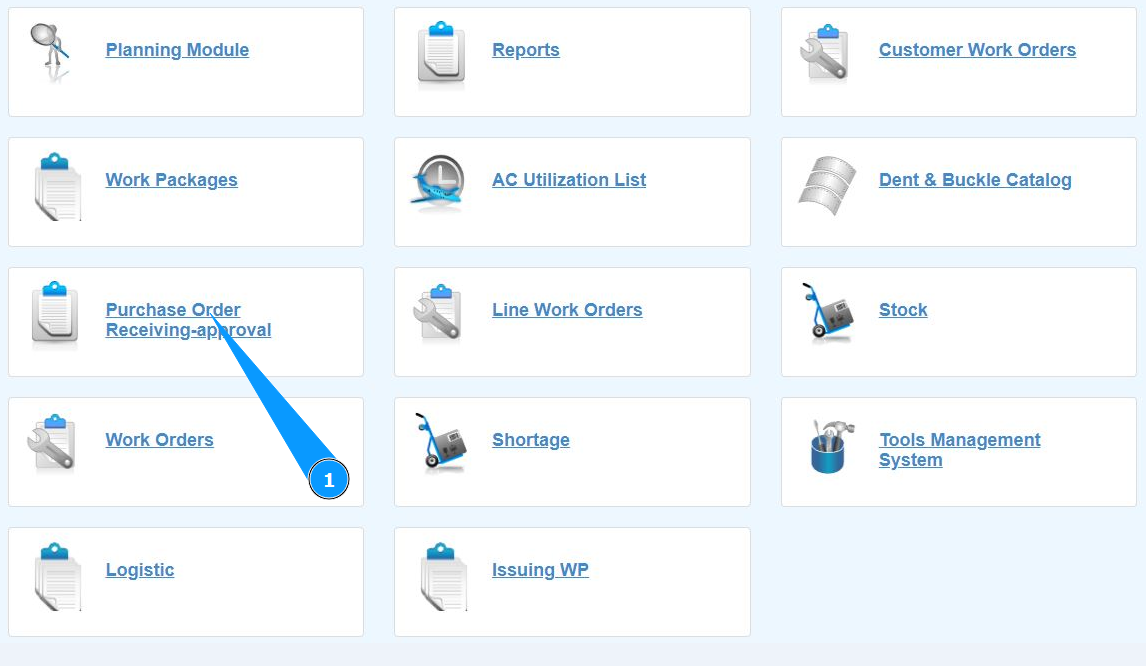
1. In order to add materials to the Purchase order, go to the submodule "Purchase order Receiving-Approval".
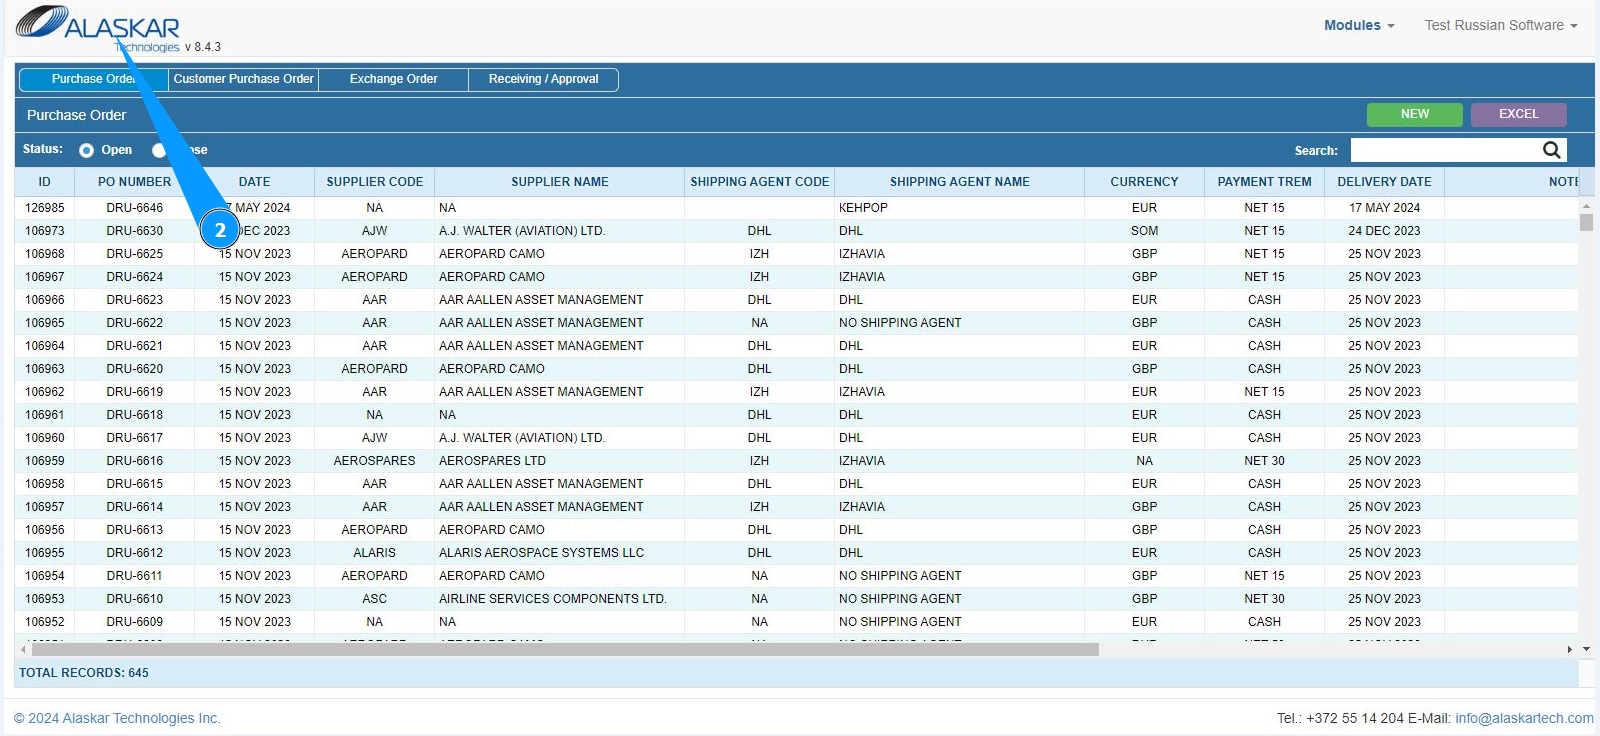
2. Make sure that the window for working with PO is open and accessible in the window "Purchase order".
3. Select the required Purchase order for adding material and click on the corresponding line.
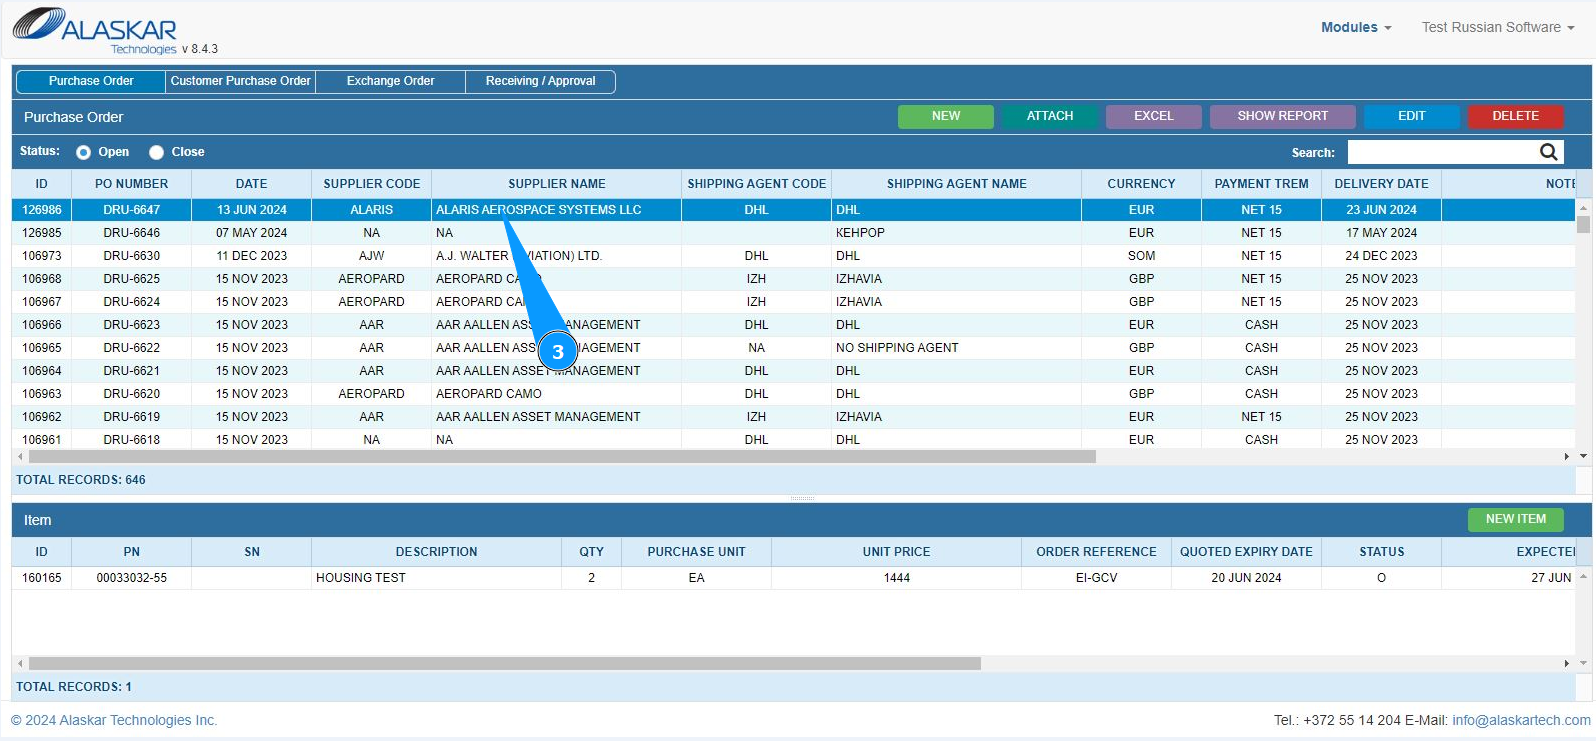
4. Click on the button "New Item" to open the mode of adding an item with materials.

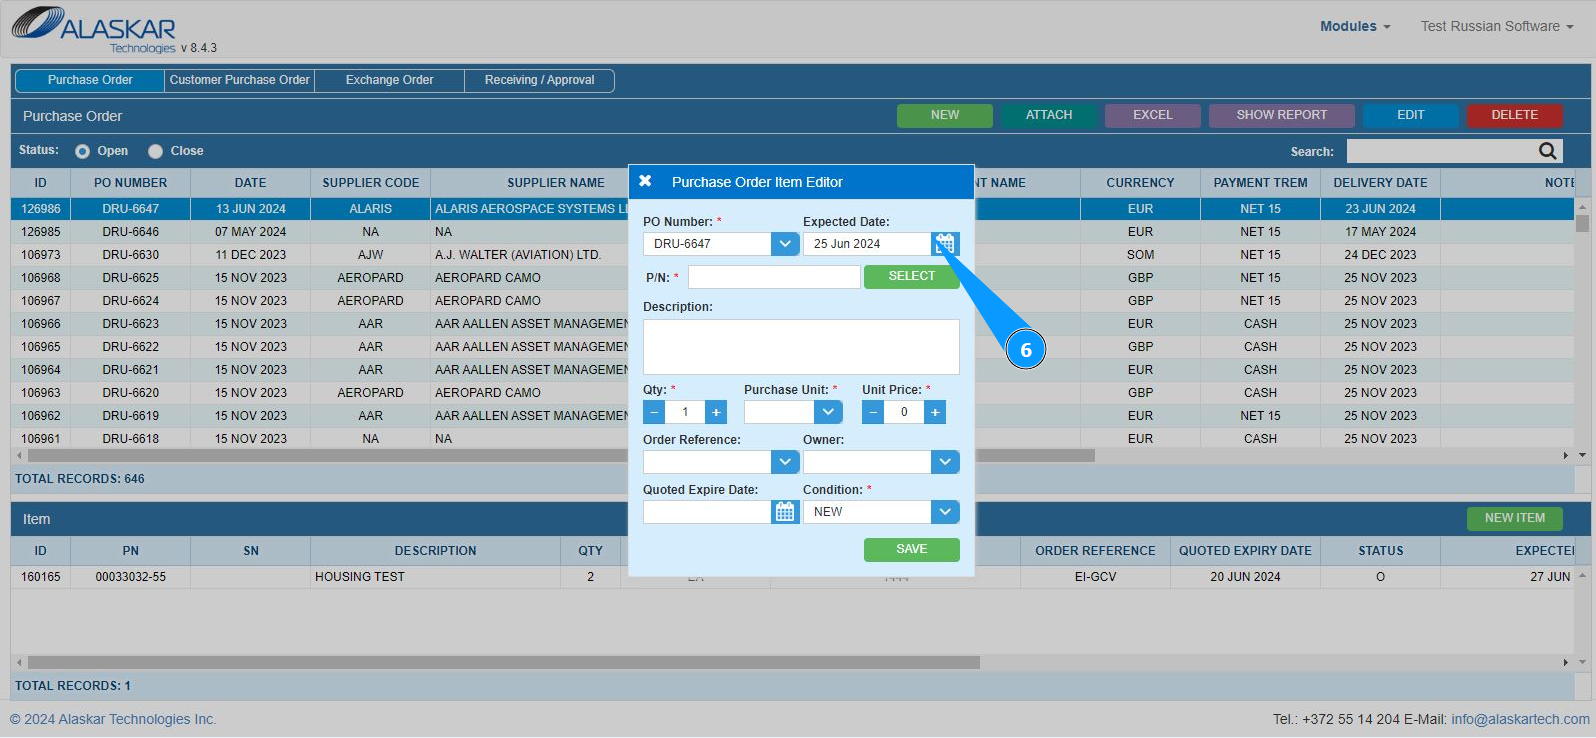
5. Make sure that the material adding editor is open and accessible in the window "Purchase Order Item Editor". Note: The PO number will be entered automatically by the program in the "PO Number".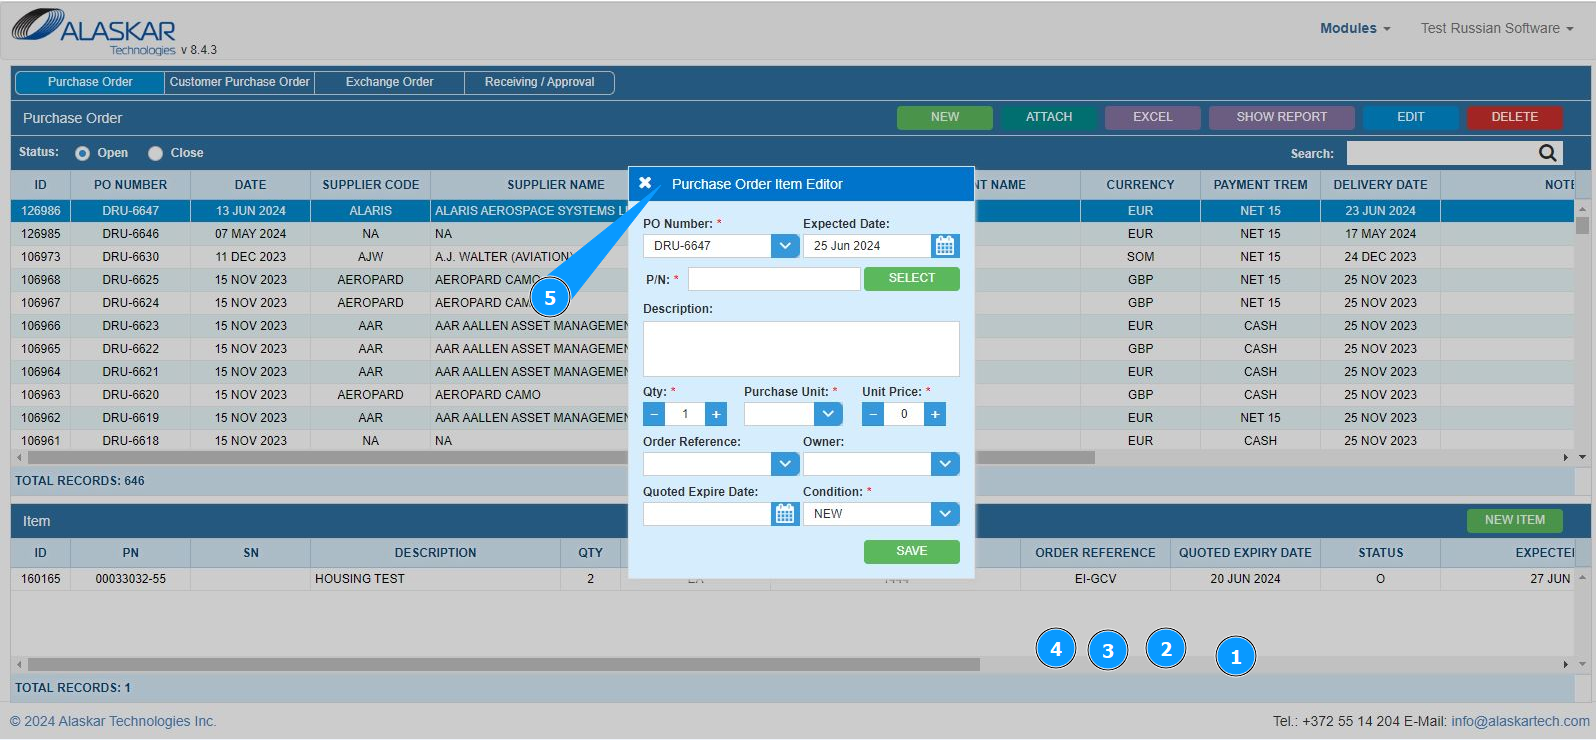
6. Enter the expected delivery date of the material in the field "Expected Date" or select from the calendar.
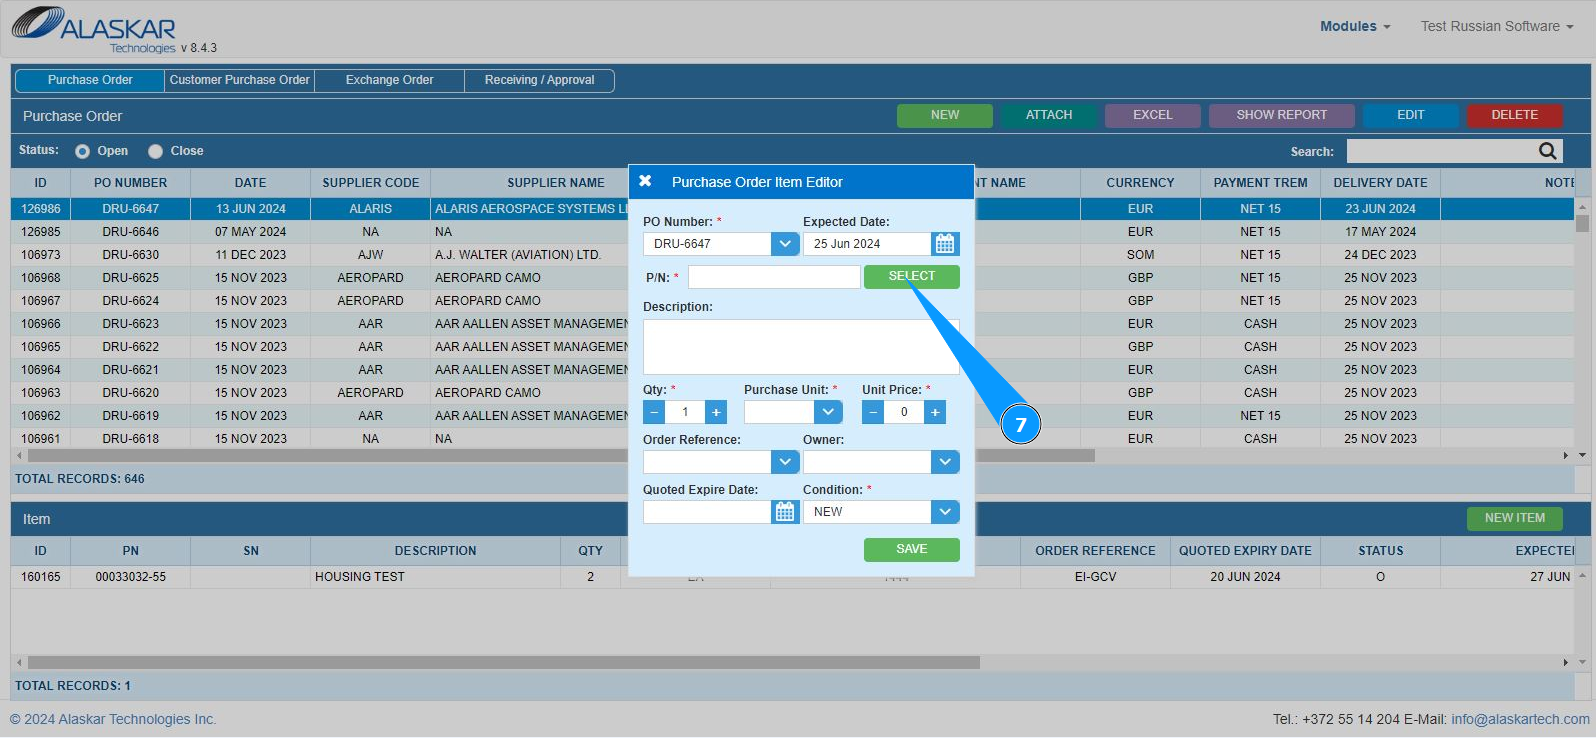
7. To select the part number of the material, click on the button "Select".
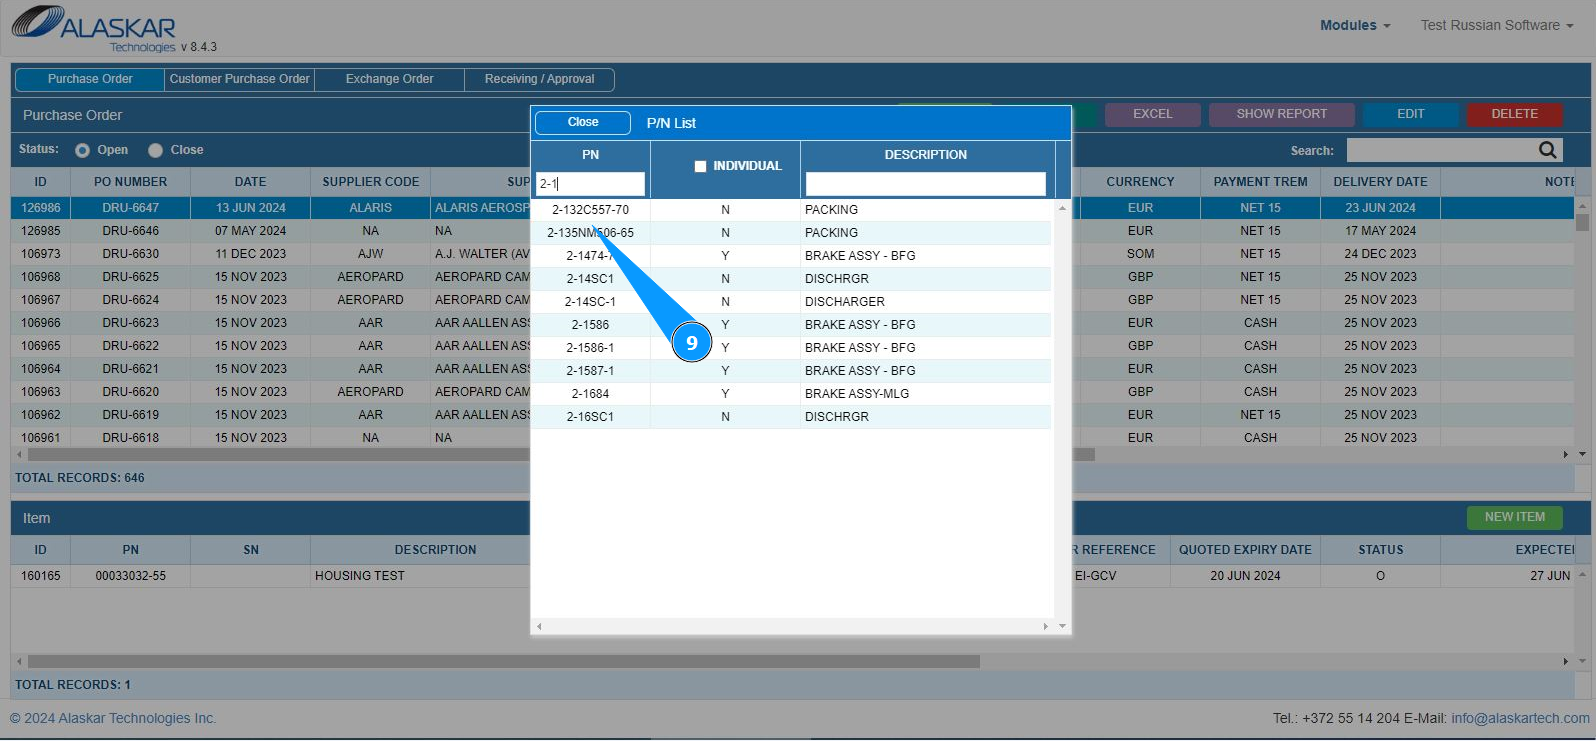
8. In the search bar, enter the desired party number in the field "PN" field and press the "Enter" button on your keyboard.

9. Select the required part number for adding and double click on the corresponding line.
10. Make sure that the material part number is displayed in the field "P/N". Note: The description (name) of the material will be displayed by the program automatically in the field "Description".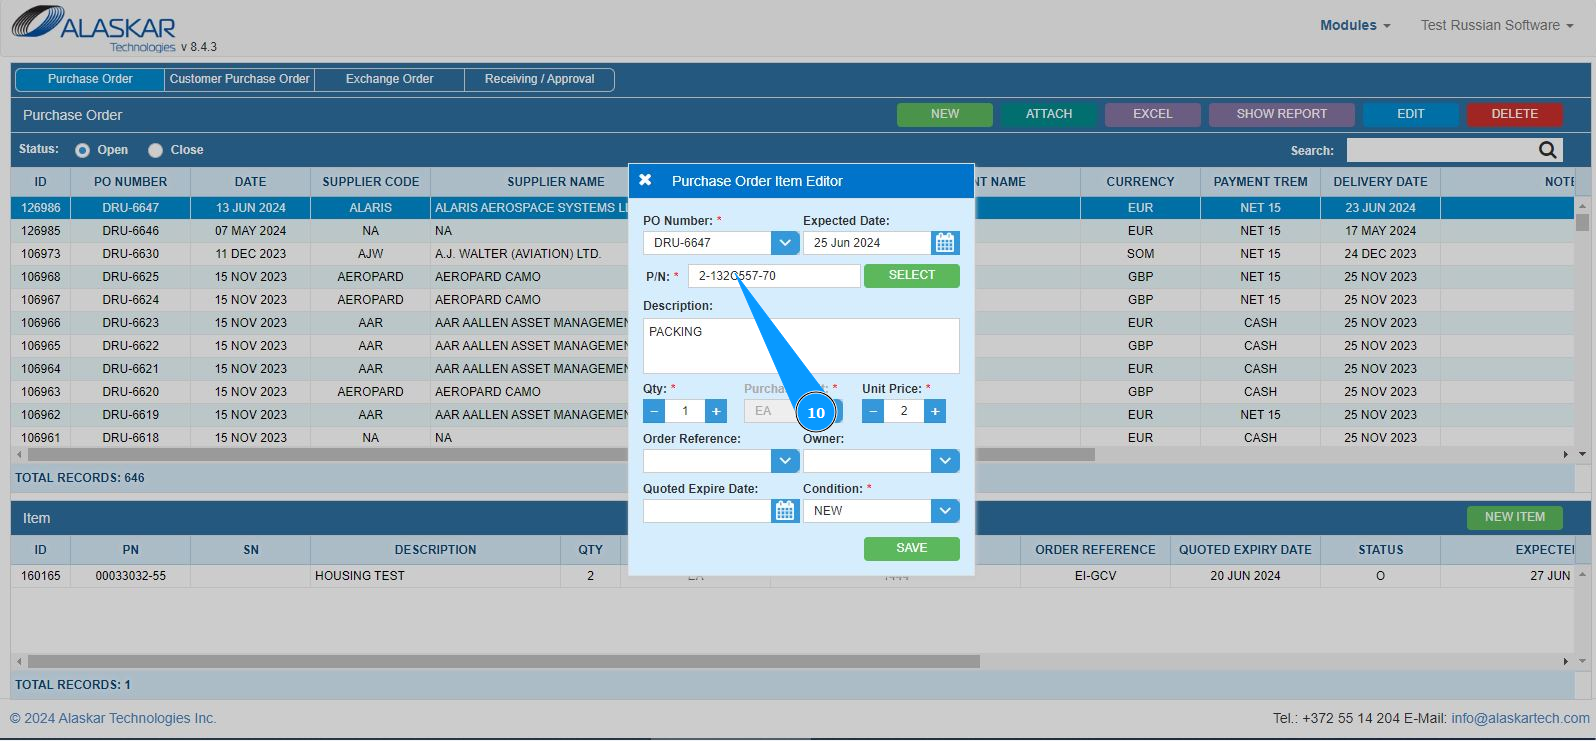
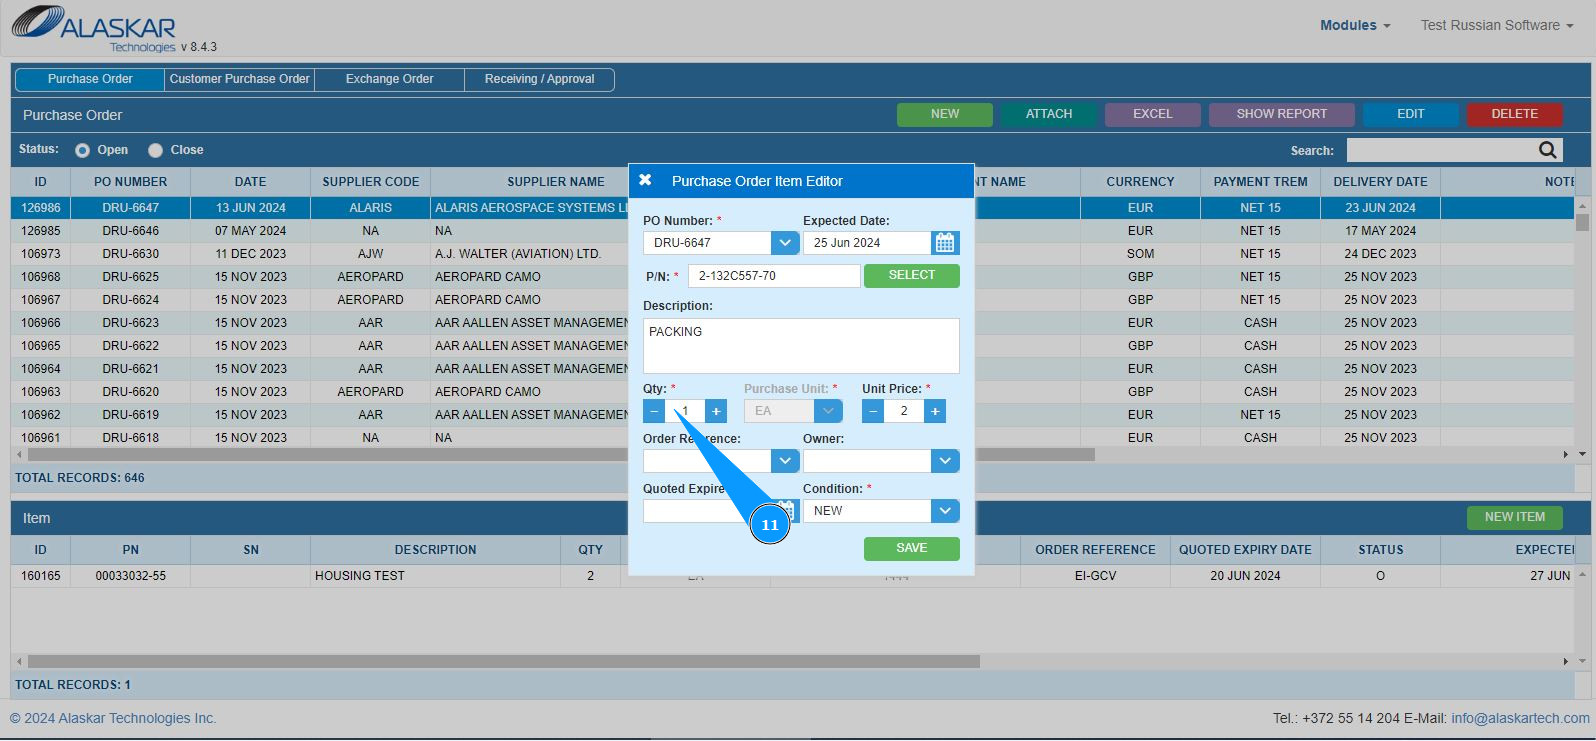
11. Enter the required quantity of material in the field "Qty". You can change the quantity using the plus or minus buttons.
12. Enter the cost per unit of material in the field "Unit Price". You can change it using the "plus" or "minus" buttons. Note: Units of material use: pieces, kilograms, meters, and so on, will be entered by the program automatically in the field "Purchase Unit.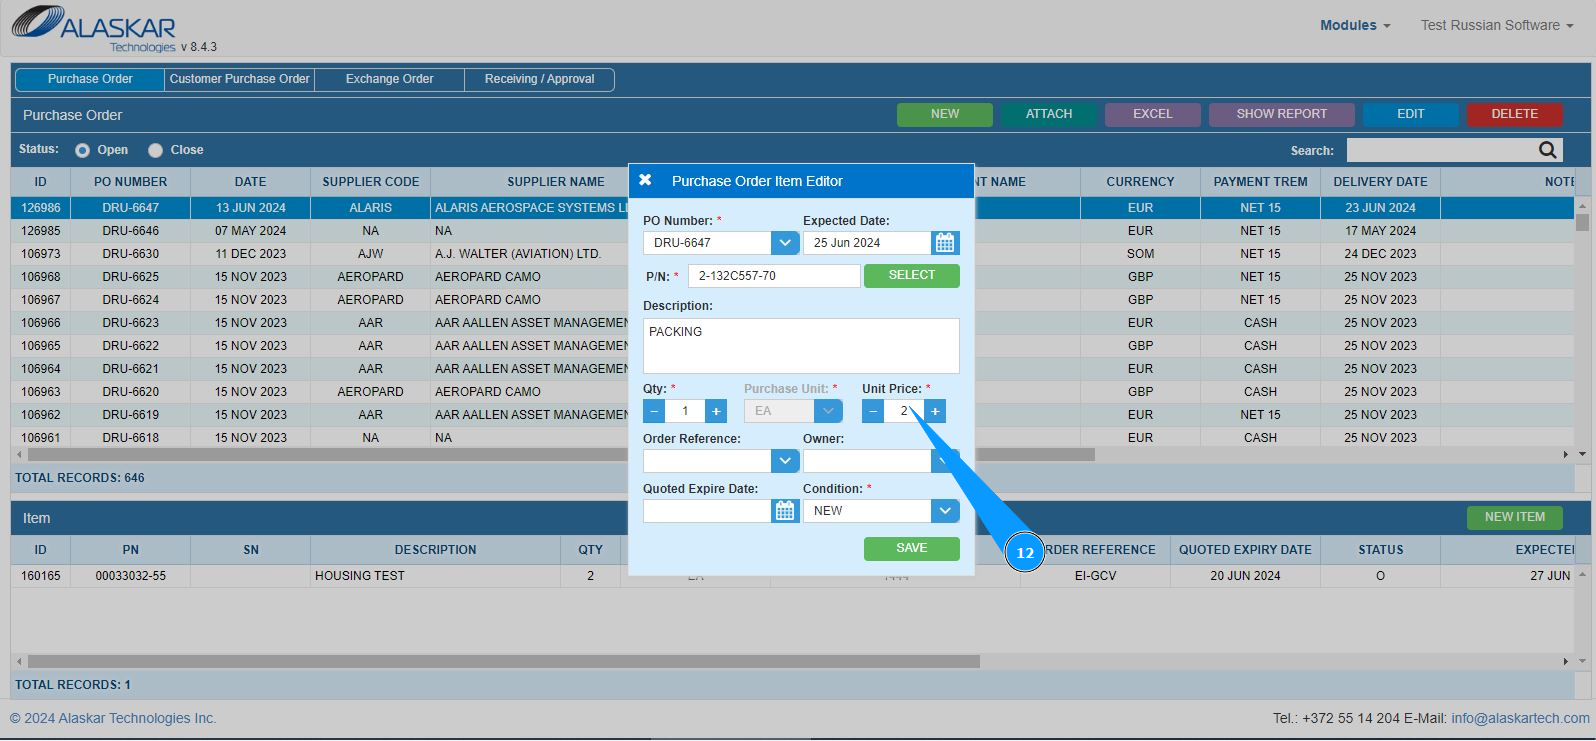
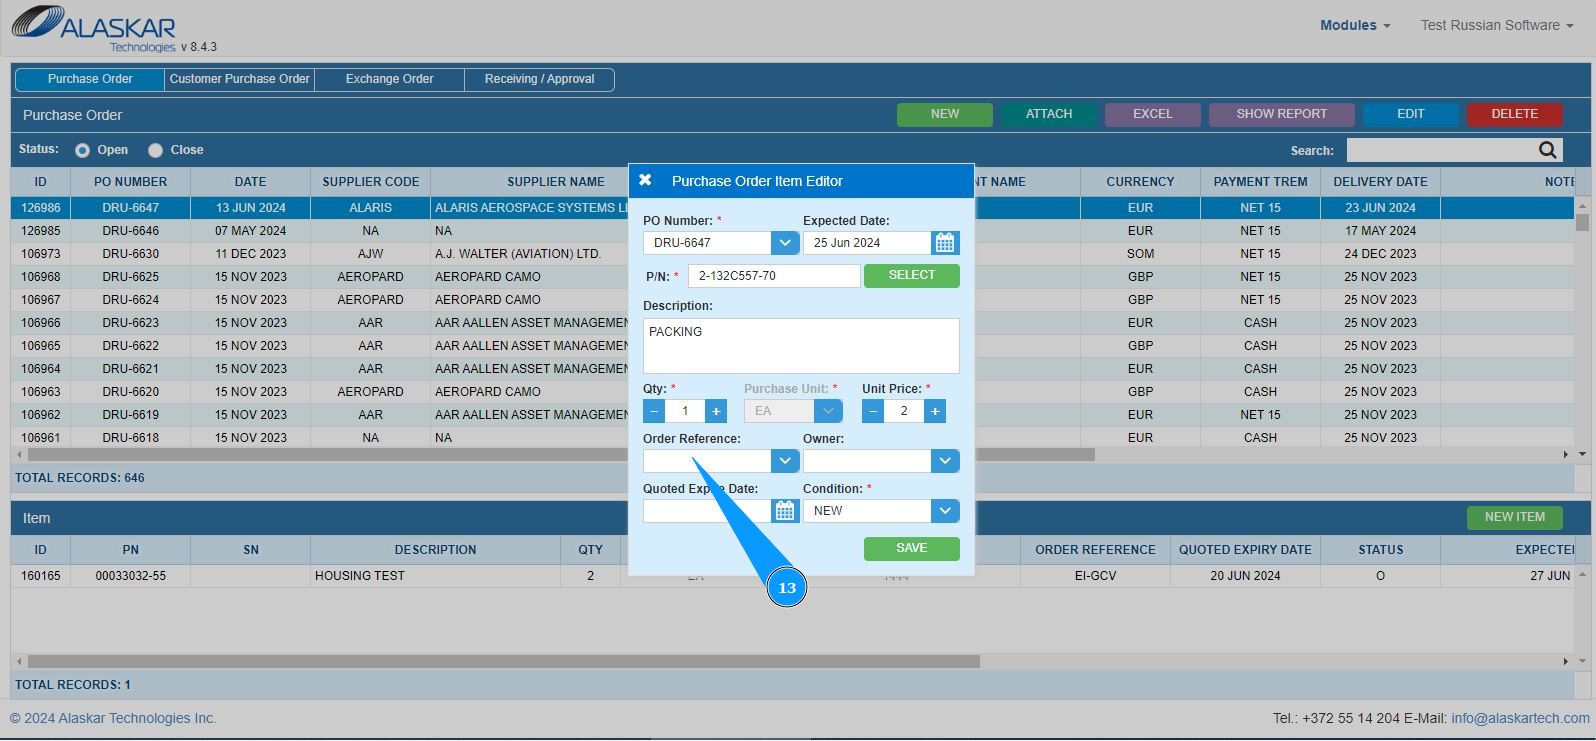
13. If necessary, enter the aircraft in the field "Order Reference" or select from the dropdown list.
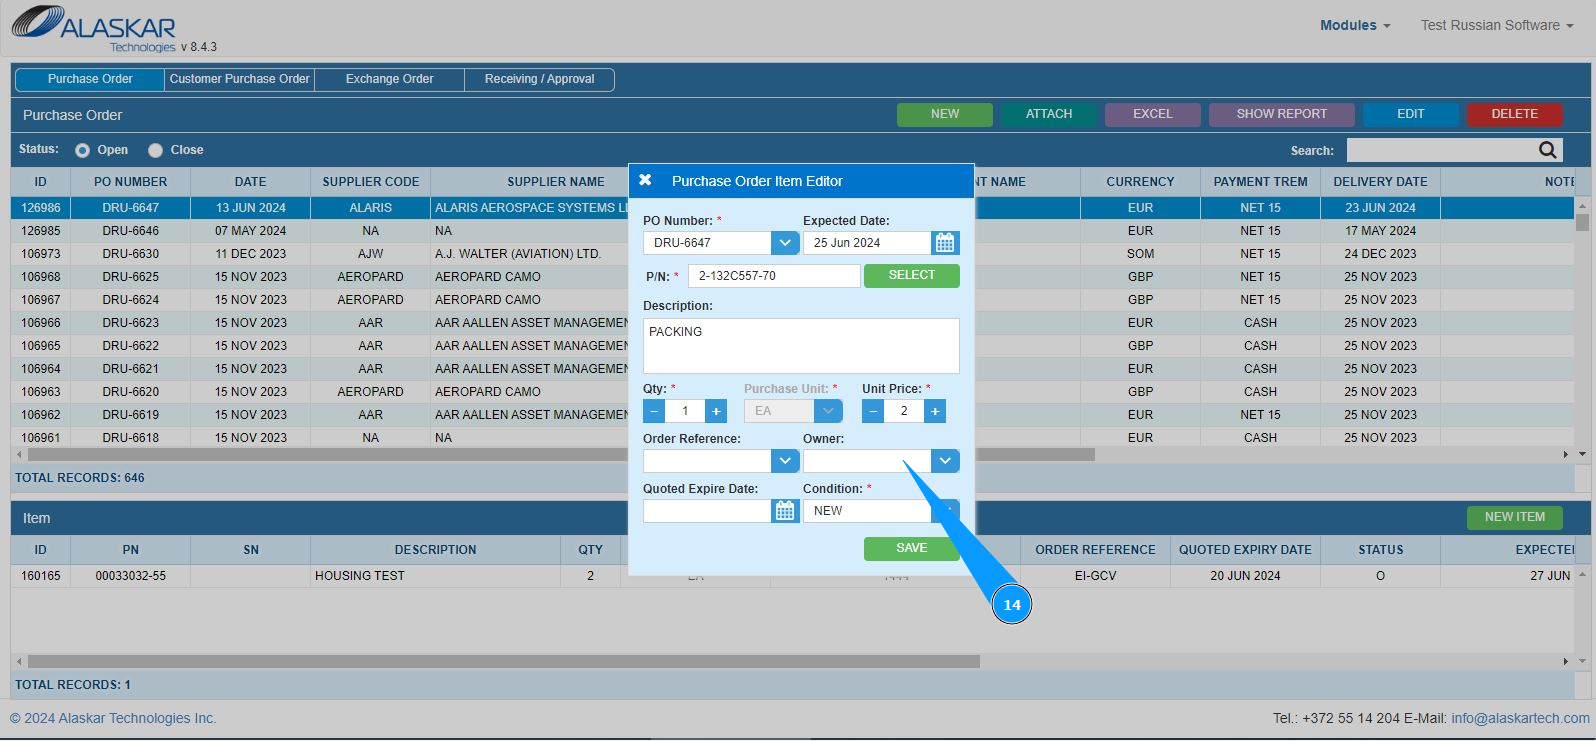
14. If necessary, select the company for which the material is being ordered in the field "Owner" or select from the dropdown list.
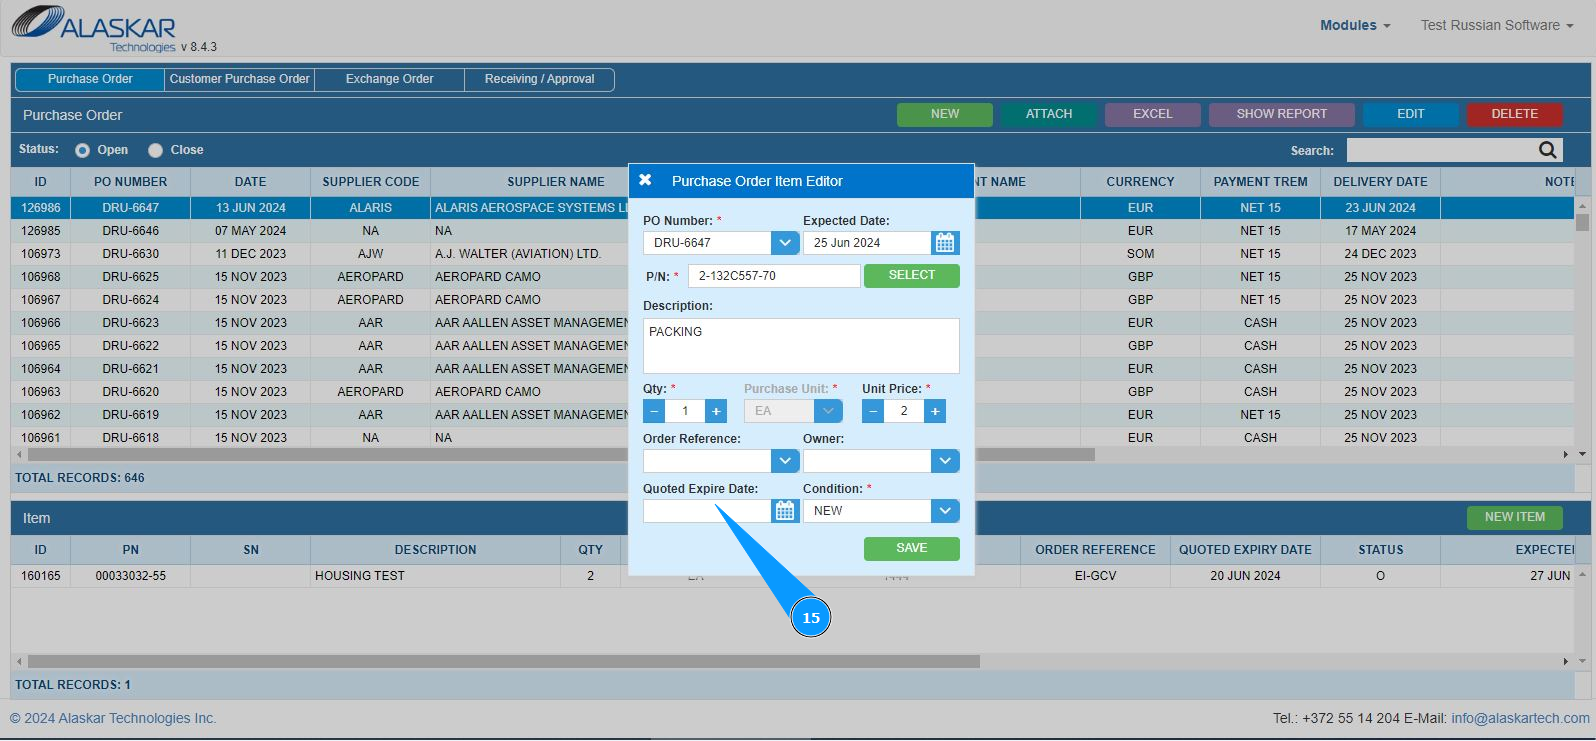
15. If necessary, enter the expiration date for the material proposal in the field "Quoted Expire Date" or select from the calendar.
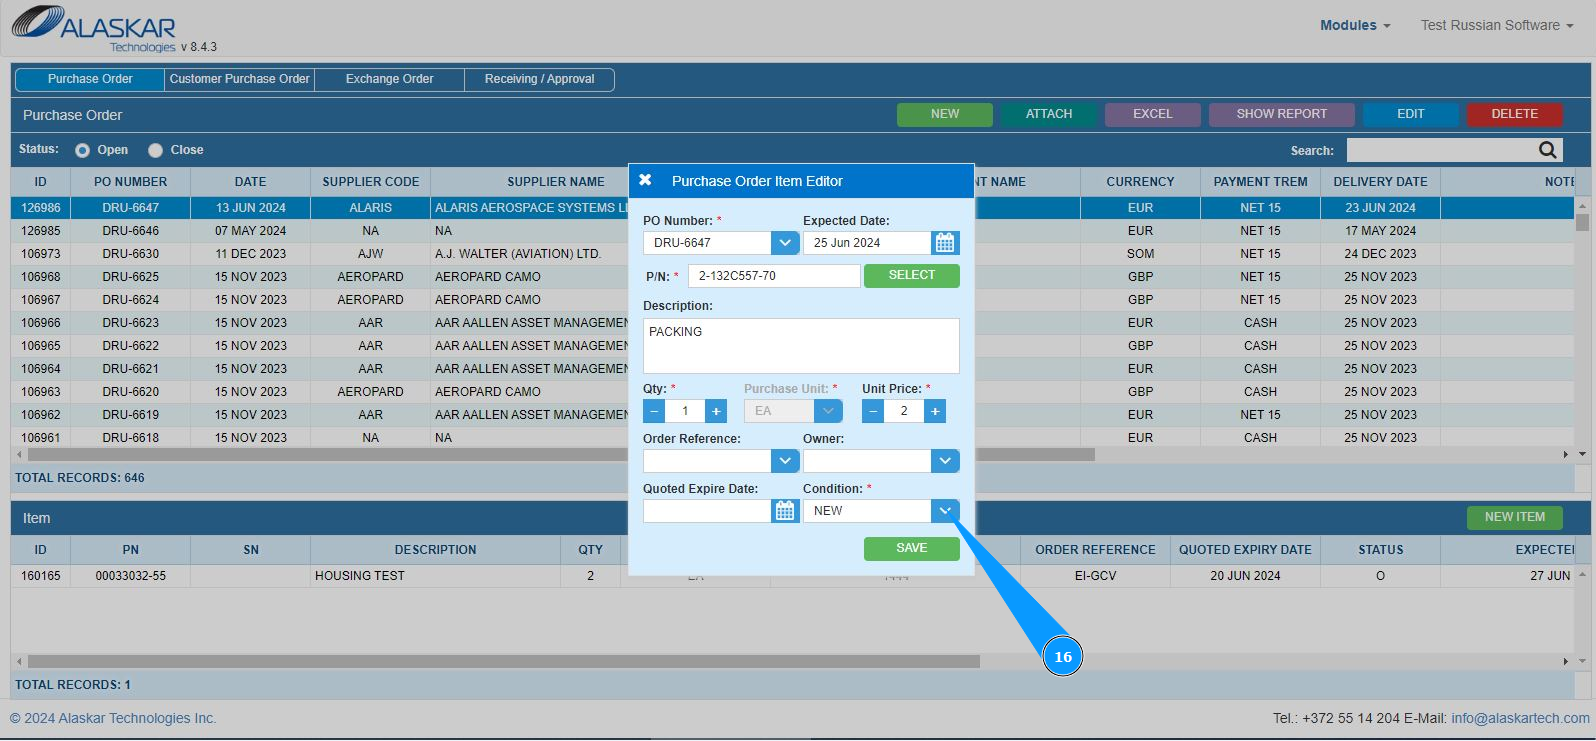
16. Select the material condition for the order from the dropdown list in the field "Condition".
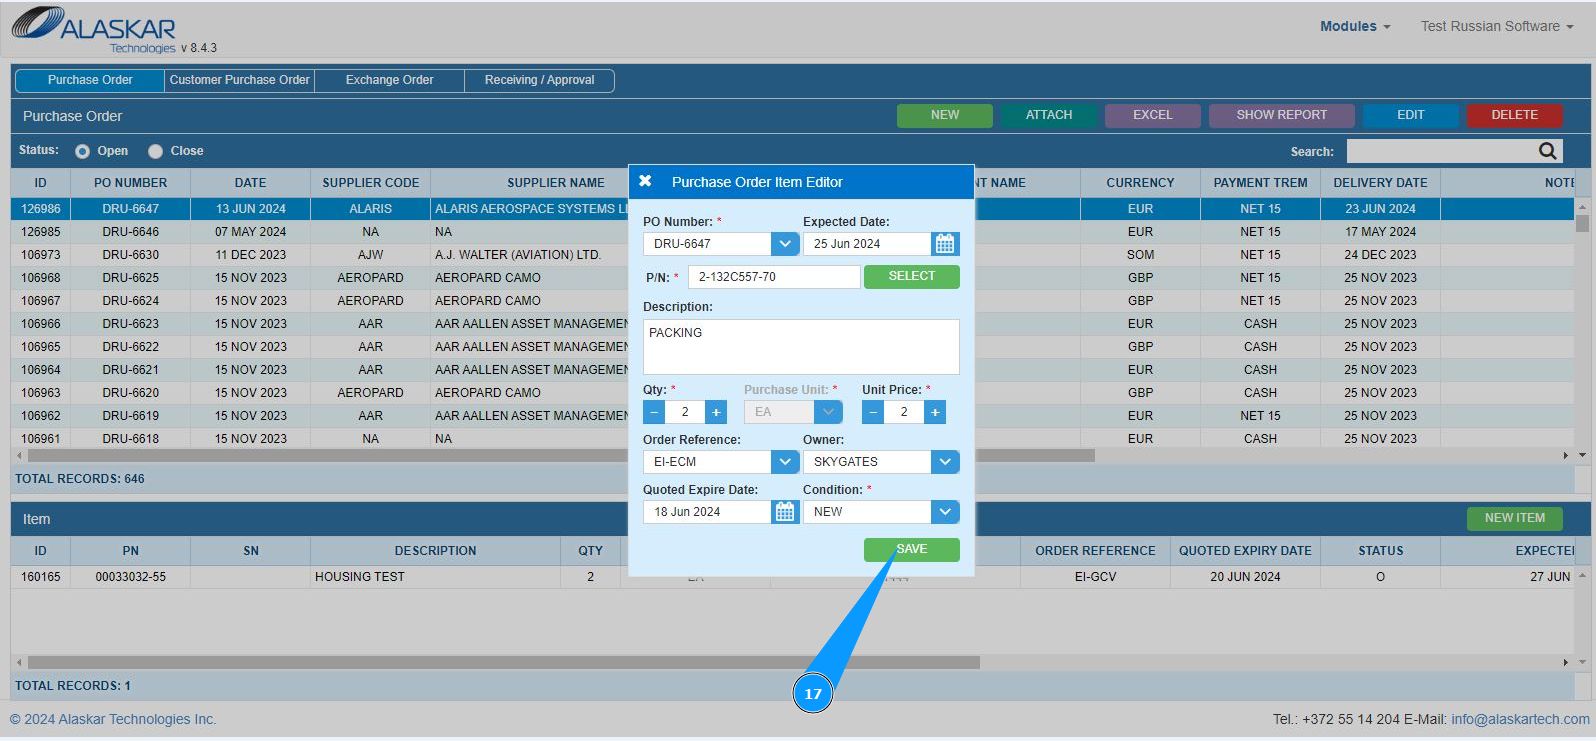
17. Click on the button "Save" to save the material data in PO into the program.
18. Check that the record with material is displayed in the window "Item".
