Как внести детали отправки компонента
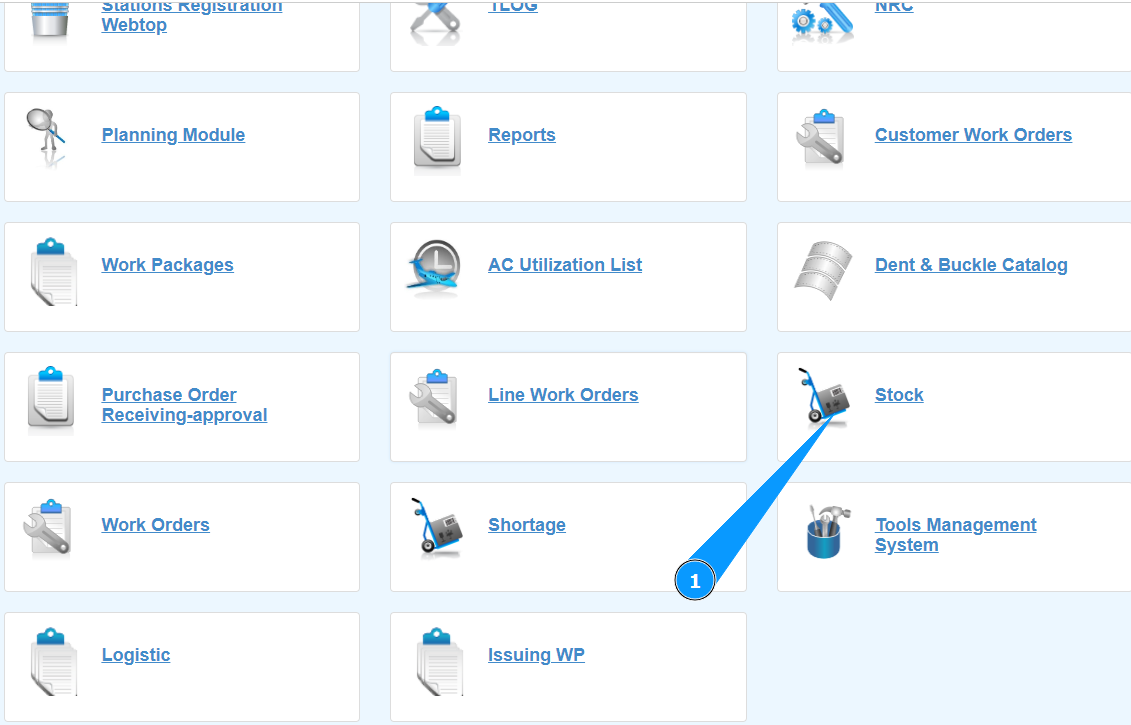
1. Для того чтобы внести детали отправки компонента, зайдите в подмодуль "Stock".
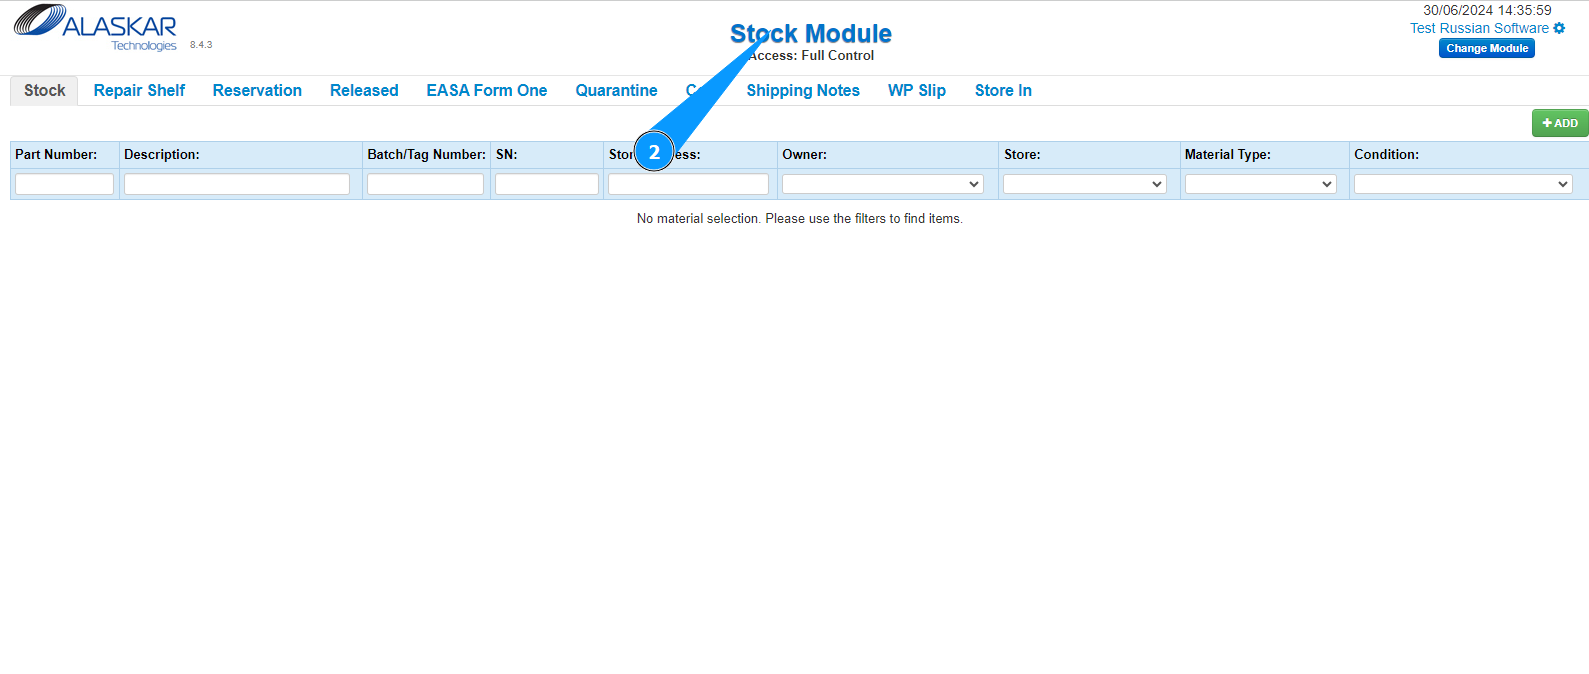
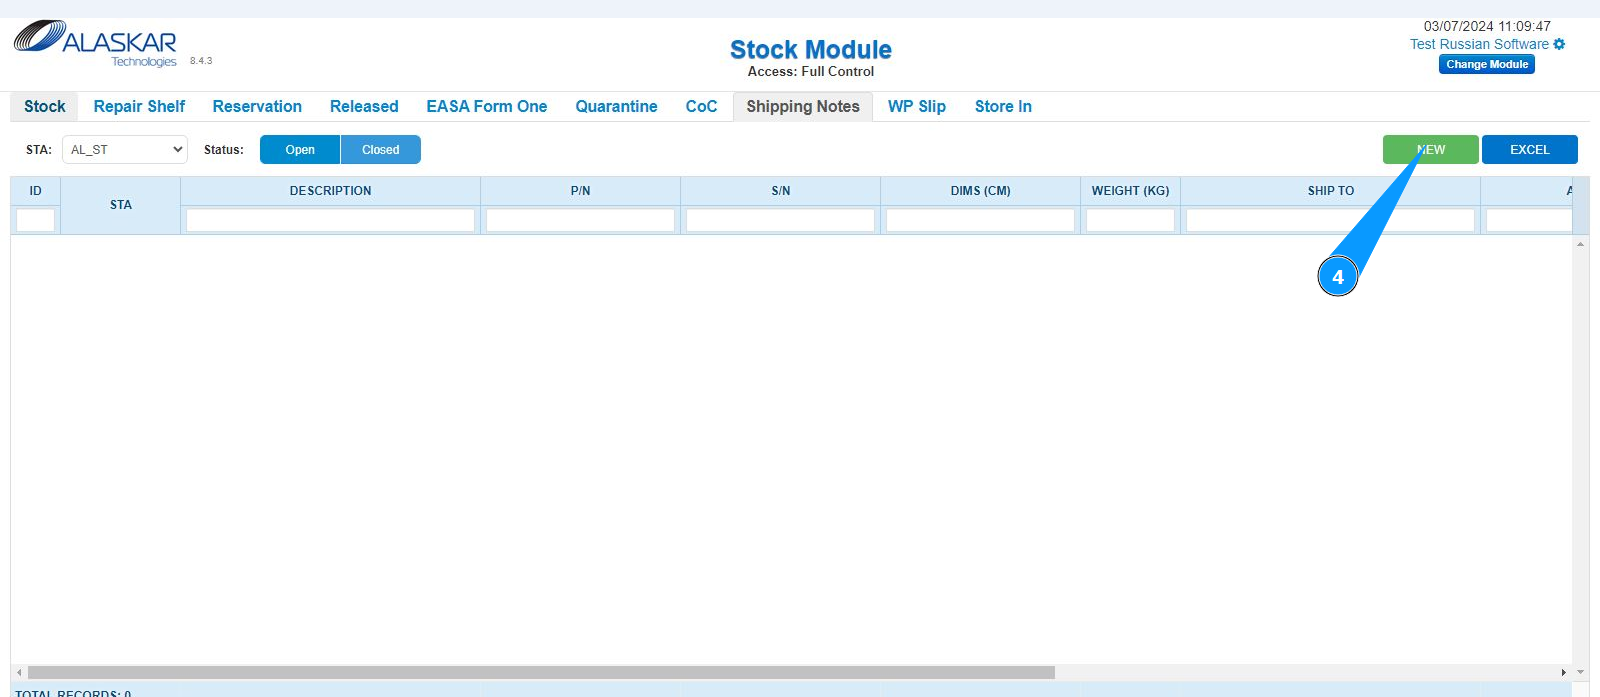
2. Проконтролируйте, что раздел работы со складом открылся и доступен в окне "Stock Module".
3. Далее, перейдите на вкладку "Shipping notes".
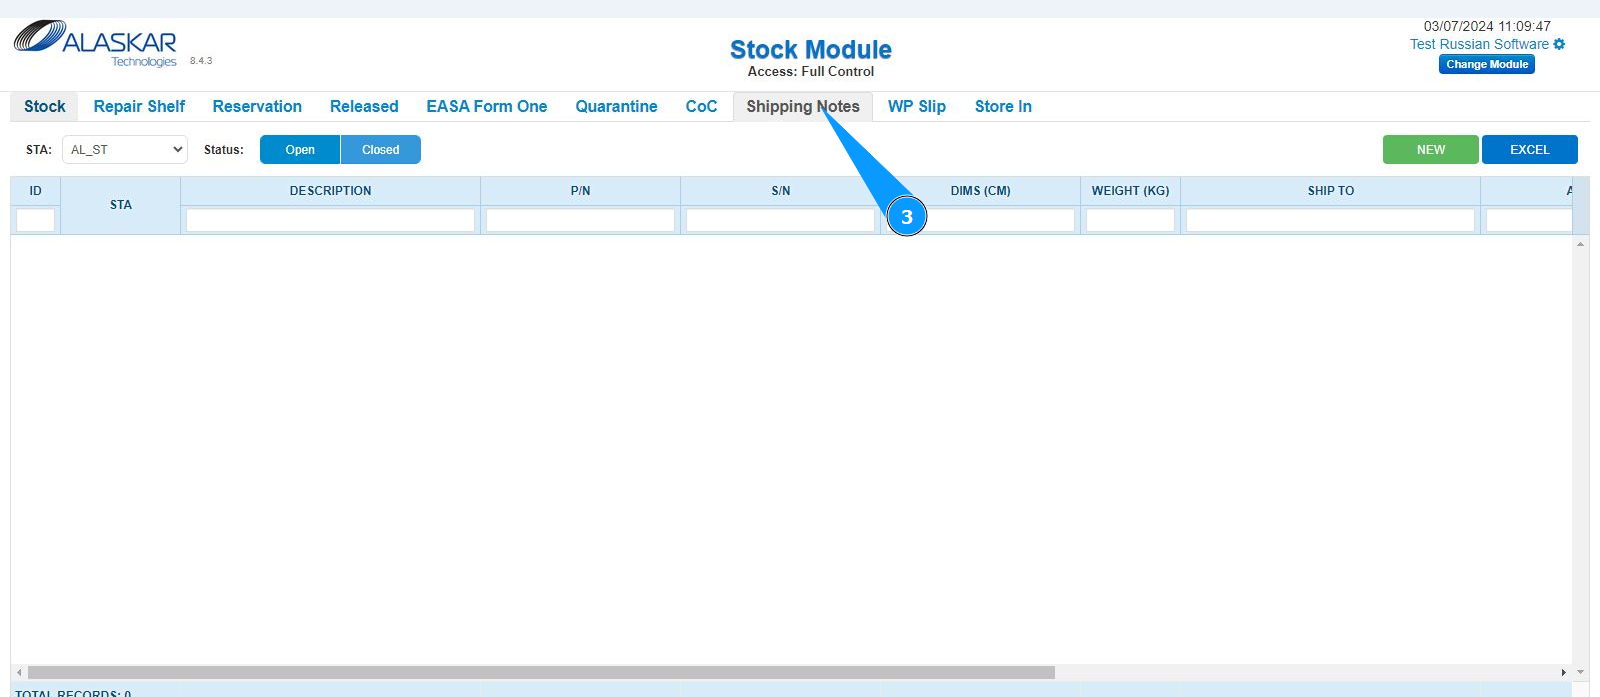
4. Нажмите кнопку "New", чтобы открыть редактор создания деталей отправки.
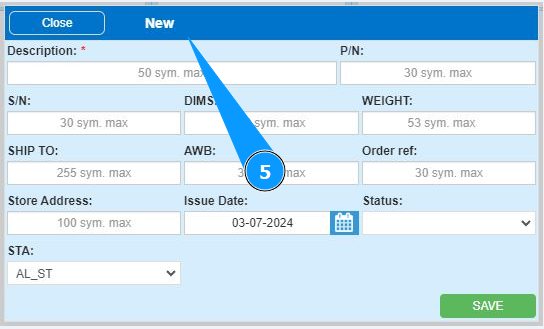
5. Проконтролируйте, что редактор создания деталей отправки открылся и доступен.
6. Внесите партийный номер компонента в поле "P/N".
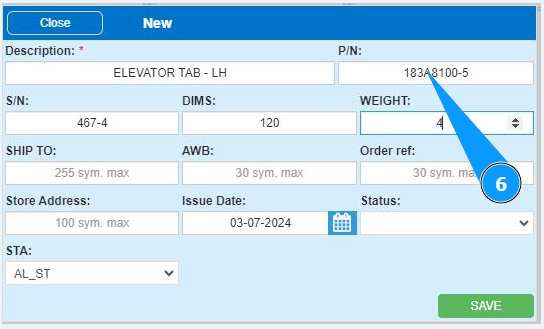
7. Внесите описание компонента в поле "Description".

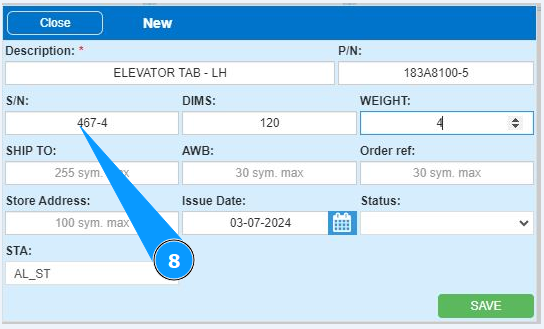
8. Внесите серийный номер компонента в поле "S/N".
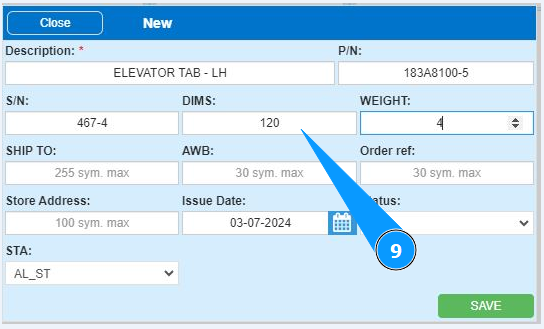
9. Внесите размеры компонента или коробки в поле "Dims".
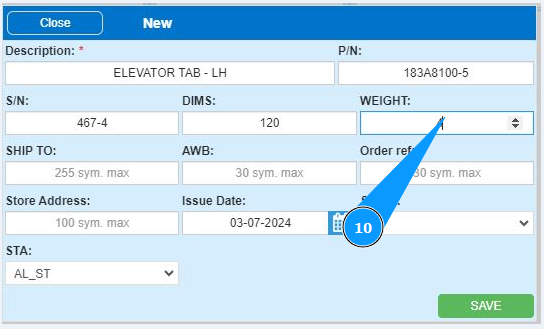
10. Внесите вес компонента в поле "Weight".
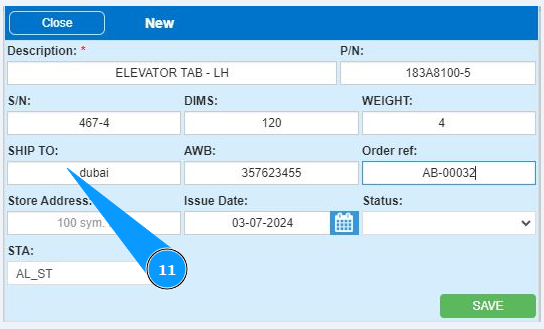
11. Внесите место отправки компонента в поле "Ship to".
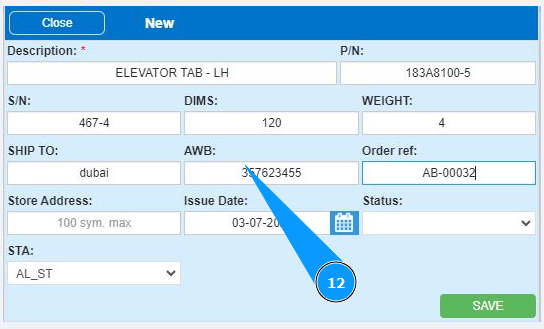
12. Внесите номер авианакладной в поле "AWB".
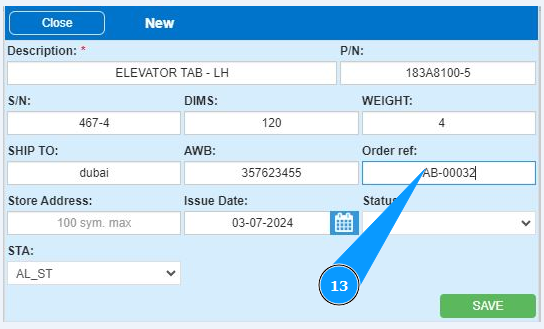
13. Внесите номер заказа в поле "Order Ref.".
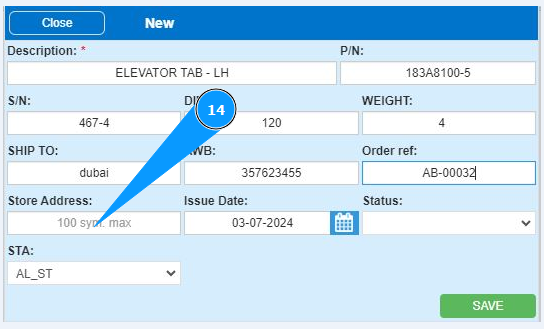
14. Внесите номер полки на складе в поле "Store Address".
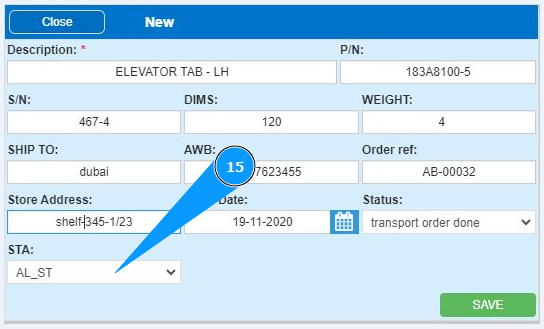
15. Выберите из выпадающего списка наименование склада в поле "STA".
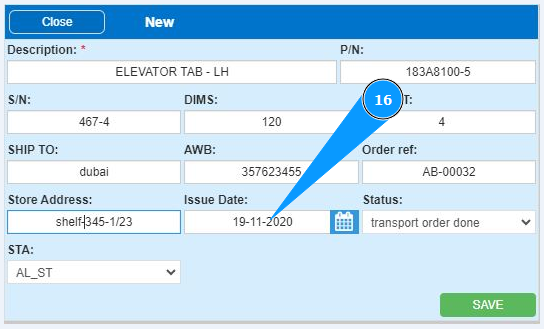
16. Внесите дату внесения деталей отправки в поле "Issue Date" или выберите из календаря.
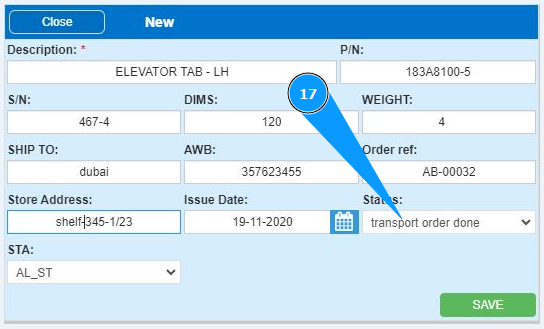
17. Выберите из выпадающего списка статус отправки компонента в поле "Status".
18. Нажмите кнопку "Save", чтобы добавить данные отправки компонента в программу.

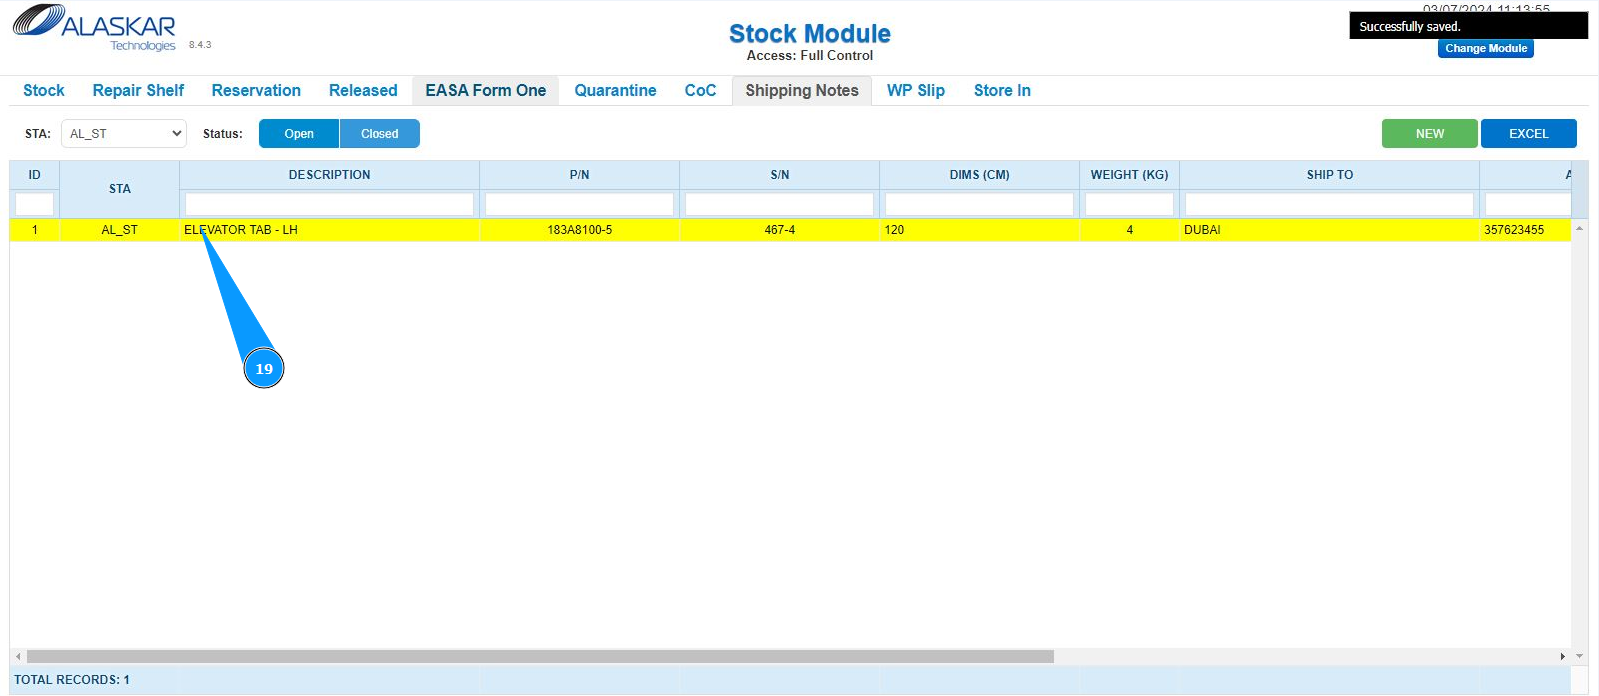
19. Проконтролируйте, что запись с внесенными деталями отправки отображается в окне "Shipping notes". При необходимости выберите требуемый склад из выпадающего списка.